

Block Storage volumes
A volume is a chunk of disk that lives independently of any instance. Attach it to an instance, detach it later, move it to another instance, or resize it, all without losing the data on it. A volume survives the instance it was attached to.
Volumes are billed hourly from creation until deletion, attached or not.
Before you begin
Section titled “Before you begin”- Your provider has enabled block storage in at least one location. If Block storage is missing from the sidebar’s Services group, contact your provider.
- Enough credit balance for the plan’s hourly rate.
Where to find it
Section titled “Where to find it”Click Block storage in the sidebar’s Services group.
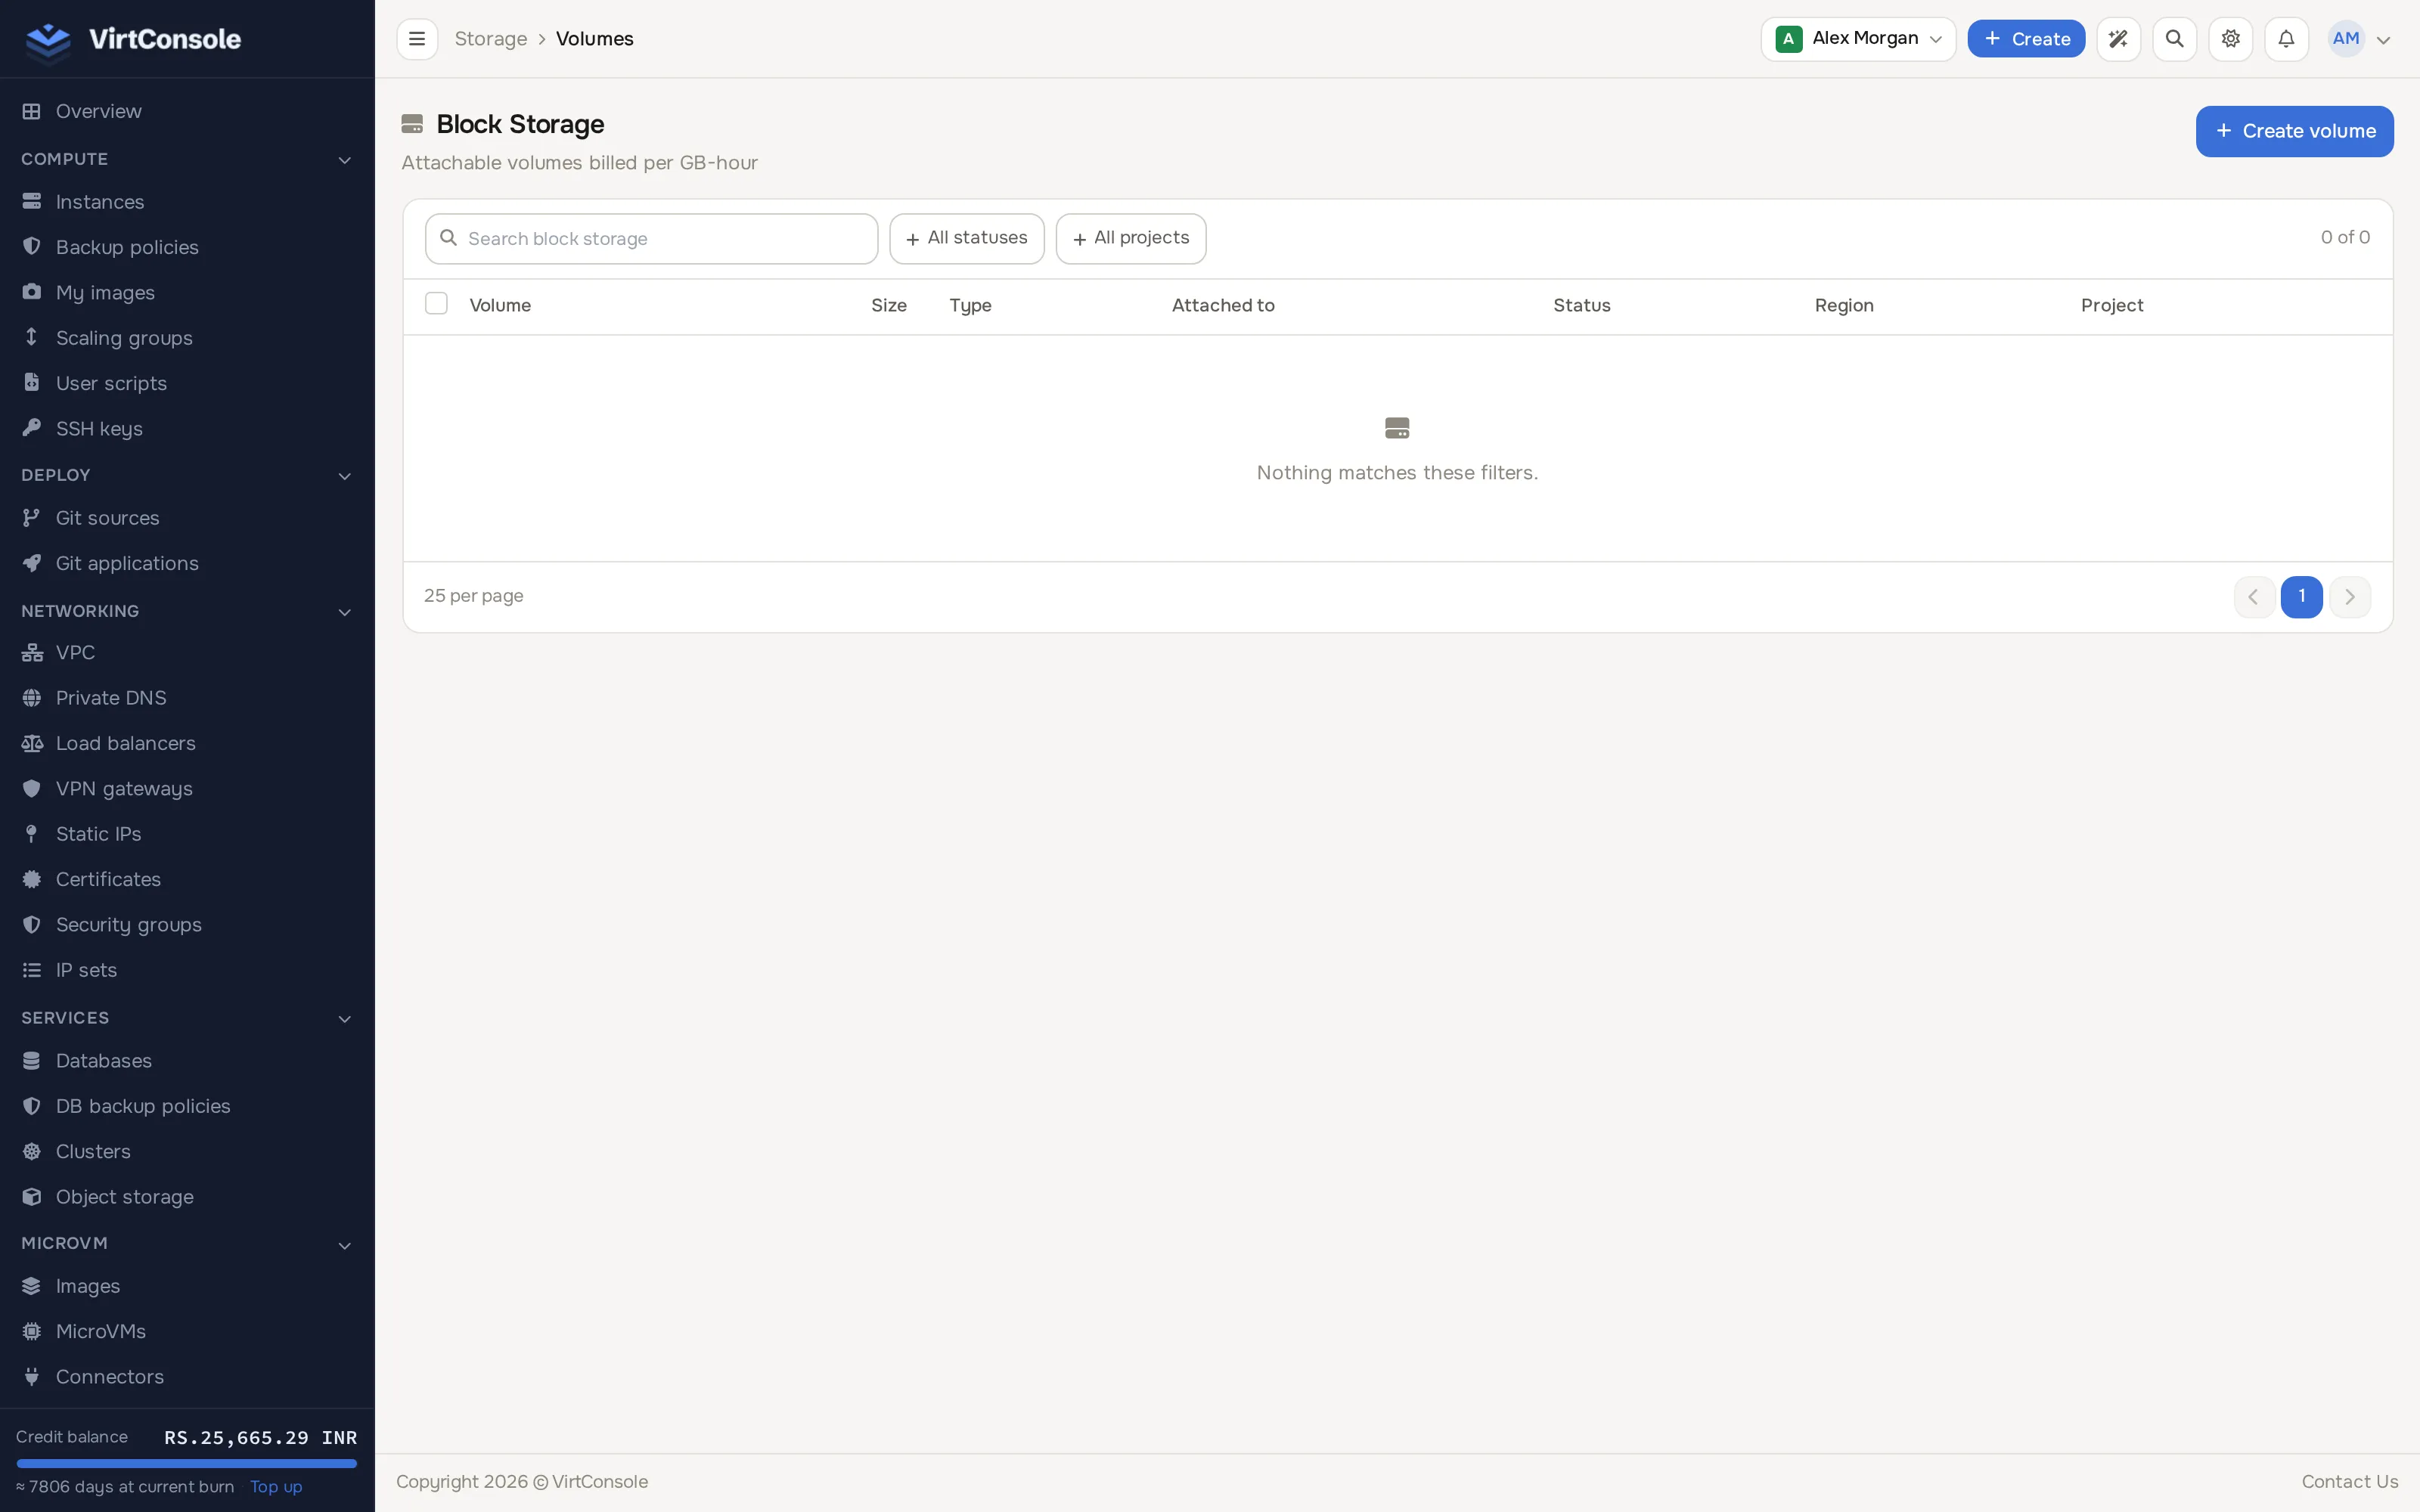
Create a volume
Section titled “Create a volume”Click Create volume. This opens a two-step page: Location (“Data center”), then Volume (“Plan and name”).
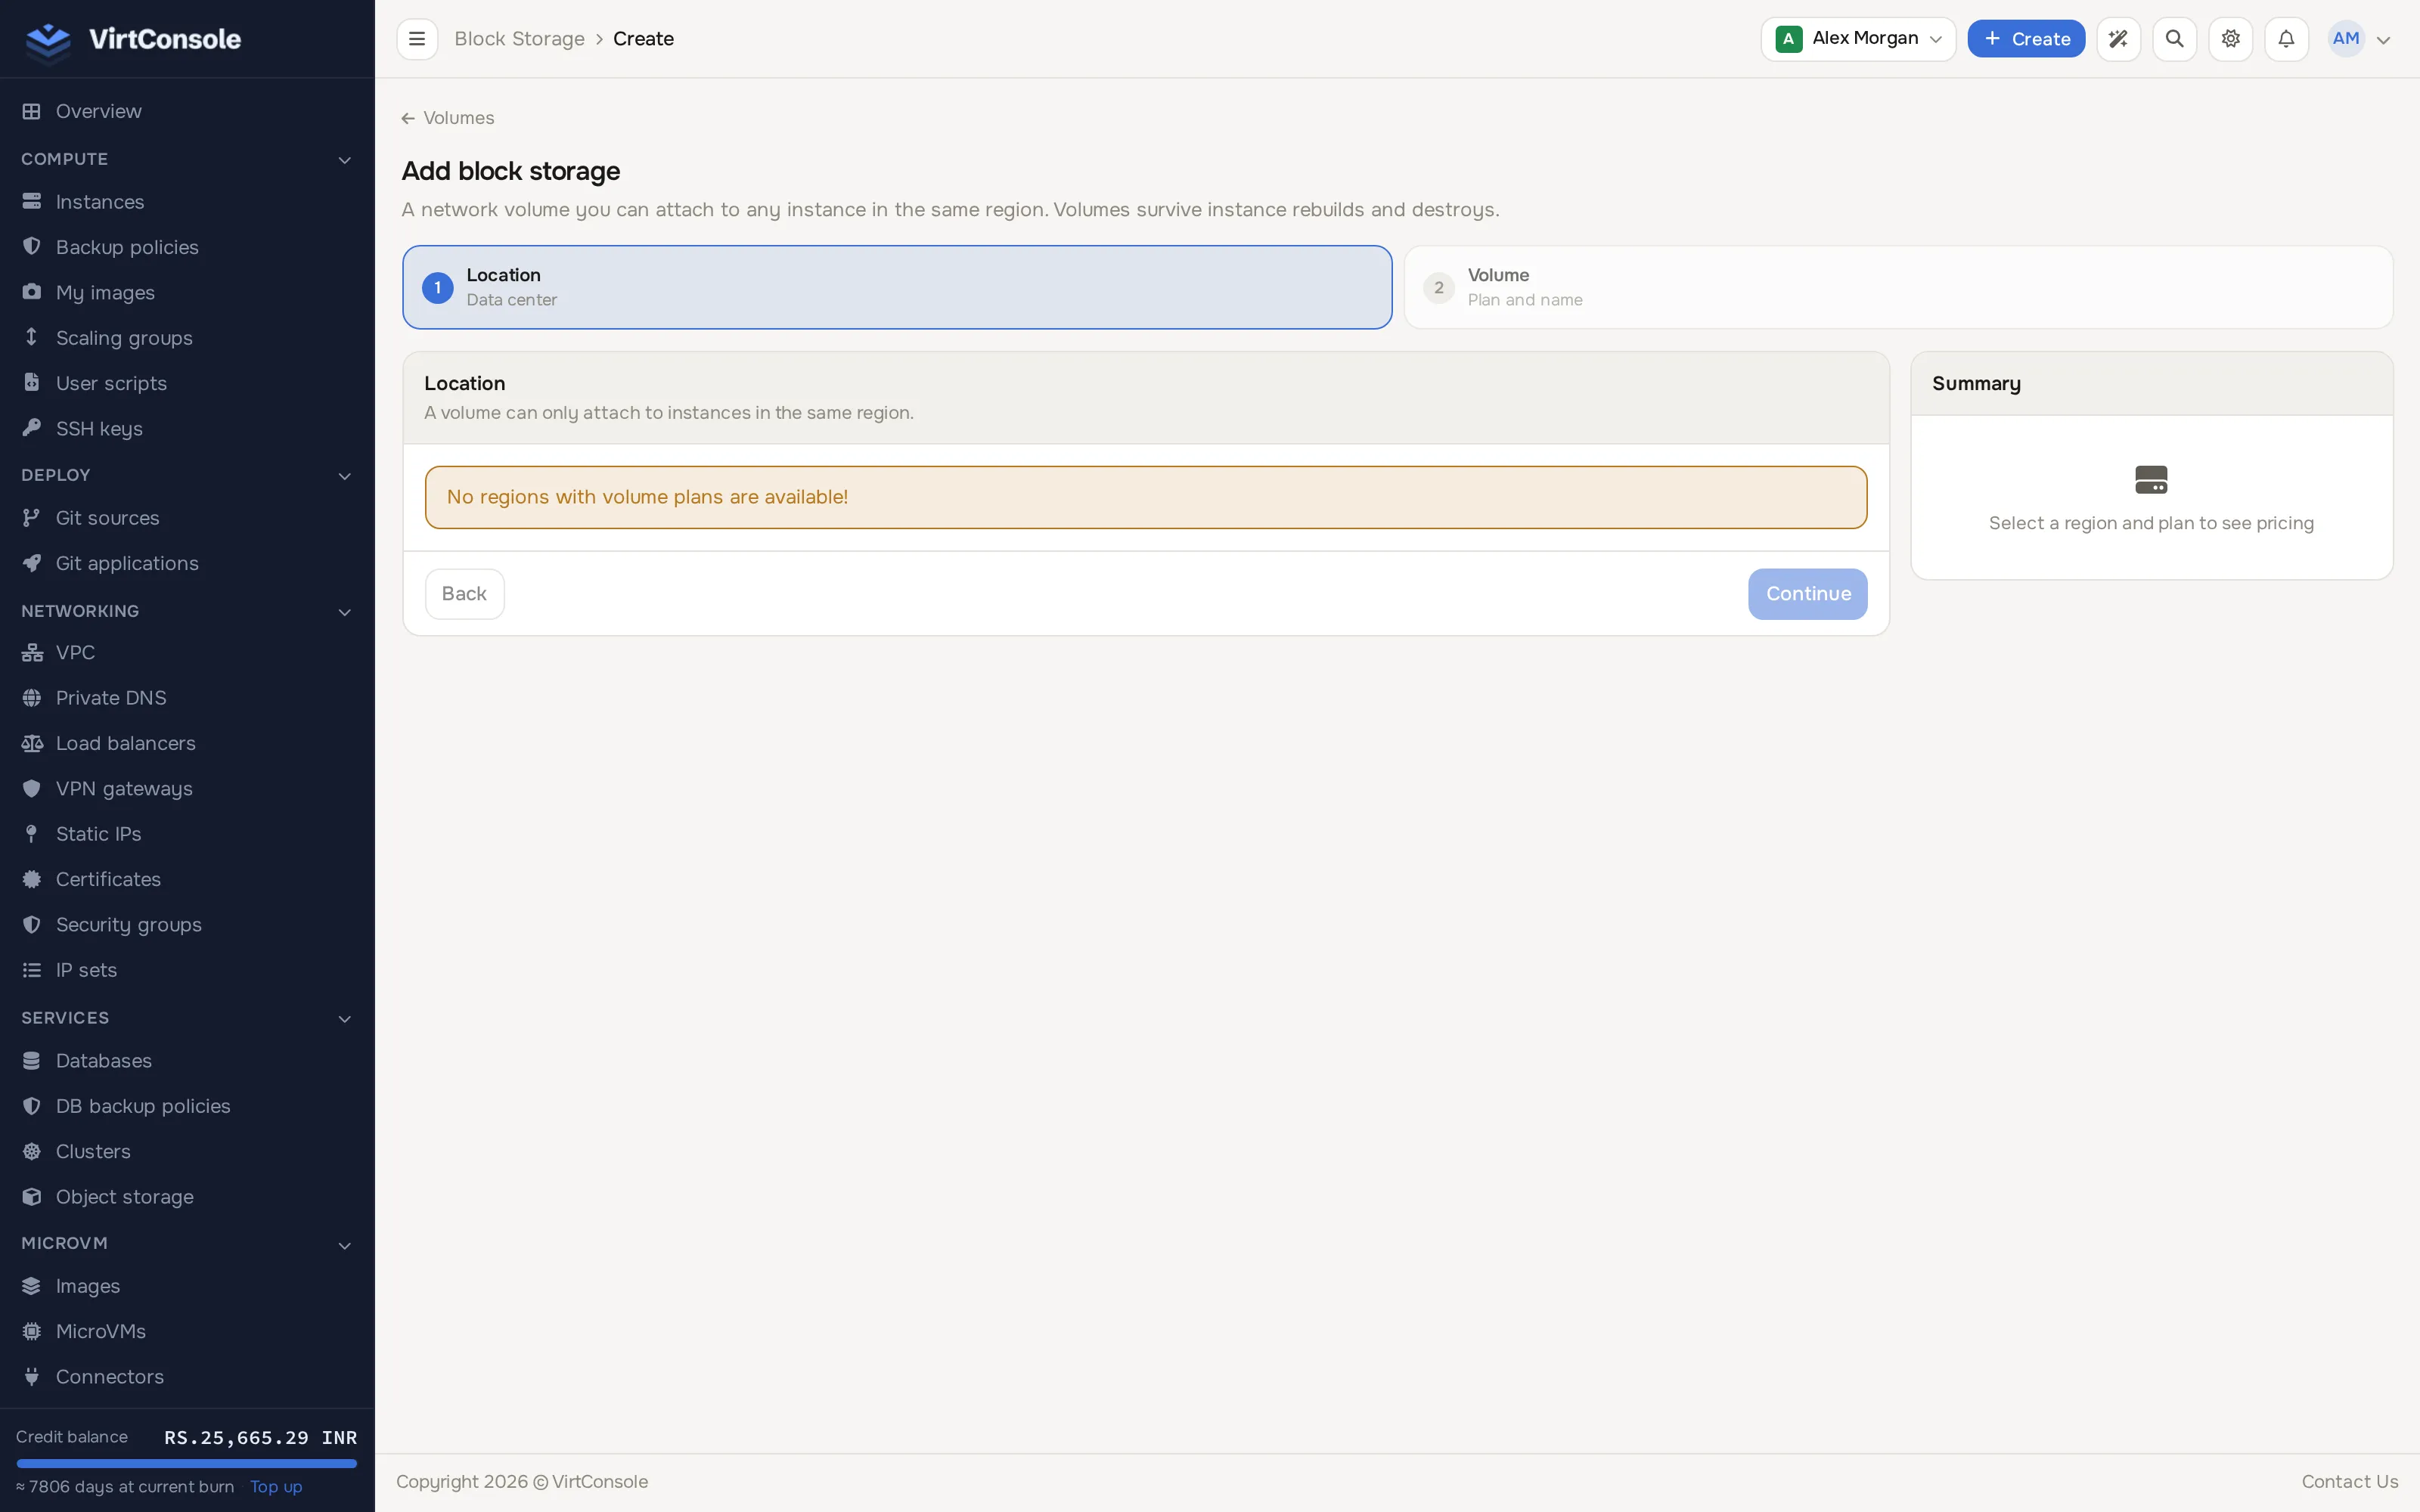
- Location: pick the data center. Only locations with block storage enabled appear; a volume can only attach to instances in the same region. Click Continue.
- Volume: pick a plan card (storage class, size and price) and enter a Name, for example
postgres-data. Size can be increased later without downtime; it cannot be reduced.
Check the summary and click Create volume.
Volumes usually become Available within a few seconds. Statuses: Available, Attached, Creating, Resizing, Detaching, Error.
Attach a volume
Section titled “Attach a volume”From the volumes list: click Attach on an Available volume, pick an instance in the same location, and confirm. From an instance: open its manage page, go to Volumes, pick an available volume and click Attach.
The volume appears inside the instance as a block device (for example /dev/xvdb), and the device name shows in the table.
An instance can have up to 23 volumes attached.
Detach a volume
Section titled “Detach a volume”Click Detach on the volumes list or the instance’s Volumes section.
Resize a volume
Section titled “Resize a volume”- Click Resize on the volume.
- Pick a different plan.
- Click Resize.
If the new plan is smaller than the current size, the dialog warns that data loss may result and asks you to confirm with Resize Anyway.
Snapshots and backups
Section titled “Snapshots and backups”Open a volume to find its Snapshots & Backups section:
- Snapshot: a point-in-time mark on the volume’s own storage. Created in seconds; cheap. A safety net before a risky change.
- Backup: a full copy written to separate backup storage. Slower, but survives a total loss of the volume’s storage.
Take one with Take Snapshot or Create Backup. Restoring offers two choices: Roll back this volume (overwrites the volume; blocked while attached to a running instance) or Restore to new volume (creates a fresh volume, leaving the source alone).
Guard rails: one operation at a time per volume, a 5-minute cooldown between operations, per-plan caps on how many snapshots and backups you can keep, and a limit of three operations in flight across all your volumes. Snapshots and backups are full-only (no incremental chains) and may carry a per-GB monthly charge depending on your provider’s pricing.
Delete a volume
Section titled “Delete a volume”The volume must be Available (detached). Click Delete and confirm.
Common problems
Section titled “Common problems”- The volume is stuck in Creating. Check the tasks on the volume page; the storage backend may be temporarily unavailable. Delete and recreate, or contact your provider.
- Cannot attach. The volume must be
Available, in the same location as the instance, and the instance must have fewer than 23 volumes. - The volume is not visible inside the OS. Run
lsblkorfdisk -l; the device name from the panel maps to/dev/<name>. Format it before use. - “Volume is busy with operation” or a cooldown message. Wait for the current operation or the 5-minute countdown to finish.
- “Snapshot limit reached.” Delete an old snapshot or backup first, or ask your provider about a plan with a higher cap.