

Load balancers
A load balancer takes incoming traffic and spreads it across several backend instances, keeping your application online if one instance fails. Each load balancer is its own managed instance running dedicated load balancing software; you configure it entirely from the panel.
A load balancer deploys in one of two modes:
- VPC mode: sits inside one of your VPCs and balances traffic to backends over private addresses.
- Public mode: gets a public IP and receives traffic from the internet.
Before you begin
Section titled “Before you begin”- Your provider has enabled load balancers in the location. If the location list is empty when creating, contact your provider.
- For VPC mode: a VPC in that location. See VPC networks.
- Enough credit balance for the plan’s hourly rate. Load balancers are billed by the hour.
Where to find it
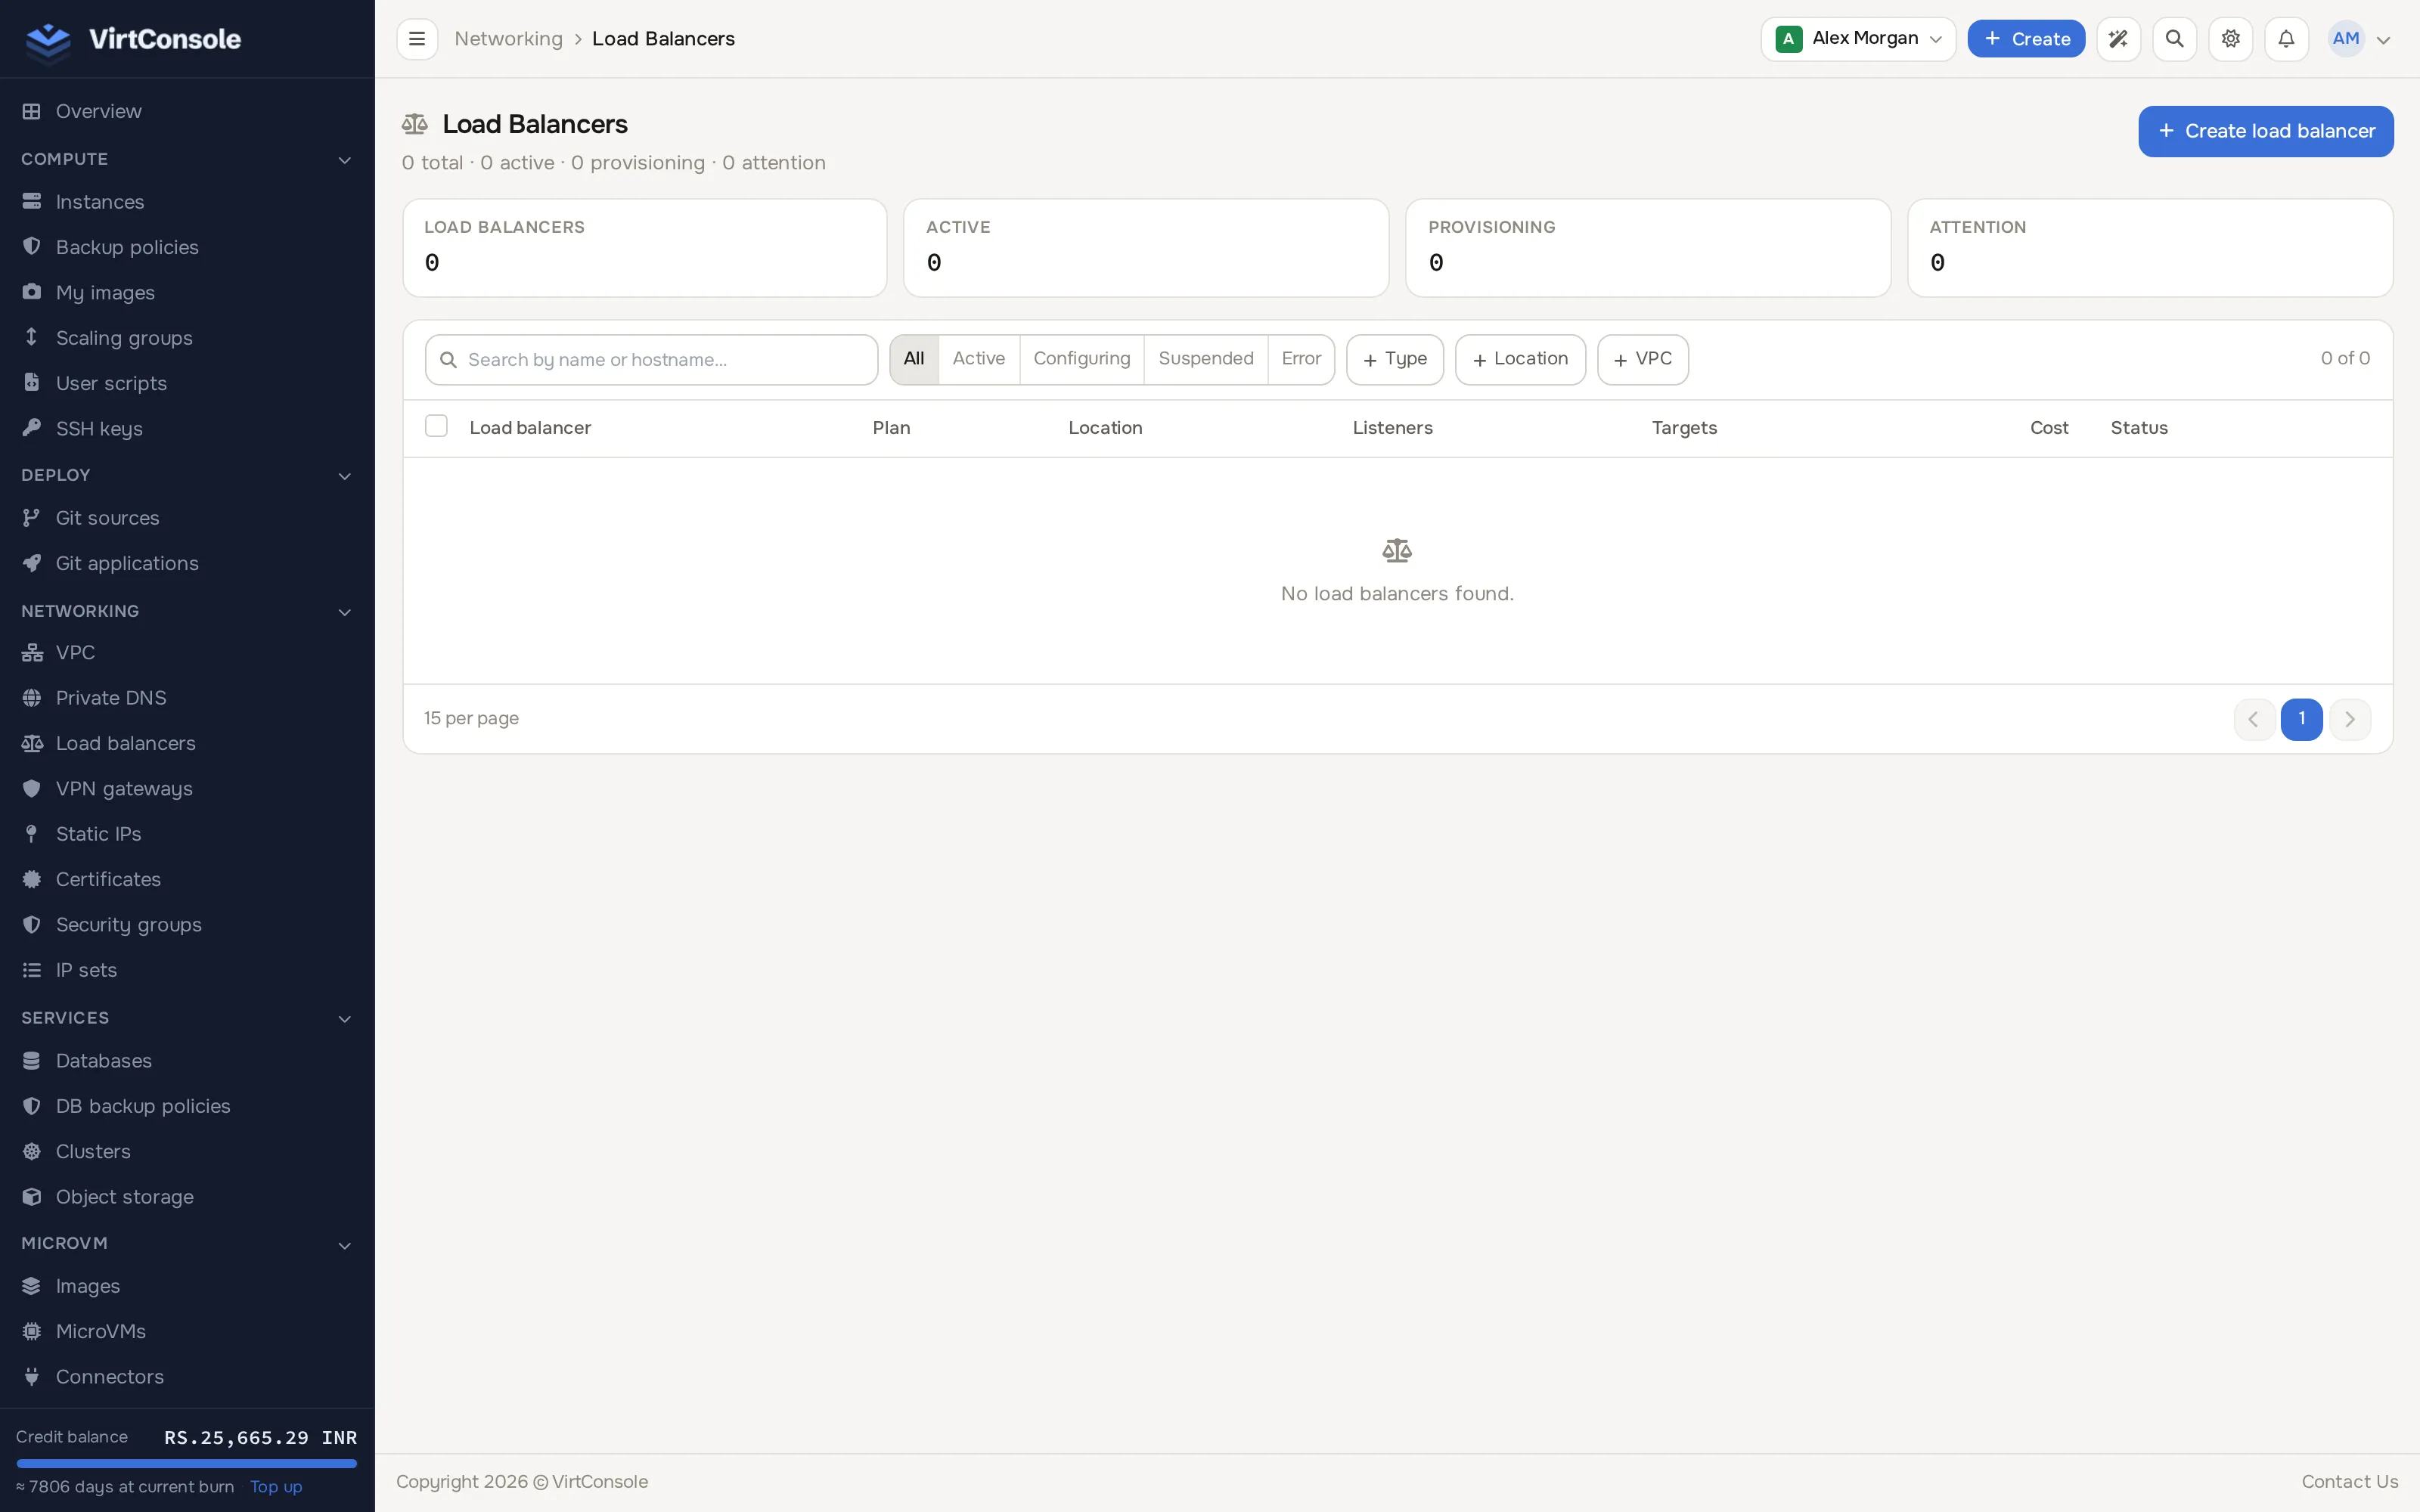
Section titled “Where to find it”In the user panel go to Networking > Load balancers.
Create a load balancer
Section titled “Create a load balancer”-
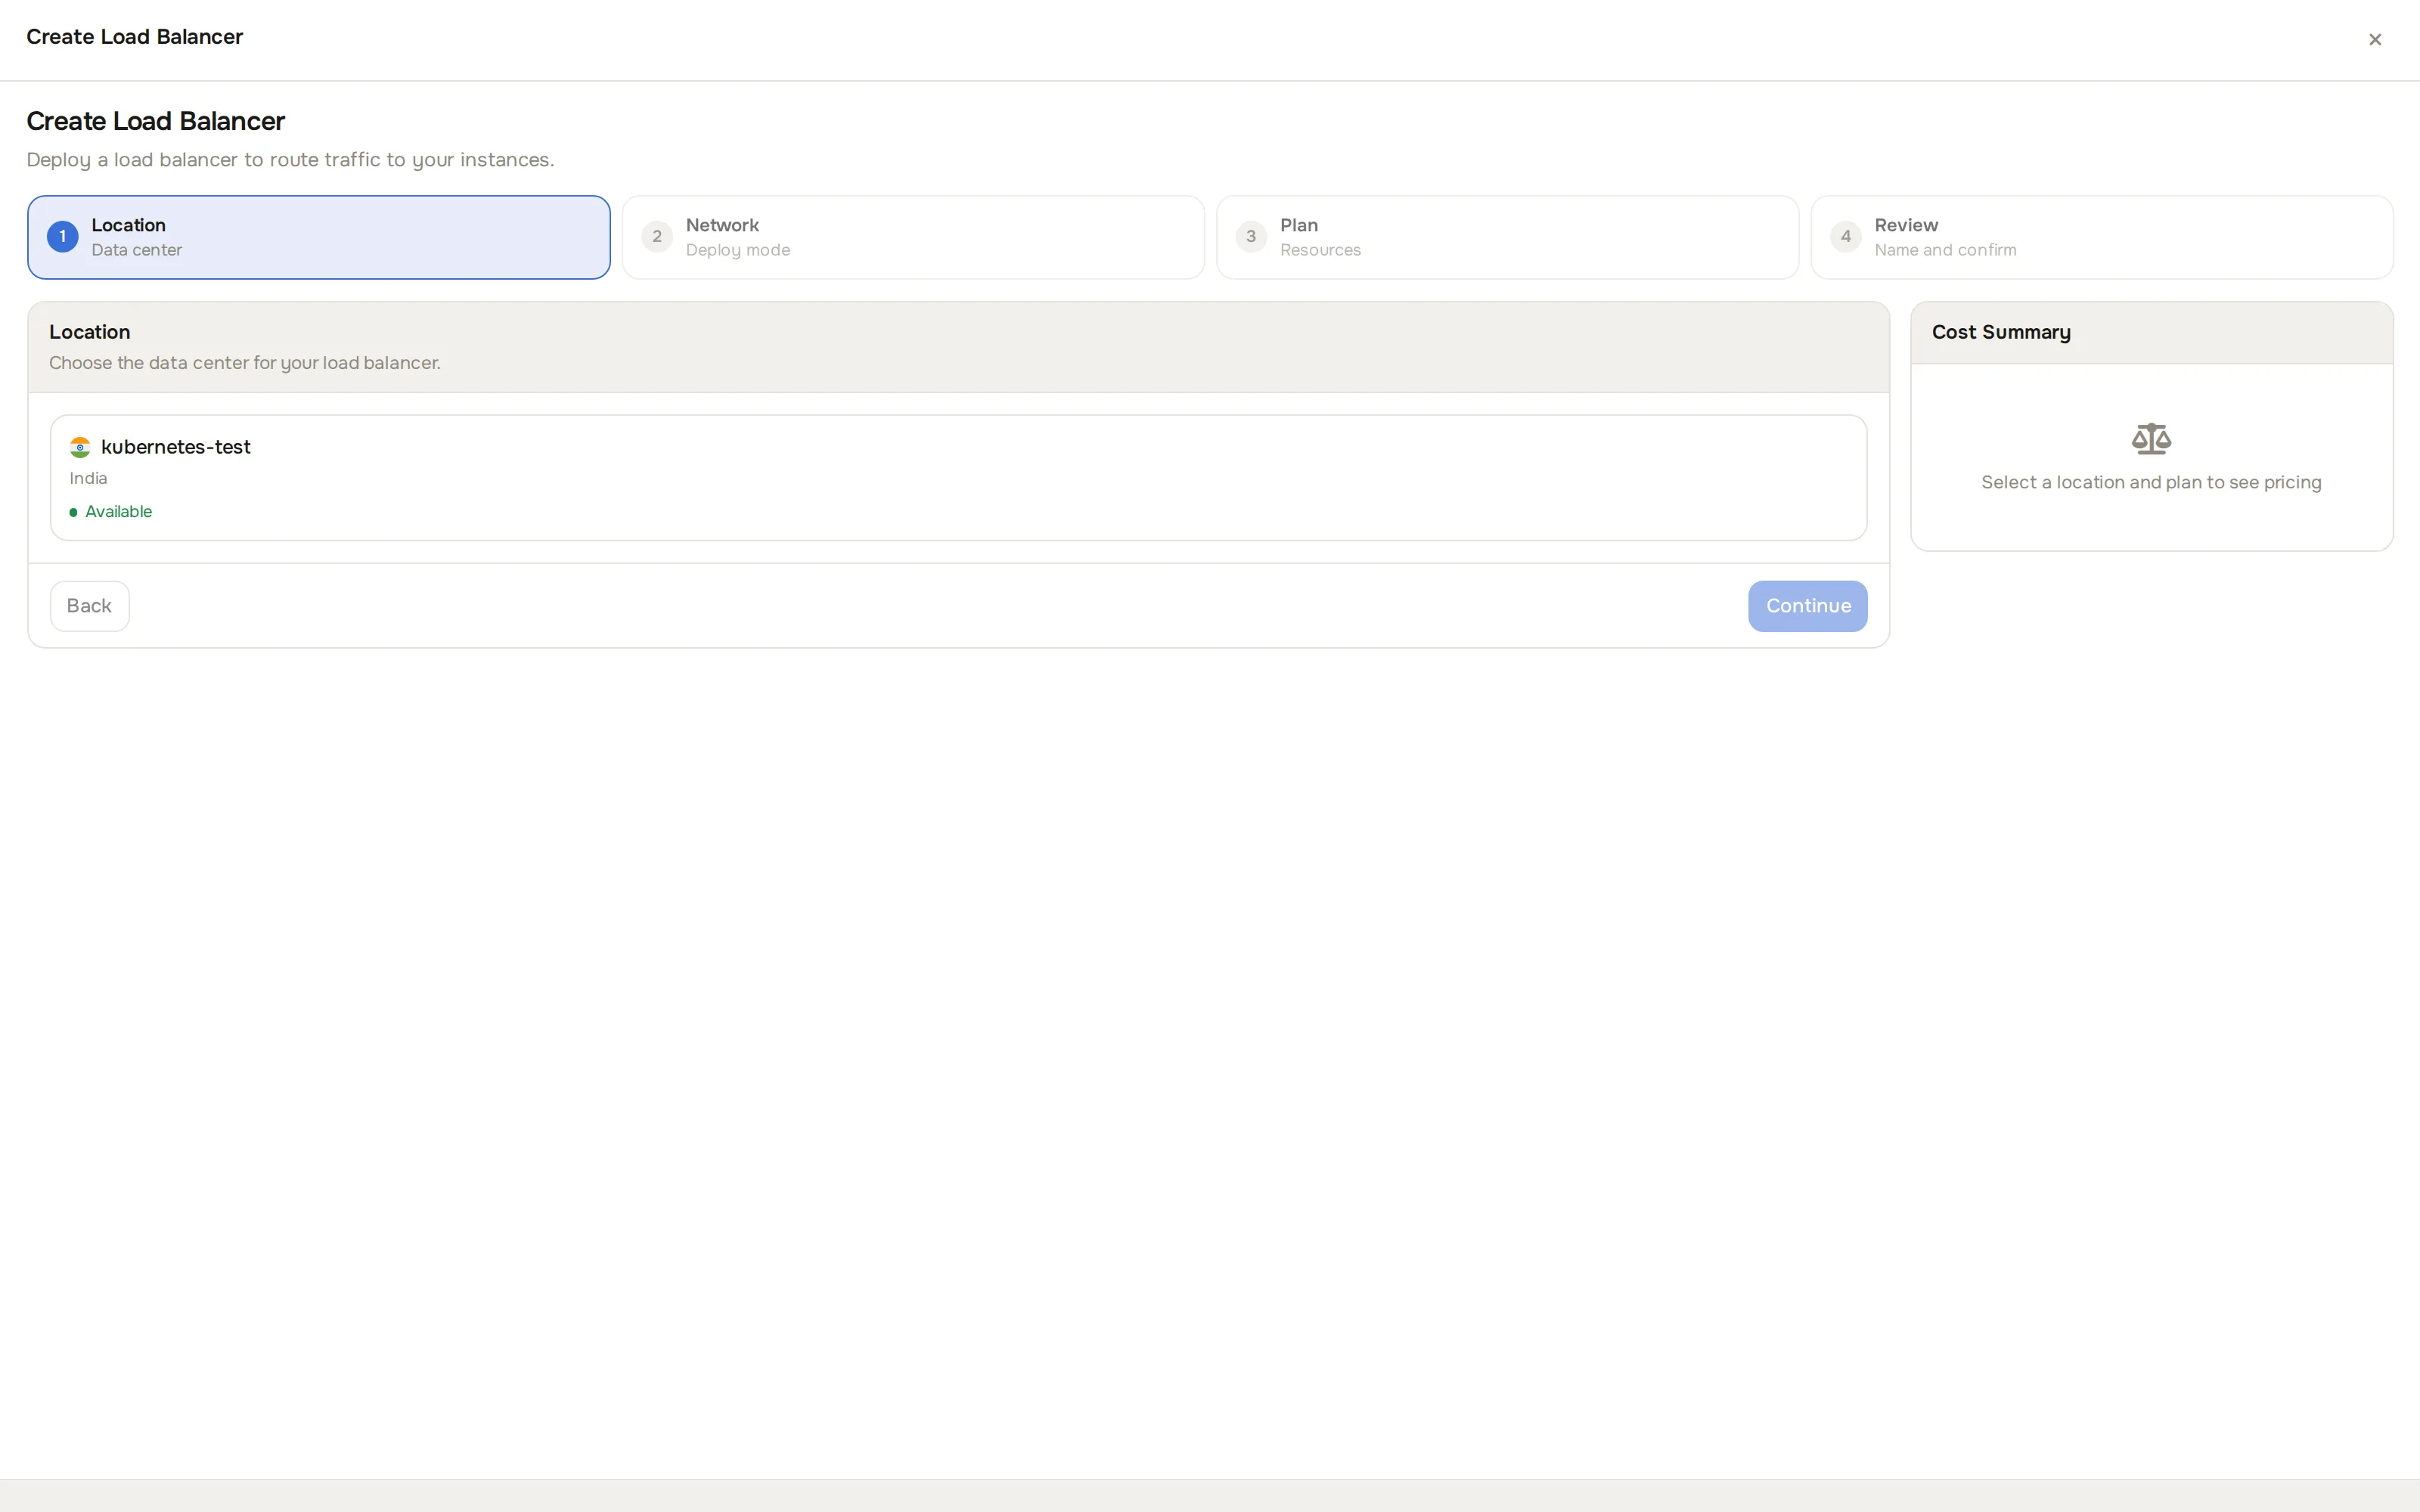
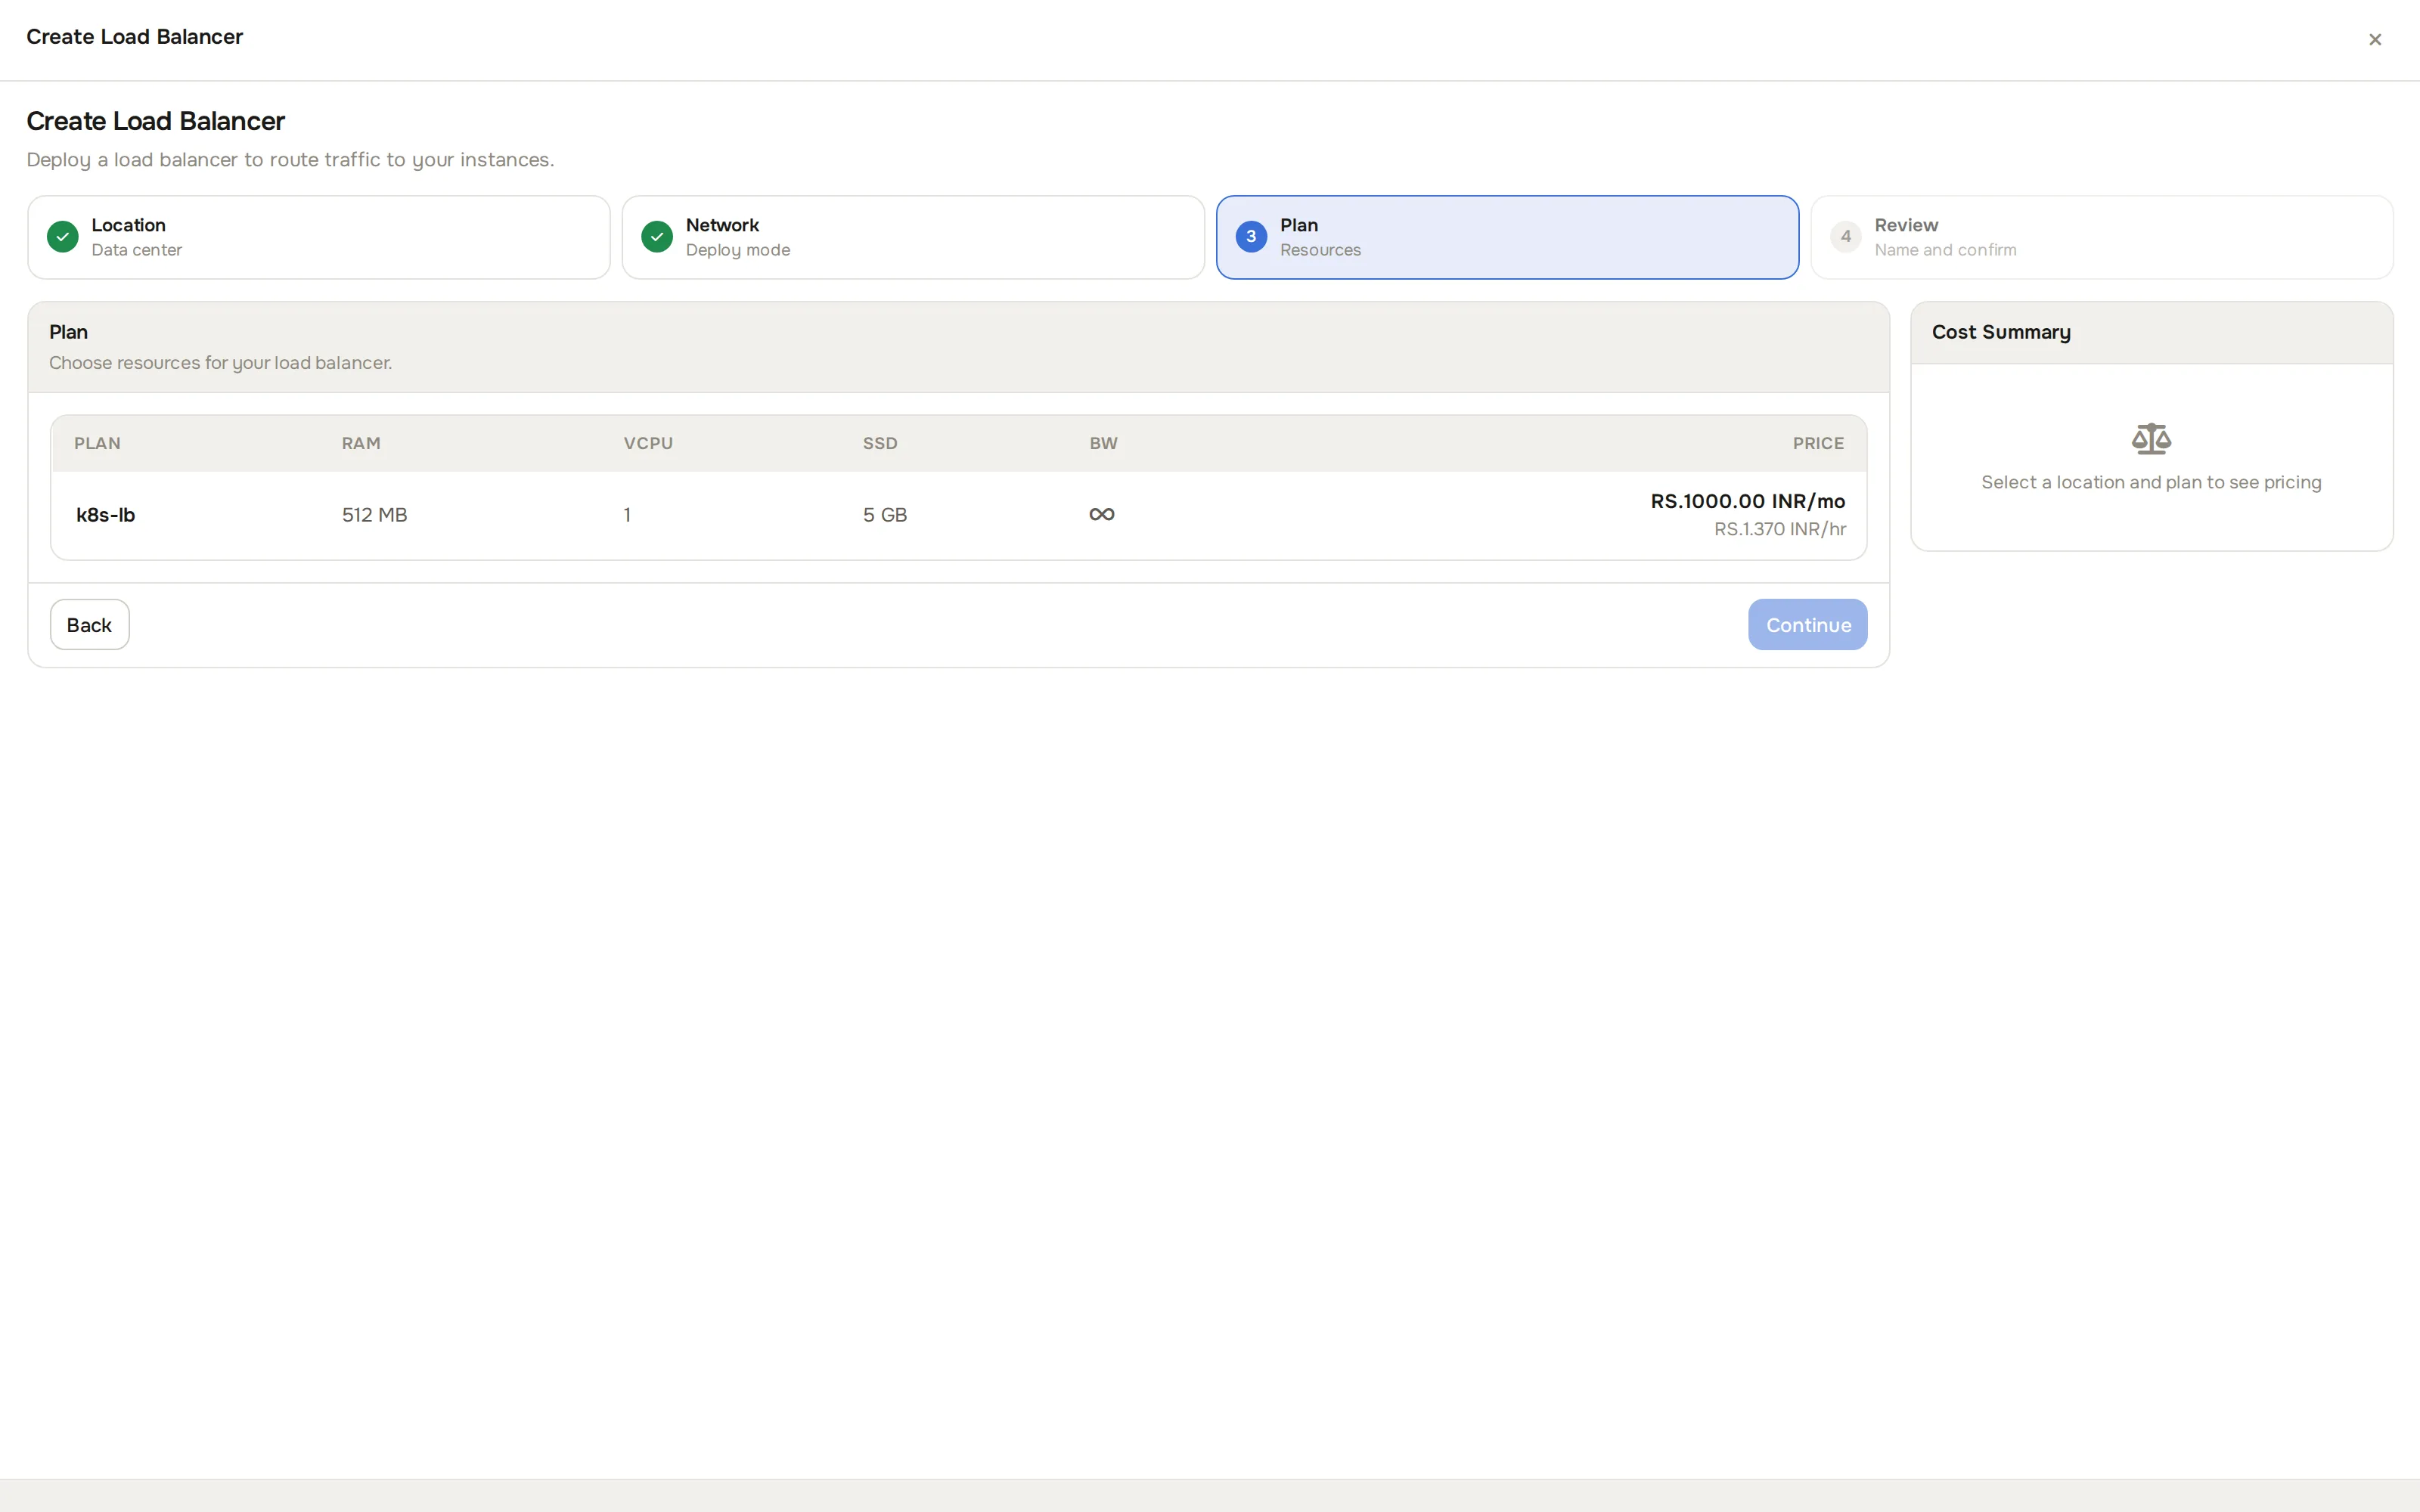
Click Create load balancer. A full-screen create panel opens, titled “Create Load Balancer” with four steps: Location, Network, Plan, Review.
-
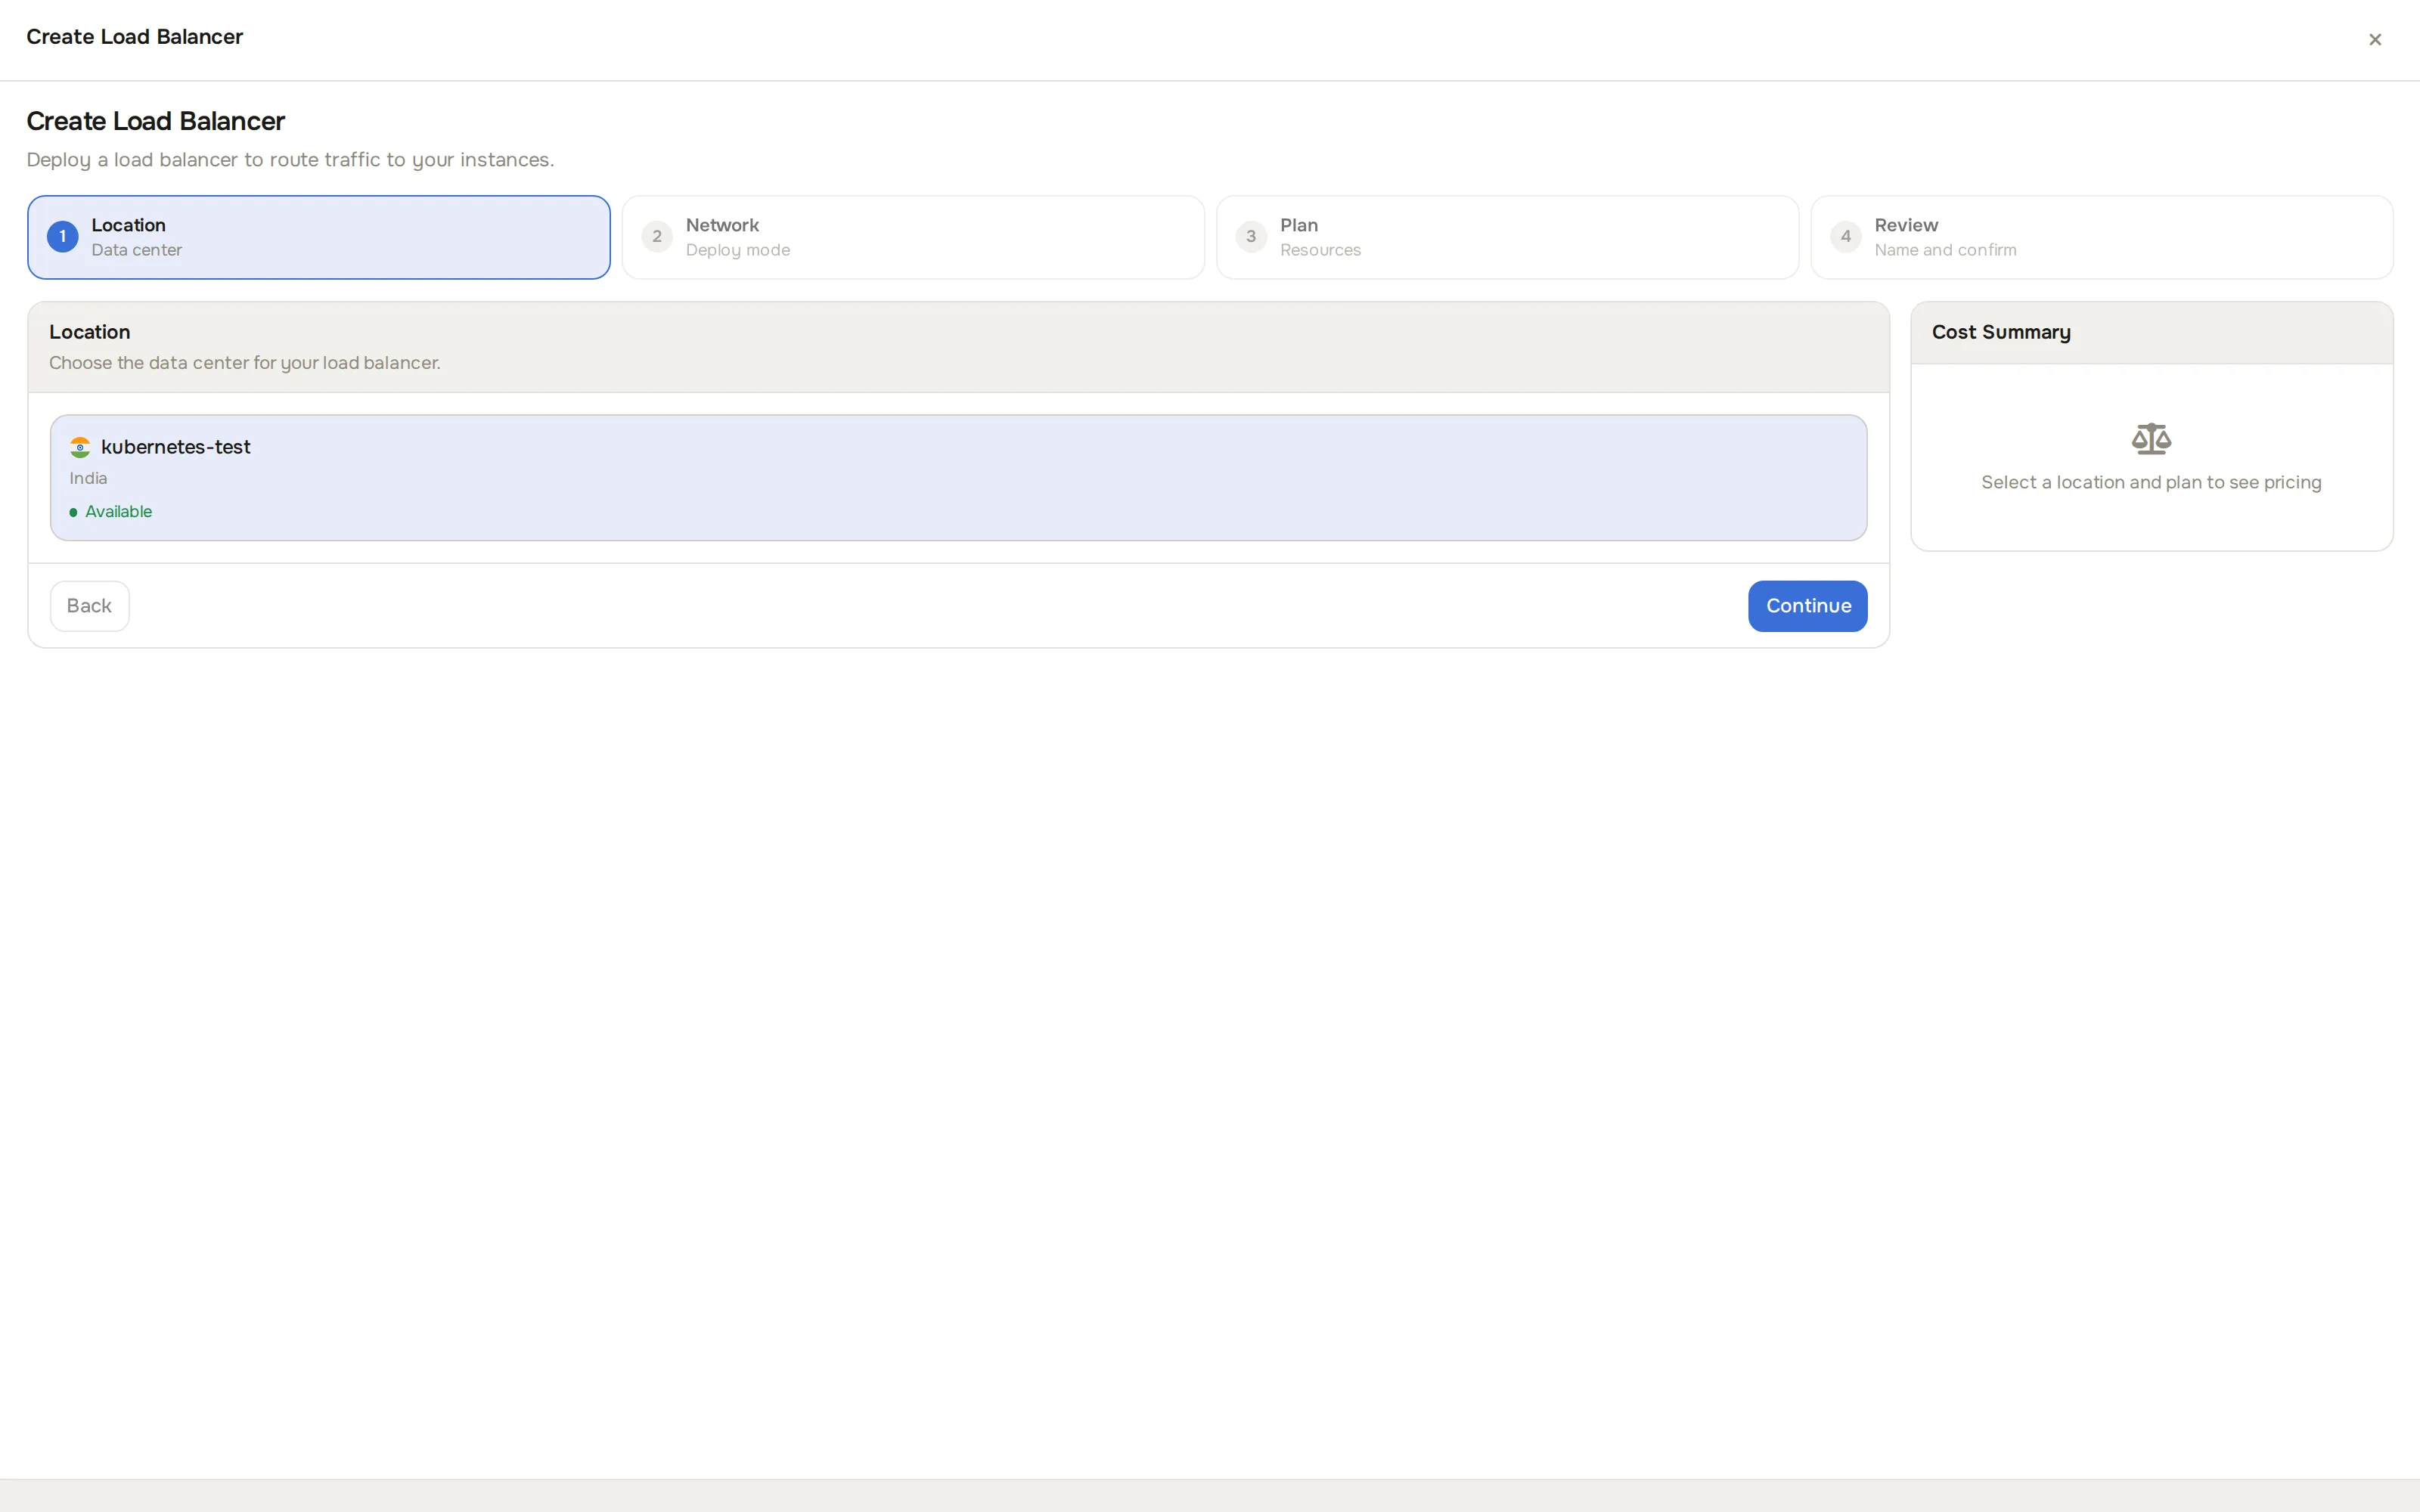
Click a Location, then click Continue.
-
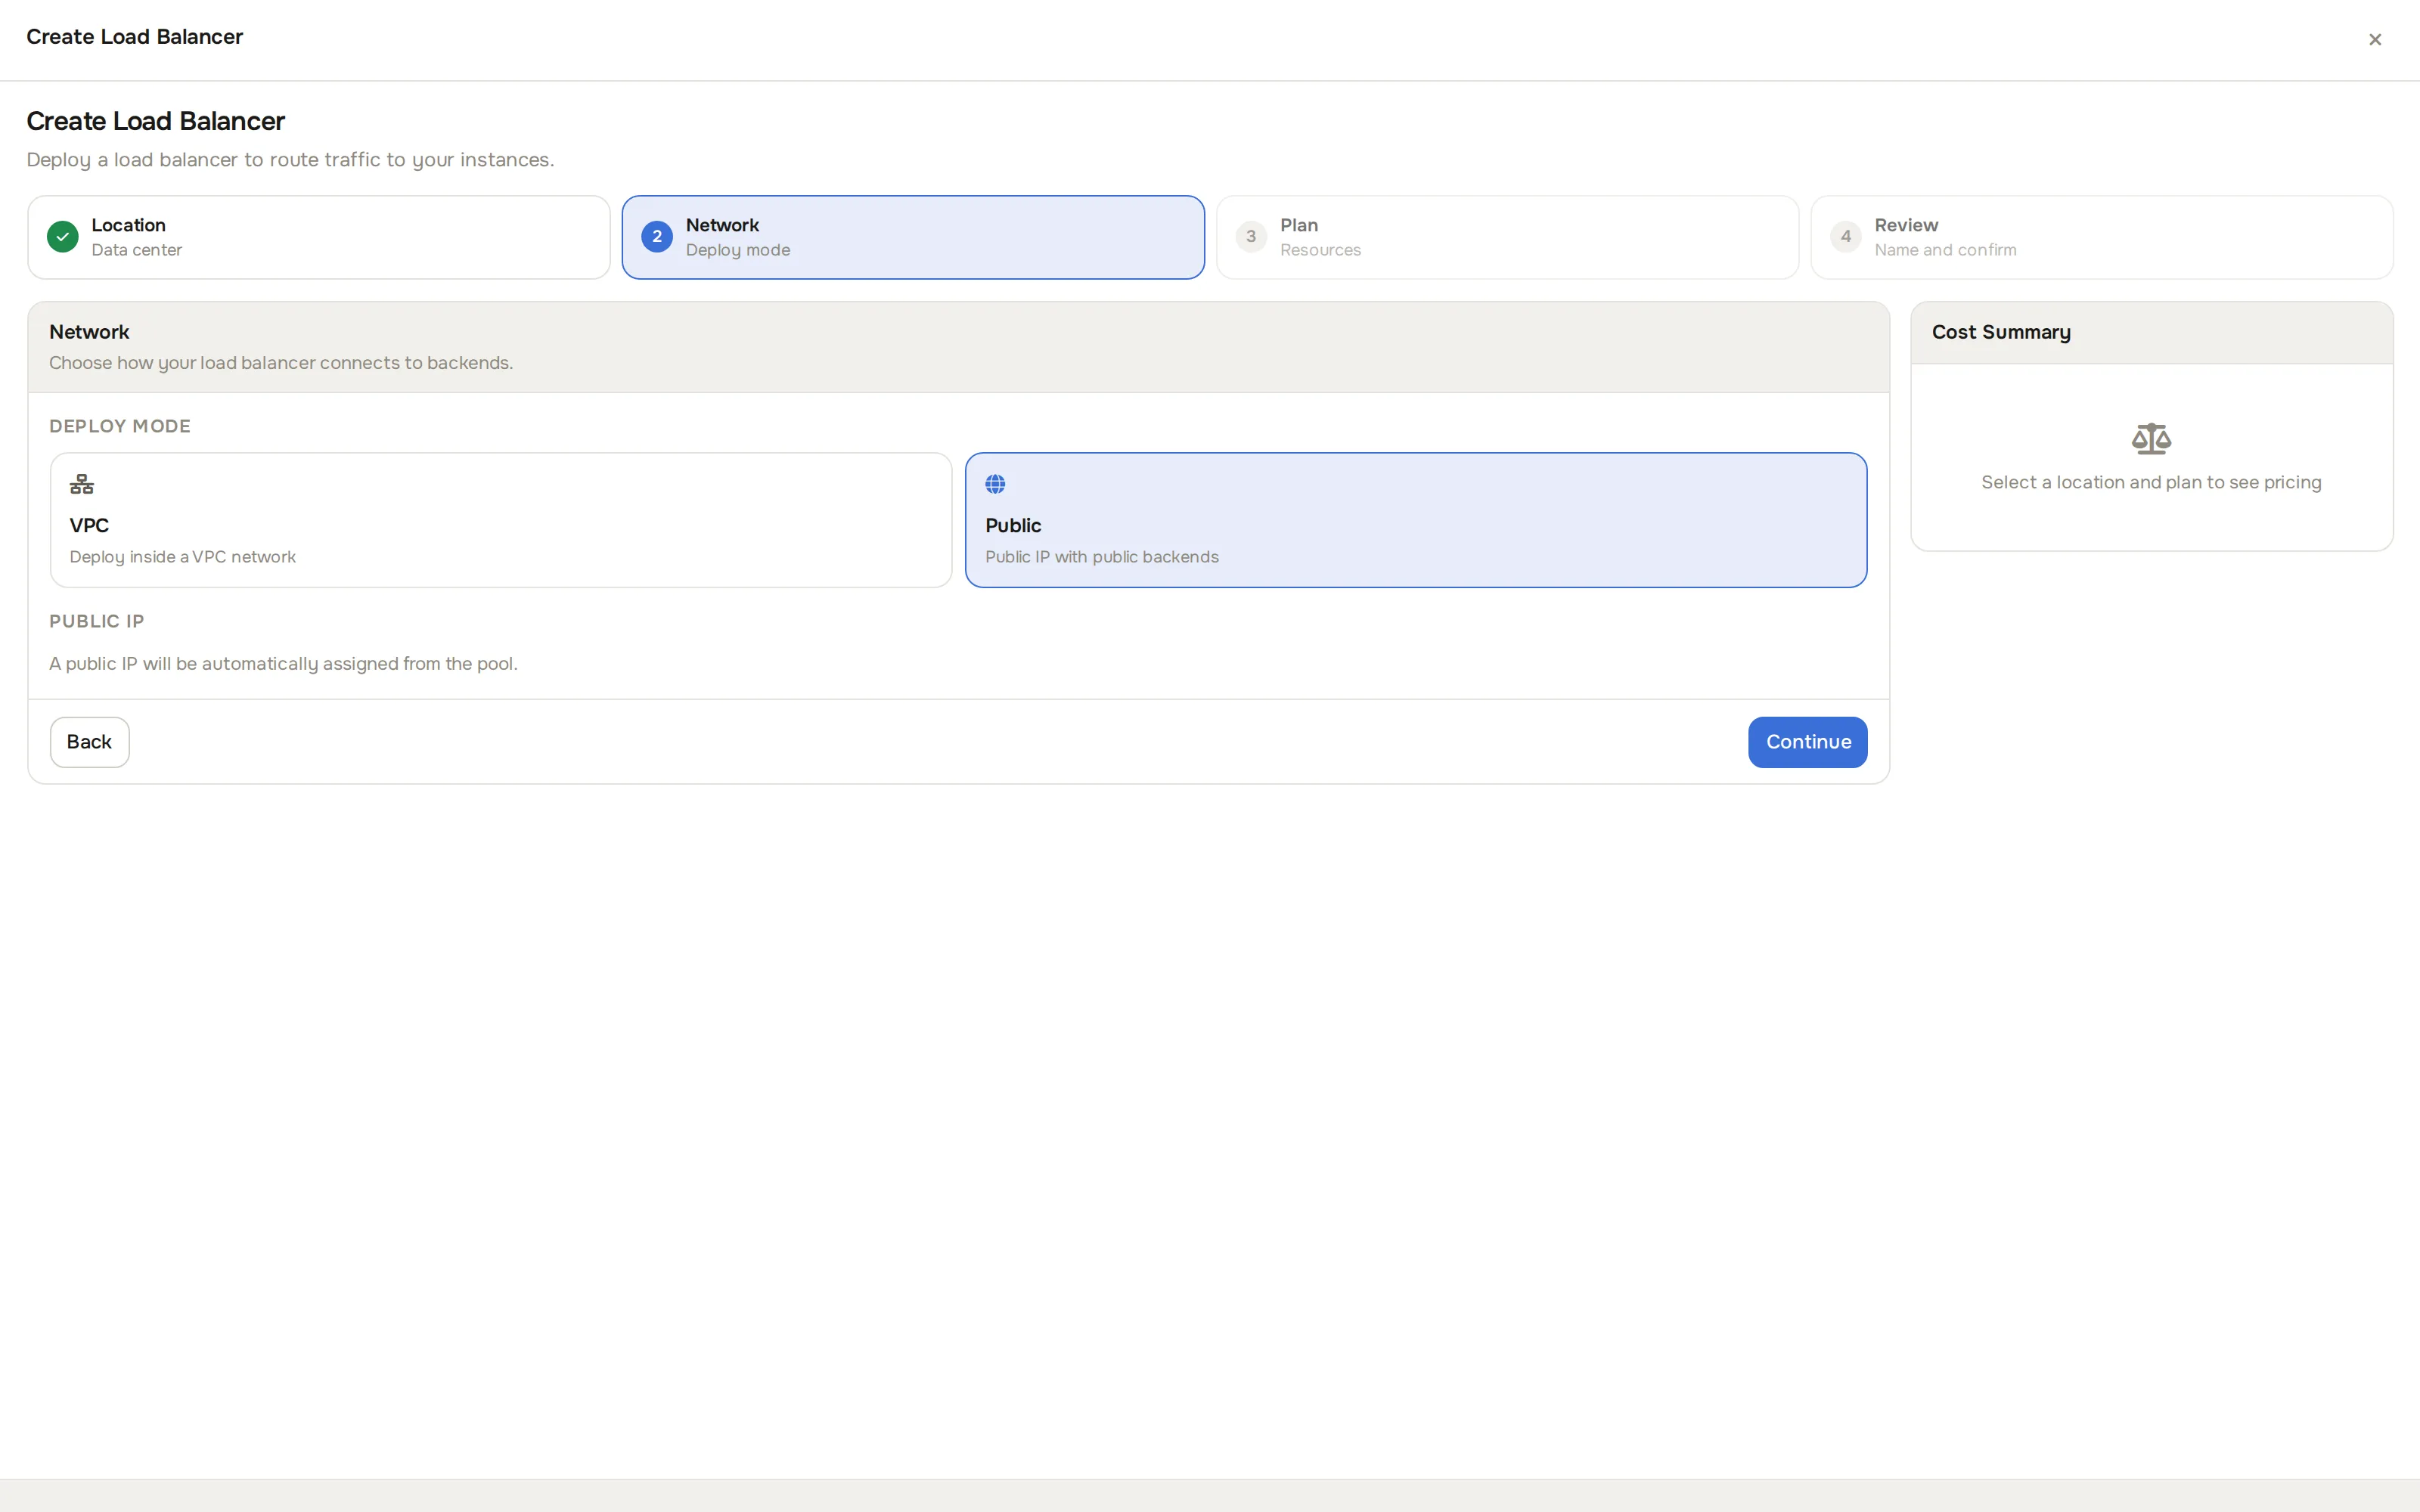
On the Network step, pick the Deploy Mode: VPC (then pick the VPC and a subnet) or Public (a public IP is assigned from the pool, or pick one of your reserved static IPs). Click Continue.
-
On the Plan step, pick a plan (the sizing tier for the load balancer instance). Click Continue.
-
On the Review step, enter a Name and check the summary (Location, Mode, VPC or Public IP, Plan).
-
Check the Cost Summary panel and click Deploy Now.
Provisioning takes 1 to 2 minutes. Click the load balancer in the list to open its management page.
Listeners
Section titled “Listeners”A listener is one listening port with all its settings in one place, managed from the load balancer’s Listeners tab. Click Add listener to create one. Each listener has:
- Port: the inbound port (for example 80 or 443). A port can only be used by one listener.
- Protocol:
TCPorUDP(raw forwarding),HTTP(web-aware), orHTTPS(web-aware with certificate decryption at the balancer). - Algorithm: how traffic spreads across backends.
Round Robin(rotate evenly),Least Connections(send to the least busy backend), orSource IP(the same client always lands on the same backend). - Session Stickiness:
None,Cookie(a cookie keeps a client on the same backend) orSource IP. - Connection Draining: when a backend is removed, let existing connections finish first. Set the Drain Timeout (s) in seconds.
- Idle Timeout (s): seconds an idle connection stays open before the load balancer closes it. Leave empty for the default (50 seconds for HTTP and HTTPS listeners, 3600 for TCP). Set 30 to 86400. Raise it for websocket applications and database listeners; the same value applies to the backend side of the listener.
Two more timeouts live on each listener, independent of the idle timeout:
- Connect Timeout (s): seconds the load balancer waits for a connection to a backend node to establish. Leave empty for the default of 5 seconds. Set 1 to 75.
- Server Timeout (s): seconds a backend node has to respond once connected. Leave empty to derive it from the idle timeout above (the pre-existing behavior); setting it explicitly always wins. Set 1 to 86400.
If you have used nginx-ingress before, server timeout is the combination of its proxy-read-timeout and proxy-send-timeout - HAProxy (what this load balancer runs) has no separate read and send timeout, so one field covers both directions. There is no equivalent of nginx-ingress’s proxy-body-size: HAProxy applies no request-body size limit at all, so large uploads already work with nothing to configure.
For HTTPS listeners, a Certificates multi-select appears. Attach one or more certificates from your certificate store; the first is the default, the rest are served by hostname (SNI), so one port 443 can serve several unrelated domains. See Certificates.
Health checks
Section titled “Health checks”Each listener supports:
- Active Health Checks:
None,TCP ConnectorHTTP Status, with interval, timeout, Unhealthy Threshold, and for HTTP a Check Path, optional Check Port and an optional host header (set this when the backend serves name-based virtual hosts). - Passive Checks: real traffic is watched; a backend that times out, returns 5xx or refuses connections is automatically marked down.
Failed backends are removed from rotation until they pass again.
Backend nodes
Section titled “Backend nodes”- Inside the listener, click Add A Node.
- Pick the Instance (VPC backends in VPC mode, public-IP instances in Public mode), confirm the IP Address, set the Port on the target, a Weight (higher means a bigger share of traffic) and the Mode (
Active,BackuporDrain).
After editing a listener, click Create Configuration (a new listener) or Save Configuration (an existing one). The load balancer validates the settings and reloads itself automatically.
Routing rules
Section titled “Routing rules”A listener can route by hostname and URL path: send /api to your API instances and everything else to the web tier, for example. Click Add Routing Rule, match on Host, Path (Path Begins With, Path Equals, Path Regex) or both. Rules are evaluated top to bottom; the first match wins, and nothing matched goes to the listener’s default backend.
A rule can split traffic across several backends with weights from 1 to 100. Start a new version at a small weight, watch errors, then ramp up; set it to 0 to fail back instantly.
Let’s Encrypt on a load balancer
Section titled “Let’s Encrypt on a load balancer”When you request a Let’s Encrypt certificate through a load balancer (from Networking > Certificates), the system creates a port 80 listener on that load balancer automatically. It answers the ownership challenge and redirects other HTTP traffic to HTTPS, and shows a System Managed badge. Do not create your own port 80 listener on that load balancer while any such certificate is active. See Certificates.
Monitoring
Section titled “Monitoring”The management page shows live stats: session counts, bytes in and out, backend health, connection rates and error counts. Where your provider has metrics set up for the location, additional charts are available (request rate, HTTP response codes, backend response time, healthy backend count, CPU, RAM, disk and network) with time windows from 1 minute to 30 days.
Lifecycle
Section titled “Lifecycle”From the load balancer’s header: Metrics (jump to the Metrics tab), Add listener, Resync (reapply the current configuration), and Delete (permanently delete the balancer and all its configuration; this cannot be undone).
A load balancer can also show status Suspended on its own (for example if your account’s balance runs out); it is not something you trigger from this page. Top up your credit balance to bring it back. See Billing and credits.
Common problems
Section titled “Common problems”- The location list is empty when creating. Load balancers are not enabled in any location for your account. Contact your provider.
- Backends are all marked down. Check the health check path and port, and check the backends’ security groups allow traffic from the balancer. See Security groups.
- A certificate stays Pending DNS. The domain does not resolve to the load balancer’s public IP yet. Fix the DNS record; the system rechecks periodically for up to 24 hours.
- An HTTPS listener will not save. It needs at least one certificate attached.
- A slow backend gets cut off before it finishes responding. Raise the backend’s server timeout.