

Manage instances
An instance is a single customer virtual machine (VM). This page covers creating instances on a customer’s behalf and the admin manage page. For what customers can do themselves, see the user guide.
Where to find it
Section titled “Where to find it”In the admin panel go to Compute > Instances.
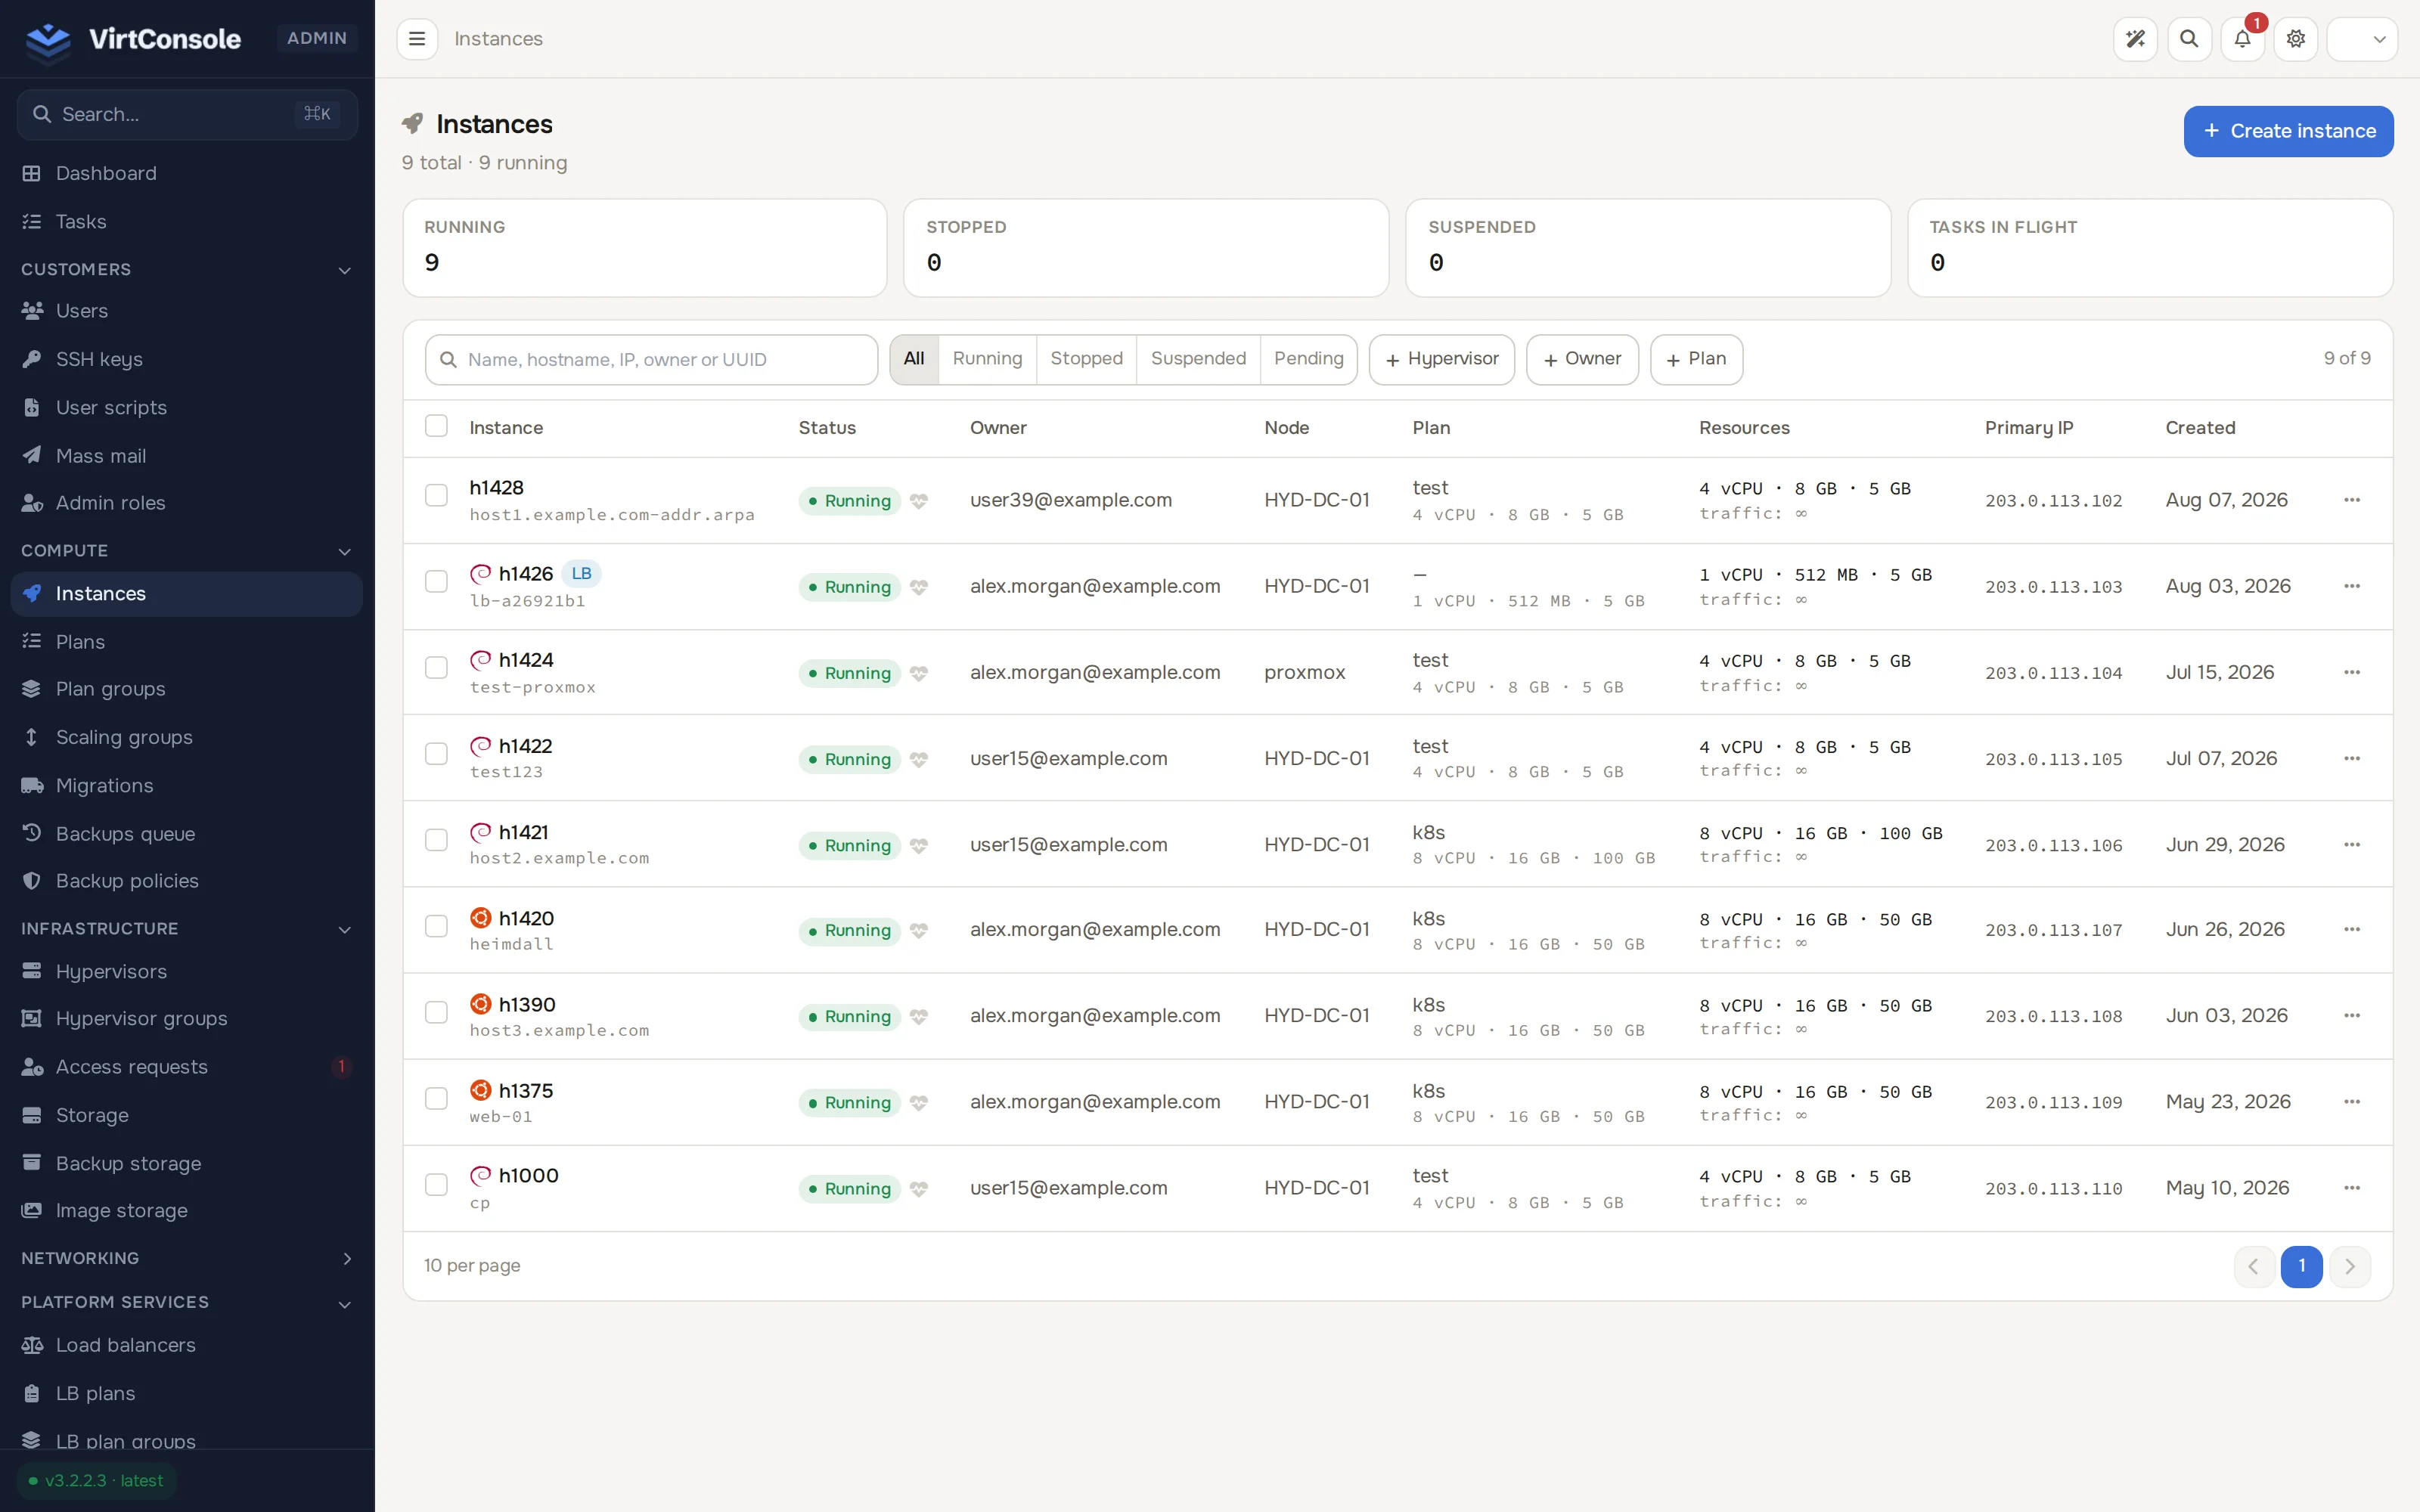
The list shows every instance with live status, HA marker, name and hostname, primary IP, hypervisor, owner, CPU, RAM, disk and traffic. Filter by search text, Hypervisor, Owner, Status (Running, Stopped, Suspended) or Deploy state (Deployed, Pending).
Create an instance for a customer
Section titled “Create an instance for a customer”-
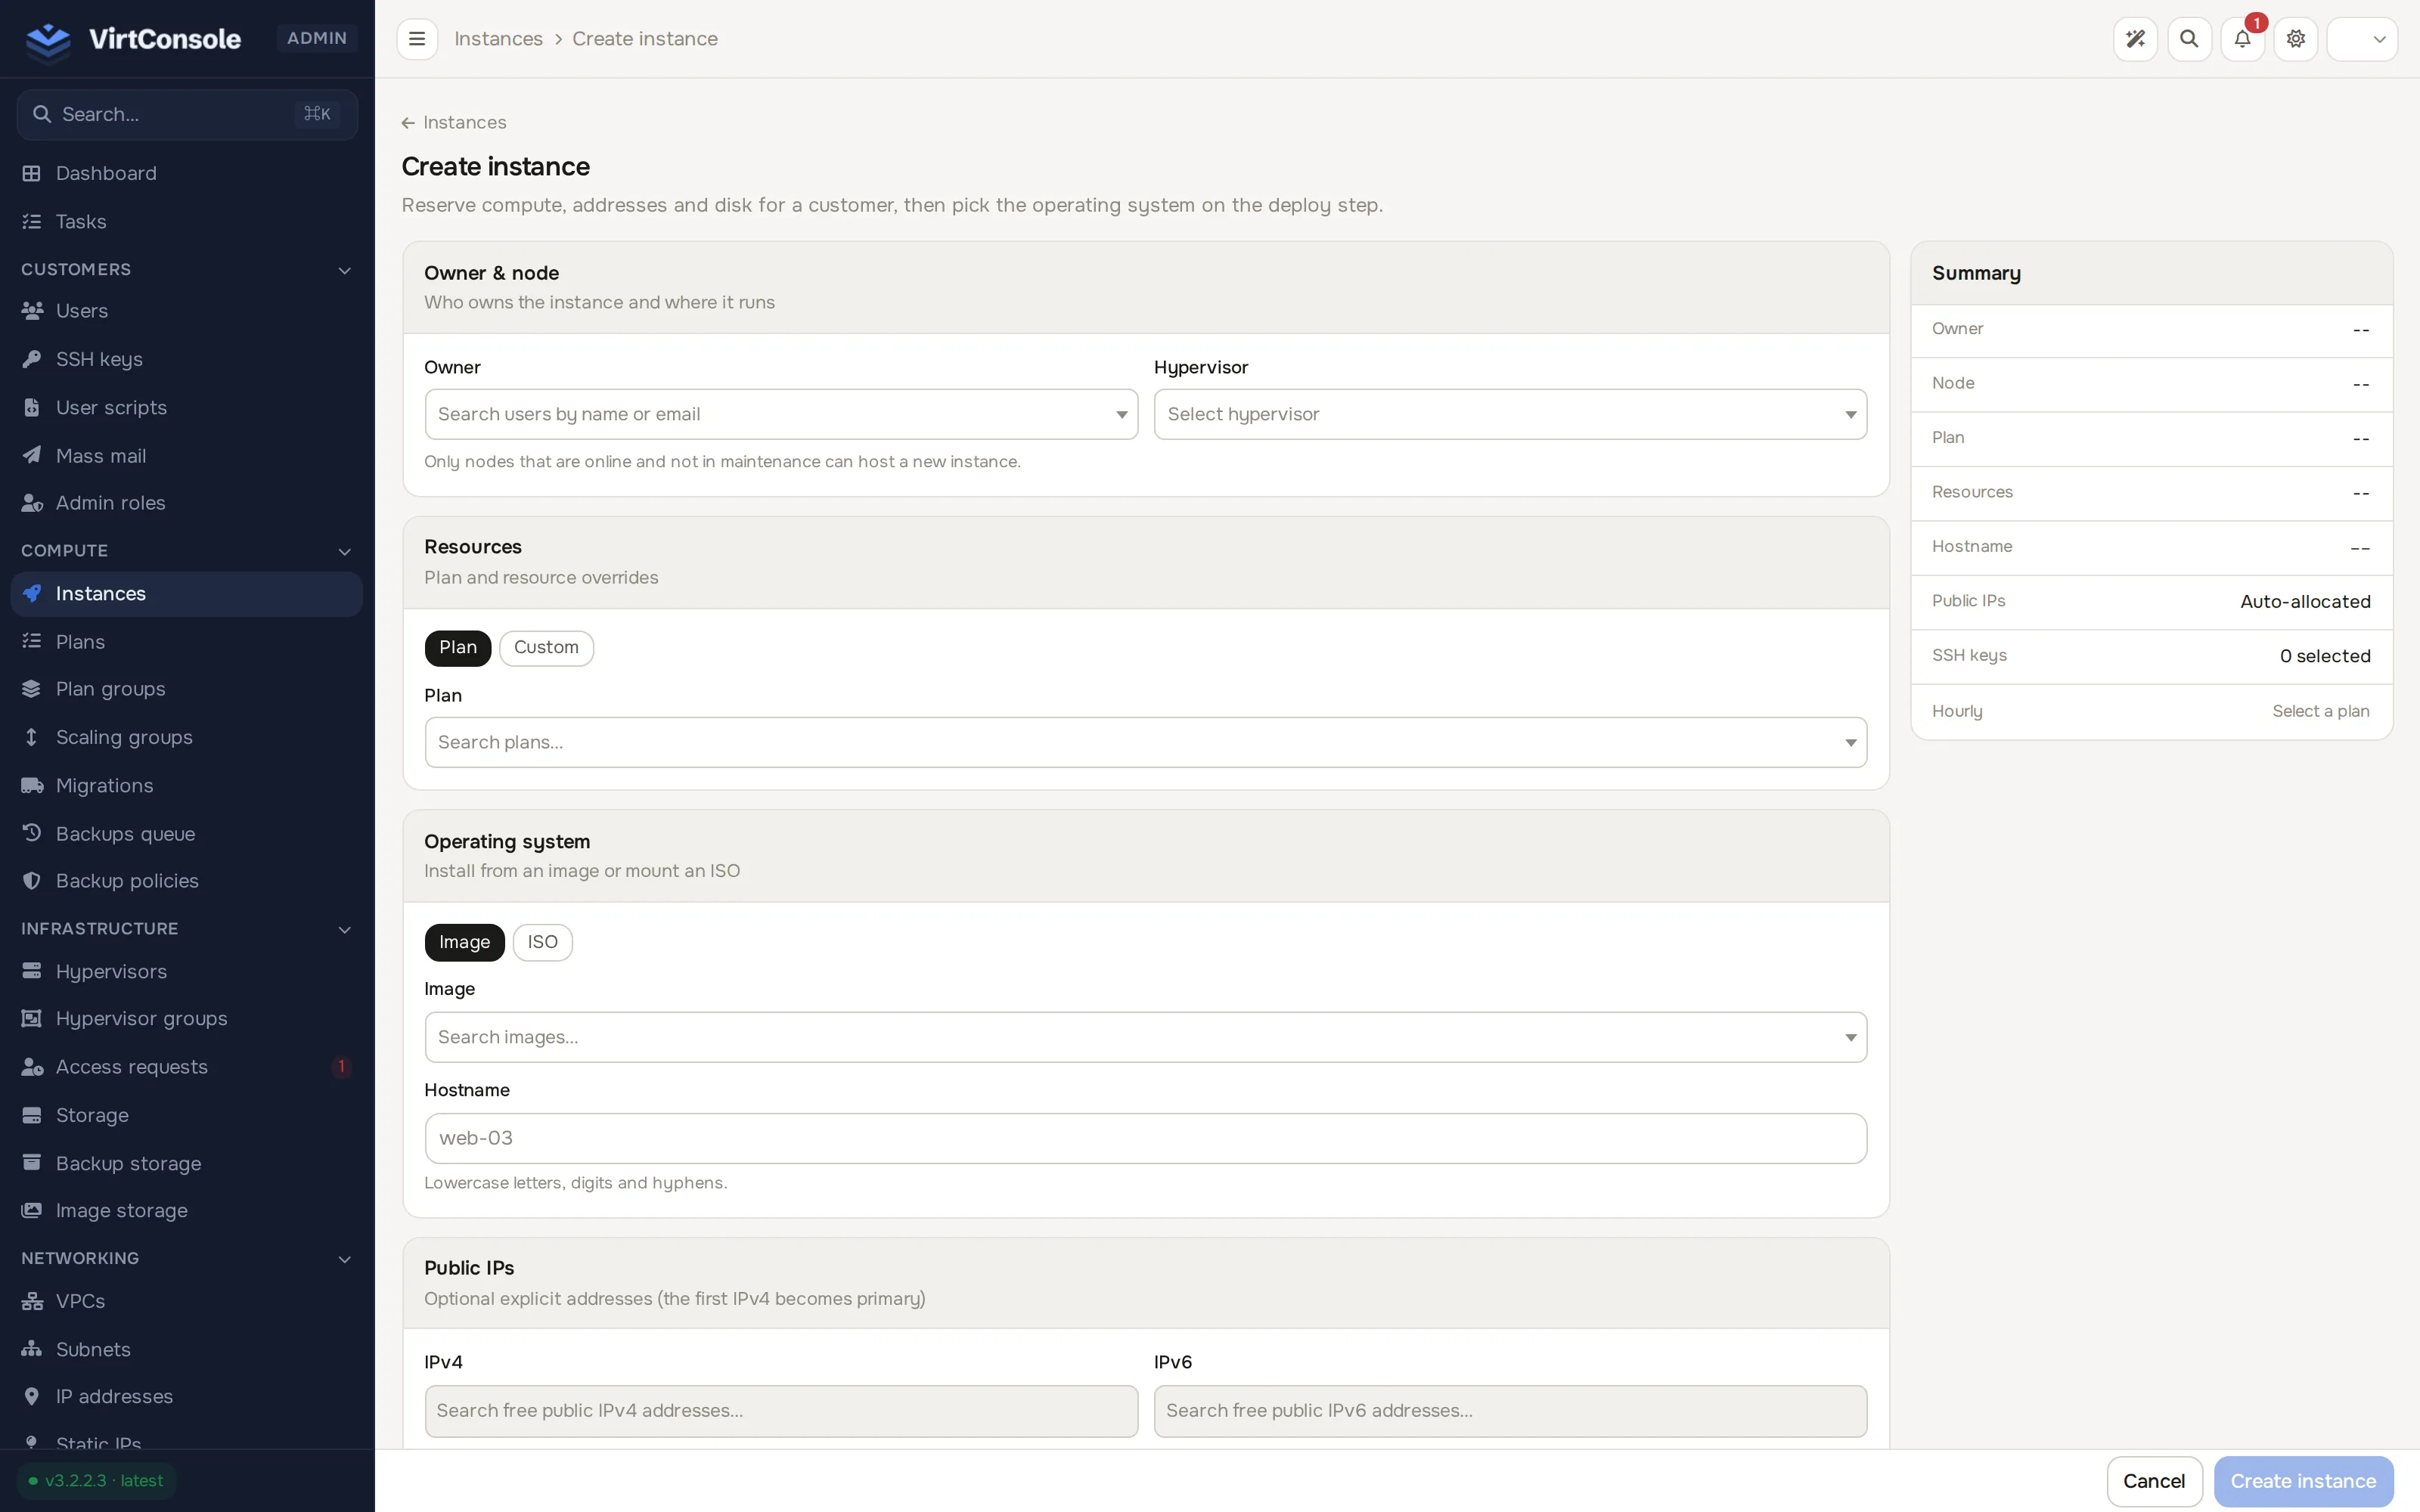
Click Create Instance. The panel opens a dedicated Create instance page (not a dialog), with a running Summary card on the right (Owner, Node, Plan, Resources, Hostname, Public IPs, SSH keys, Hourly).
-
Fill in the sections, top to bottom:
Sections
| Section | Fields |
|---|---|
| Owner & node | Owner (the customer who will own the instance) and Hypervisor (only online, non-maintenance nodes are offered). |
| Resources | A Plan / Custom toggle. Plan picks an instance plan defining CPU, RAM, disk, bandwidth and IPs; Custom lets you set resources directly instead of a plan. |
| Operating system | An Image / ISO toggle. Image clones an OS template (only images downloaded to the chosen hypervisor can deploy there); ISO boots from installation media instead — see ISO images. Hostname follows (lowercase letters, digits and hyphens, for example web-03). |
| Public IPs | Optional explicit IPv4 and IPv6 addresses; the first IPv4 becomes primary. Leave blank to auto-allocate. |
| VPC networking | Shown only when the hypervisor’s group has VPC enabled. VPC and VPC subnet attach the instance to a private network at deploy time. |
| Access & cloud-init | SSH keys injected on first boot (leave blank for Windows or ISO installs) and a raw Cloud-config YAML editor, applied only when the selected image supports cloud-init. |
- Click Create instance. The page returns to the list and the instance appears with a pending deploy state.
A deployment task starts on the chosen hypervisor and streams progress onto the instance’s manage page in real time. When the instance is ready, the panel emails the customer a randomly generated root password.
The manage page
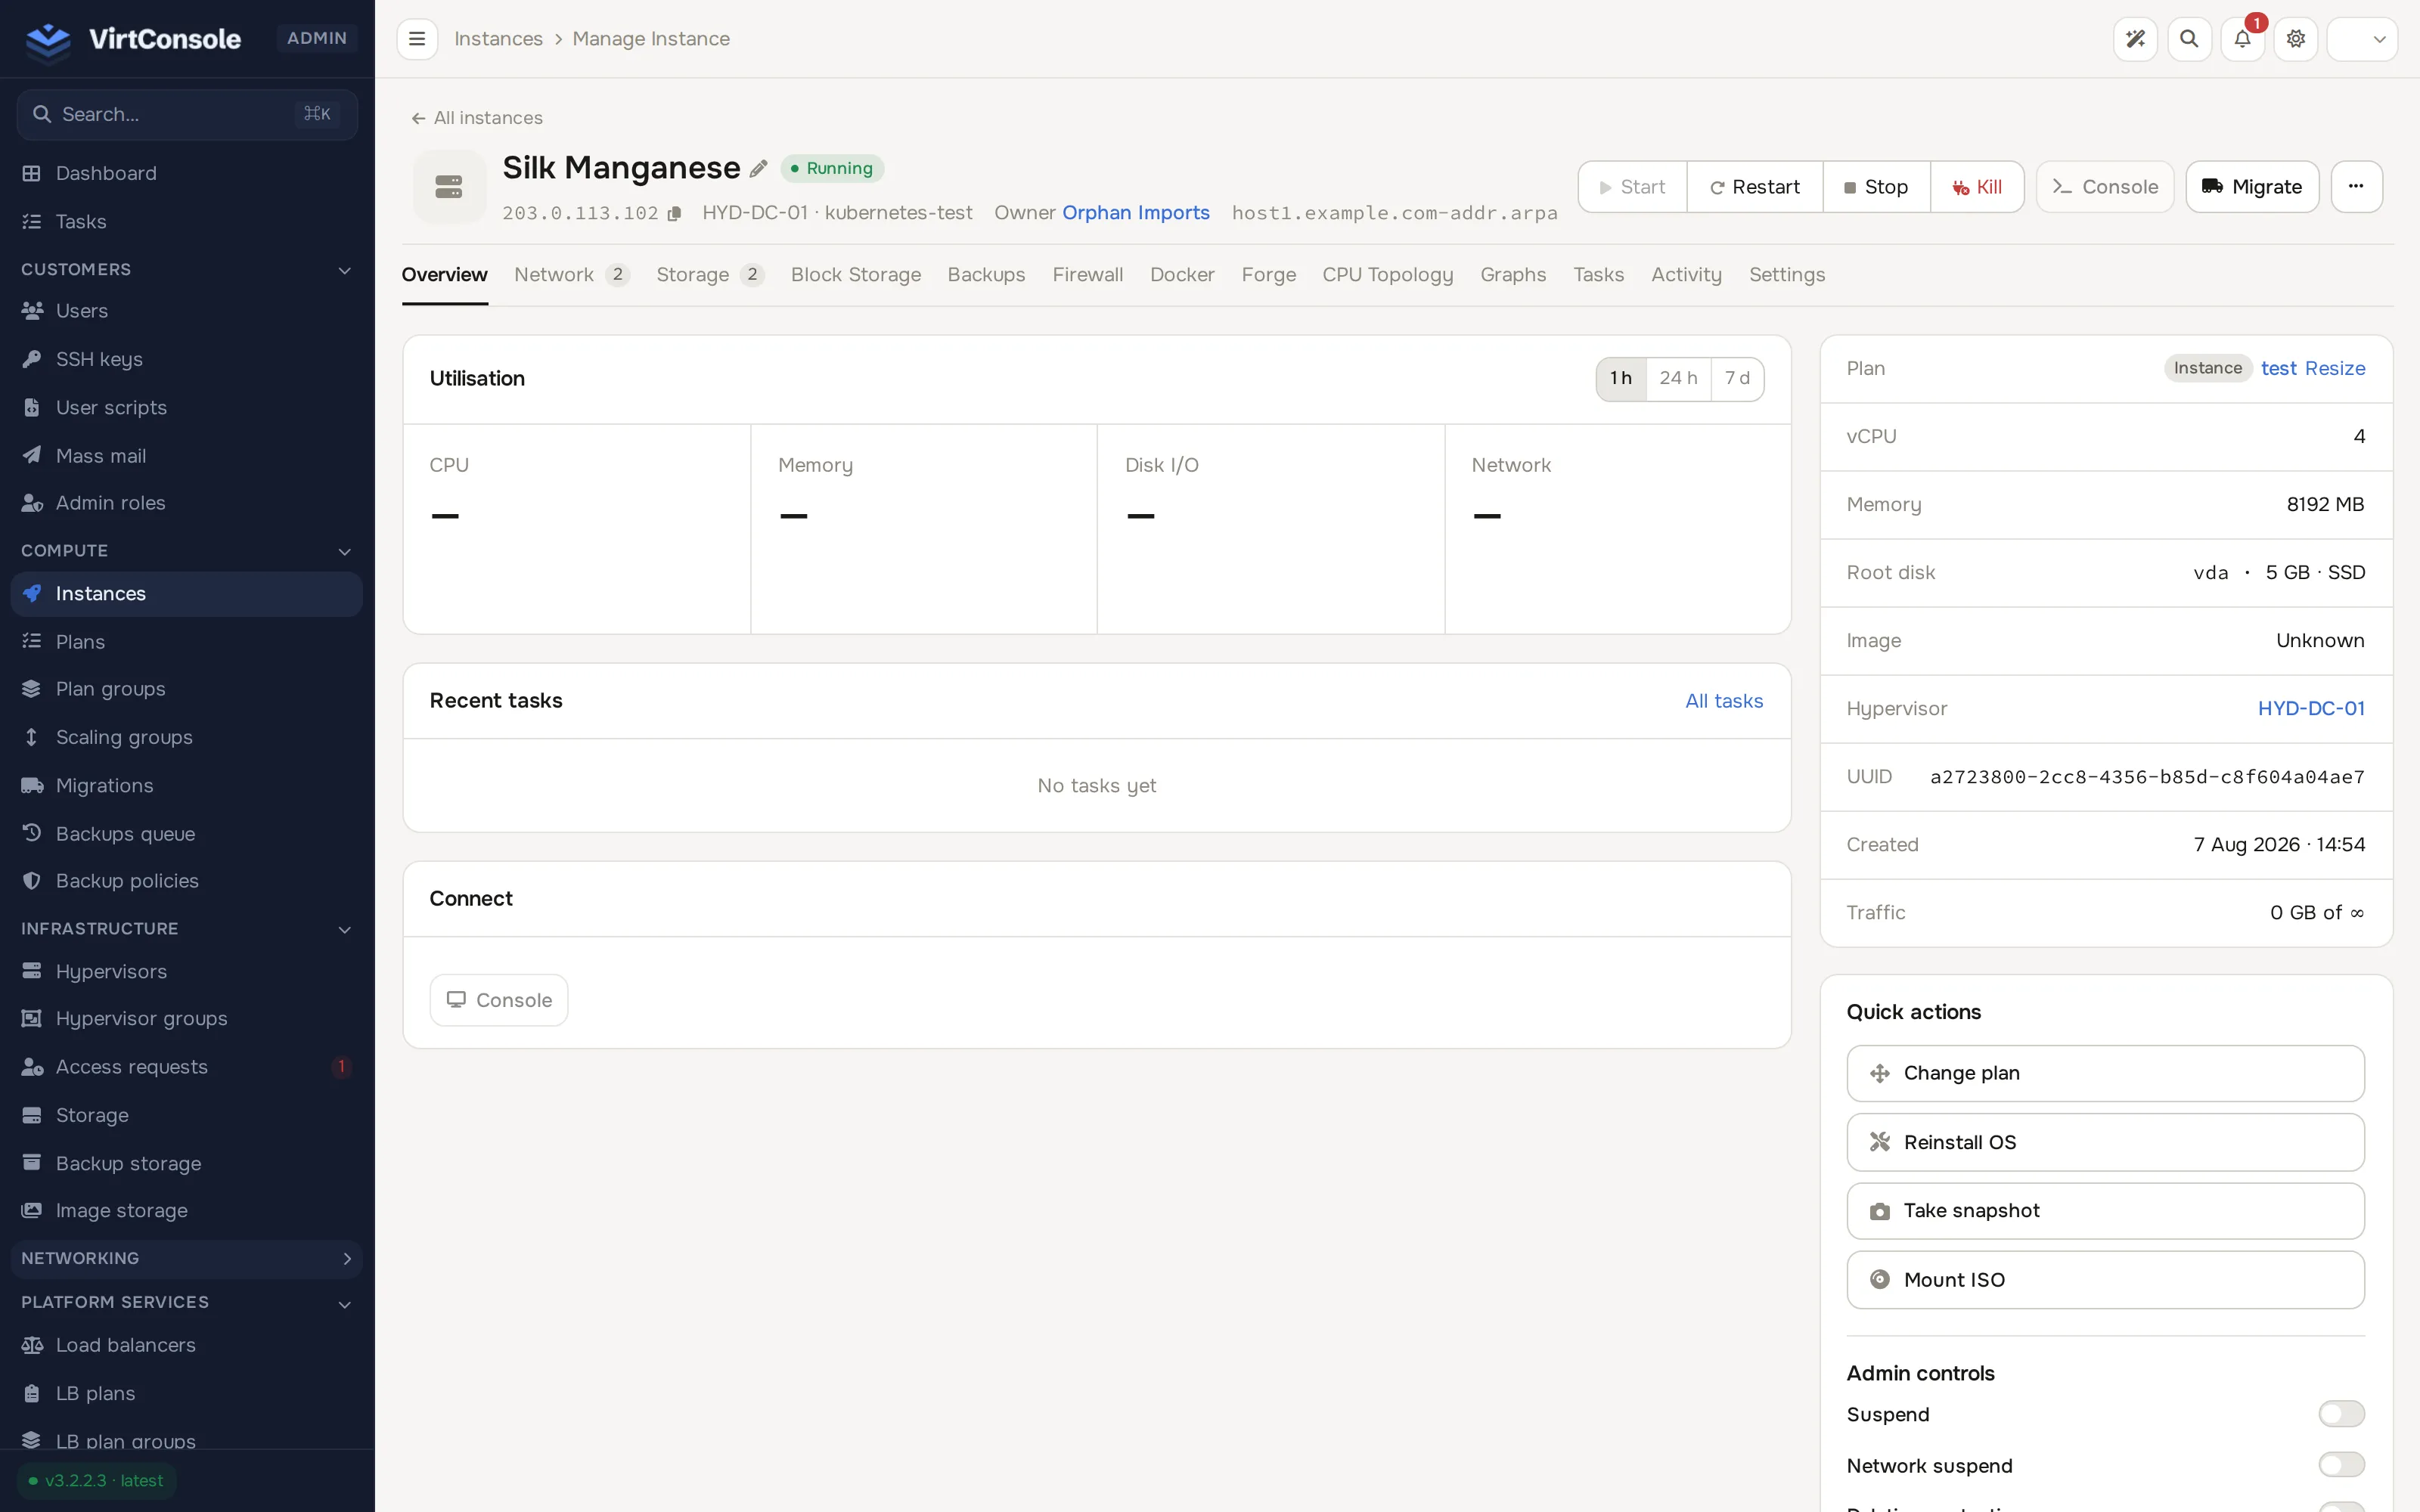
Section titled “The manage page”Click a row to open the instance. The header shows the name, a status pill, the primary IP, the hypervisor and hypervisor group, the owner and the reverse-DNS hostname, with power buttons (Start, Restart, Stop, Kill, Console, Migrate) and a ··· menu for the rest of the actions below. During deploy or reinstall, a terminal view streams the task log instead.
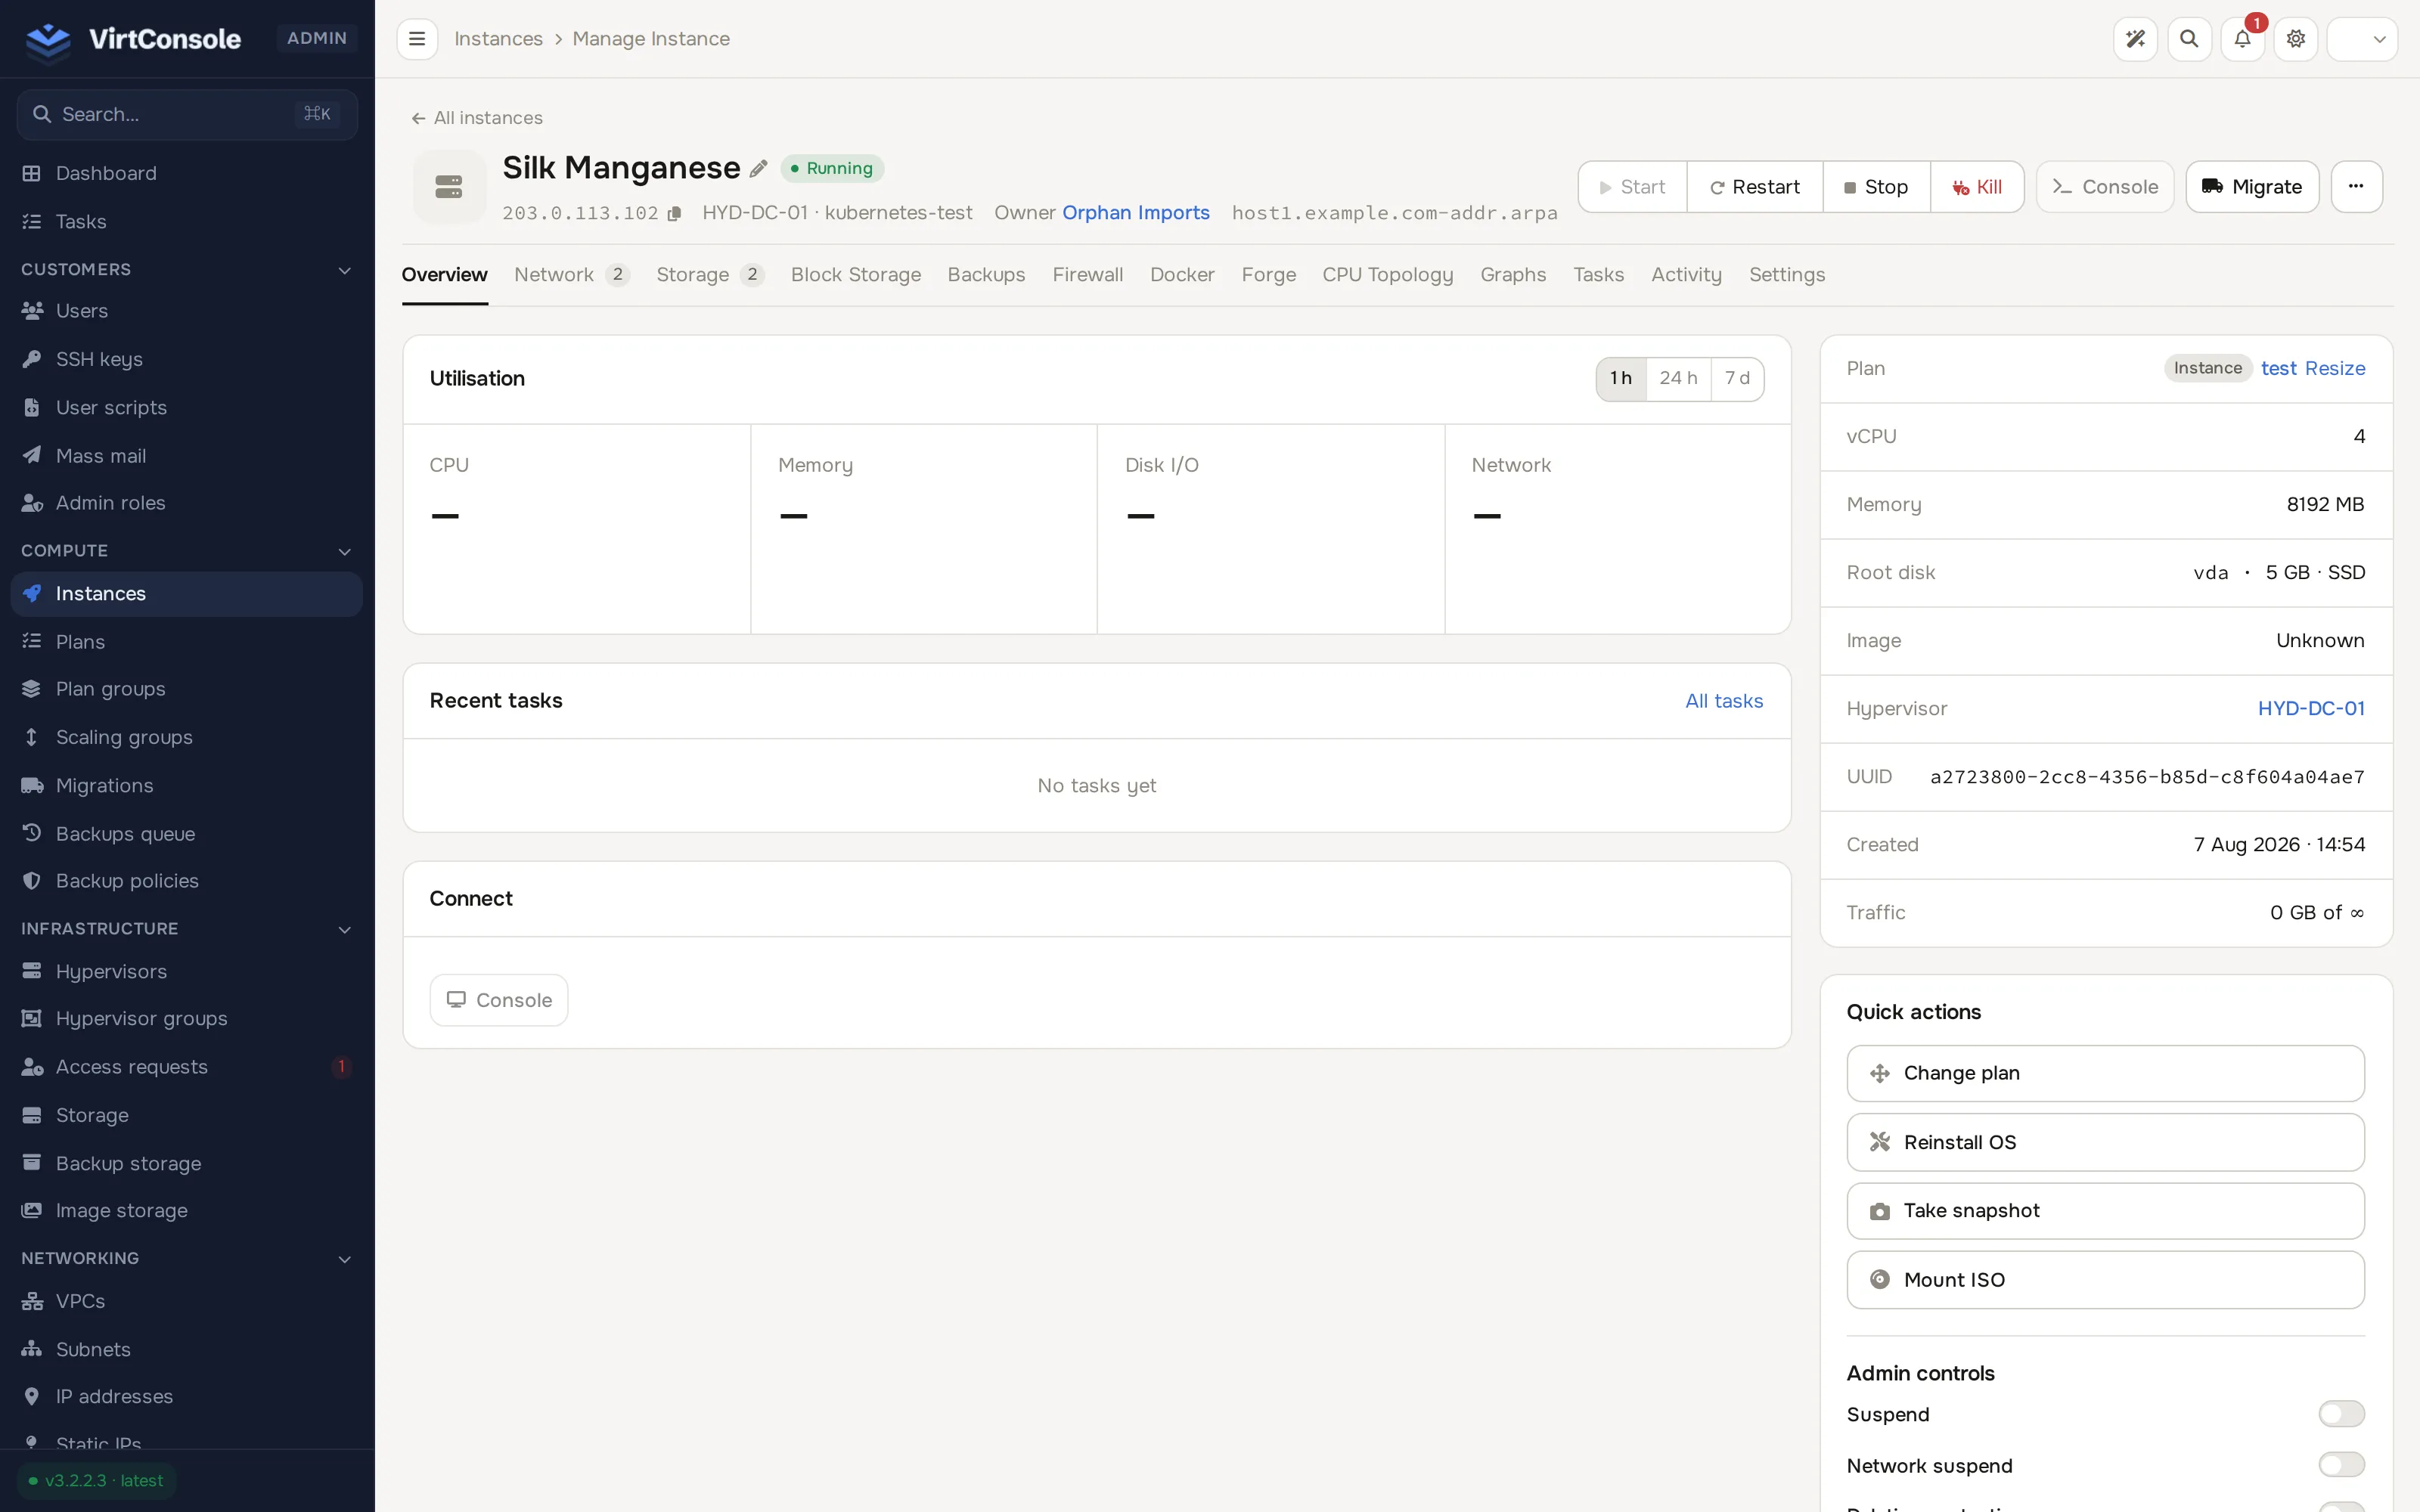
The Overview tab itself holds an Utilisation card (CPU, Memory, Disk I/O, Network, with a 1 h / 24 h / 7 d range switch), a Recent tasks card and a Connect card with the Console button, plus a right-hand column: a resource summary (Plan with a Resize link, vCPU, Memory, Root disk, Image, Hypervisor, UUID, Created, Traffic), a Quick actions panel (Change plan, Reinstall OS, Take snapshot, Mount ISO) and Admin controls toggles (Suspend, Network suspend and more below the fold).
A row of tabs across the top holds the working tabs, each with a live count badge where relevant:
| Tab | What is in it |
|---|---|
| Overview | Instance information and state. |
| Network | Interfaces and IP addresses (the old standalone IP tab merged into this one). |
| Storage | Disks: add, resize and remove disks. |
| Block Storage | Attached volumes. |
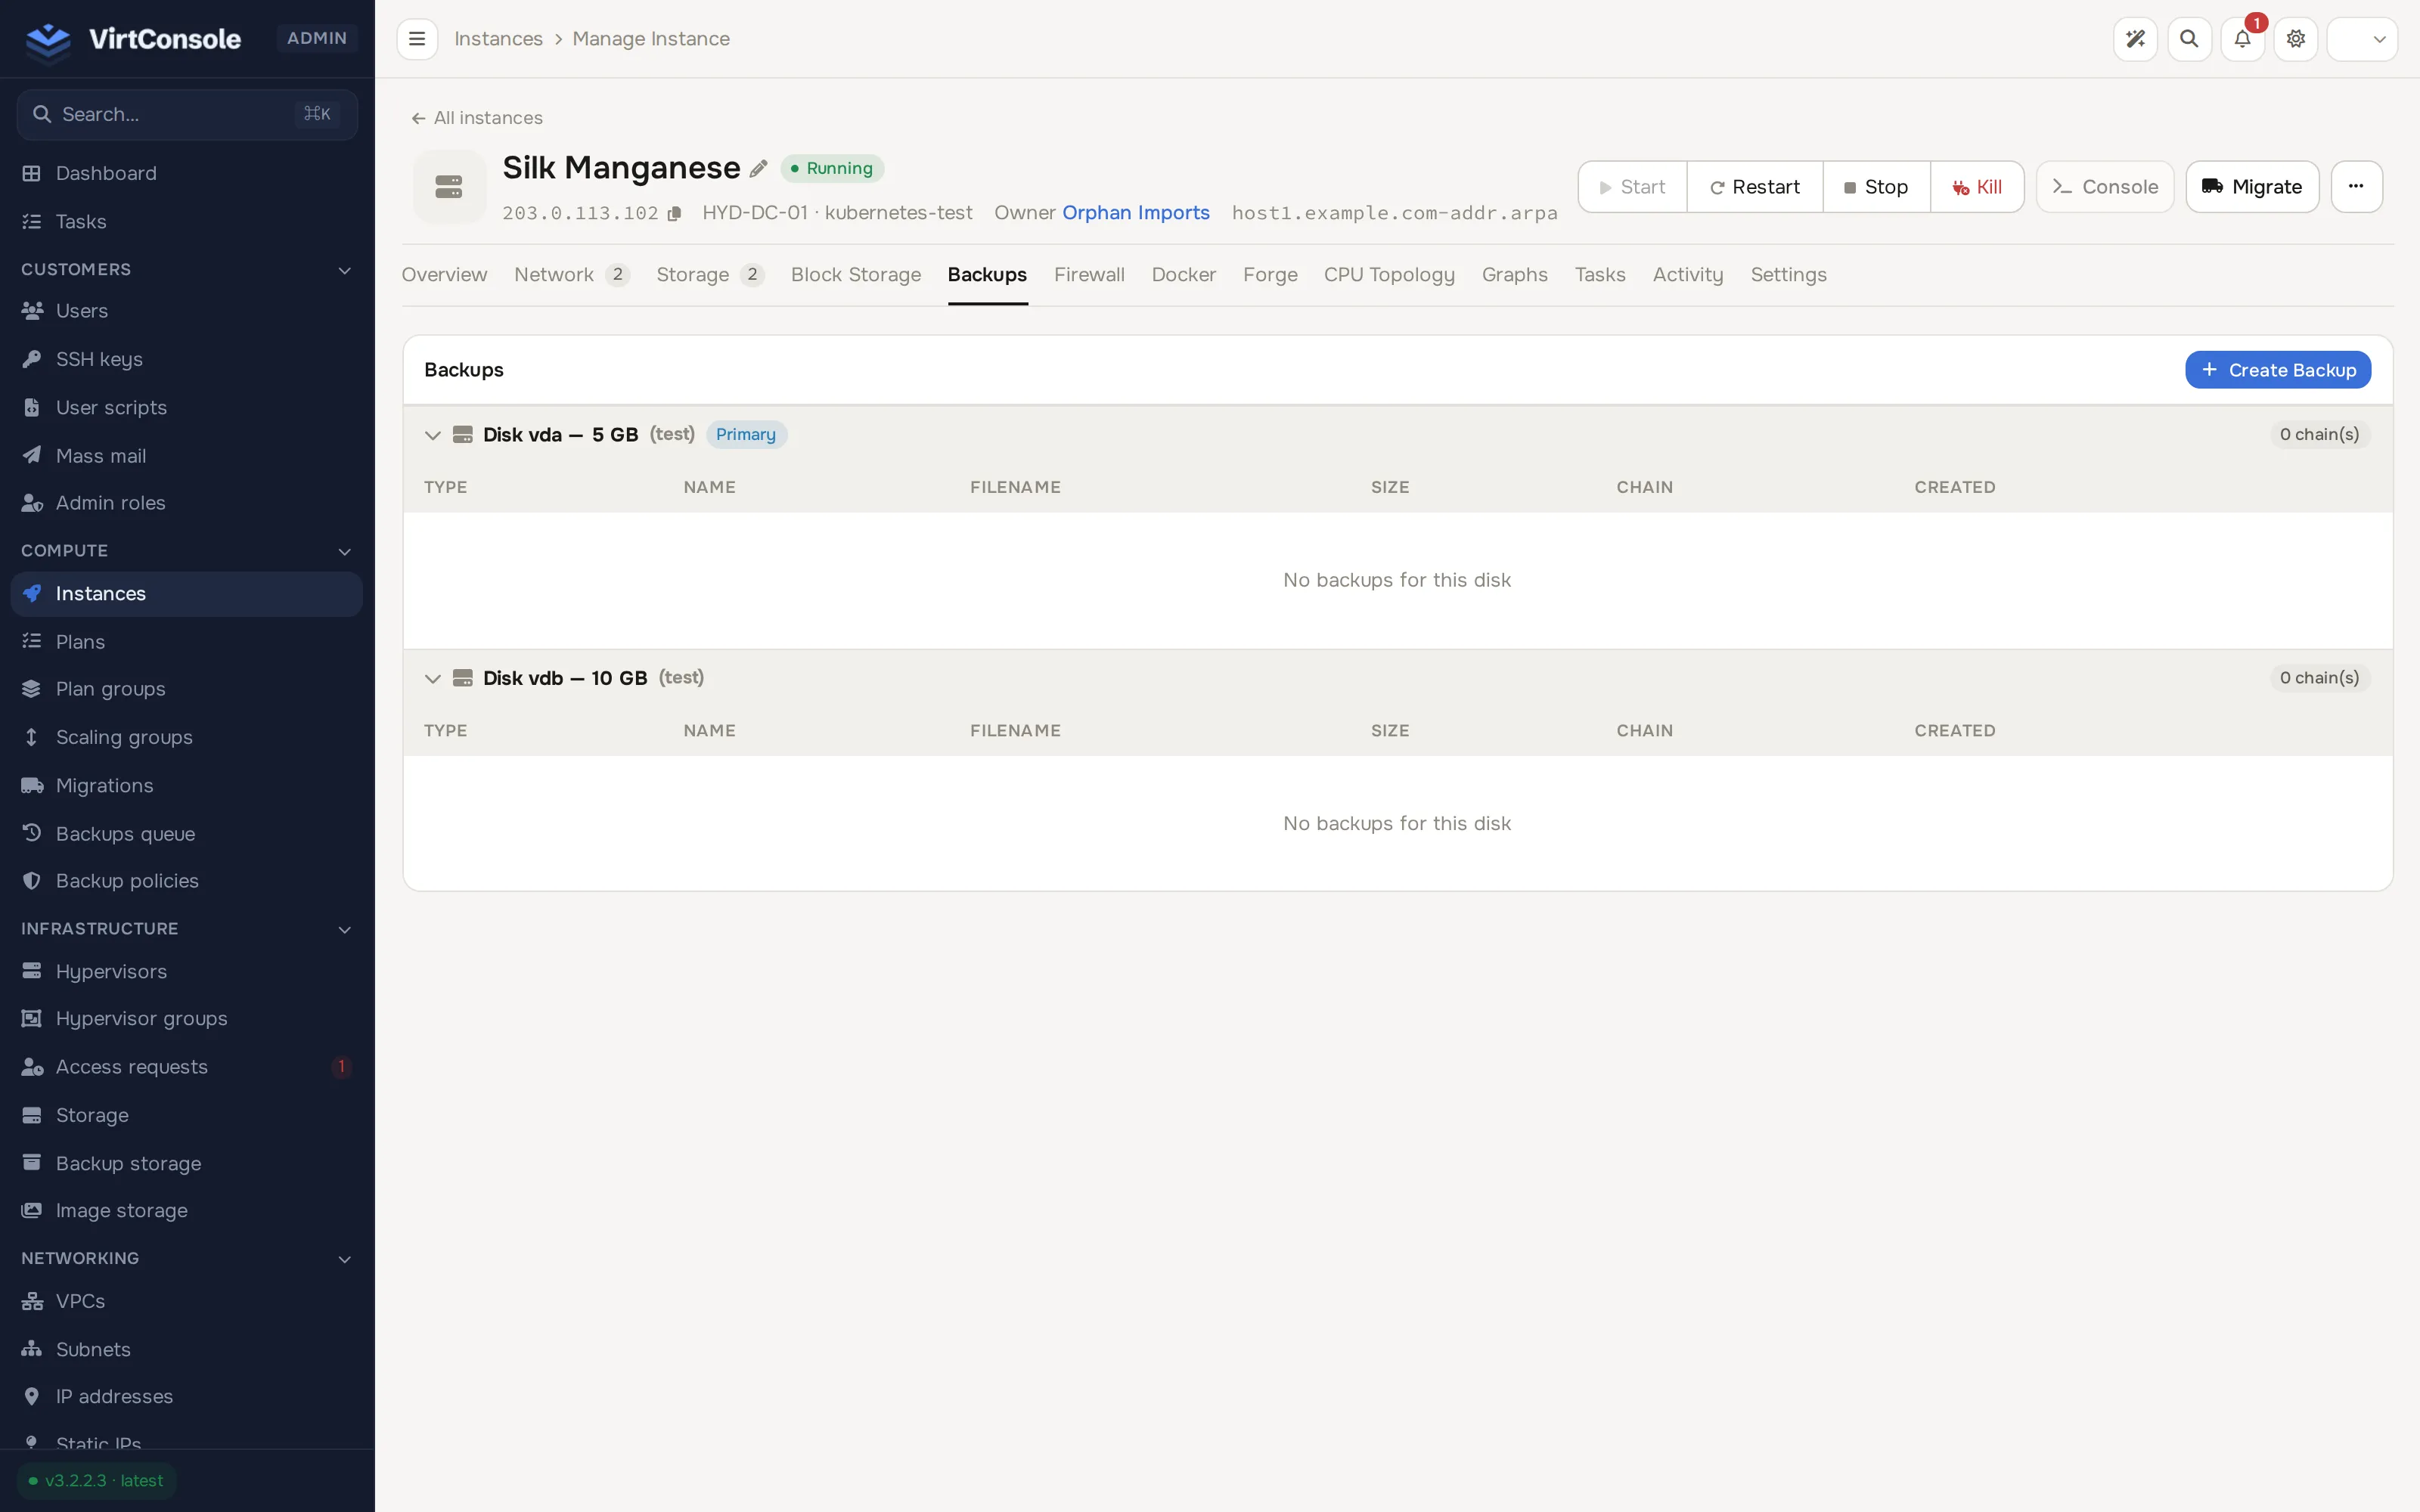
| Backups | Backup history, manual backup and restore. |
| Snapshots | Hypervisor snapshots. Shown for Proxmox instances only. |
| Firewall | Firewall rules applied to the instance (was labeled Security Groups). |
| Docker | Docker app deployments inside the instance. |
| Forge | Forge sessions for this instance. |
| CPU Topology | Sockets, cores and threads layout. |
| Graphs | CPU, RAM, disk and network usage charts for this instance. |
| Tasks | Every background operation run against this instance. |
| Activity | The audit log for the instance. |
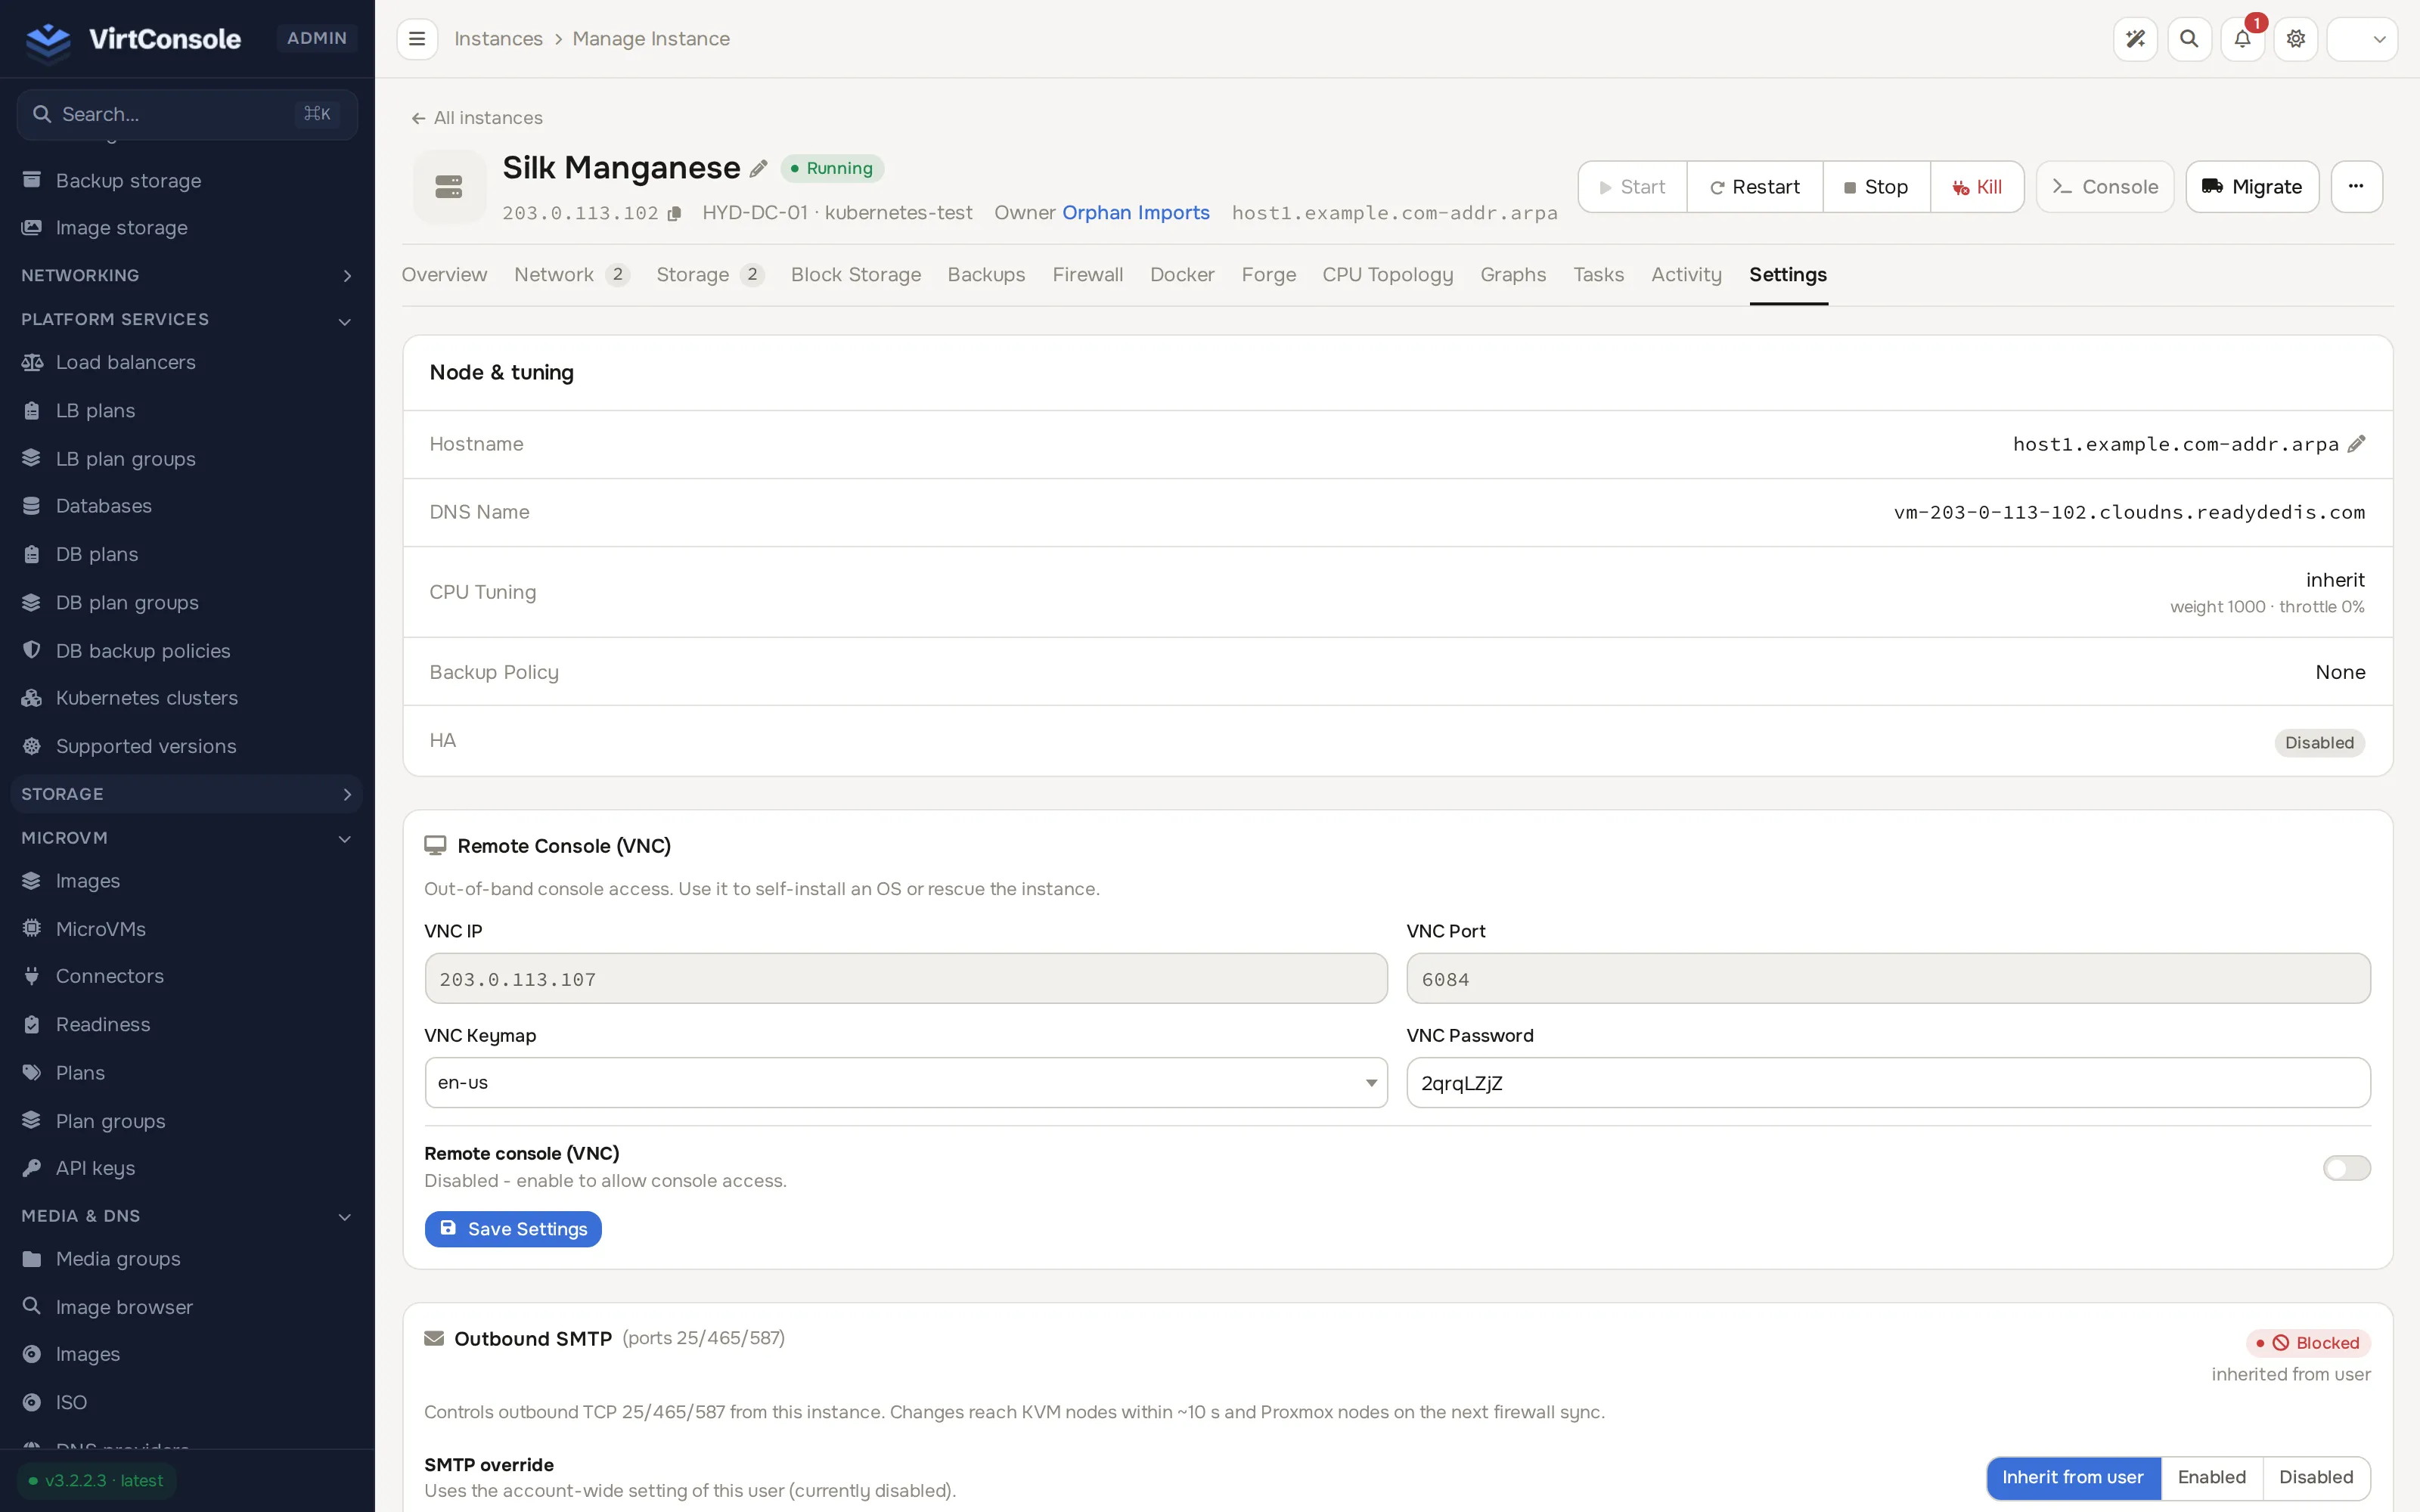
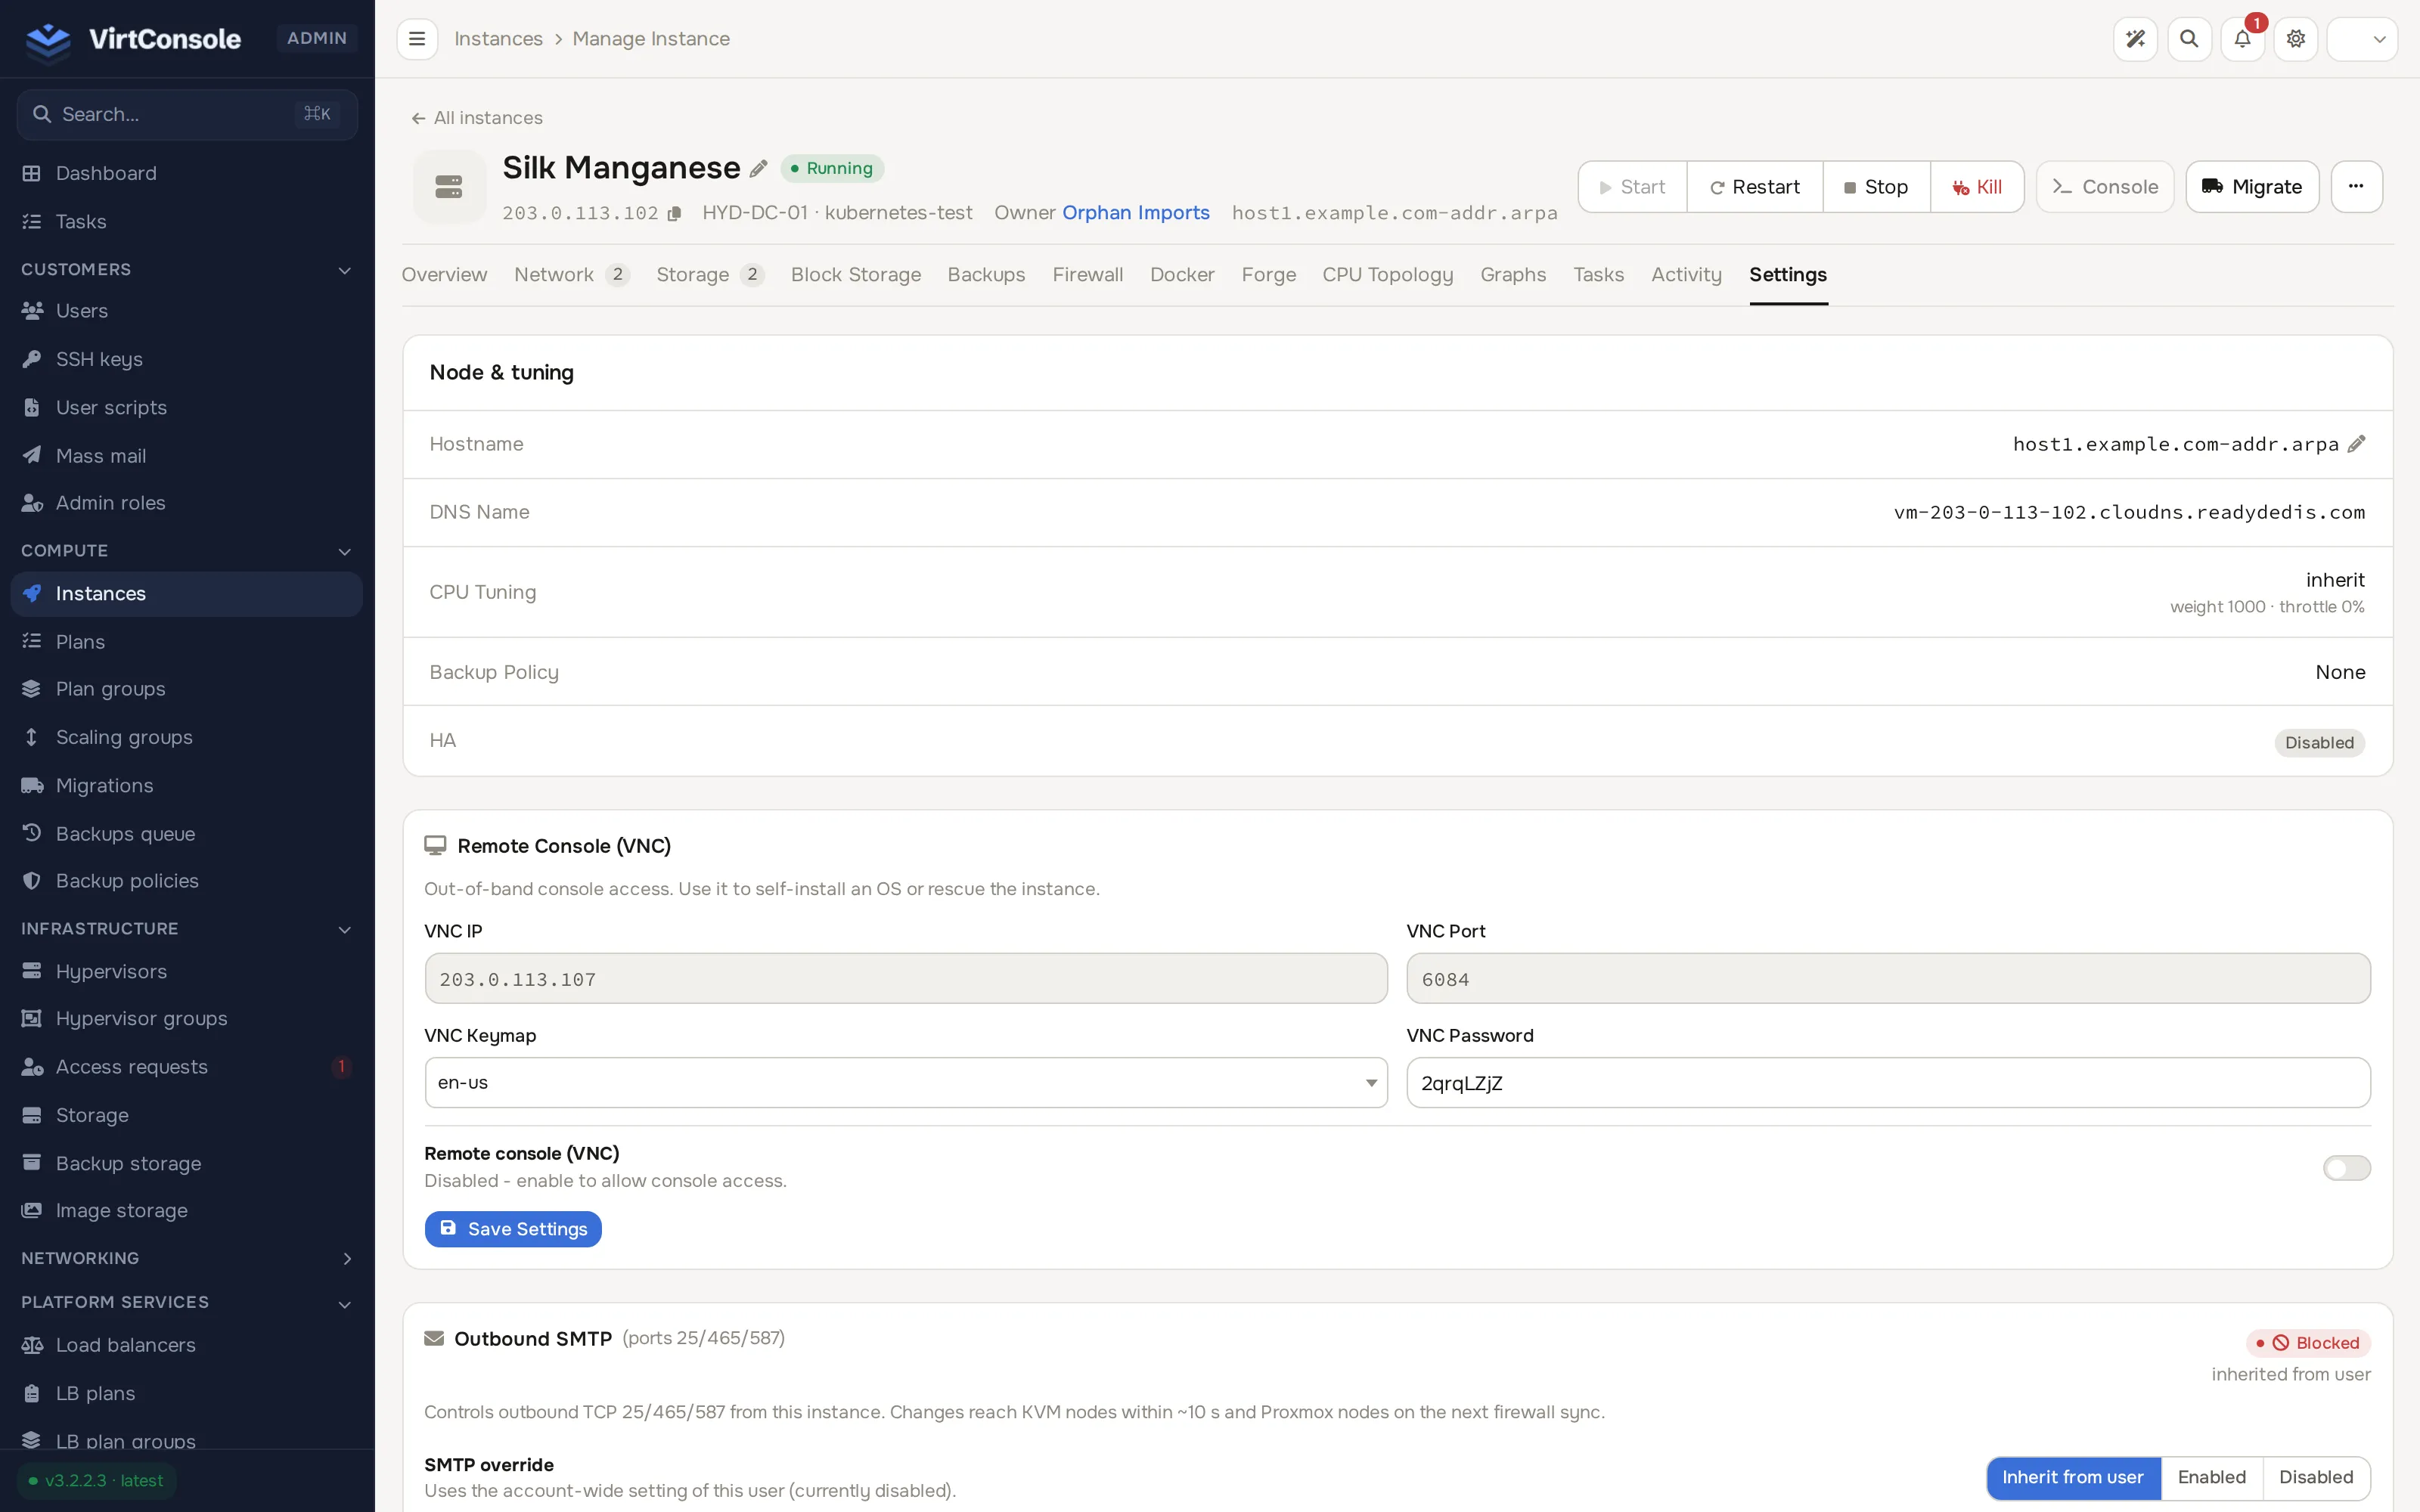
| Settings | Display name, boot, VNC, cloud-init and Windows options. |
The Storage tab lists the instance’s disks with add, resize and remove actions.
The Network tab lists the instance’s interfaces and IP addresses.
The Backups tab shows backup history with manual backup and restore actions.
The Settings tab holds the display name, boot, VNC, cloud-init and Windows options.
Actions
Section titled “Actions”The header buttons, the Overview tab’s Quick actions panel and its ··· menu cover the lifecycle:
- Start, Restart, Stop, Kill: power actions in the header. Stop is a graceful shutdown; Kill pulls the plug.
- Console: open noVNC. Web SSH is offered alongside it on VPC instances.
- Migrate: move the instance to another hypervisor. See Migrations.
- Change plan (Quick actions): moves the instance to a different plan; the resize runs in the background and Cloud Service billing re-rates when it completes. Disk size cannot be reduced.
- Reinstall OS (Quick actions): wipe and redeploy from the image.
- Take snapshot / Mount ISO (Quick actions).
- From the ··· menu: Reset Bandwidth (zero the current period’s traffic counter), Impersonate (log in to the user panel as the owner), Change Owner (hand the instance to a different customer), Re-activate Windows (re-run SPLA activation on licensed Windows instances), Enable Protection / Disable Protection (locks Remove and Reinstall against accidents), Remove (type the hostname to confirm) and Run Import Doctor (repair a disk whose OS was replaced outside the panel — a converted VHDX or VMDK import — re-arming virtio drivers and firmware; available on KVM hosts while the instance is stopped).
- Rescue mode (KVM only): boot the instance into a live Debian environment with disks attached, for repair and recovery. See Rescue mode.
- Suspend / Network suspend live as toggles in the Overview tab’s Admin controls panel. Suspend asks for a Suspension Reason, records it, emails the customer and marks the instance as admin-suspended.
What happens next
Section titled “What happens next”New instances show up in the customer’s user panel with console access, power controls, backups and firewall. Billing starts according to the model you sell on: external billing, Cloud Service hourly credits, or a Self-Provisioning pack.
Common problems
Section titled “Common problems”- The Create Instance dialog has no usable image. The image has not finished downloading on the chosen hypervisor. Check Tasks and OS images.
- Deploy or an action seems stuck. Open the instance’s Tasks tab for the failing task’s log, and confirm the hypervisor is online under Infrastructure > Hypervisors.
- Remove or Reinstall is disabled. Protection is enabled on the instance. Use Disable Protection in the Actions dropdown first.
- Delete from the list asks for the hostname. Type the instance hostname exactly to confirm. This is the guard against deleting the wrong VM.