

ISO images
An ISO is a bootable CD image. Customers mount one to install an OS by hand (a Windows installer, for example) or to boot rescue and utility media. You register ISOs from download URLs; the panel fetches the file and makes it mountable.
Where to find it
Section titled “Where to find it”In the admin panel go to Media & DNS > ISO.
The list shows each ISO’s Name, Filename, Size, Type (Public or Private) and owning User. Filter by type or by user.
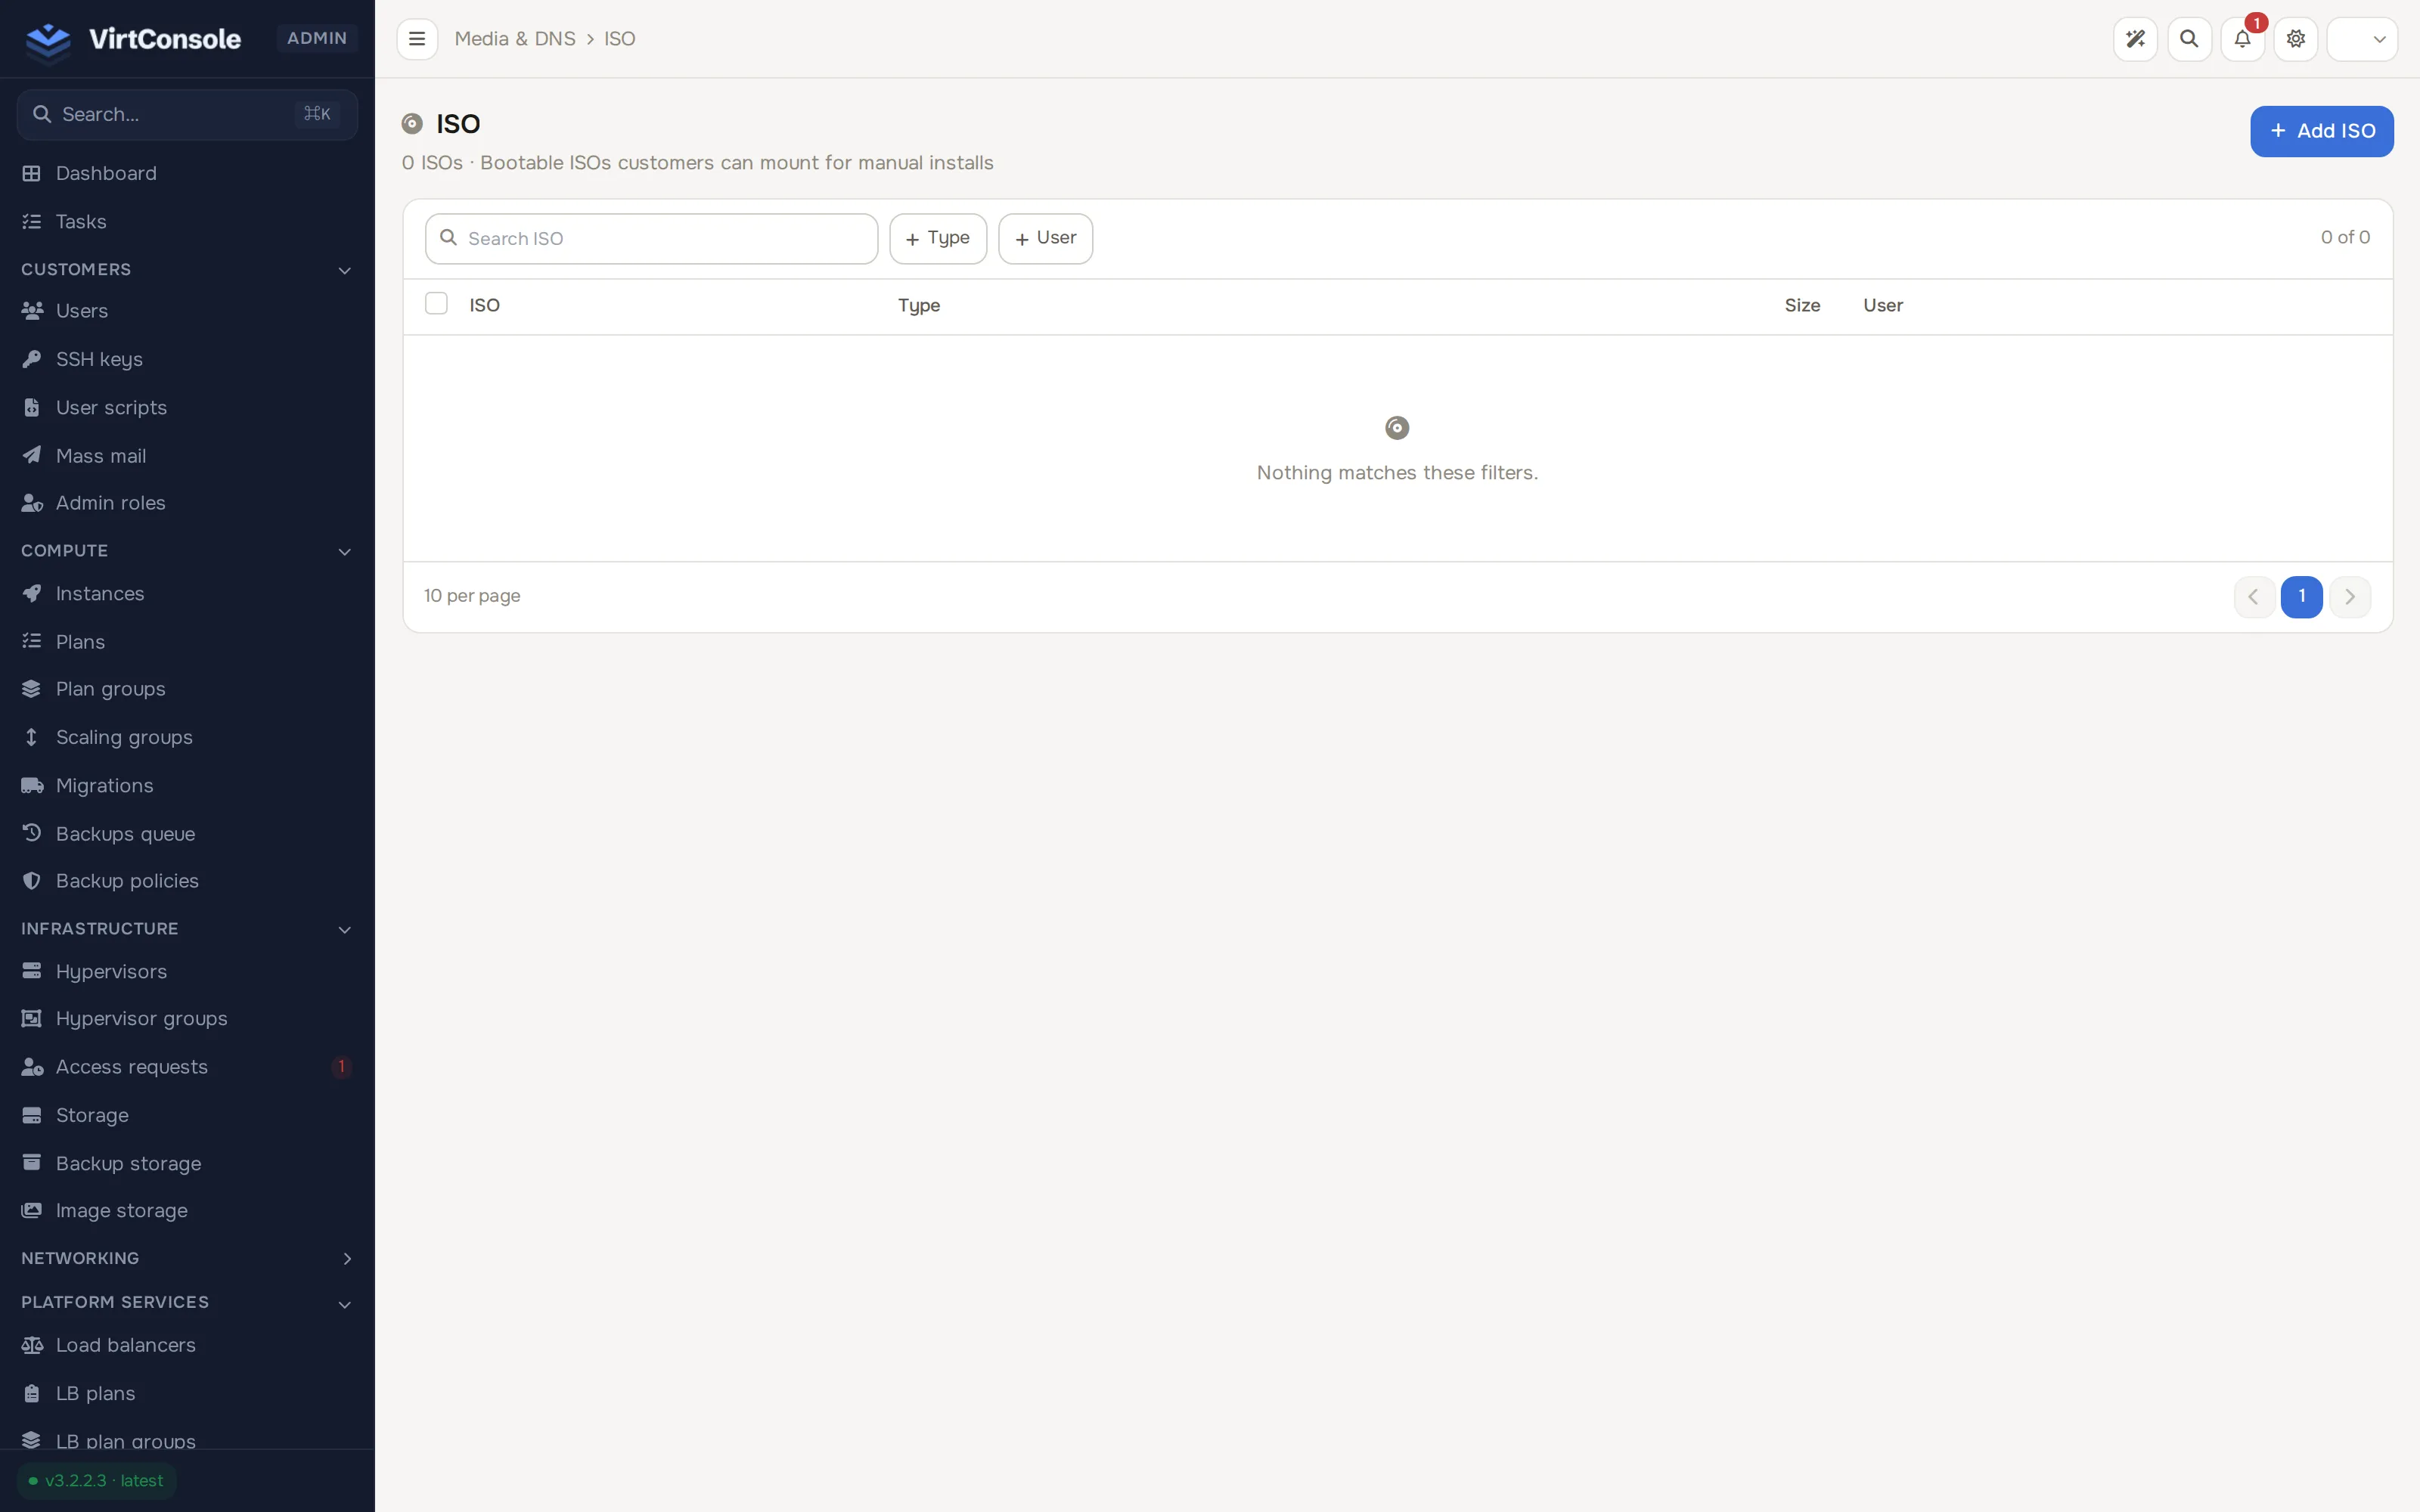
Add an ISO
Section titled “Add an ISO”-
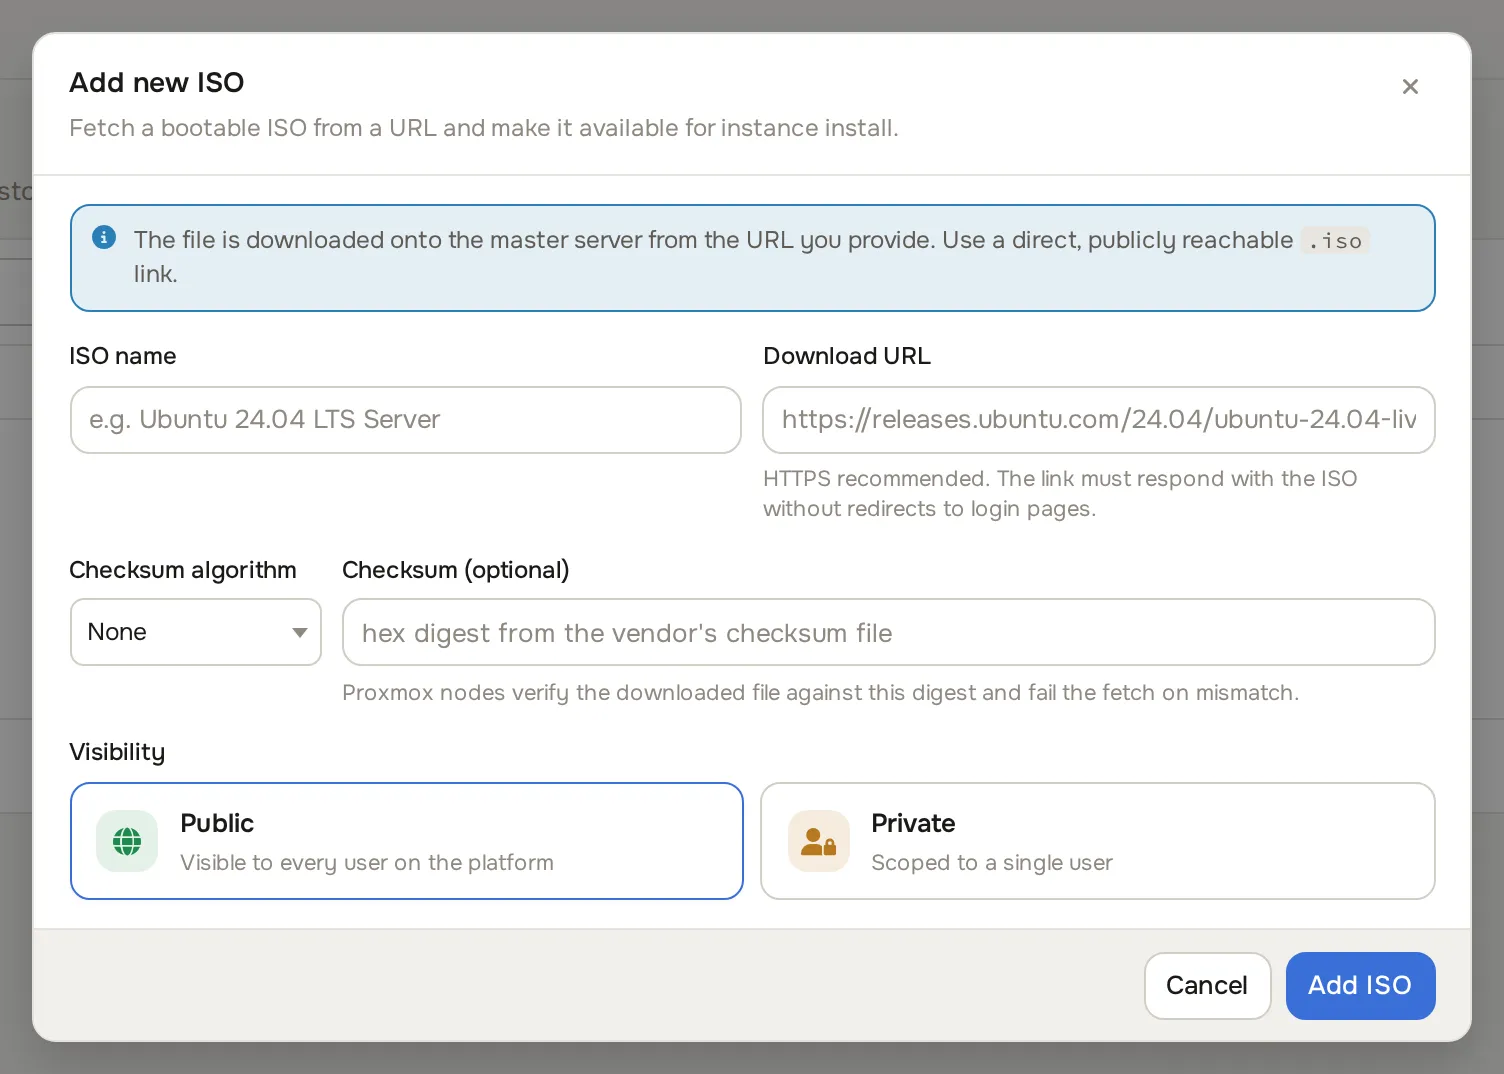
Click Add ISO. The Add new ISO dialog opens.
-
Fill in the fields:
Fields
| Field | What to enter |
|---|---|
| ISO name | The label users see, for example Ubuntu 24.04 LTS Server. |
| Download URL | A direct, publicly reachable https link to the .iso file. The link must return the file without redirects to a login page. Nodes only download over https, and the file name at the end of the URL may contain only letters, digits, dots, underscores and hyphens; anything else is refused when you add the ISO. |
| Checksum | Optional. Pick the algorithm (MD5, SHA-1, SHA-256, SHA-512) and paste the hex digest from the vendor’s checksum file. Proxmox nodes verify the download against it and fail the fetch on mismatch. |
| Visibility | Public makes the ISO mountable by every user. Private scopes it to one account. |
| Assign to user | Shown for Private. Search by name or email; only that user can mount the ISO. |
- Click Add ISO. The dialog closes and the ISO appears in the list.
To change an ISO later, click Edit on its row. You can change the Type and the assigned User; the name and URL are fixed once registered. Remove deletes the ISO.
Attach an ISO to an instance
Section titled “Attach an ISO to an instance”Customers mount ISOs themselves from their instance’s manage page in the user panel. As an admin you can also pick an ISO directly in the Create Instance dialog under Compute > Instances; see Manage instances. Leave the SSH key selection empty when you deploy from an ISO: there is no cloud-init to inject keys.
Insert and eject
Section titled “Insert and eject”Inserting an ISO into an instance runs as a task. If the media change fails, the task fails and shows the node’s message. If the ISO file is not on the node yet, the node starts downloading it and the insert task fails right away, telling the customer to insert it again once the download has finished. Ejecting detaches the ISO from the instance only. It stays in this list and can be inserted again; Remove is the only way to delete it.
What happens next
Section titled “What happens next”The file downloads onto the management server from the URL you gave and becomes available to mount. Instances booted from an ISO run the installer inside the VNC console; the OS lands on the instance’s normal disk, and the ISO can be detached afterwards.
Common problems
Section titled “Common problems”- The list shows a download error under an ISO. Read the message, fix the cause (usually the URL), then click Retry download on that row. After repeated failures a node backs off between attempts, from 10 minutes up to 24 hours, so a broken ISO does not keep creating failed tasks. An ISO with size 0 never starts a download.
- The download fails. The URL is not a direct file link. Re-test it in a browser: it must start downloading the
.isoimmediately, with no login or redirect page in between. - A Proxmox node refuses the ISO. The downloaded file does not match the checksum you set. Re-copy the digest from the vendor’s checksum file, or clear the checksum fields.
- A customer cannot see a public ISO. Check the list’s Type column; the ISO may have been registered as Private with an assigned user.