

SSH keys
An SSH key lets you log into a Linux instance without a password. You save the public half of a key pair on your account once, and the panel injects it into every instance you deploy with it. The private half never leaves your machine.
Where to find it
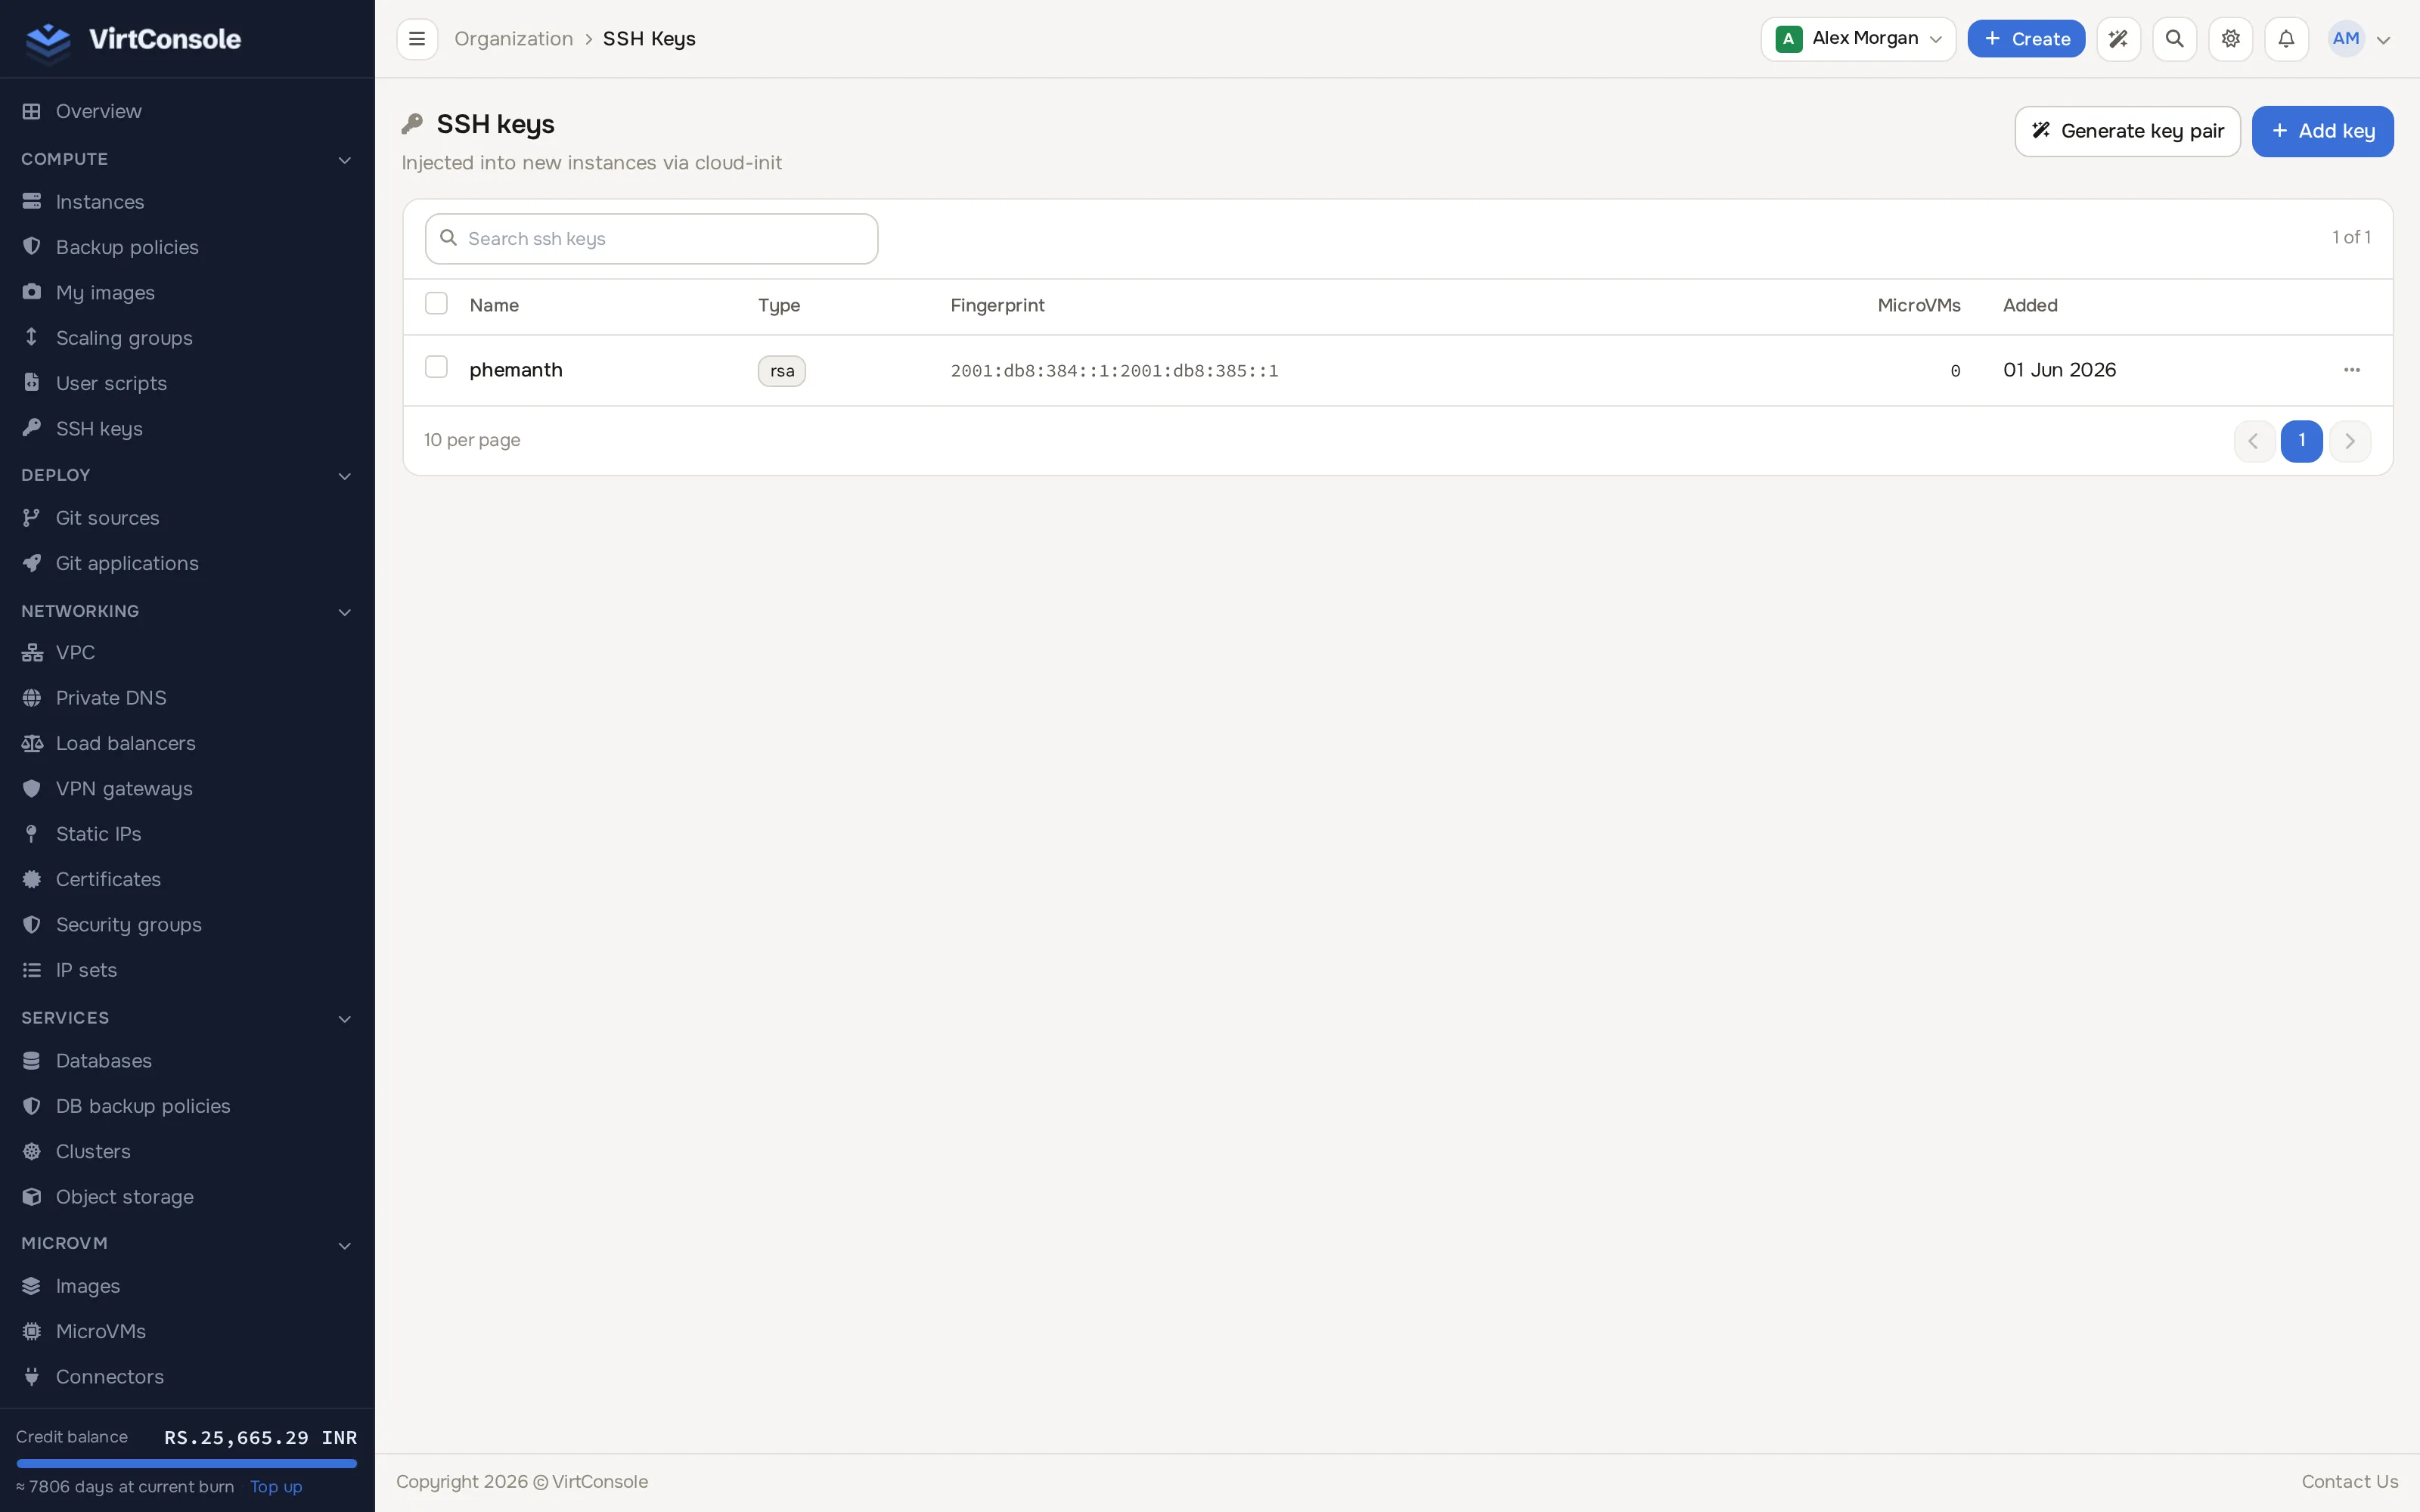
Section titled “Where to find it”Click SSH keys in the sidebar’s Compute group.
The SSH keys list.
Add an existing key
Section titled “Add an existing key”-
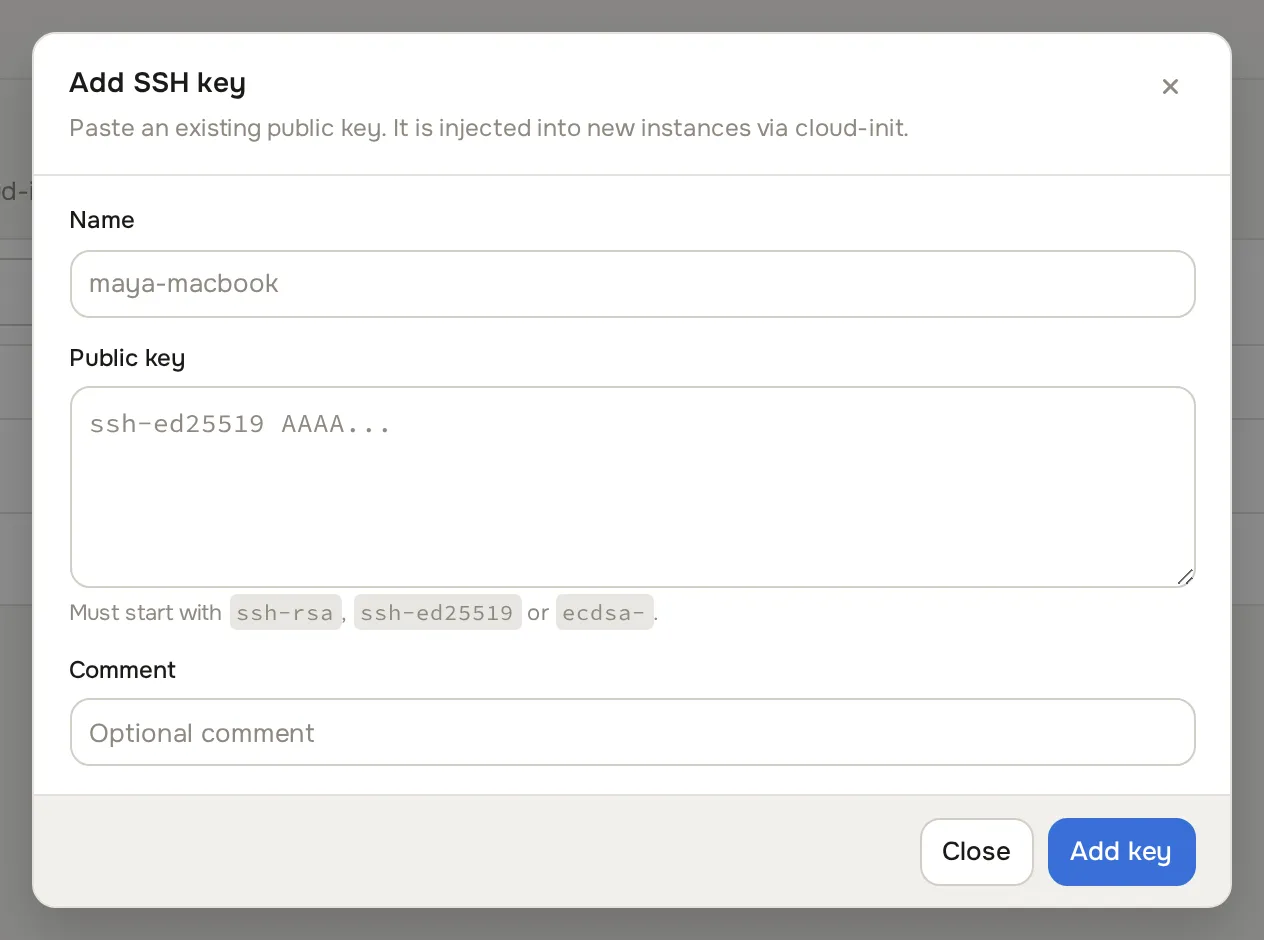
Click Add key. The Add SSH key dialog opens.
-
Enter a Name, for example
work-laptop. -
Paste your existing public key (the text starting with
ssh-rsa,ssh-ed25519orecdsa-) into Public key, and optionally add a Comment. -
Click Add key.
Generate a new key pair
Section titled “Generate a new key pair”If you do not already have a key, click Generate key pair instead. Pick a type (RSA, ECDSA or Ed25519), then click Generate keypair. Generation happens in your browser; the private key never touches the servers. Click Download private key (or copy it) and store it safely, then click Add key to save the public half to your account.
Edit a key’s name later from its row, or use Remove to delete a key you no longer use.
Use a key on a new instance
Section titled “Use a key on a new instance”When you create or reinstall an instance, the install form has an SSH Keys field (Linux images with cloud-init support). Pick one or more saved keys; they are written into the instance’s authorized_keys during first boot, alongside the emailed root password. See Create an instance.
Common problems
Section titled “Common problems”- My key is rejected when saving. Paste the public key text, not the private key, and make sure it is one line in a supported format (
ssh-ed25519recommended). - I deployed with a key but still cannot log in. Confirm you are using the matching private key (
ssh -i ~/.ssh/id_ed25519 root@203.0.113.10), and that the instance’s firewall allows TCP 22. See Security groups. - There is no SSH Keys field on the install form. The selected OS image does not support cloud-init. Pick a cloud-init enabled image.