

Orphan VM import
Orphan VM import adopts KVM virtual machines that already exist on a hypervisor but are not tracked by the panel: VMs that predate the agent, were created with virsh by hand, or came from another control panel. The import is non-destructive. Nothing on the host is moved, renamed, copied or restarted, and the VM keeps running throughout.
Before you begin
Section titled “Before you begin”- The hypervisor is connected and online under Infrastructure > Hypervisors, running a current agent (the installer still calls it the slave agent). Older agents mishandle imported interface names; update first from the hypervisor page if in doubt.
- Every disk of the VM is a
qcow2file on the host filesystem. LVM volumes, ZFS zvols, raw block devices and Ceph RBD disks are detected but cannot be imported; convert them to qcow2 first.
Where to find it
Section titled “Where to find it”In the admin panel go to Infrastructure > Hypervisors, open the host, and scroll to the Orphan VMs card.
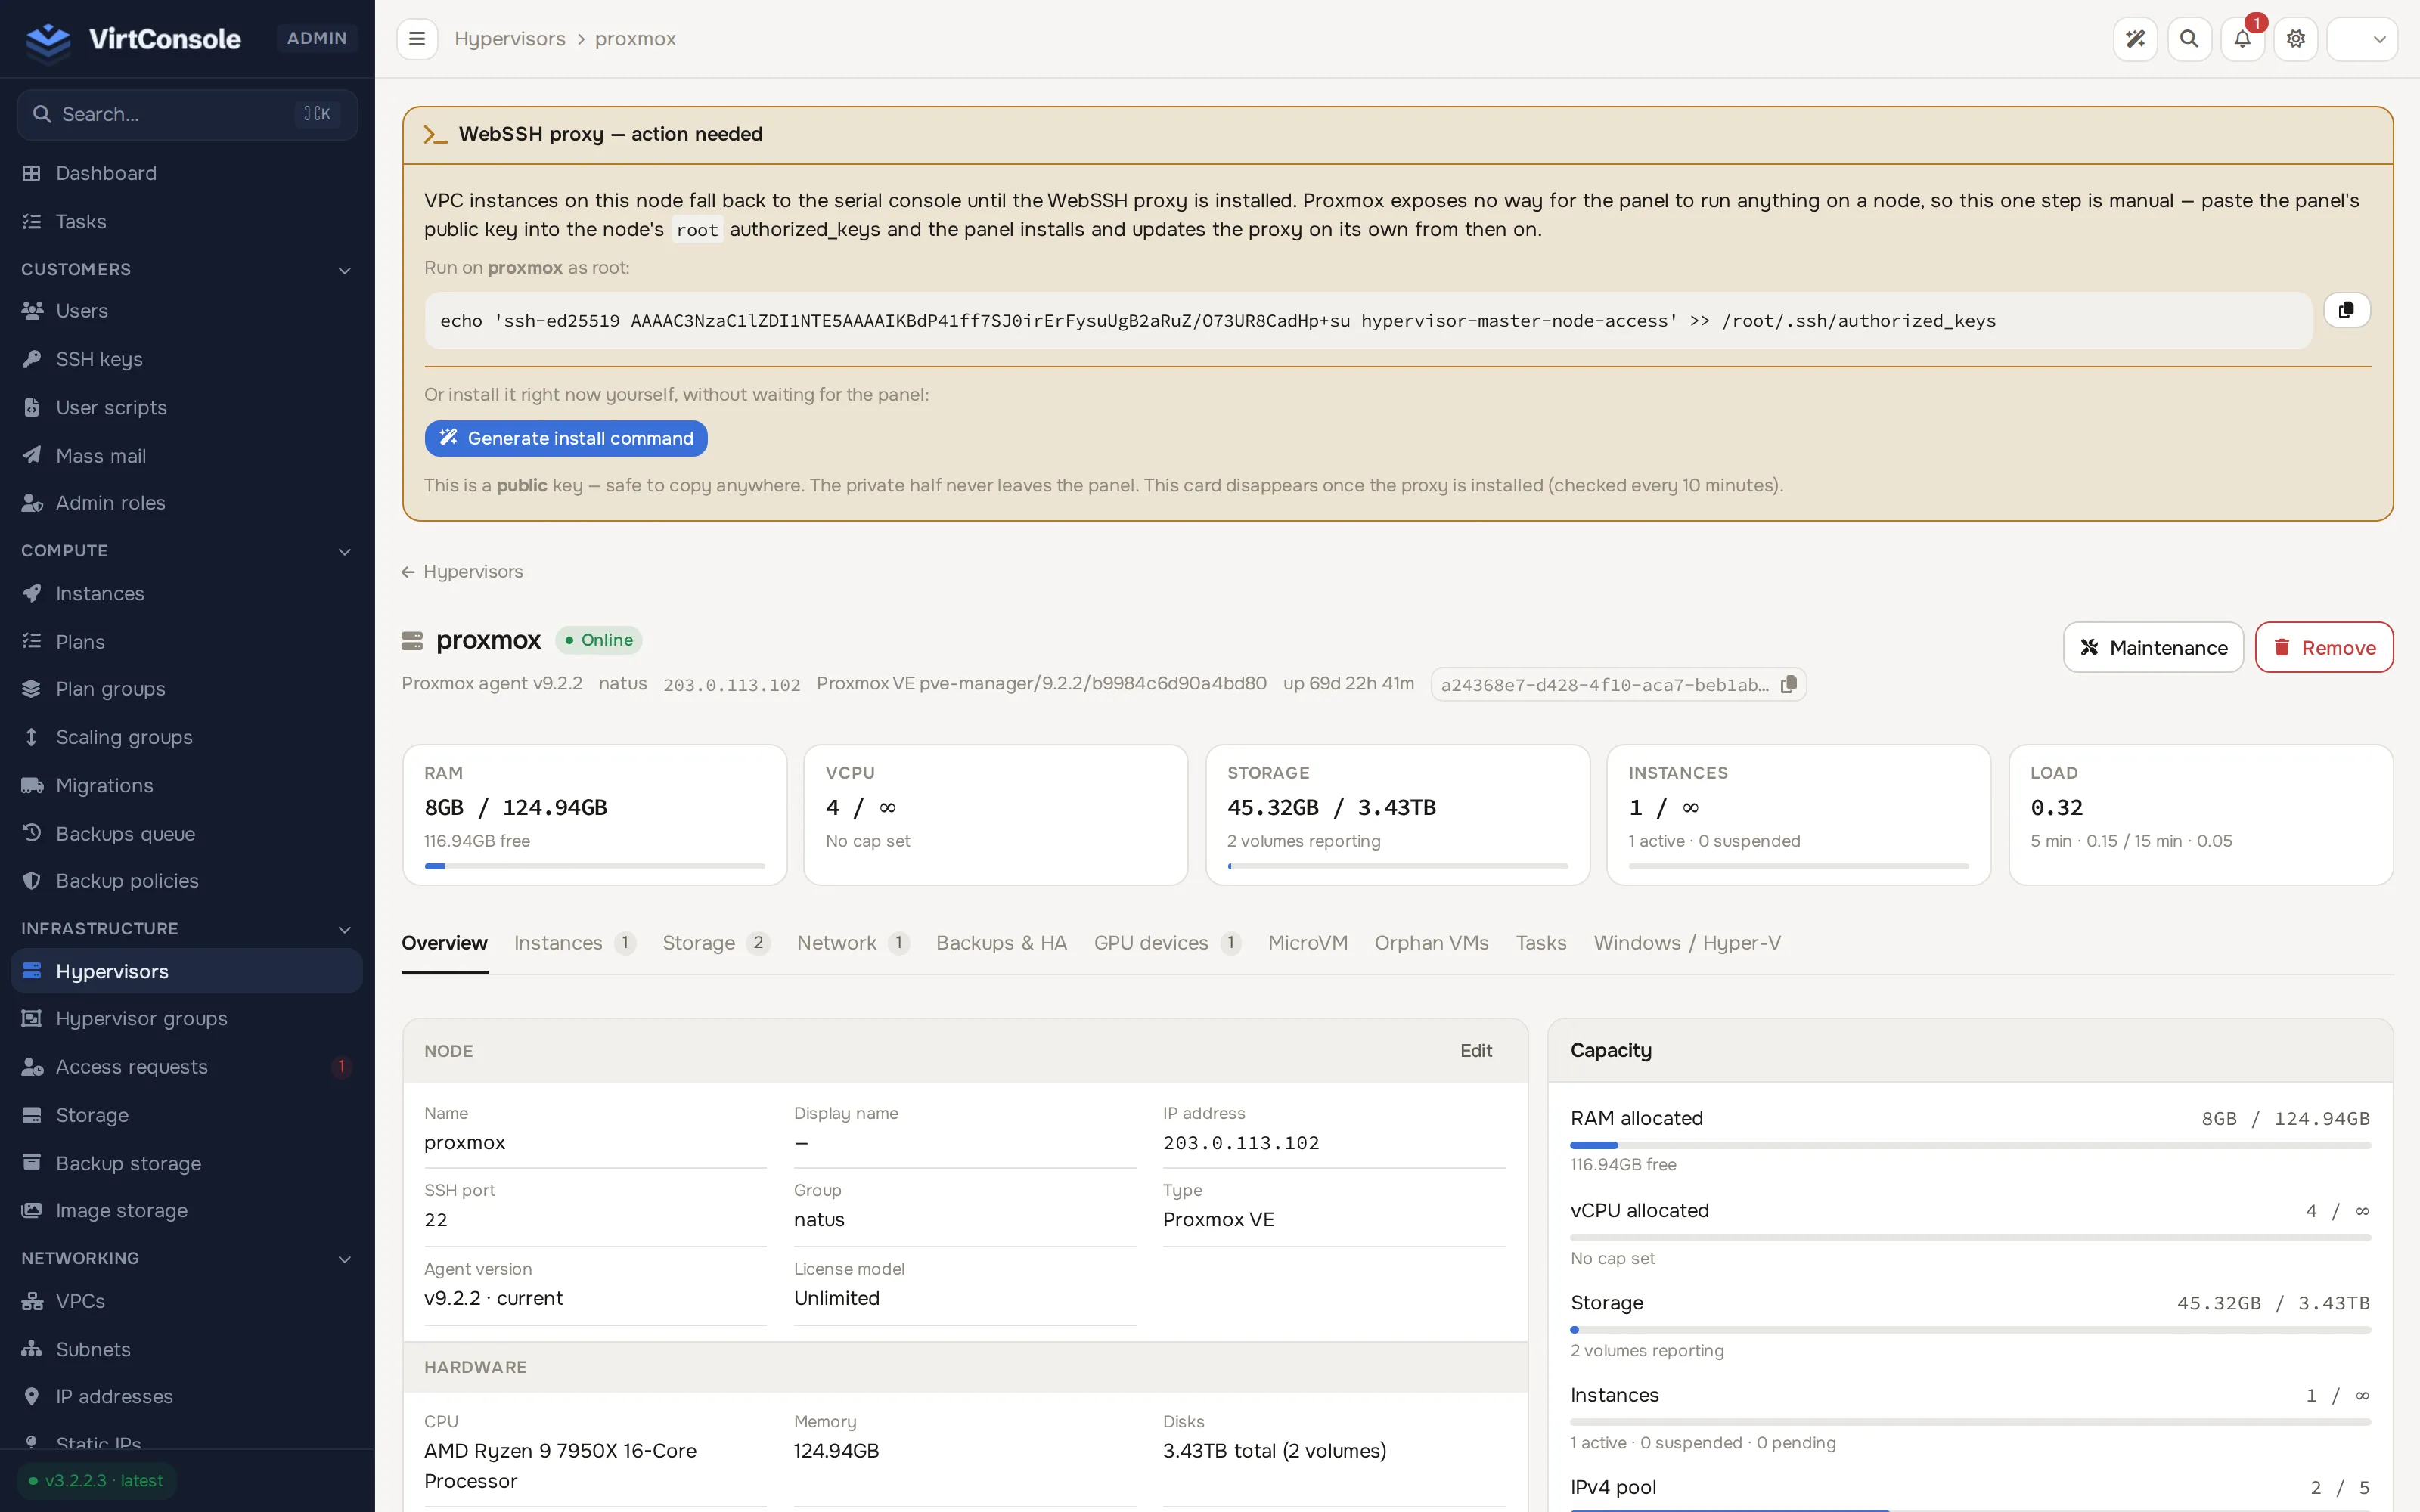
Scan for orphans
Section titled “Scan for orphans”- Click Scan for Orphan VMs. The panel inspects every libvirt domain it does not already track and updates the card live.
- Read the results. Each row shows the domain name, runtime state (running, paused, shut off), vCPU and RAM, a badge per disk, and either an Import button or a Skipped reason.
- Click a domain name for the full detail: every disk, every NIC with detected guest IPs, and the VNC port.
Scan results are cached for one hour. Click Re-scan to refresh. Cloud-init and config ISOs are excluded automatically and listed separately under CDROMs.
Import a VM
Section titled “Import a VM”- Click Import on an eligible row. The import dialog lists every disk.
- Check the storage mapping per disk:
- Matched: the disk’s directory already matches a storage pool in the panel. Nothing to do.
- Needs assignment: pick Use existing to bind the disk to a pool, or Create new to register the disk’s directory as a new storage pool. See Add storage.
- Click Confirm Import.
The imported instance is owned by a suspended system user called Orphan Imports, gets a synthetic per-VM plan named imported-<hypervisor>-<domain> carrying the VM’s actual CPU, RAM and disk sizes (hidden from customers), reflects the live runtime state, and carries a Pending Assignment flag.
When at least two rows have every disk matched, an Import All Eligible button appears below the table and imports them in sequence. Rows needing storage assignment are skipped; do those one at a time.
Assign the VM to a customer
Section titled “Assign the VM to a customer”Imported instances show a banner on their admin manage page: “This instance was imported and is pending user assignment.”
- Open the imported instance under Compute > Instances.
- Click Assign User in the banner.
- Pick the User (required). Optionally pick a real Plan to replace the synthetic one; the default keeps the synthetic plan.
- Submit. The customer now owns the instance and the banner disappears. If you picked a real plan, the synthetic
imported-...plan is removed.
Only IPs detected on the guest and falling inside a subnet you already have on that hypervisor are linked automatically. Anything else is written to the import task log; add those IPs by hand from the instance’s Network tab.
What happens next
Section titled “What happens next”The instance behaves like any other: power actions, console, backups, firewall and migrations all work. You can migrate it to another host (Migrations) or capture it as a reusable image.
If you later destroy an imported instance, the destroy flow removes the panel’s records but leaves the qcow2 disks and the libvirt domain on the host. Run Scan for Orphan VMs again to re-adopt it. The panel refuses to import a domain that is already tracked as a live instance on the same host.
Common problems
Section titled “Common problems”- The scan finishes but the table is empty. The panel already tracks every domain on this host.
- A domain shows Skipped. Open its detail and read the per-disk classification. The usual cause is one disk on a non-qcow2 backend (an LVM volume or raw block device). Convert to qcow2, then re-scan. The panel does not run the conversion for you.
- The import dialog insists on creating storage. No existing pool covers the disk’s directory. Register it from the dialog, or add a pool first under Infrastructure > Storage.
- A detected guest IP was not linked. Check the import task log for the exact line, then assign the IP by hand after import.
- Power actions or destroy fail on an imported instance. The agent on that host is old and does not recognise libvirt-assigned interface names. Open the hypervisor and click Update Agent.