

VPN gateways
A VPN gateway is a small VM the panel deploys inside a VPC. It runs WireGuard and gives two kinds of secure access into the VPC: road-warrior (individual devices dial in) and site-to-site (a permanent tunnel to another network). Gateways are also the building block for VPC peering.
Before you begin
Section titled “Before you begin”- VPC enabled on the hypervisor group. See VPCs.
- An OS image with WireGuard and
qemu-guest-agentinstalled, with its purpose set tovpn_gatewayunder Media & DNS > Images.
Set up the feature
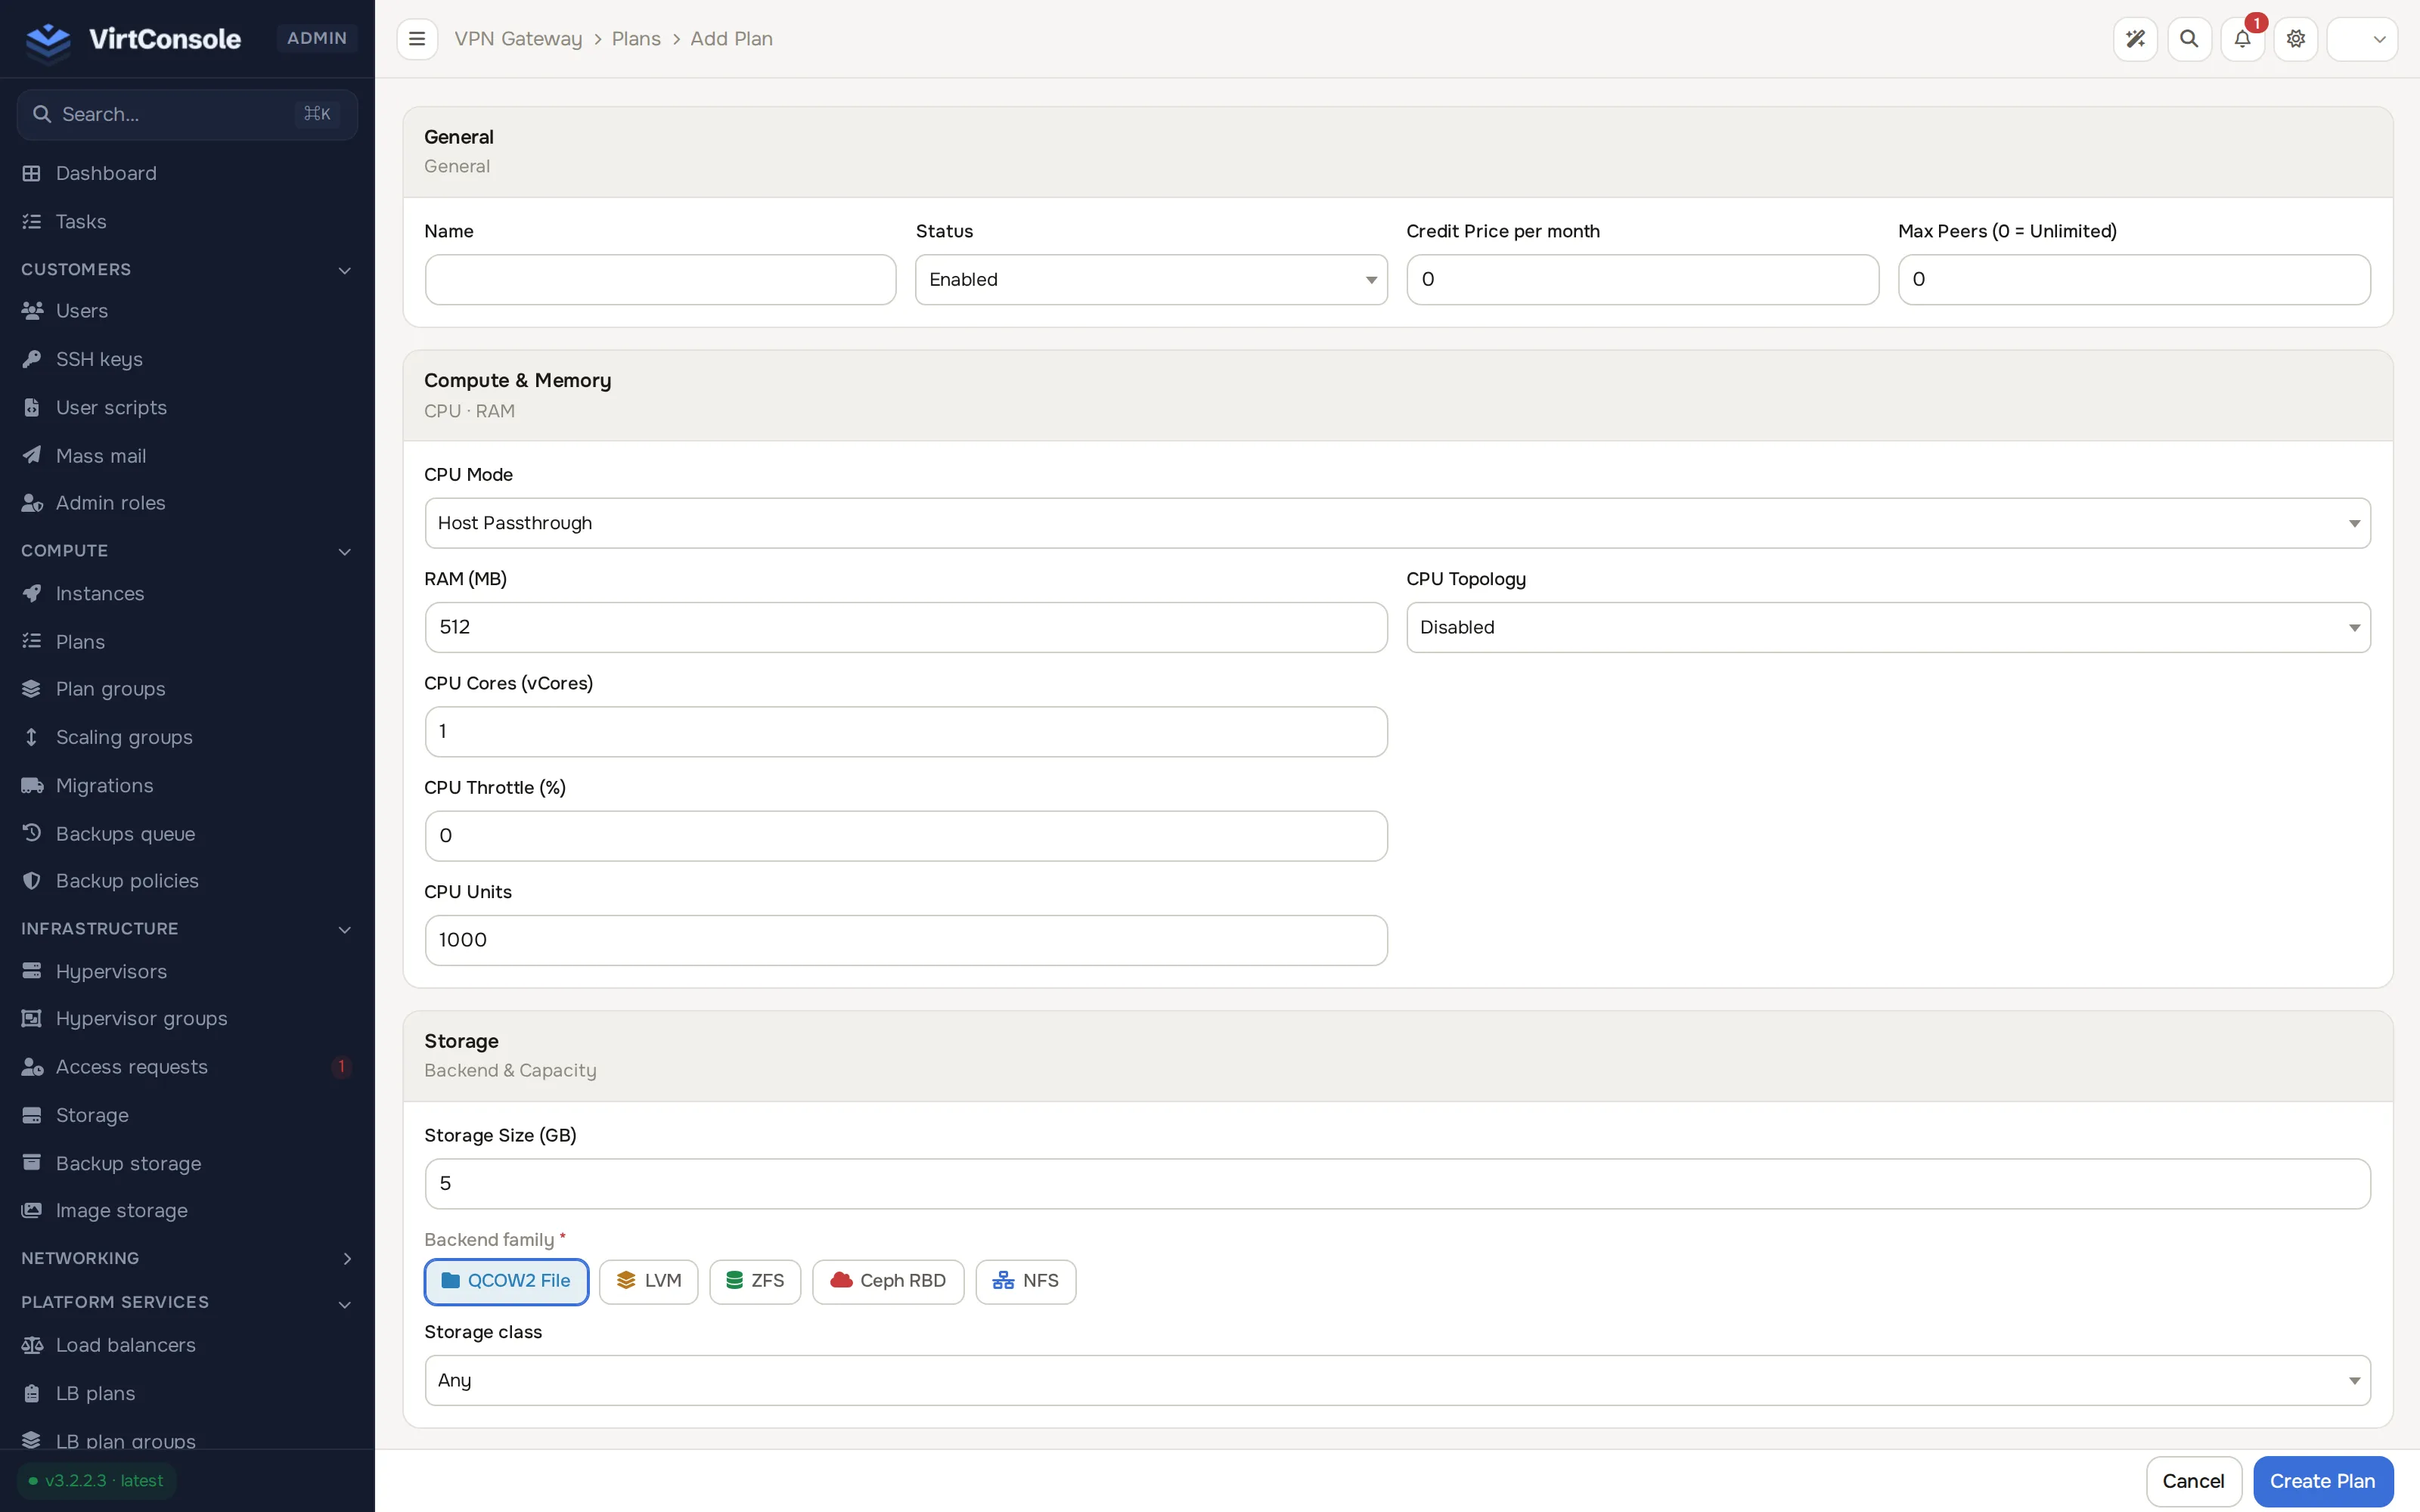
Section titled “Set up the feature”- Create at least one plan. Go to Networking > VPN GW plans and click Create plan. This opens a create page:
Plan Fields
| Field | What to enter |
|---|---|
| Name | For example vpn-small. |
| Status | Enabled or Disabled. |
| Credit Price per month | Monthly cost in credits. The panel derives the hourly rate from it. |
| Max Peers (0 = Unlimited) | The peer cap per gateway on this plan. |
| Compute & Memory | CPU Mode, RAM (MB), CPU Cores (vCores), CPU Throttle (%), CPU Units, optional CPU Topology (Sockets, Cores, Threads). |
| Storage | Storage Size (GB) and optional Read IOPS (/sec) / Write IOPS (/sec) / Read Throughput (/sec) / Write Throughput (/sec). |
| Bandwidth & NIC | Network Driver, Bandwidth (GB), Upload Speed (Mbit/s) / Download Speed (Mbit/s), Bandwidth Accounting, Bandwidth Overage, Bandwidth Rate (per GB). |
-
Bundle plans into a group. Go to Networking > VPN GW plan groups and click Create group. Enter a Name, Display Name, and optional Description, then click Add Plan Group. Click the new group’s row to open its manage drawer: under Plans, check the plans to include; under Locations, check the hypervisor groups that can offer it; then click Save changes. Customers choose from plan groups, so you can offer different plan menus in different locations.
-
Enable the feature on the location. Go to Infrastructure > Hypervisor groups, open the group, click the Networking tab, and in the VPN gateway section:
- Turn on its Enabled toggle.
- Optionally pick a VPN GW Image. If you leave it empty, any enabled image with purpose
vpn_gatewayis used. - Under Select VPN GW Plan Groups, pick the groups customers can choose from.
- Click Save group.
View and manage gateways
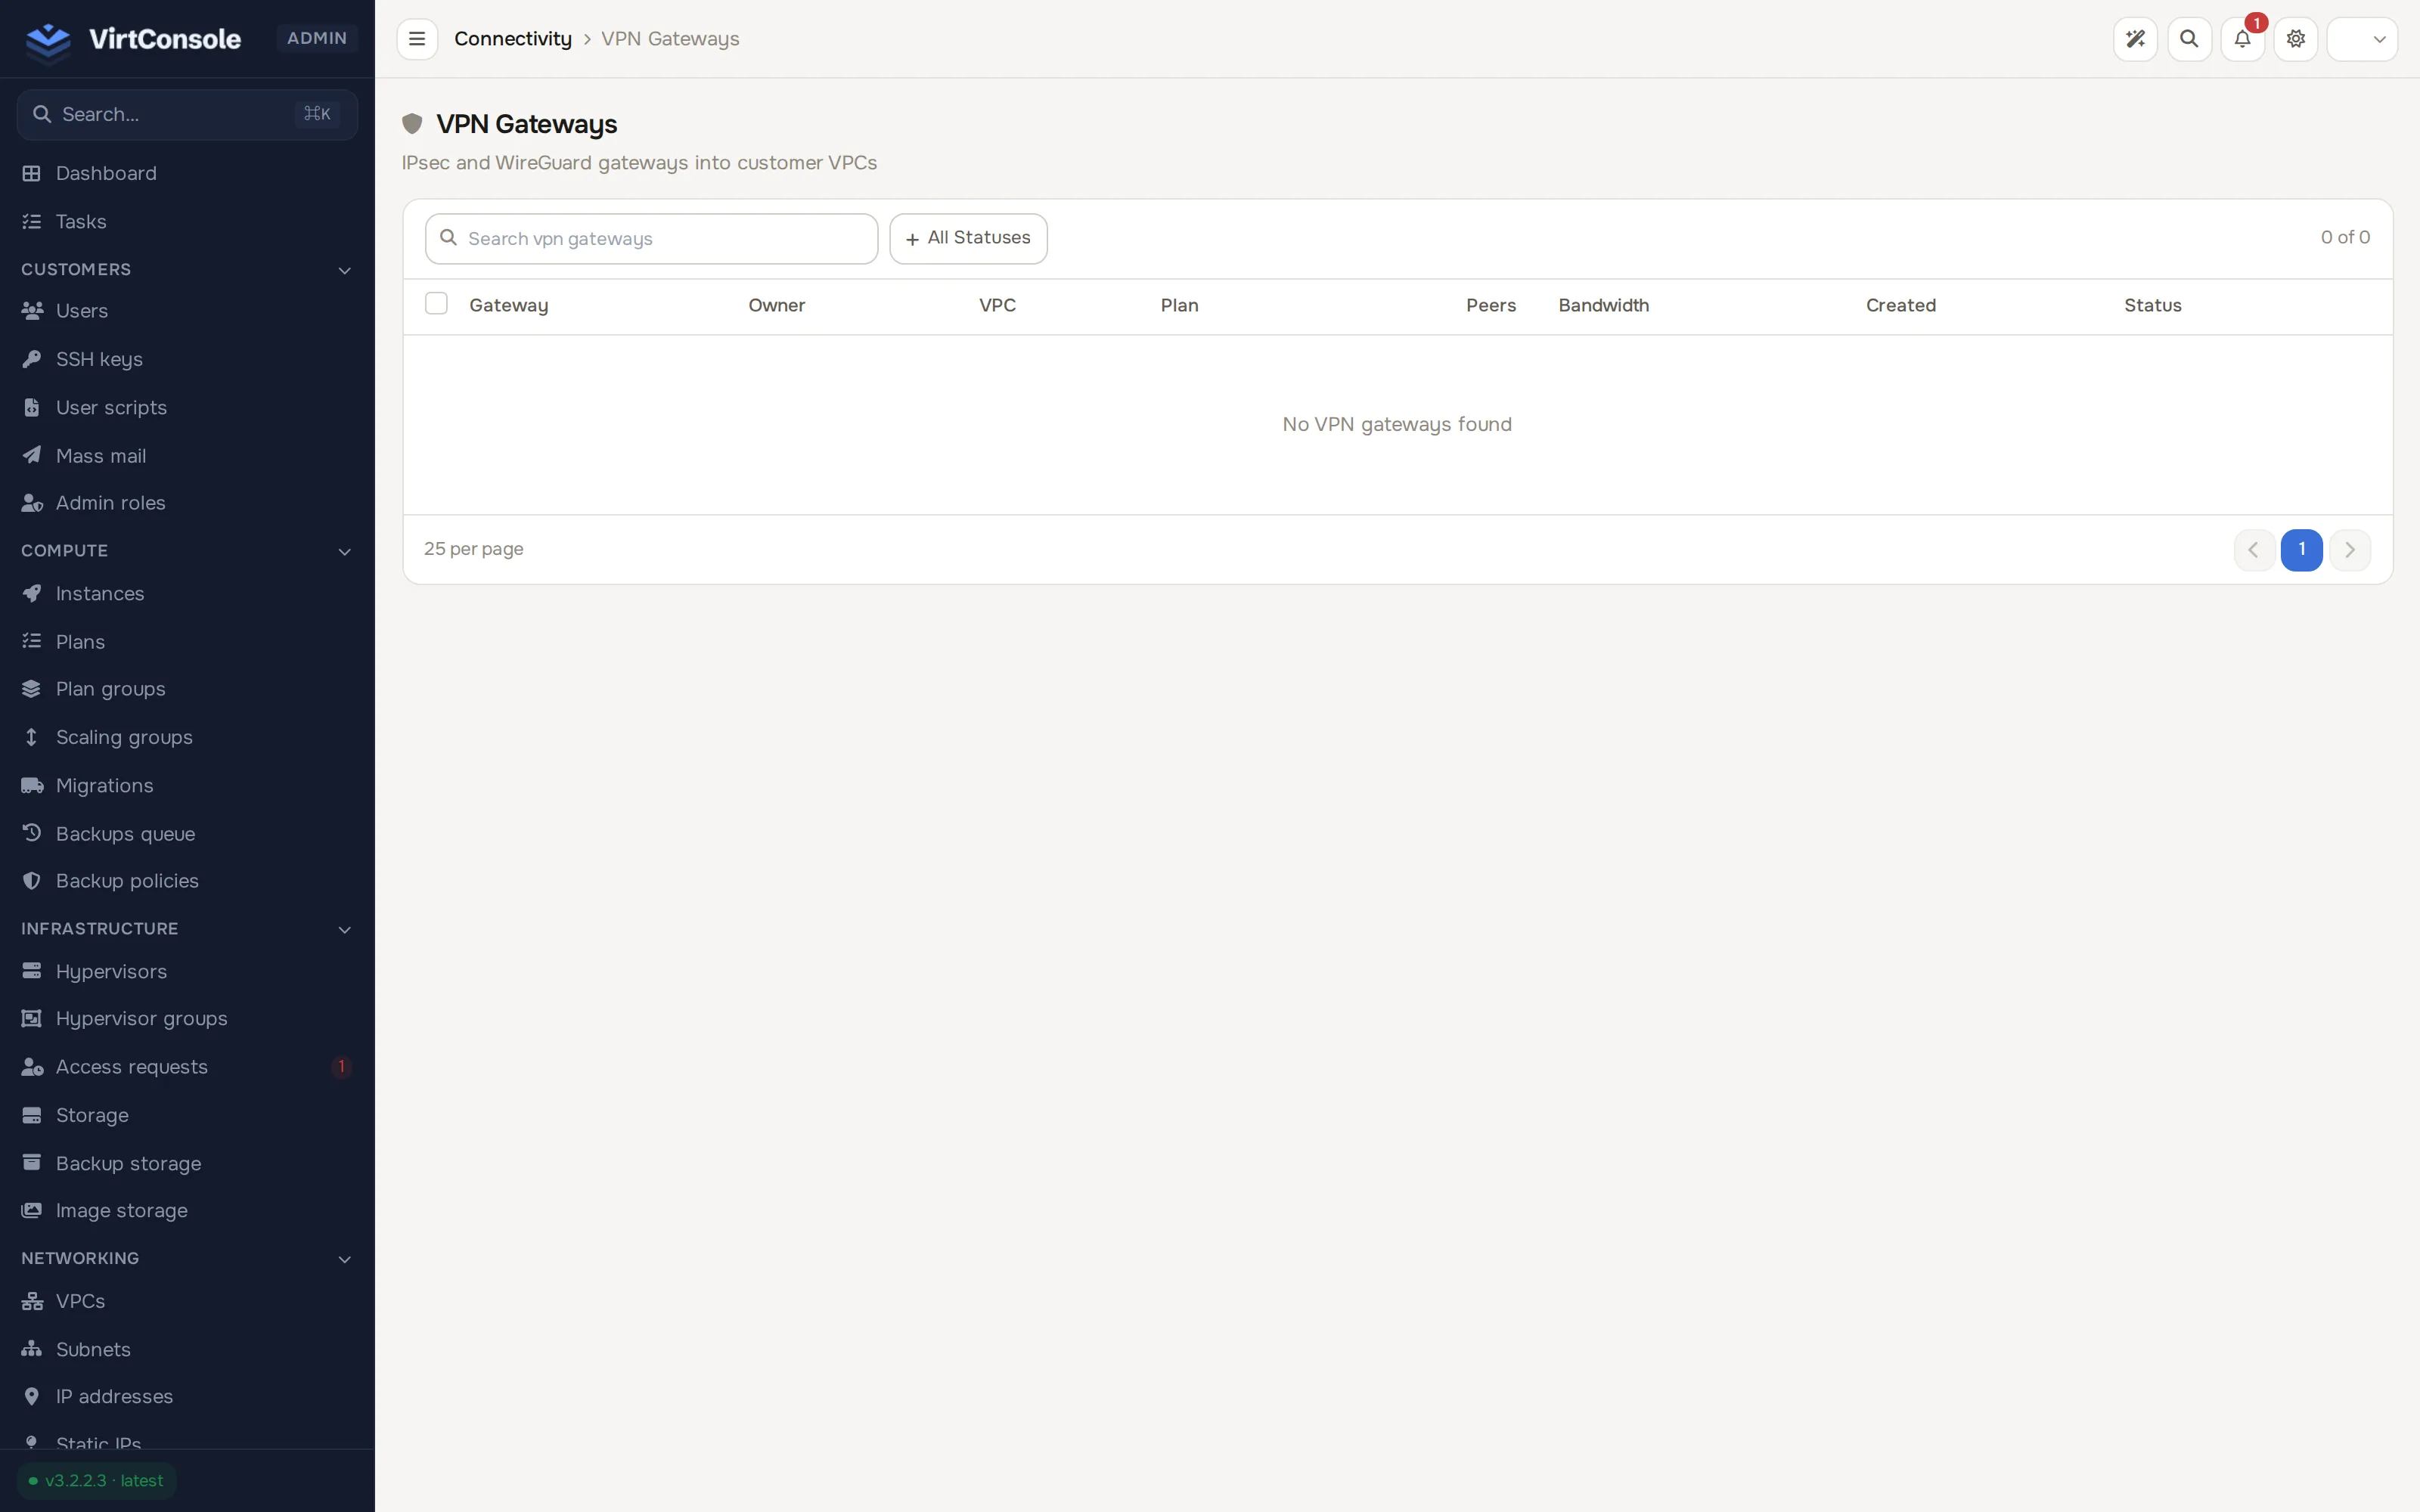
Section titled “View and manage gateways”Customers create gateways from the user panel. In the admin panel go to Networking > VPN gateways for the global list: gateway, owner, VPC, plan, peers, bandwidth, and created date. Filter by status.
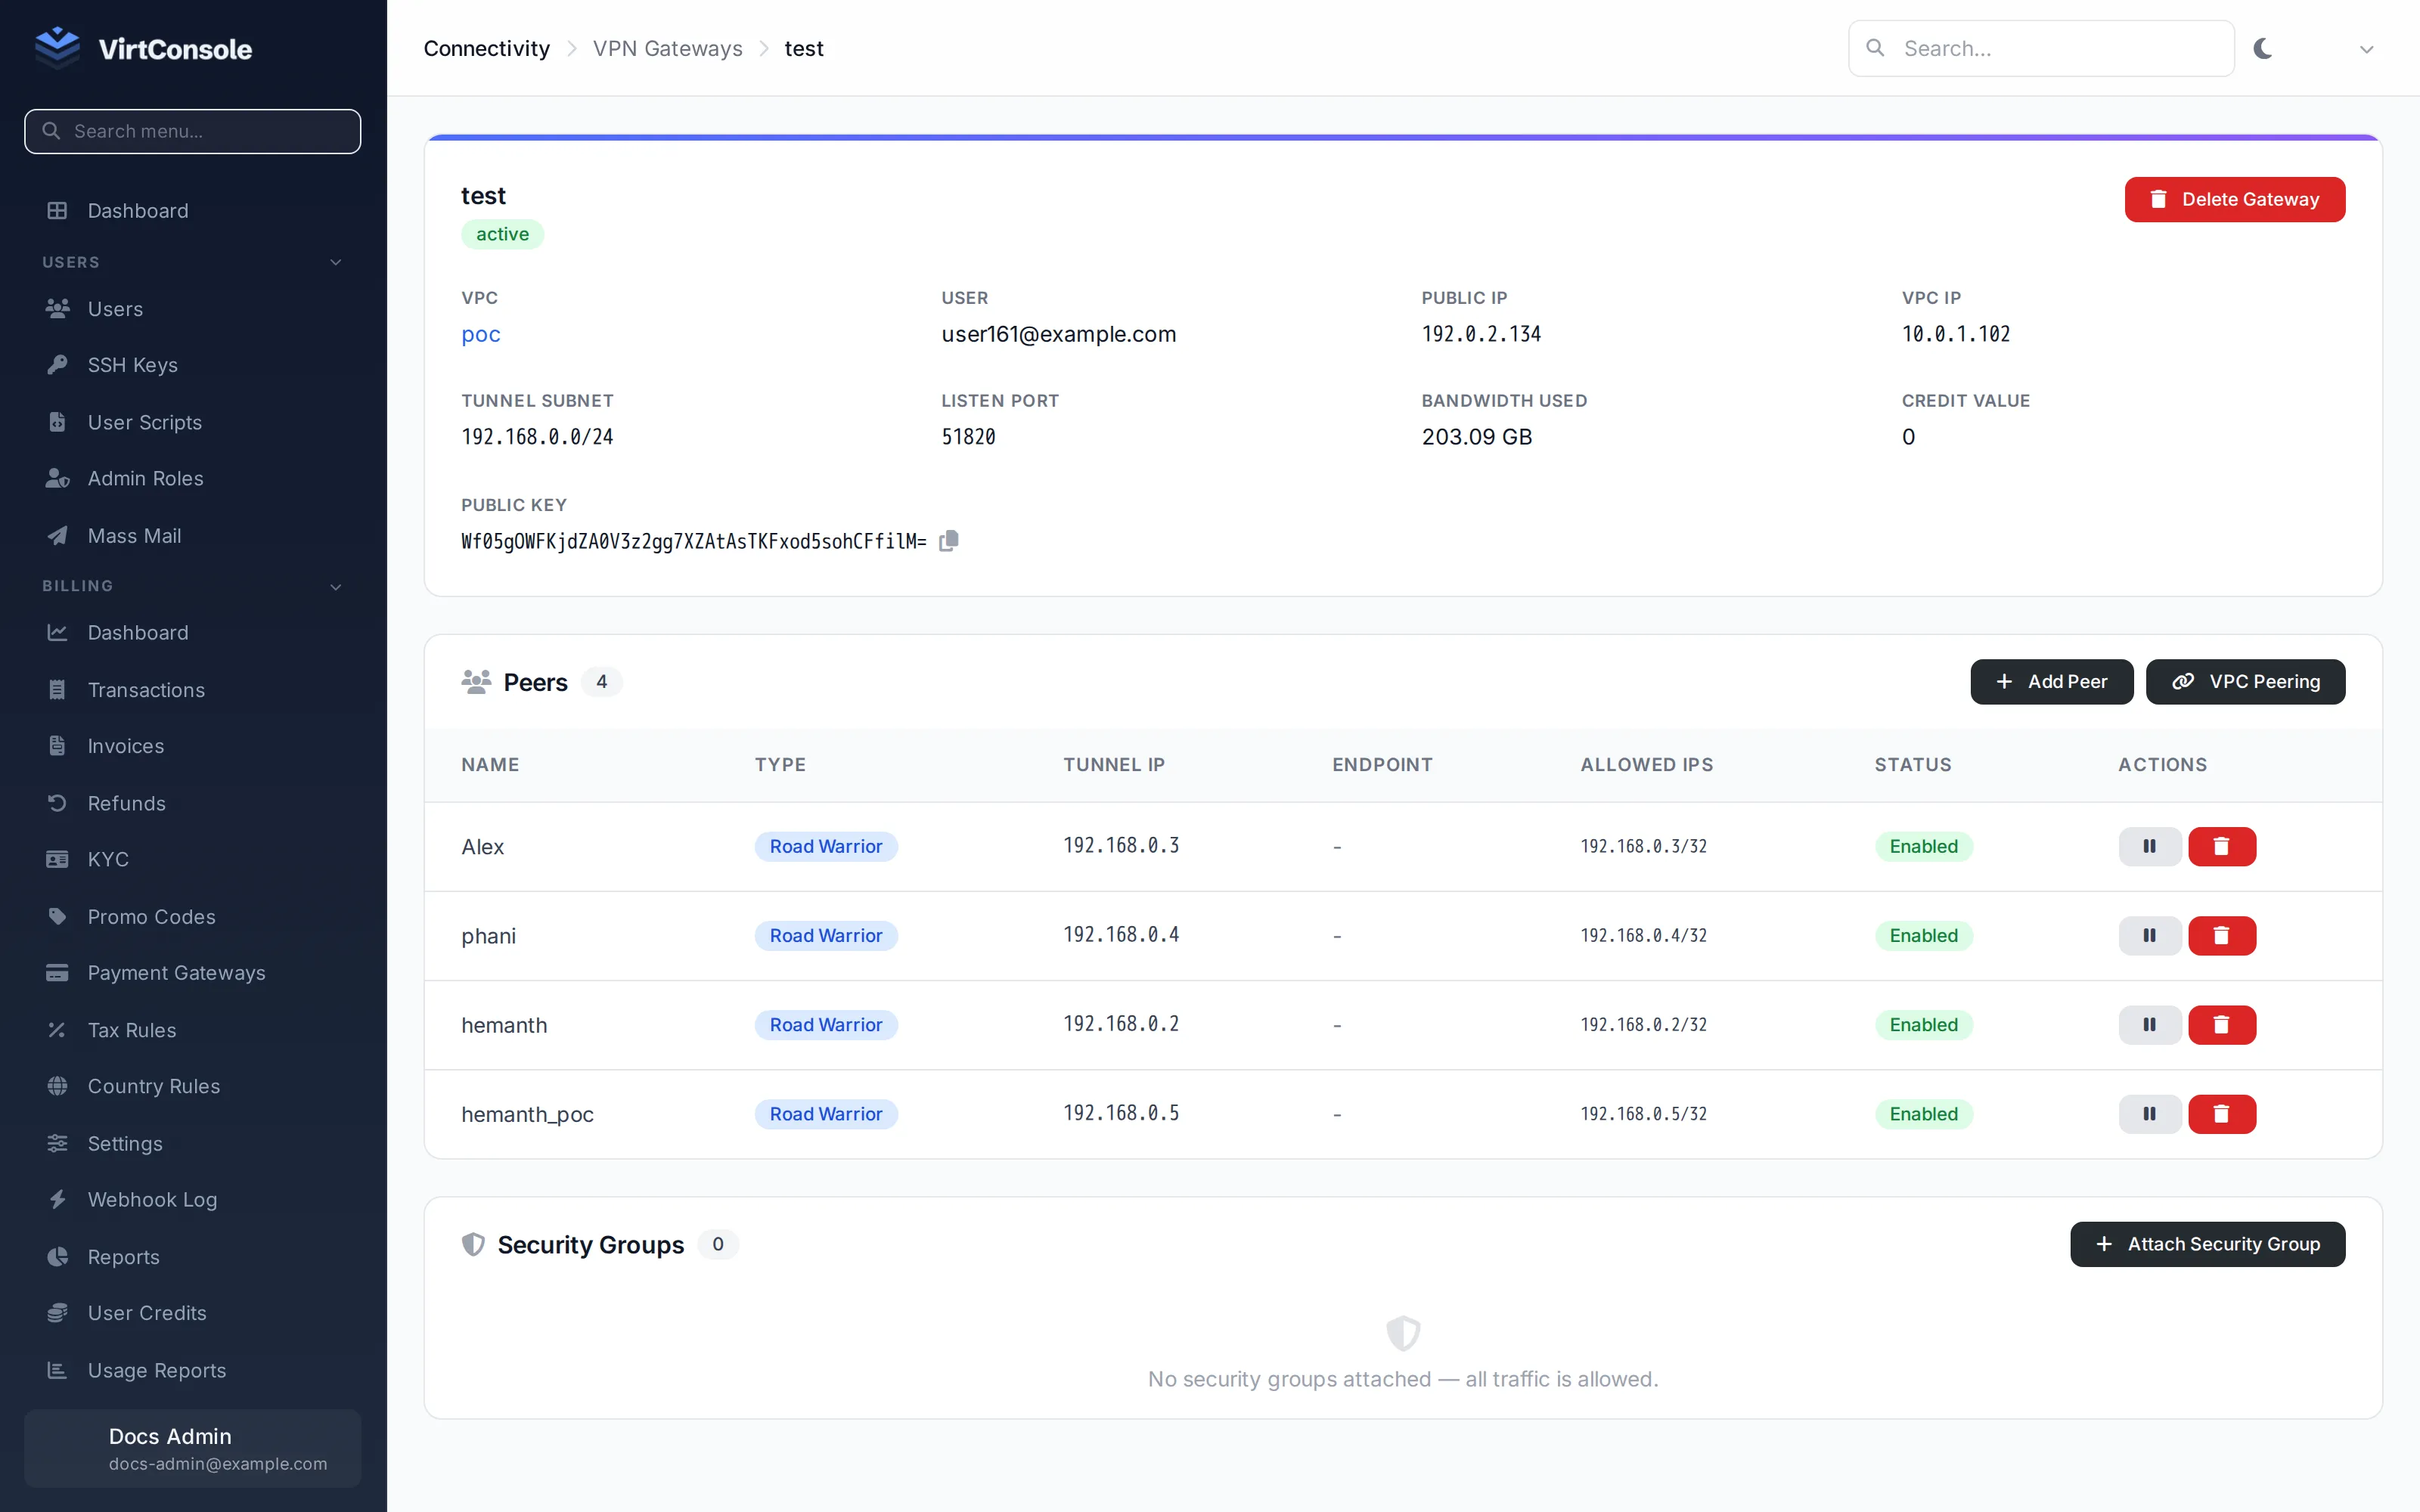
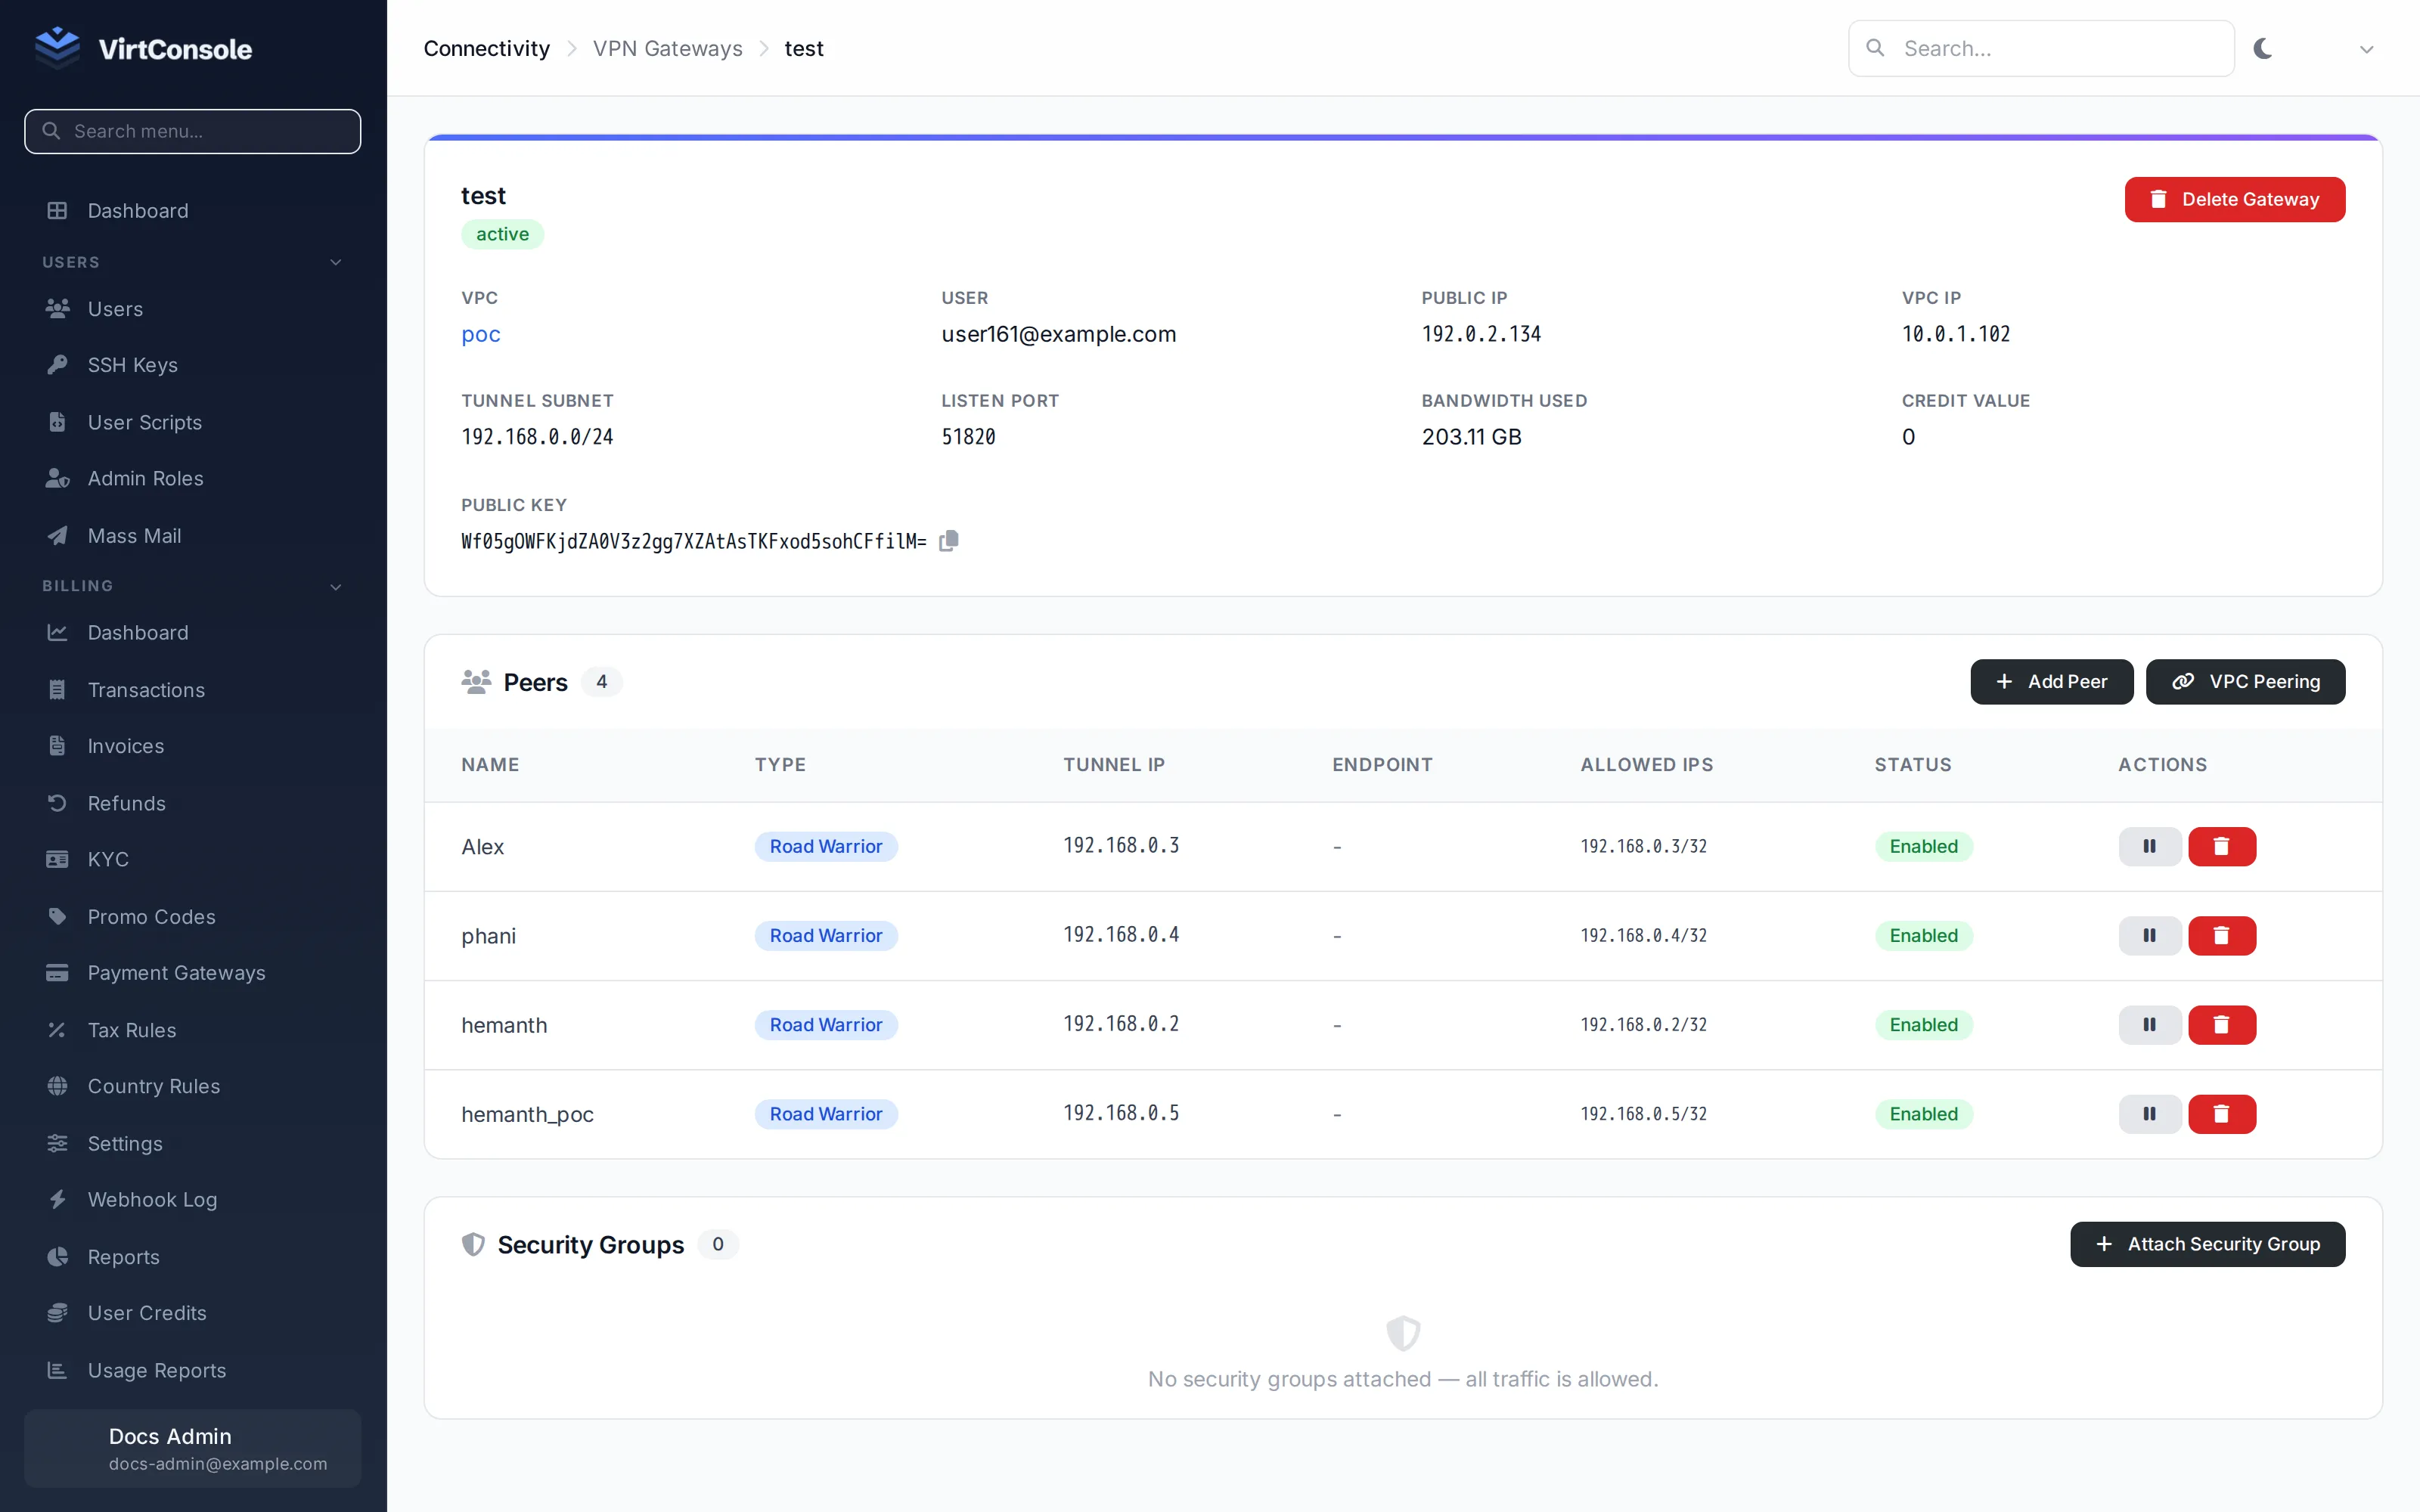
Open a gateway for its detail page. The header carries Add peer and Delete Gateway, and the page has four tabs:
- Overview. VPC, user, public IP, VPC IP, tunnel subnet, listen port, bandwidth used, credit value, and the gateway’s WireGuard public key (click to copy).
- Peers. The peers table, with Add Peer and VPC Peering actions.
- VPC Peering. The gateway’s VPC-to-VPC peering connections (a subset of its peers). See VPC peering.
- Security Groups. Groups attached to the gateway’s instance.
Add a peer
Section titled “Add a peer”On the Peers tab, click Add Peer:
| Field | What to enter |
|---|---|
| Type | Road Warrior (one remote device) or Site-to-Site (a tunnel to another network). |
| Name | For example my-laptop or office-network. |
| Public Key | The remote side’s WireGuard public key. Leave empty to auto-generate one. |
| Endpoint | The remote side’s public IP and port, for example 203.0.113.1:51820. Required for site-to-site, optional for road warriors. |
| Tunnel IP | Leave empty to auto-allocate. |
| Allowed IPs | Site-to-site only: comma-separated CIDRs routed into the tunnel, for example 192.168.0.0/16. |
| DNS | DNS servers pushed to the peer. |
| Preshared Key | An optional extra shared secret. |
| Keepalive | Seconds between keepalives. |
Each peer row has an enable/disable toggle and a delete action. Changes apply immediately without dropping the other peers.
For site-to-site, also configure the matching peer on the remote endpoint with the gateway’s public key, the gateway’s public IP and listen port, and the VPC subnet CIDRs. Once both sides are configured the tunnel comes up automatically.
Attach security groups
Section titled “Attach security groups”Use the Security Groups tab on the gateway page to attach groups to the gateway instance and control what reaches it. See Security groups.
User limits
Section titled “User limits”Each customer profile carries a Max VPN Gateways limit. The default is 5; 0 means unlimited. Edit it on the customer’s page under Customers > Users.
Delete a gateway
Section titled “Delete a gateway”Click Delete Gateway on the gateway page. Deleting bills the remaining hours for the current period, removes all peers including any VPC peerings on both sides, and discards all configuration.
Common problems
Section titled “Common problems”- Gateway stuck in Deploying. Check the deploy task, confirm the hypervisor has free RAM, storage, and public IPs, and confirm an enabled image with purpose
vpn_gatewayexists. - Peers cannot connect. Confirm the gateway’s detail page shows Connected, the endpoint and keys match on both sides, and UDP traffic on the listen port (default
51820) is not blocked. - Customers see no VPCs when creating a gateway. VPN gateway is not enabled on the VPC’s hypervisor group, or no plan group is linked.