

Cloud Service
Cloud Service is the panel’s built-in hourly billing model. Customers hold a credit balance, the platform meters their running resources every hour, and the cost is deducted from that balance. Use Cloud Service when you want pay-as-you-go pricing instead of fixed subscriptions handled by an external billing system.
Terms used on this page
Section titled “Terms used on this page”- Credit: the integer amount of money on a customer’s account, stored in cents. The currency record converts credit into display prices.
- Location: a hypervisor group shown to customers under that name. When a customer picks a location, the panel picks a hypervisor inside it.
- Plan: a fixed bundle of CPU, RAM, disk and bandwidth with a monthly credit price.
- Plan group: a labelled set of plans shown together inside a location, for example “High Compute” or “Budget”.
Before you begin
Section titled “Before you begin”- At least one hypervisor is connected, and the hypervisor groups you want to sell as locations exist. See Hypervisor groups.
- Instance plans exist. See Instance plans.
- At least one currency is configured. See Currencies.
1. Enable billing and choose the display format
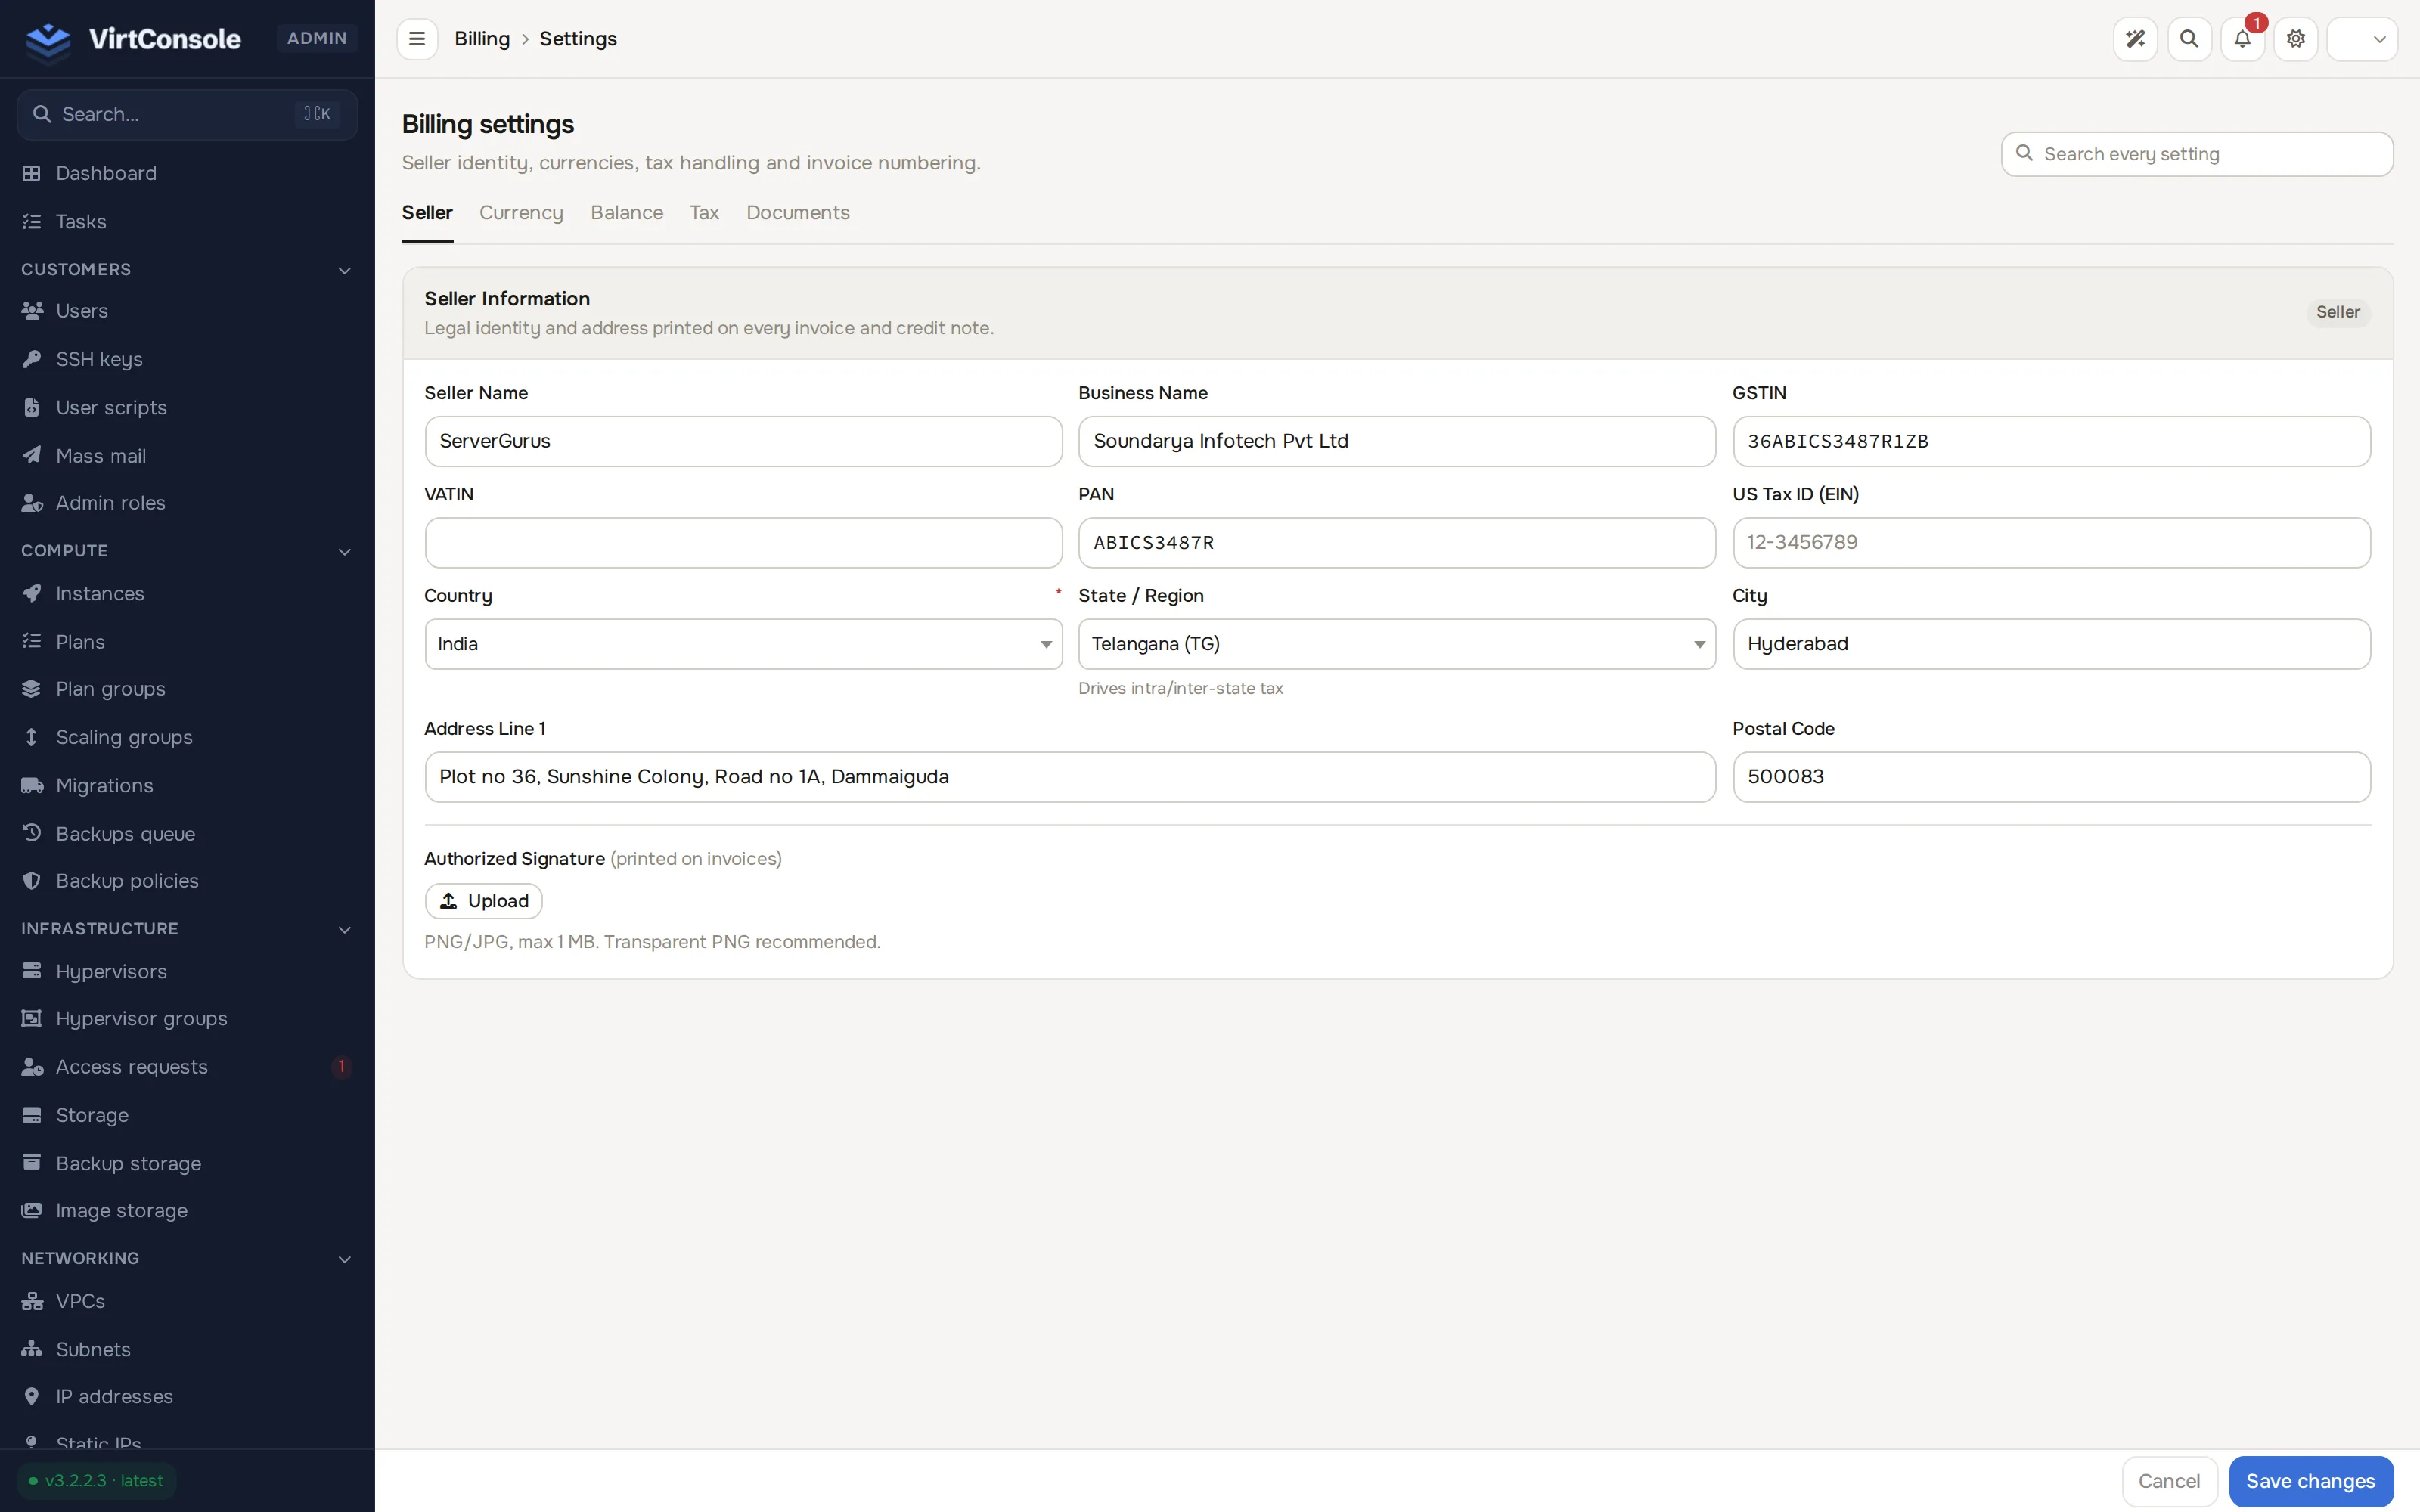
Section titled “1. Enable billing and choose the display format”In the admin panel go to Billing > Billing settings. The page opens on a row of tabs (Seller, Currency, Balance, Tax, Documents); open the Currency tab and find the Billing & Currency Display card.
| Setting | What it does |
|---|---|
| Billing enabled | The master switch for paid Cloud Service. With it off, billed add-ons (managed databases, volumes, static IPs) are unavailable to regular customers because the platform cannot charge for them. Admins and accounts on unbilled provisioning are exempt. |
| Show prefix / Show suffix | Whether prices show the currency symbol before or after the amount. Enable only one of the two to avoid a display like RS.100 INR. |
| Order Form Pricing | What the create-instance screen quotes: Monthly, Hourly, or Monthly & Hourly. |
| Hours Per Month | The divisor used to turn a plan’s monthly credit price into an hourly rate. Typically 720. |
2. Set balance thresholds
Section titled “2. Set balance thresholds”Still on Billing > Billing settings, switch to the Balance tab and open the Balance Thresholds & Policy card. These settings control how the platform reacts as a customer’s balance drops.
| Setting | What it does |
|---|---|
| Low Balance Threshold | When the balance reaches this value, the customer gets a top-up reminder email (if the email switch below is on). |
| Negative Balance Threshold | A second email goes out when the balance falls below zero past this point. |
| Suspension Threshold | When the balance falls below this value, the customer’s instances are suspended so no further charges accrue (if the suspension switch below is on). |
| Max Negative (block creation) | How far negative a balance may go before new instance creation is blocked. |
| Require positive balance to create | With this on, customers with a negative balance cannot create new instances. |
| Email on low/negative balance | Sends the reminder emails described above. |
| Suspend on negative balance | Enables automatic suspension below the suspension threshold. |
Auto-resume works the same way in reverse: when a suspended customer tops back up above the threshold, the platform resumes their instances. Suspension and resume run from the task queue; you can watch both under Tasks (top of the sidebar, above the Customers group).
3. Create plan groups
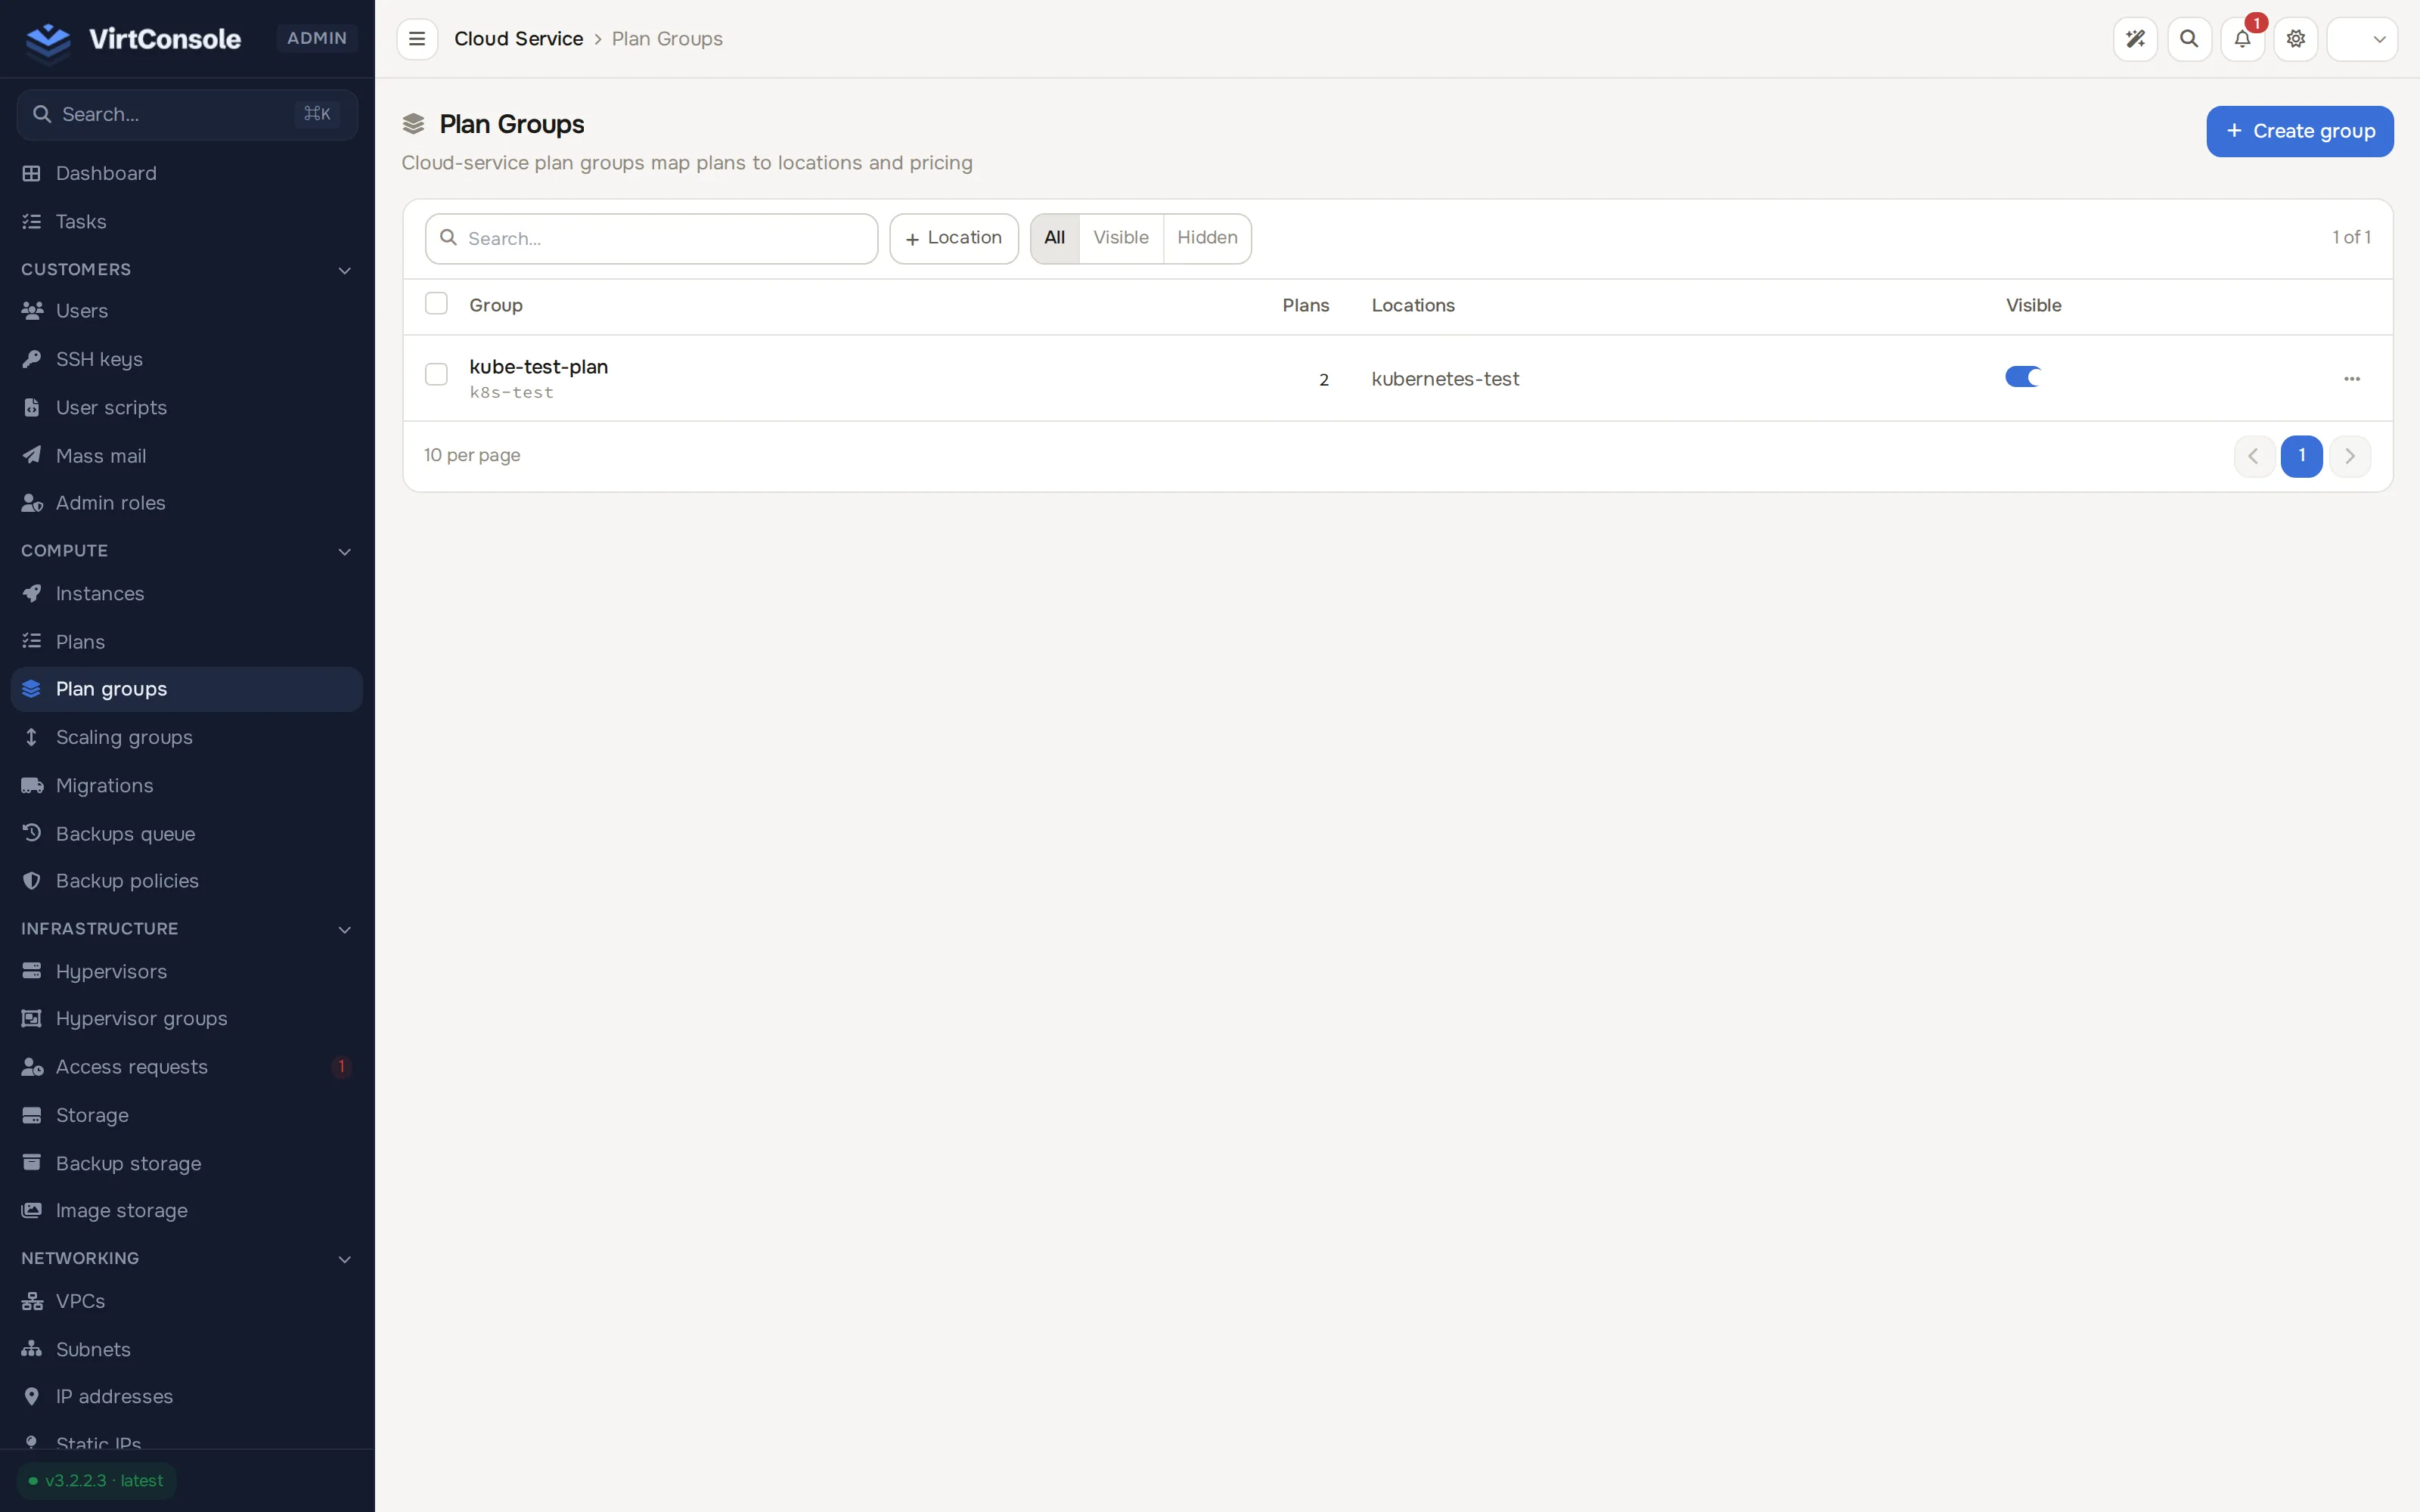
Section titled “3. Create plan groups”In the admin panel go to Compute > Plan groups and click Create group. The Add Plan Group dialog opens.
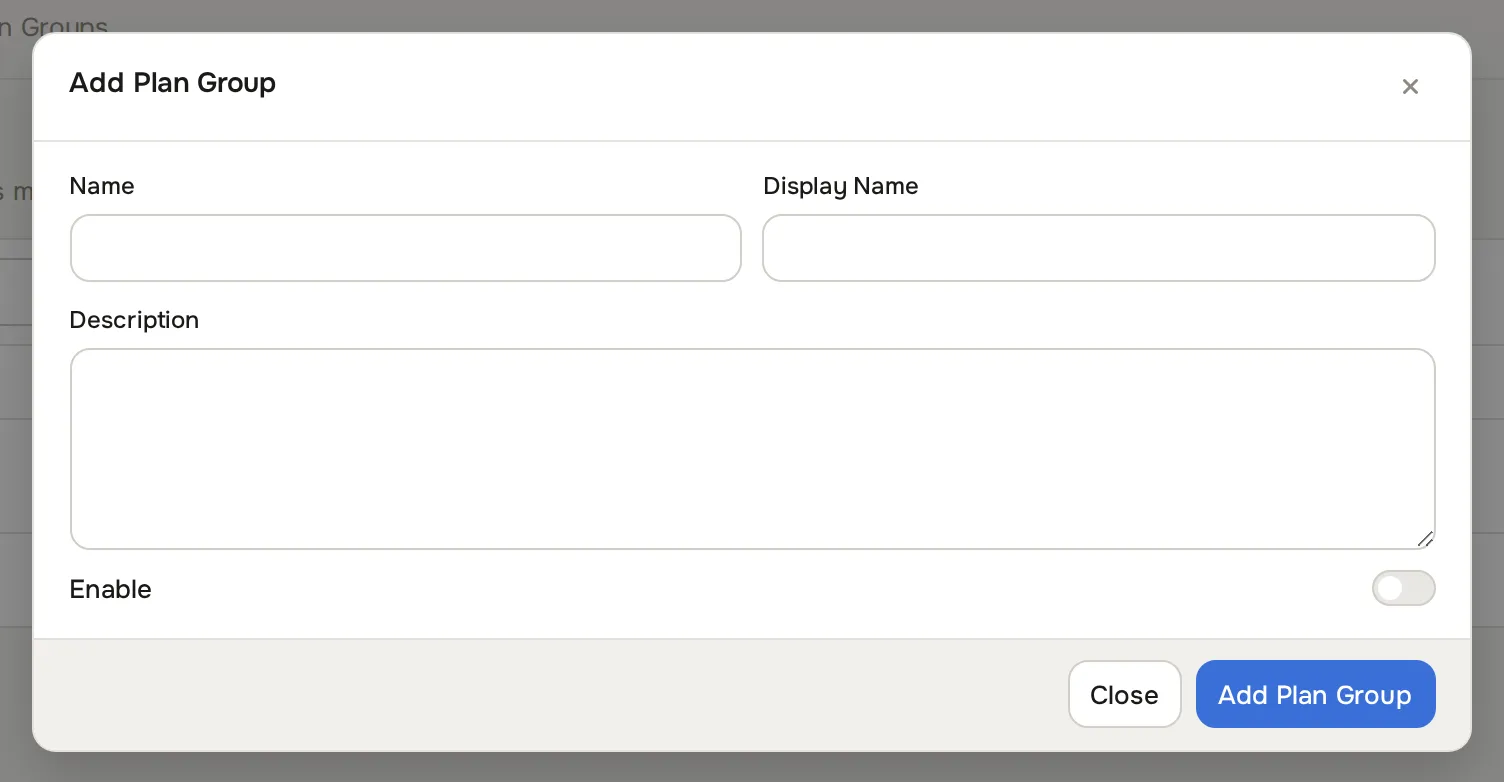
| Field | What to enter |
|---|---|
| Name | An internal identifier, for example high-compute. |
| Display Name | What customers see on the create-instance screen, for example High Compute. |
| Description | A short line shown to customers under the group. |
| Enable | Whether the group is selectable. |
Save with Add Plan Group. Then click the group’s row to open its management panel: the Plans card lists every plan with a checkbox (“x of y selected”) to add it to the group, and the Locations card does the same for hypervisor groups. A plan belongs to one plan group; the group is what the customer picks first, and its plans appear under it. The panel’s pencil icon lets you edit the group’s Name, Display Name, Description and Enable toggle in place.
Common groupings: compute-heavy, storage-heavy, bandwidth-heavy, budget vs premium tiers.
4. Price the plans
Section titled “4. Price the plans”Open a plan under Compute > Plans. The Cloud Service fields are:
- Credit Price per month: the plan’s cost in credit per month. The hourly rate is this value divided by Hours Per Month from step 1.
- Plan Group: the group the plan appears under.
- The hypervisor groups the plan can deploy to. A customer only sees plans available in their chosen location.
Credit values are integers in cents. A plan priced at $0.05 per hour in a 720-hour month is 36000 credit per month when 1 credit equals $0.0001. Always double-check against your currency’s conversion rate. See Currencies.
5. Grant location access
Section titled “5. Grant location access”Customers pick a location first on the create-instance screen. Control who sees what on the customer’s user page (Customers > Users, click the customer’s row): the Cloud Service tab has a Location Access Mode seg control (All or Selected) and a per-location Granted Locations toggle list.
A customer can also click Request access on a locked location. The request lands in Infrastructure > Access requests, where you Approve or Deny it. The same pending requests show Approve and Deny buttons on the customer’s Cloud Service tab.
6. Manage credit manually
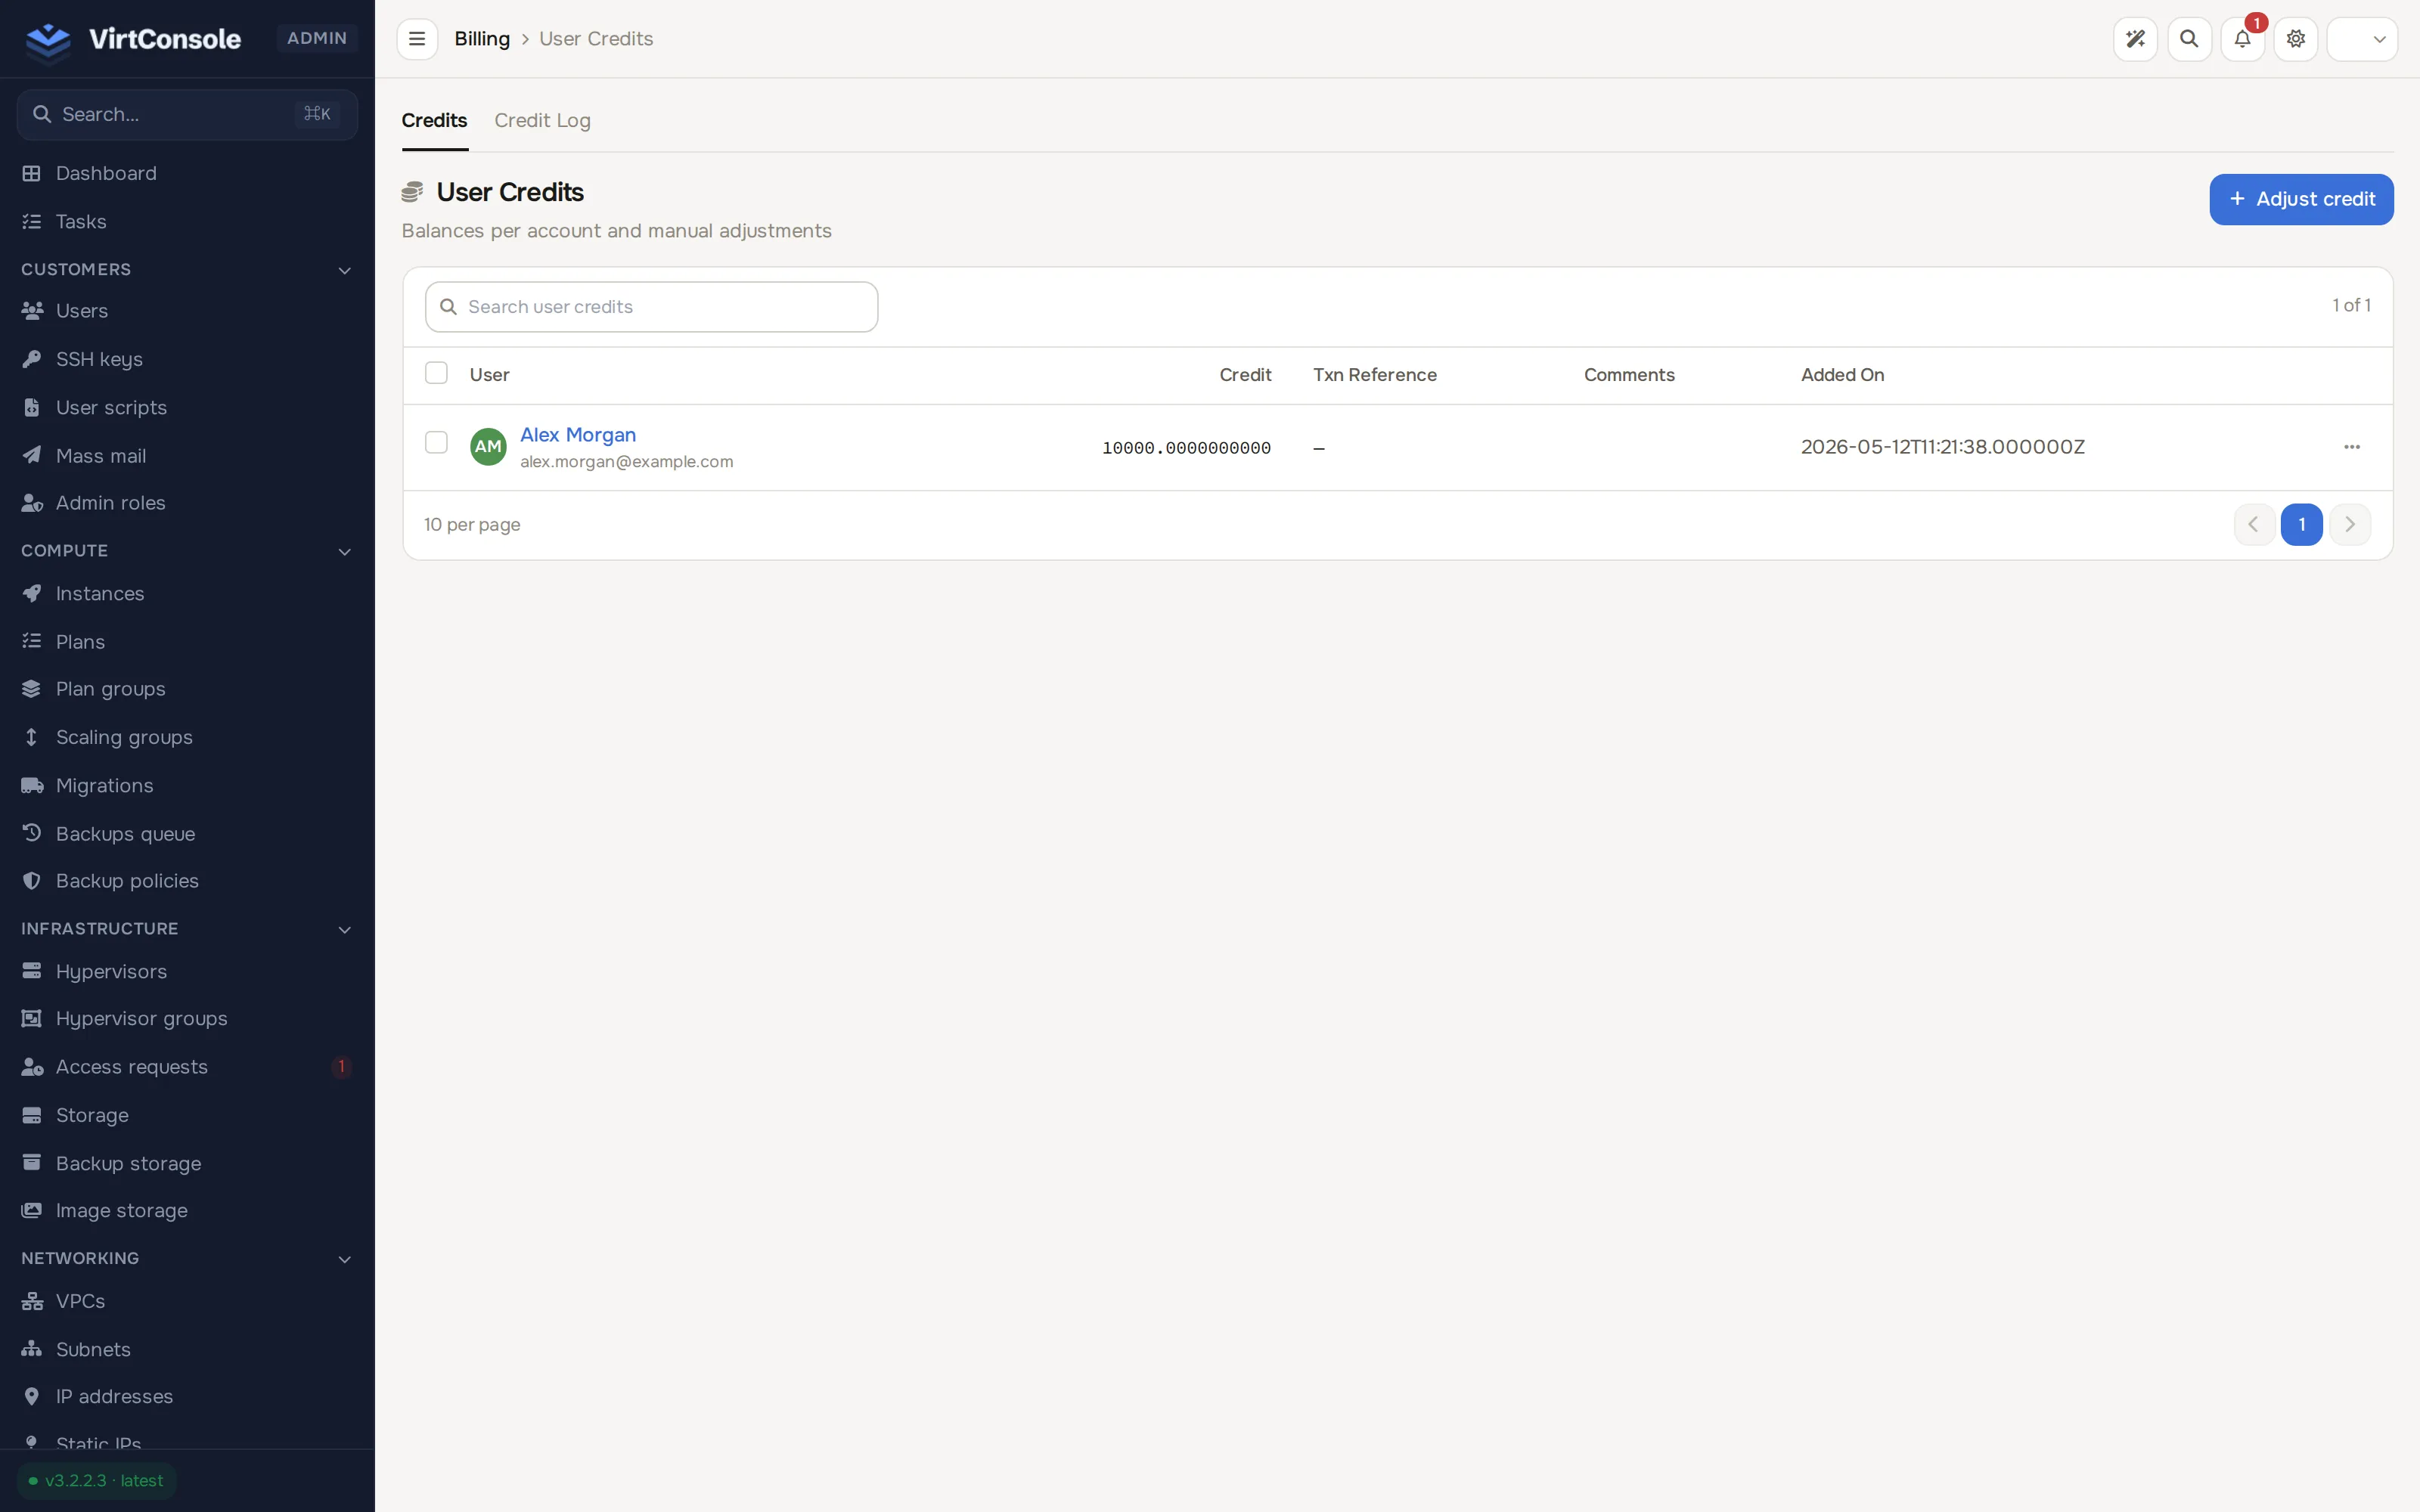
Section titled “6. Manage credit manually”Go to Billing > User credits. The page opens two tabs: Credits and Credit Log. On the Credits tab click Adjust credit to adjust a balance by hand, for a promotion, a goodwill refund or a correction:
| Field | What to enter |
|---|---|
| User | The customer to credit (type to search). |
| Credit amount | The amount to add. |
| Txn Reference | An external reference, for example the support ticket that authorised the adjustment. |
| Comments | Why the adjustment was made. |
Click Apply. The Credit Log tab (pick a user from the User filter) records every change with the before and after balance, so manual adjustments stay auditable. The customer sees the new balance on their dashboard immediately. You can also post an adjustment straight from the customer’s own page: Add credit in the header of their user detail page opens the same form.
7. Check usage
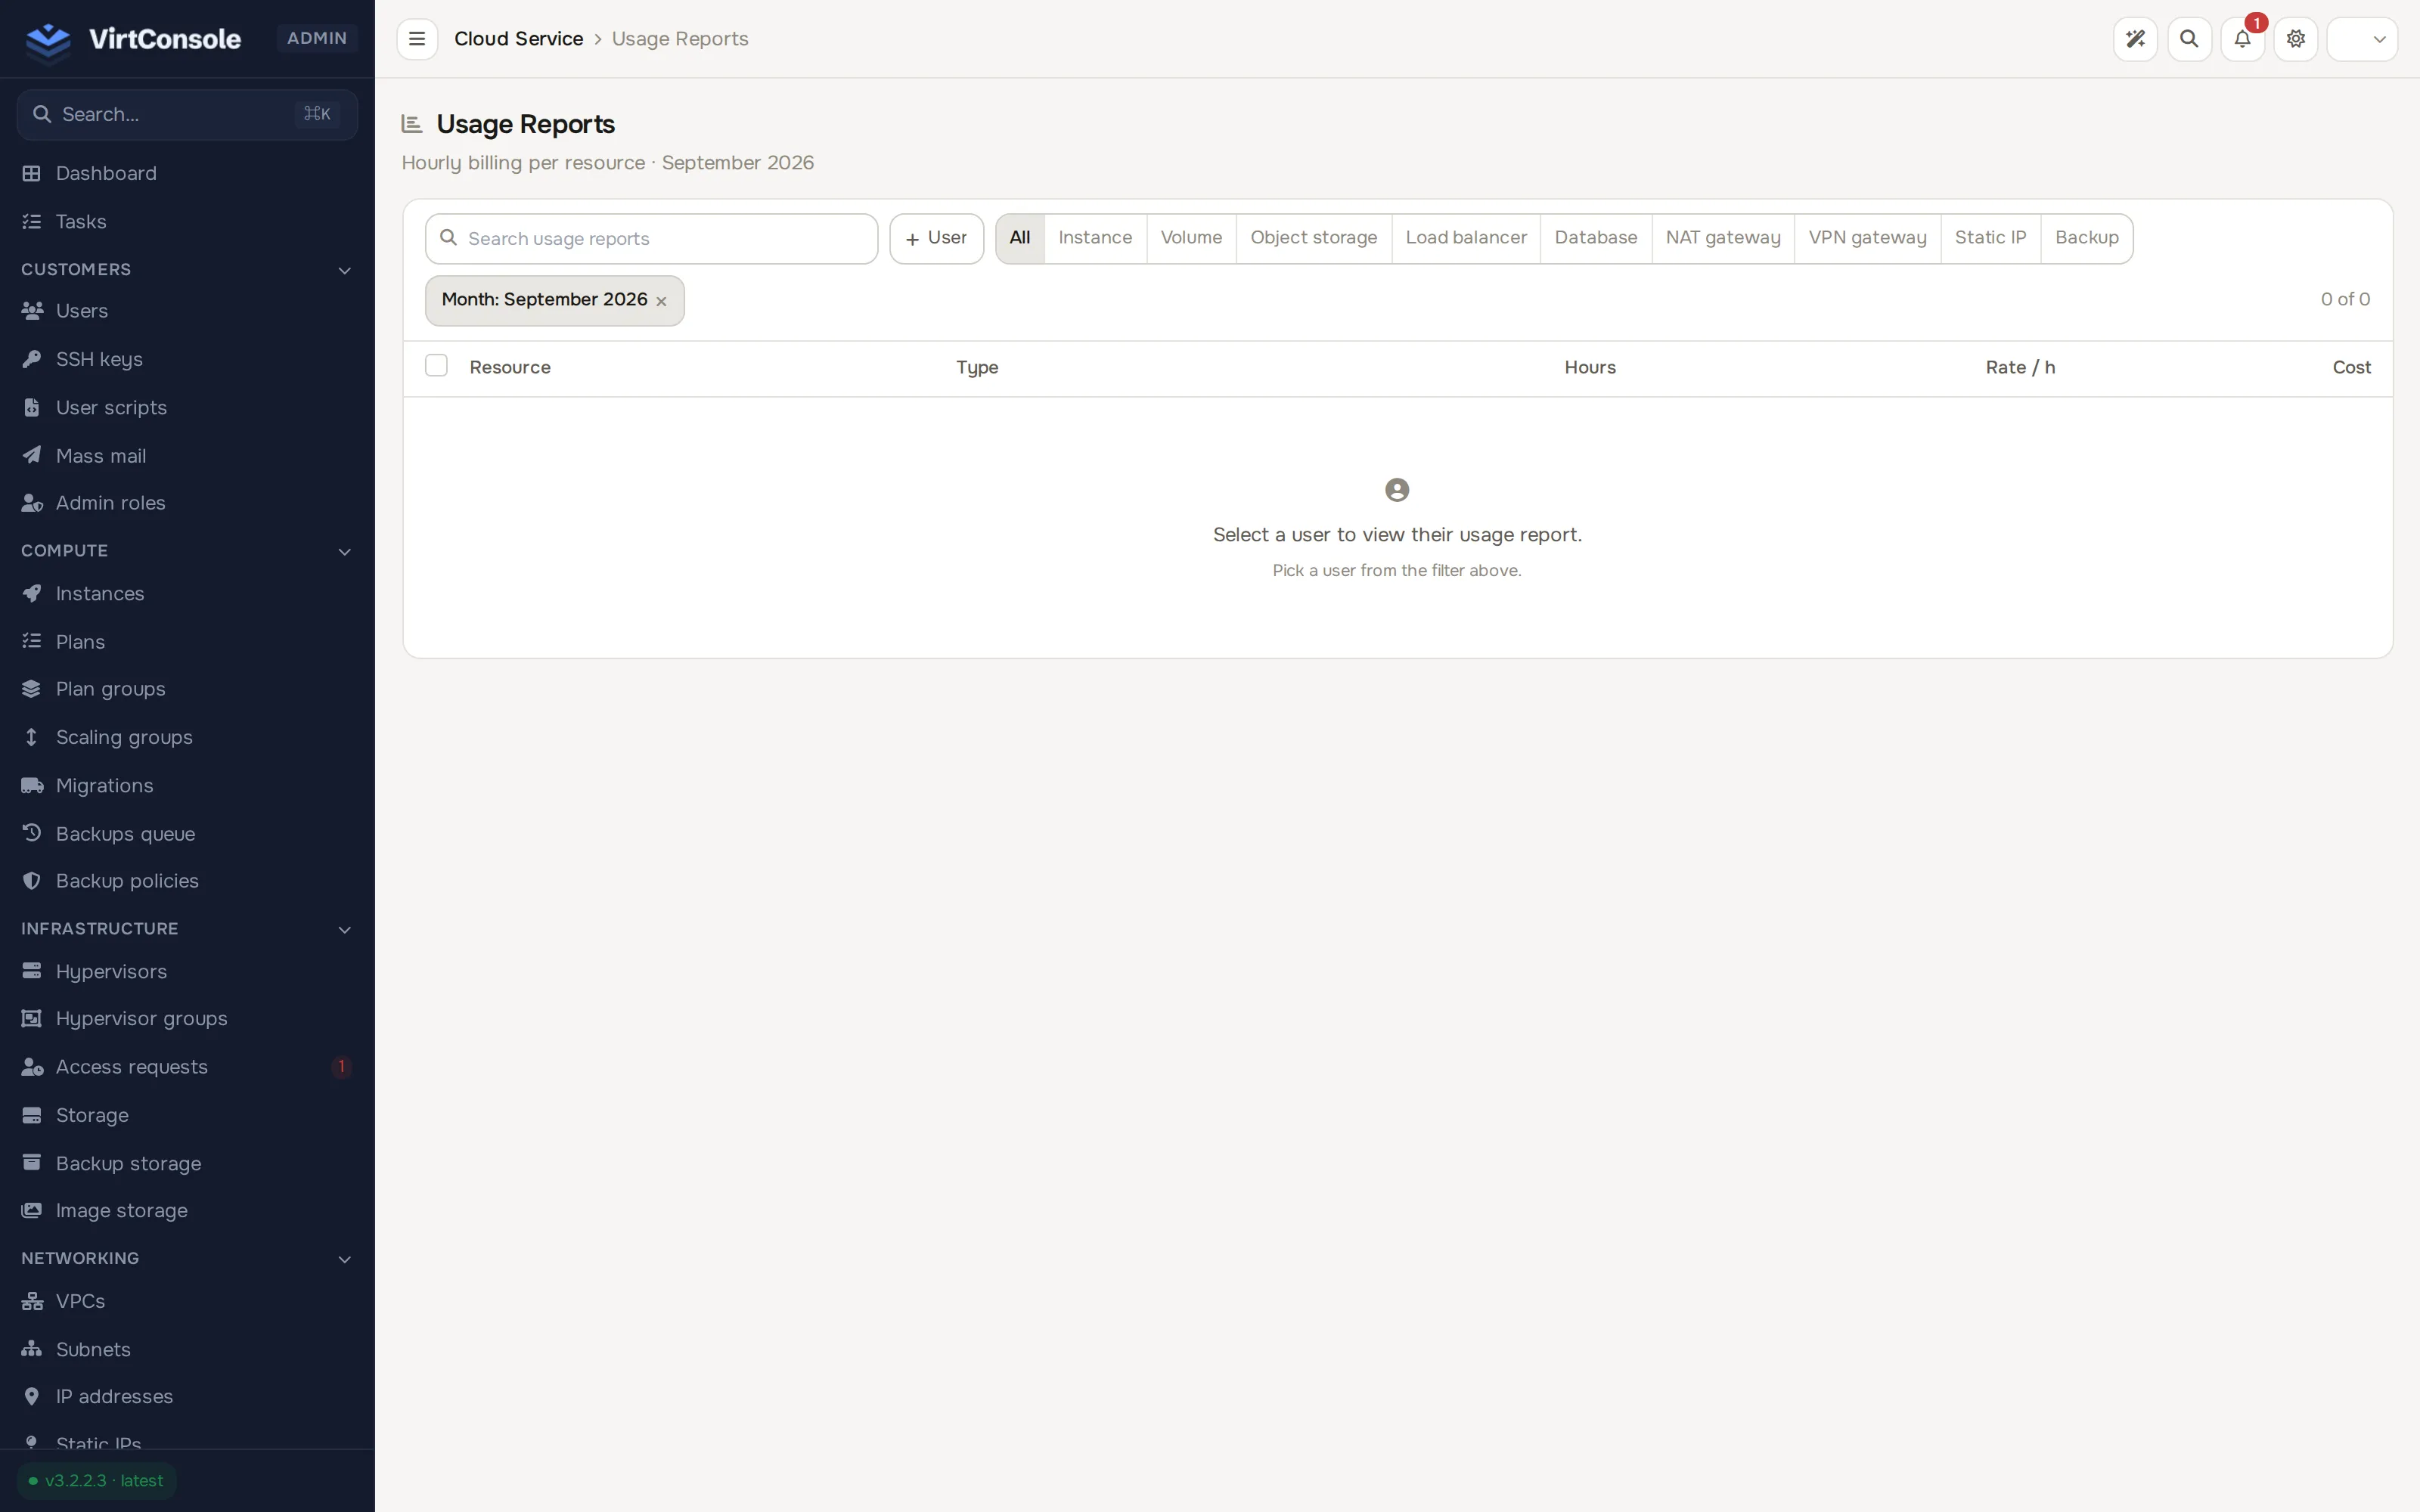
Section titled “7. Check usage”Go to Billing > Usage reports. Pick a customer and a month from the filters at the top. The report lists each resource with its state, period, usage, rate and amount, so you can answer “what did this customer consume this month?” without leaving the panel.
What happens next
Section titled “What happens next”With billing enabled, priced plans in enabled groups, and locations granted, customers can deploy from the user panel. Their create-instance flow starts with a location, then a plan group, then a plan, with the hourly cost quoted before they confirm. That flow is documented in Create an instance (user guide). Cloud Service instances also appear under Compute > Instances alongside instances from other billing models.
Common problems
Section titled “Common problems”- A plan does not appear in the customer’s create-instance flow. It has no plan group, its plan group is not enabled, or the plan is not allowed in the customer’s chosen location. Check all three.
- Prices look wrong in a currency. The currency’s rate value converts credit into display prices. Check it under Billing > Billing settings, Currency tab, in the Currencies card. See Currencies.
- A customer was suspended unexpectedly. Their balance crossed the Suspension Threshold. Check the balance history under Billing > User credits and the suspension task under Tasks.