

Media groups
A media group is a labeled set of OS images shown together, for example “Linux” or “Windows”. Two things consume them: the create-instance screen groups its OS picker by media group, and each instance plan chooses which media groups it offers, so a Windows-only plan can show only Windows images.
Where to find it
Section titled “Where to find it”In the admin panel go to Media & DNS > Media groups.
The list shows each group’s Name with Edit and Remove actions.
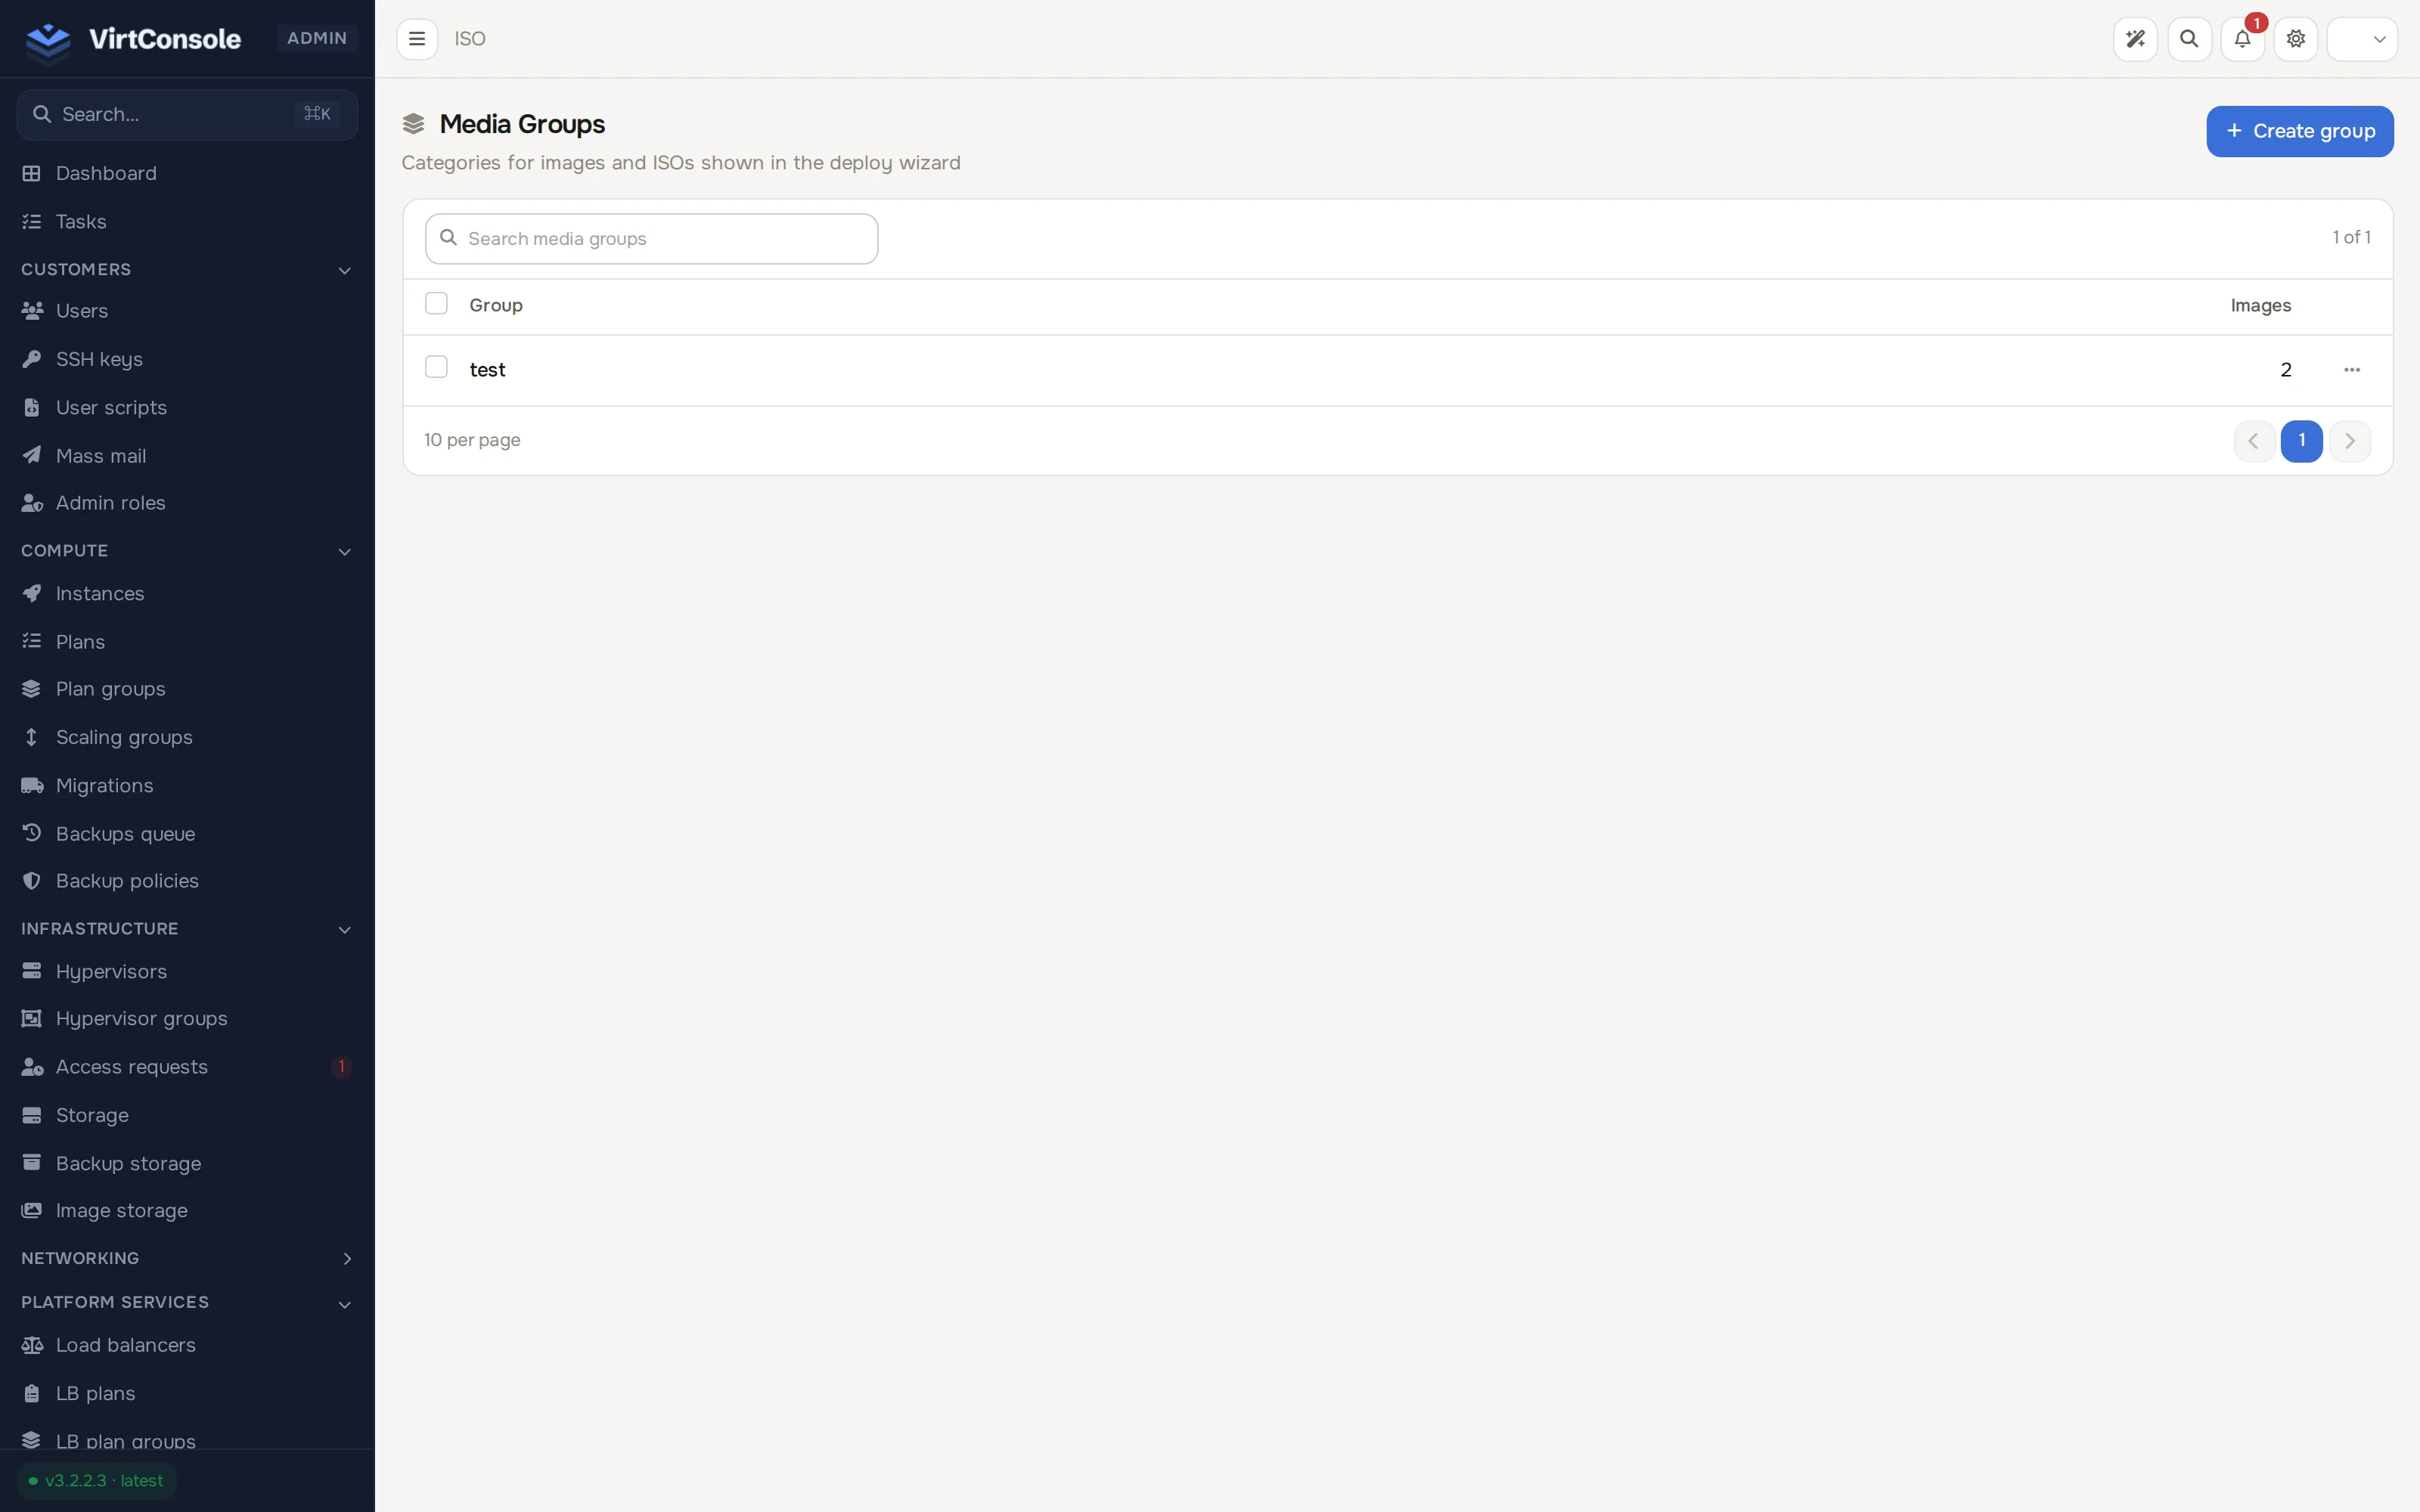
Create a media group
Section titled “Create a media group”-
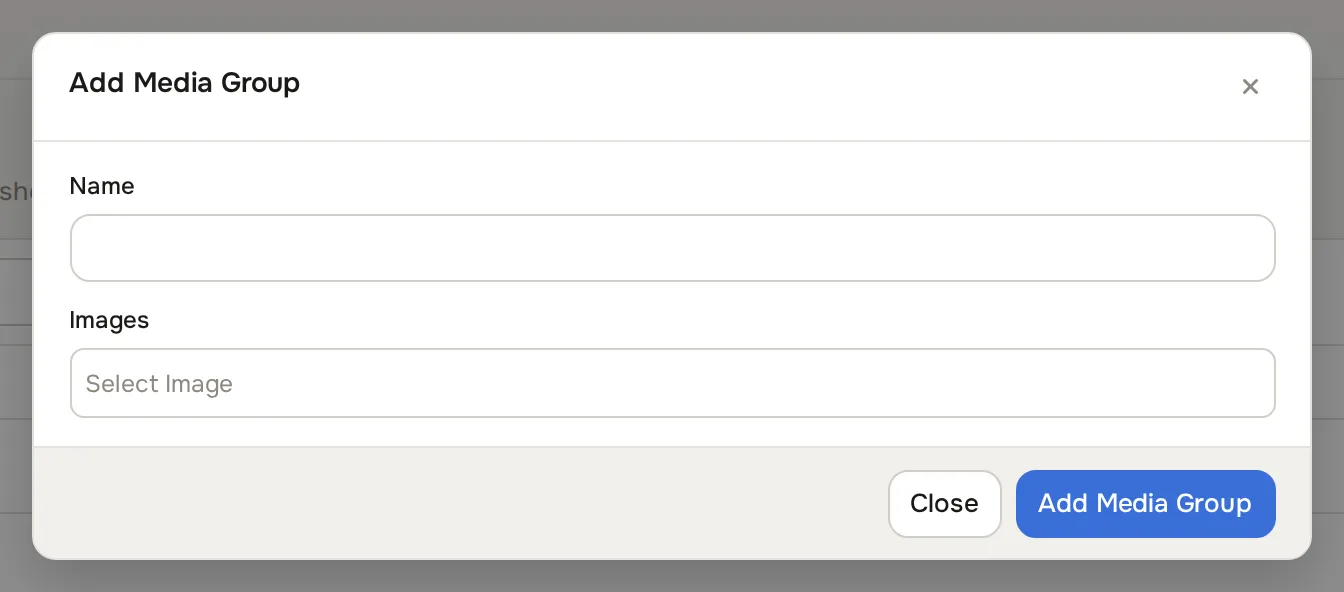
Click Add Media Group. The Add Media Group dialog opens.
-
Enter a Name customers will recognise, for example
Linux. -
Pick the Images that belong to the group. The field is a multi-select over every registered image.
-
Click Add Media Group. The group appears in the list.
To change the name or membership later, click Edit on the row, adjust, and click Update Media Group.
What happens next
Section titled “What happens next”Attach the group to plans from Compute > Plans (the Media Groups field on the plan form). Customers creating an instance with that plan see the group’s images grouped under its name. Images are managed separately; see OS images.
Common problems
Section titled “Common problems”- A plan offers no images. The plan has no media groups attached, or its groups are empty. Edit the plan and add a group that contains images.
- A new image does not show up for customers. Add it to a media group first, then make sure that group is attached to the plan and the image is public and enabled.