

VPN gateways
A VPN gateway is a small managed instance inside one of your VPCs running WireGuard, a modern encrypted VPN. It gives you two kinds of secure access into the VPC:
- Road-warrior (remote access): individual devices (a laptop, a phone) dial in and reach private resources in the VPC.
- Site-to-site: a permanent encrypted tunnel between the VPC and another network, such as your office or another cloud.
Key facts: one VPN gateway per VPC; peer changes apply immediately without dropping other connections; gateways are billed hourly, with optional per-GB bandwidth charges depending on your provider’s pricing.
Before you begin
Section titled “Before you begin”- A VPC in a location where your provider has enabled VPN gateways. See VPC networks.
- Enough credit balance for the gateway’s hourly rate.
Where to find it
Section titled “Where to find it”In the user panel go to Networking > VPN gateways.
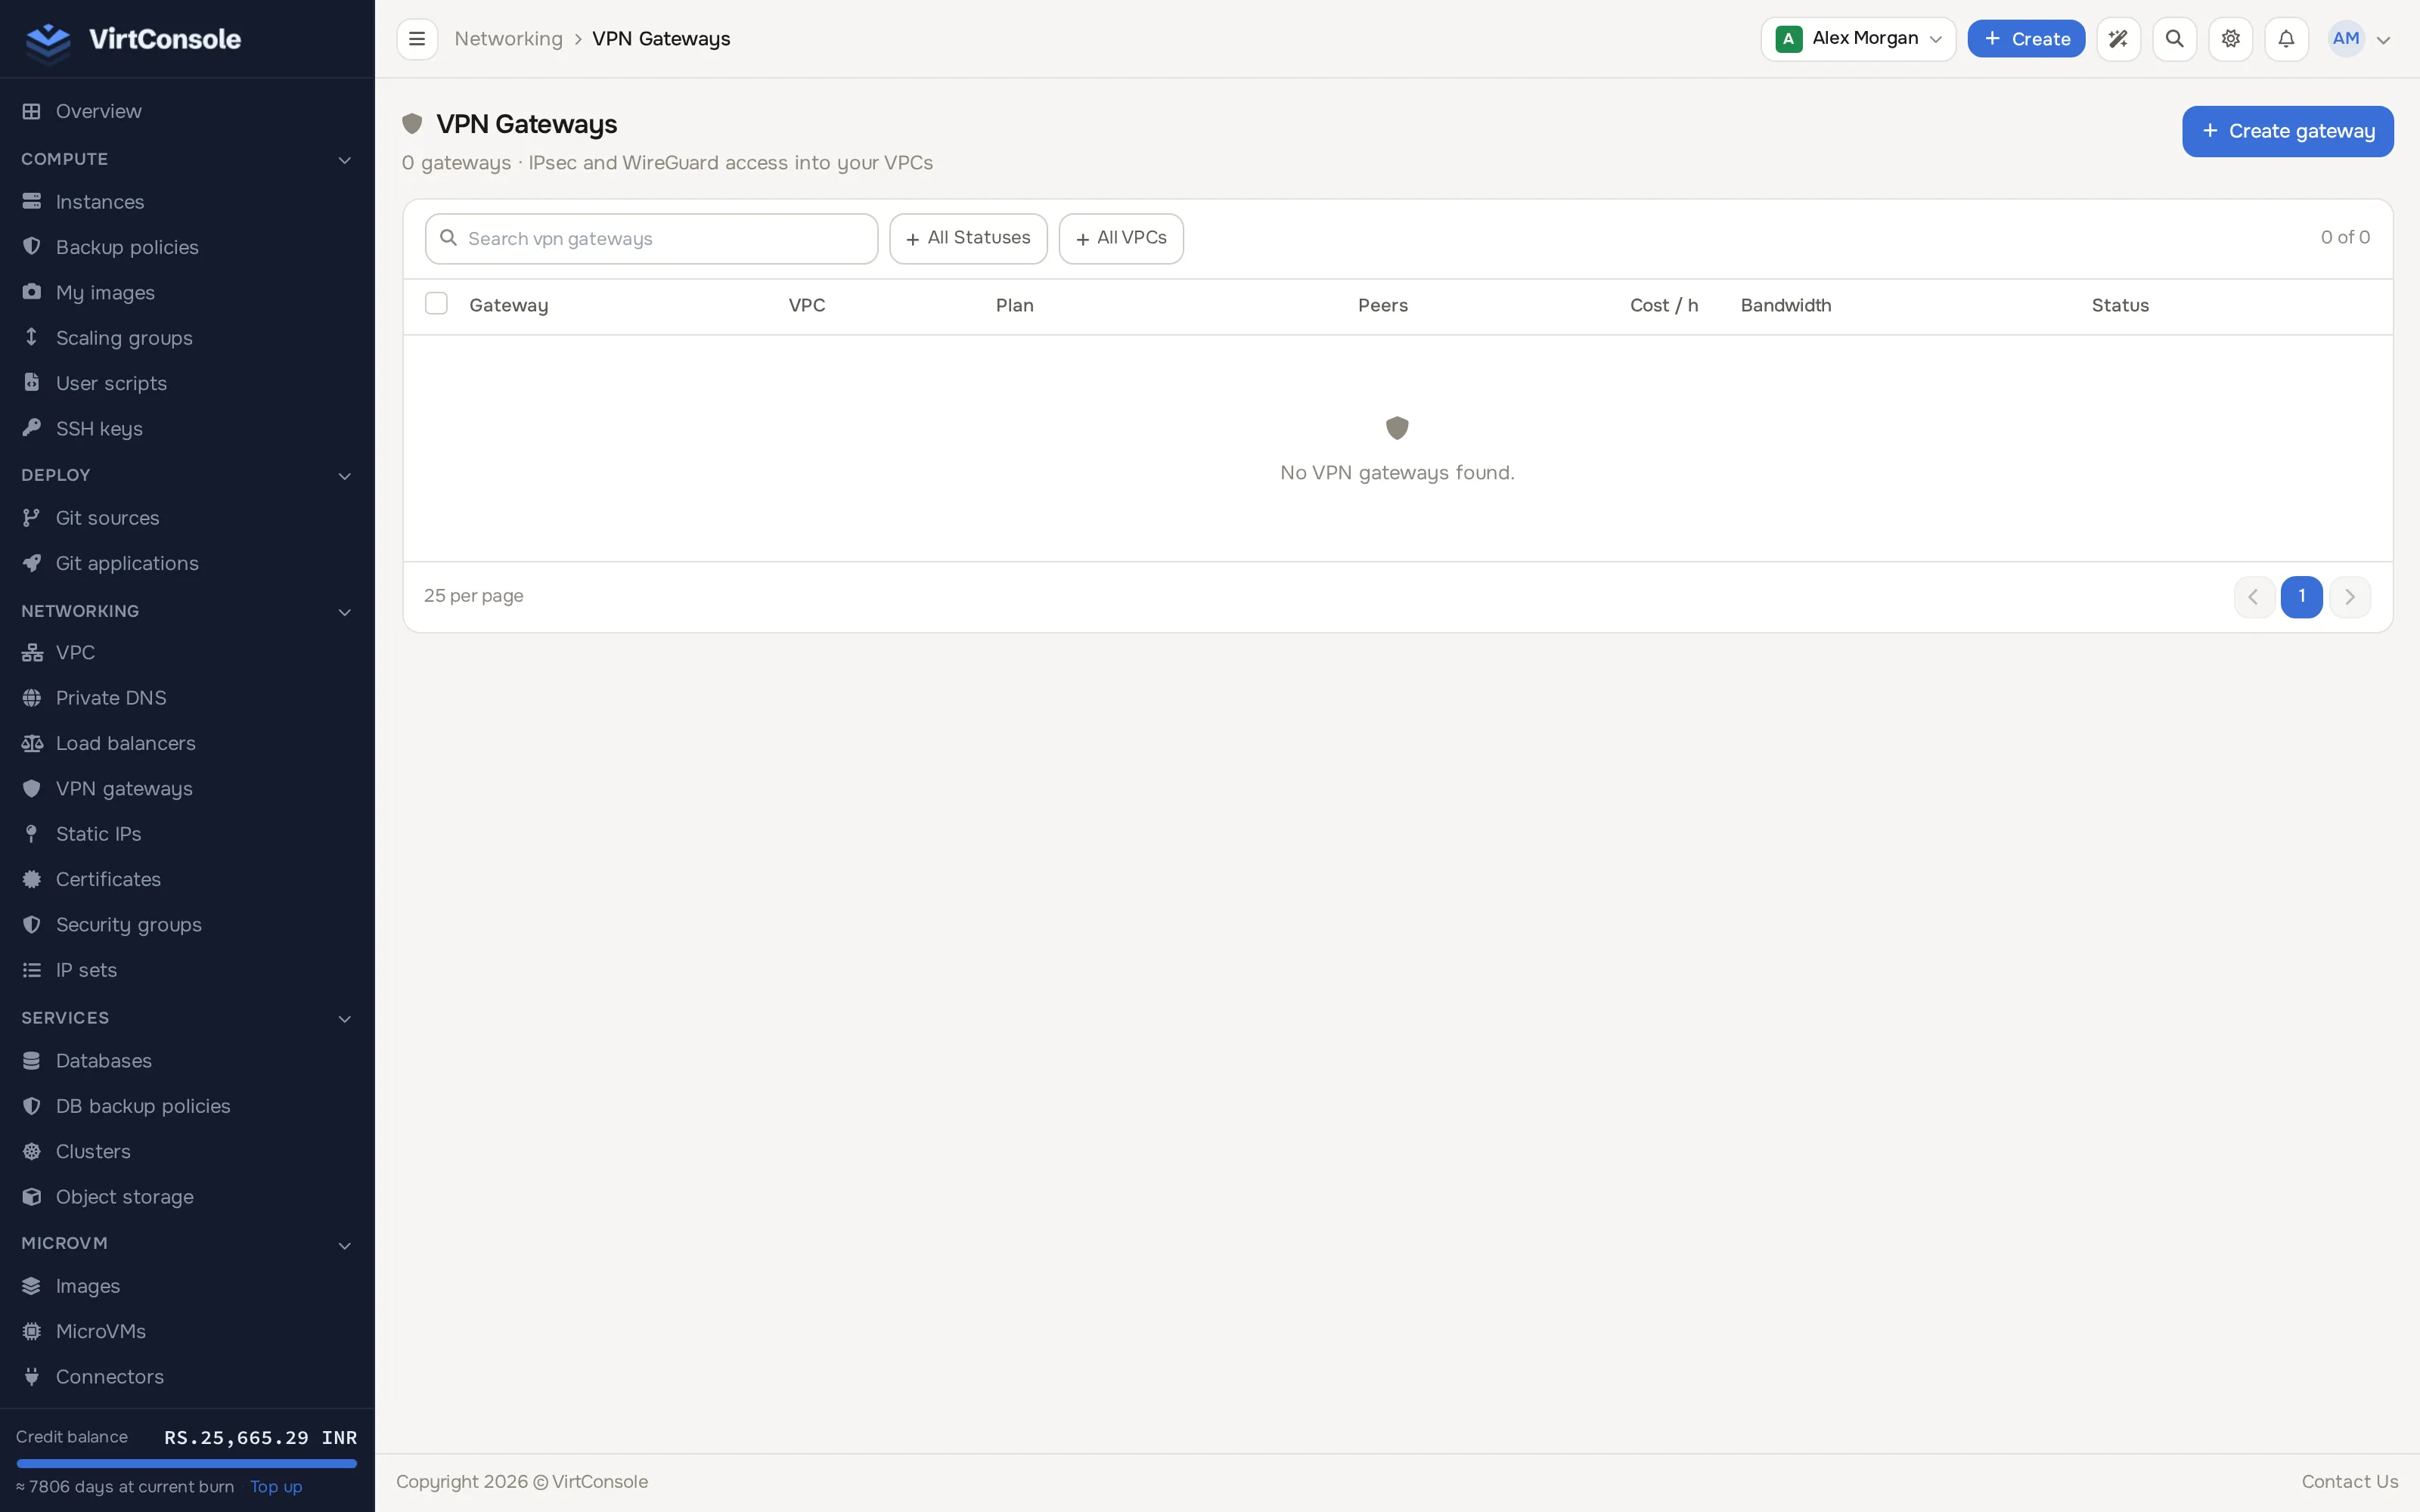
Create a gateway
Section titled “Create a gateway”-
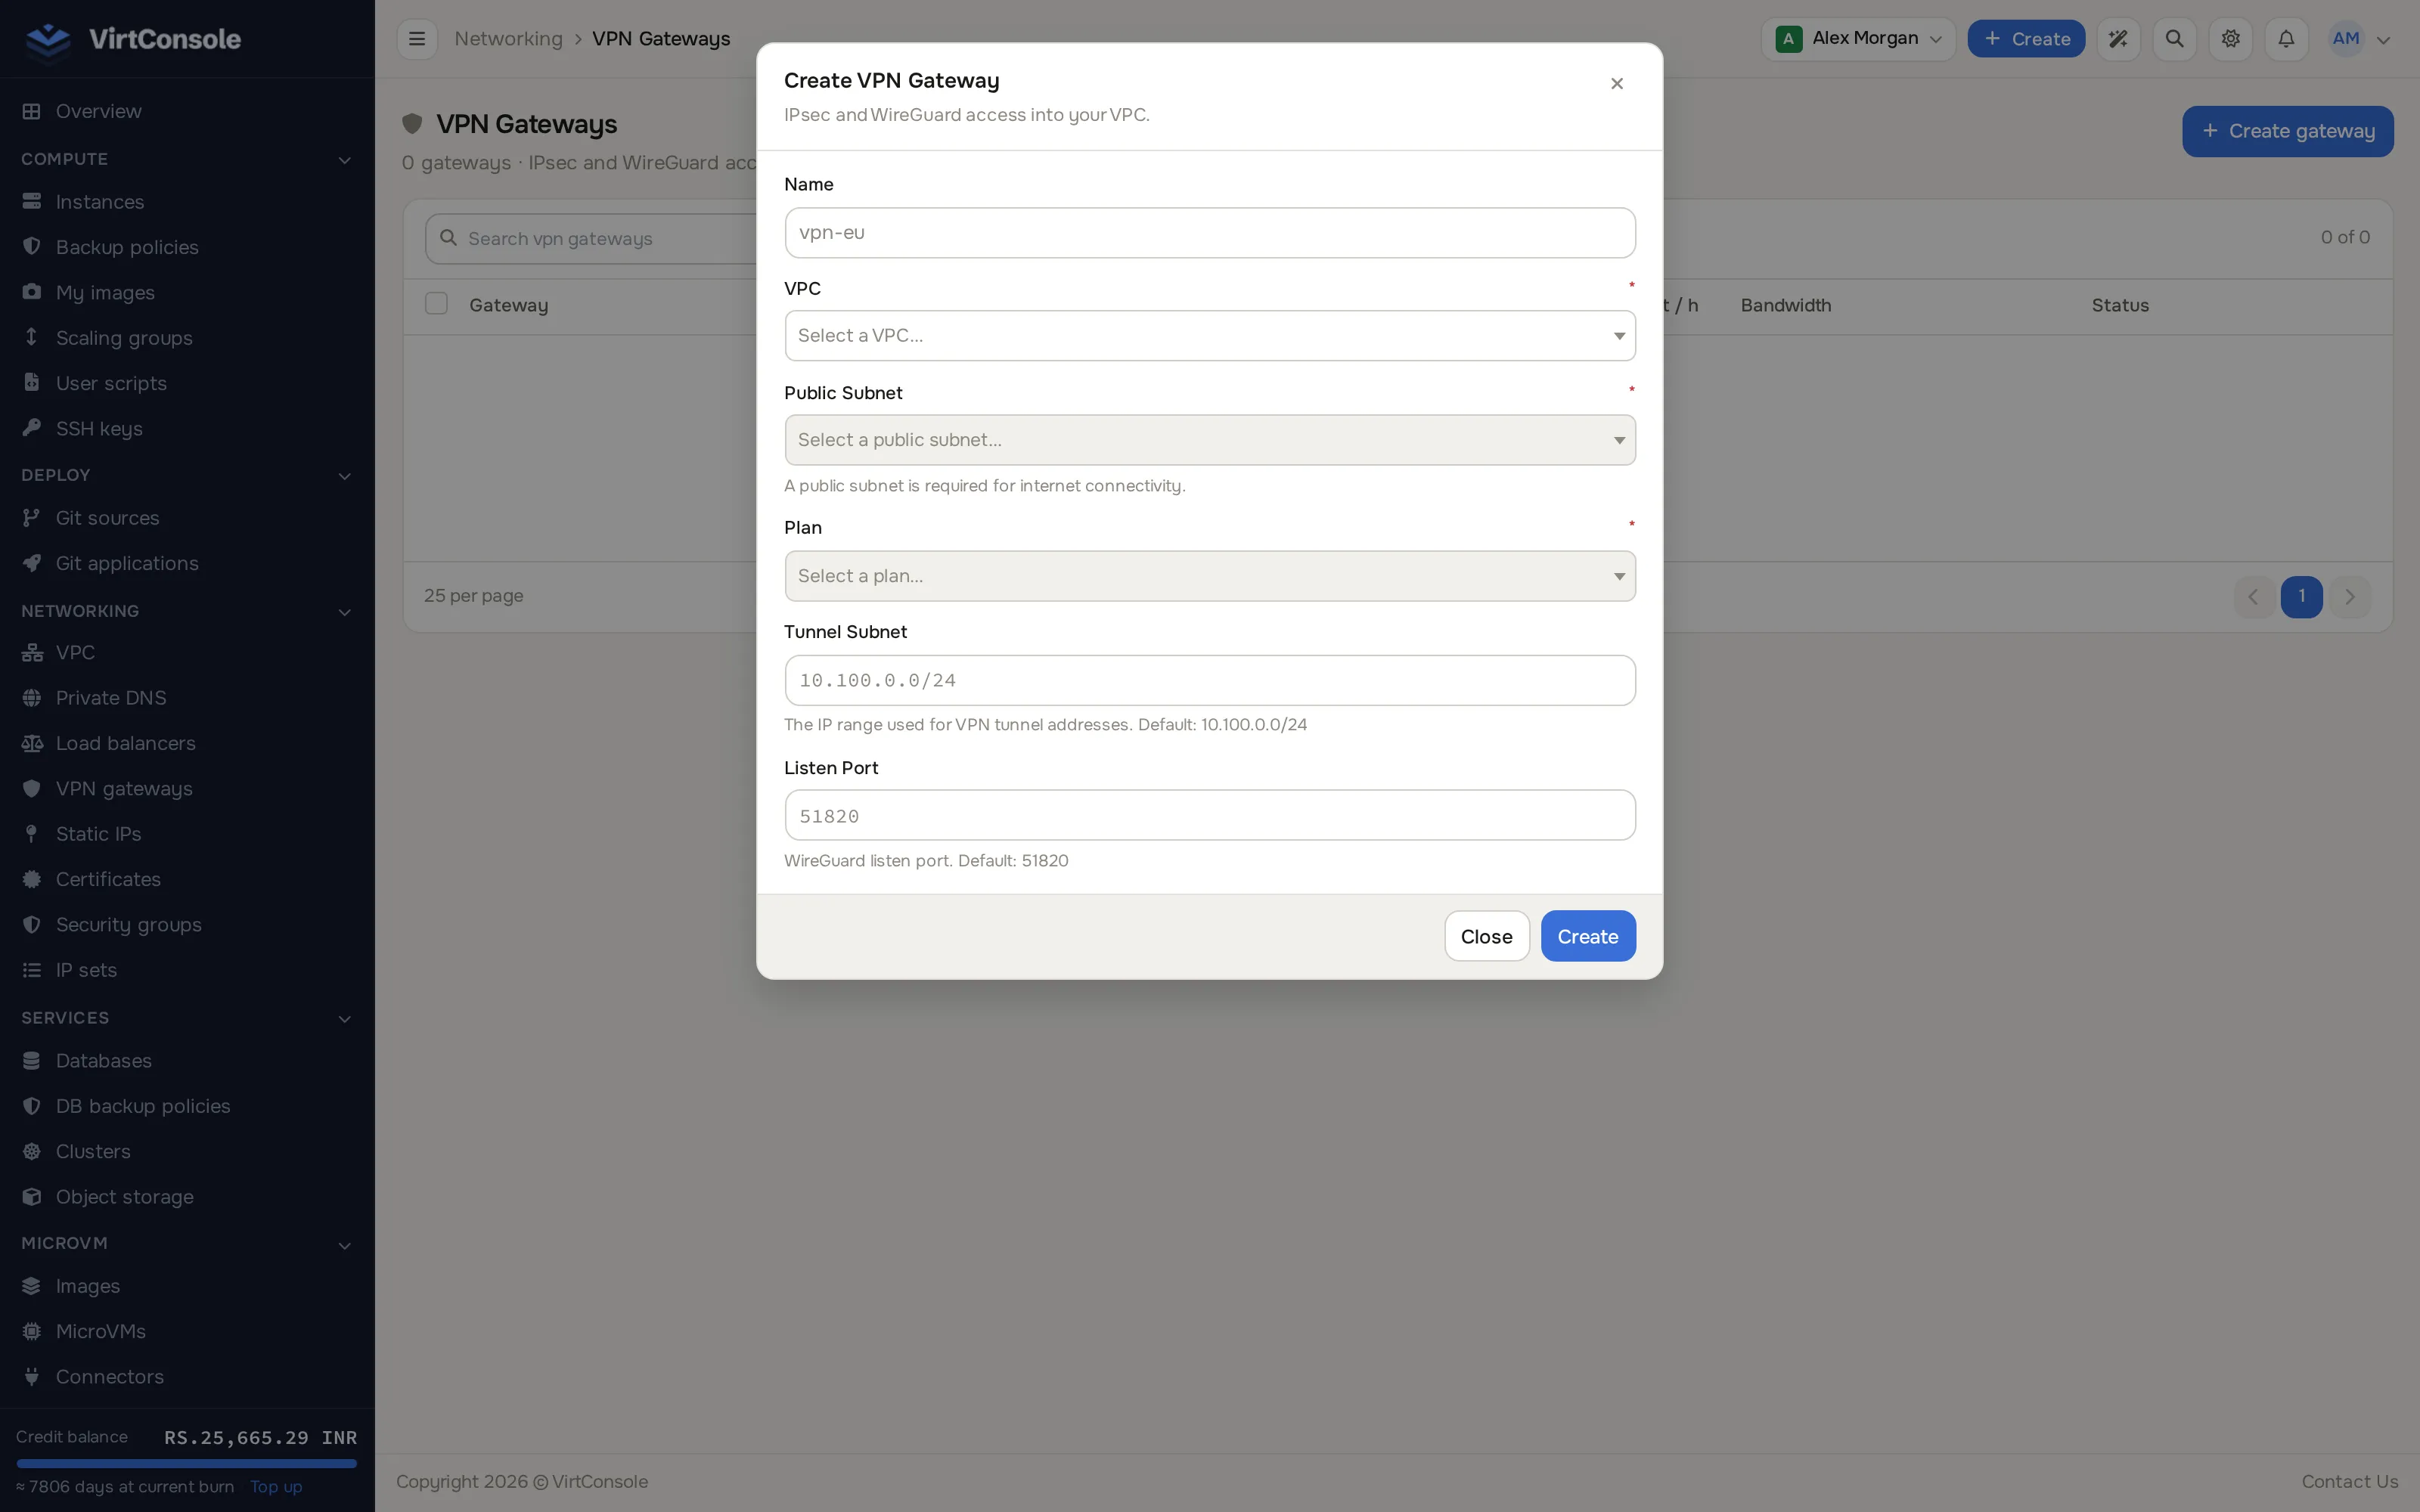
Click Create gateway. The Create VPN Gateway dialog opens, with every field on one page (no separate steps).
-
Fill in:
Fields
| Field | What to enter |
|---|---|
| Name | Optional; auto-generated if blank. |
| VPC | The VPC to deploy into. Picking a VPC also picks its location; only VPCs in enabled locations appear. |
| Public Subnet | A public subnet in that VPC with free IPs, needed for internet connectivity. Disabled until you pick a VPC. |
| Plan | The sizing tier for the gateway instance. Disabled until you pick a VPC. |
| Tunnel Subnet | Optional. The internal CIDR for the tunnel itself, default 10.100.0.0/24. |
| Listen Port | Optional. The UDP port WireGuard listens on, default 51820. |
- Click Create.
Deployment takes 1 to 2 minutes. The gateway shows Active and has a dedicated public IP when ready. If it ends in Error, open it and click Retry deploy from the actions menu; the failed deployment is torn down and retried with the same settings.
The gateway detail page shows its public IP (the endpoint your clients dial), tunnel subnet, listen port, its WireGuard Public Key, and bandwidth used this billing cycle.
Add a peer
Section titled “Add a peer”The gateway detail page has three tabs: Overview, Peers and VPC Peering. Road-warrior and site-to-site peers both live on the Peers tab; they share one create dialog.
- On the Peers tab, click Add peer. One dialog opens for both peer types.
- Pick a type: Road Warrior (a laptop or phone) or Site-to-Site (a firewall or router).
- Enter a Name, and either:
- Leave Public key empty to have the gateway generate a WireGuard key pair for you. The private key is shown once, in the client configuration you download after creating the peer, and is never stored on the server.
- Or paste a Public key you generated yourself (
wg genkey | tee privatekey | wg pubkey > publickeyon Linux) if you want to keep the private key on the client only.
- For a road-warrior peer, optionally set DNS (optional). For a site-to-site peer, enter the remote Remote endpoint (public IP and port, for example
203.0.113.1:51820), the Allowed CIDRs (the remote CIDRs that should route through the tunnel, for example192.168.0.0/16), and optionally a Pre-shared key (optional) and Persistent keepalive (seconds). - Click Add peer.
For a road-warrior peer, click the download icon next to it to get a ready-made .conf file (if you let the gateway generate the key pair, this is the only time the private key is shown). Import it into any WireGuard client (Windows, macOS, Linux, iOS, Android) and activate the tunnel. VPC instances are reachable by their private IPs.
For a site-to-site peer, on the remote WireGuard endpoint add a peer with the gateway’s public key, the gateway’s public IP and listen port as endpoint, and the VPC subnet CIDRs as allowed IPs. Once both sides are configured, the tunnel comes up automatically.
Manage peers
Section titled “Manage peers”Each peer row on the Peers tab has a download-config icon (road-warrior peers only), an enable/disable toggle icon (disabled peers keep their config but cannot connect) and a delete icon. There is no separate edit action; delete and re-add a peer to change its settings.
Peer two VPCs
Section titled “Peer two VPCs”VPC peering connects two of your VPCs so instances in either can reach the other, over an encrypted tunnel between their VPN gateways. It has its own VPC Peering tab on the gateway detail page, separate from road-warrior and site-to-site peers.
- Make sure both VPCs have an Active VPN gateway, and that the VPC CIDRs and tunnel subnets do not overlap (for example
172.16.0.0/16and10.0.0.0/16). - Open one gateway, go to the VPC Peering tab, and click Create peering.
- Pick the Remote Gateway (the dropdown lists your other active gateways in different VPCs) and confirm.
Both sides are configured automatically: keys, tunnel IPs, endpoints, routes and firewall rules. Road-warrior clients connected to either gateway automatically get the peered VPC’s ranges in their config. To remove a peering, delete its row on the VPC Peering tab; the other side is removed automatically.
Delete a gateway
Section titled “Delete a gateway”Click Delete gateway on the detail page. Any remaining current-period charges are billed, and all peers (including VPC peerings on both sides) are removed permanently.
Common problems
Section titled “Common problems”- The VPC dropdown is empty when creating. VPN gateways are not enabled in your VPC’s location. Contact your provider.
- “This VPC already has a VPN gateway.” Each VPC supports exactly one. Use the existing one or delete it first.
- Peers cannot connect. Confirm the gateway is Active, the client config has the gateway’s current public key and endpoint, and UDP on the listen port (default
51820) is not blocked by a firewall or ISP. - The gateway is stuck in Deploying. Wait a few minutes, then use Retry deploy from the actions menu. If it keeps failing, contact your provider.