

Quick setup
This page is the first 30 minutes after installation. By the end you will have an active license, one hypervisor group with a connected hypervisor, storage, a subnet with IPs, an instance plan, a downloaded OS image and your first running instance (virtual machine).
Before you begin
Section titled “Before you begin”- The panel is installed on your management server. See Management server installation.
- The agent is installed on at least one KVM host. See Hypervisor installation.
- You have bought a license at service.readydedis.com and have the key from your client area.
Terms used on this page
Section titled “Terms used on this page”- Hypervisor: a physical or virtual KVM host that runs your customers’ instances. Each one runs the agent.
- Hypervisor group: a logical pool of hypervisors, for example by region or hardware tier. Plans deploy into a group, and the panel picks an available hypervisor from it.
- Storage: a directory or volume on a hypervisor where instance disk files live. A hypervisor can have several storages of different classes (Any, NVMe, SSD, HDD).
- Subnet: a block of IP addresses with one gateway. IPs handed to instances come from a subnet.
- Instance plan: the template that defines an instance’s CPU, RAM, disk, bandwidth and IP allocation.
- Image: a pre-built OS template (Ubuntu, Debian, AlmaLinux, and so on) that a new instance is cloned from.
-
Log in and check the dashboard.
Browse to your management server URL and sign in with the admin account you created during installation. The dashboard is the first screen you land on.
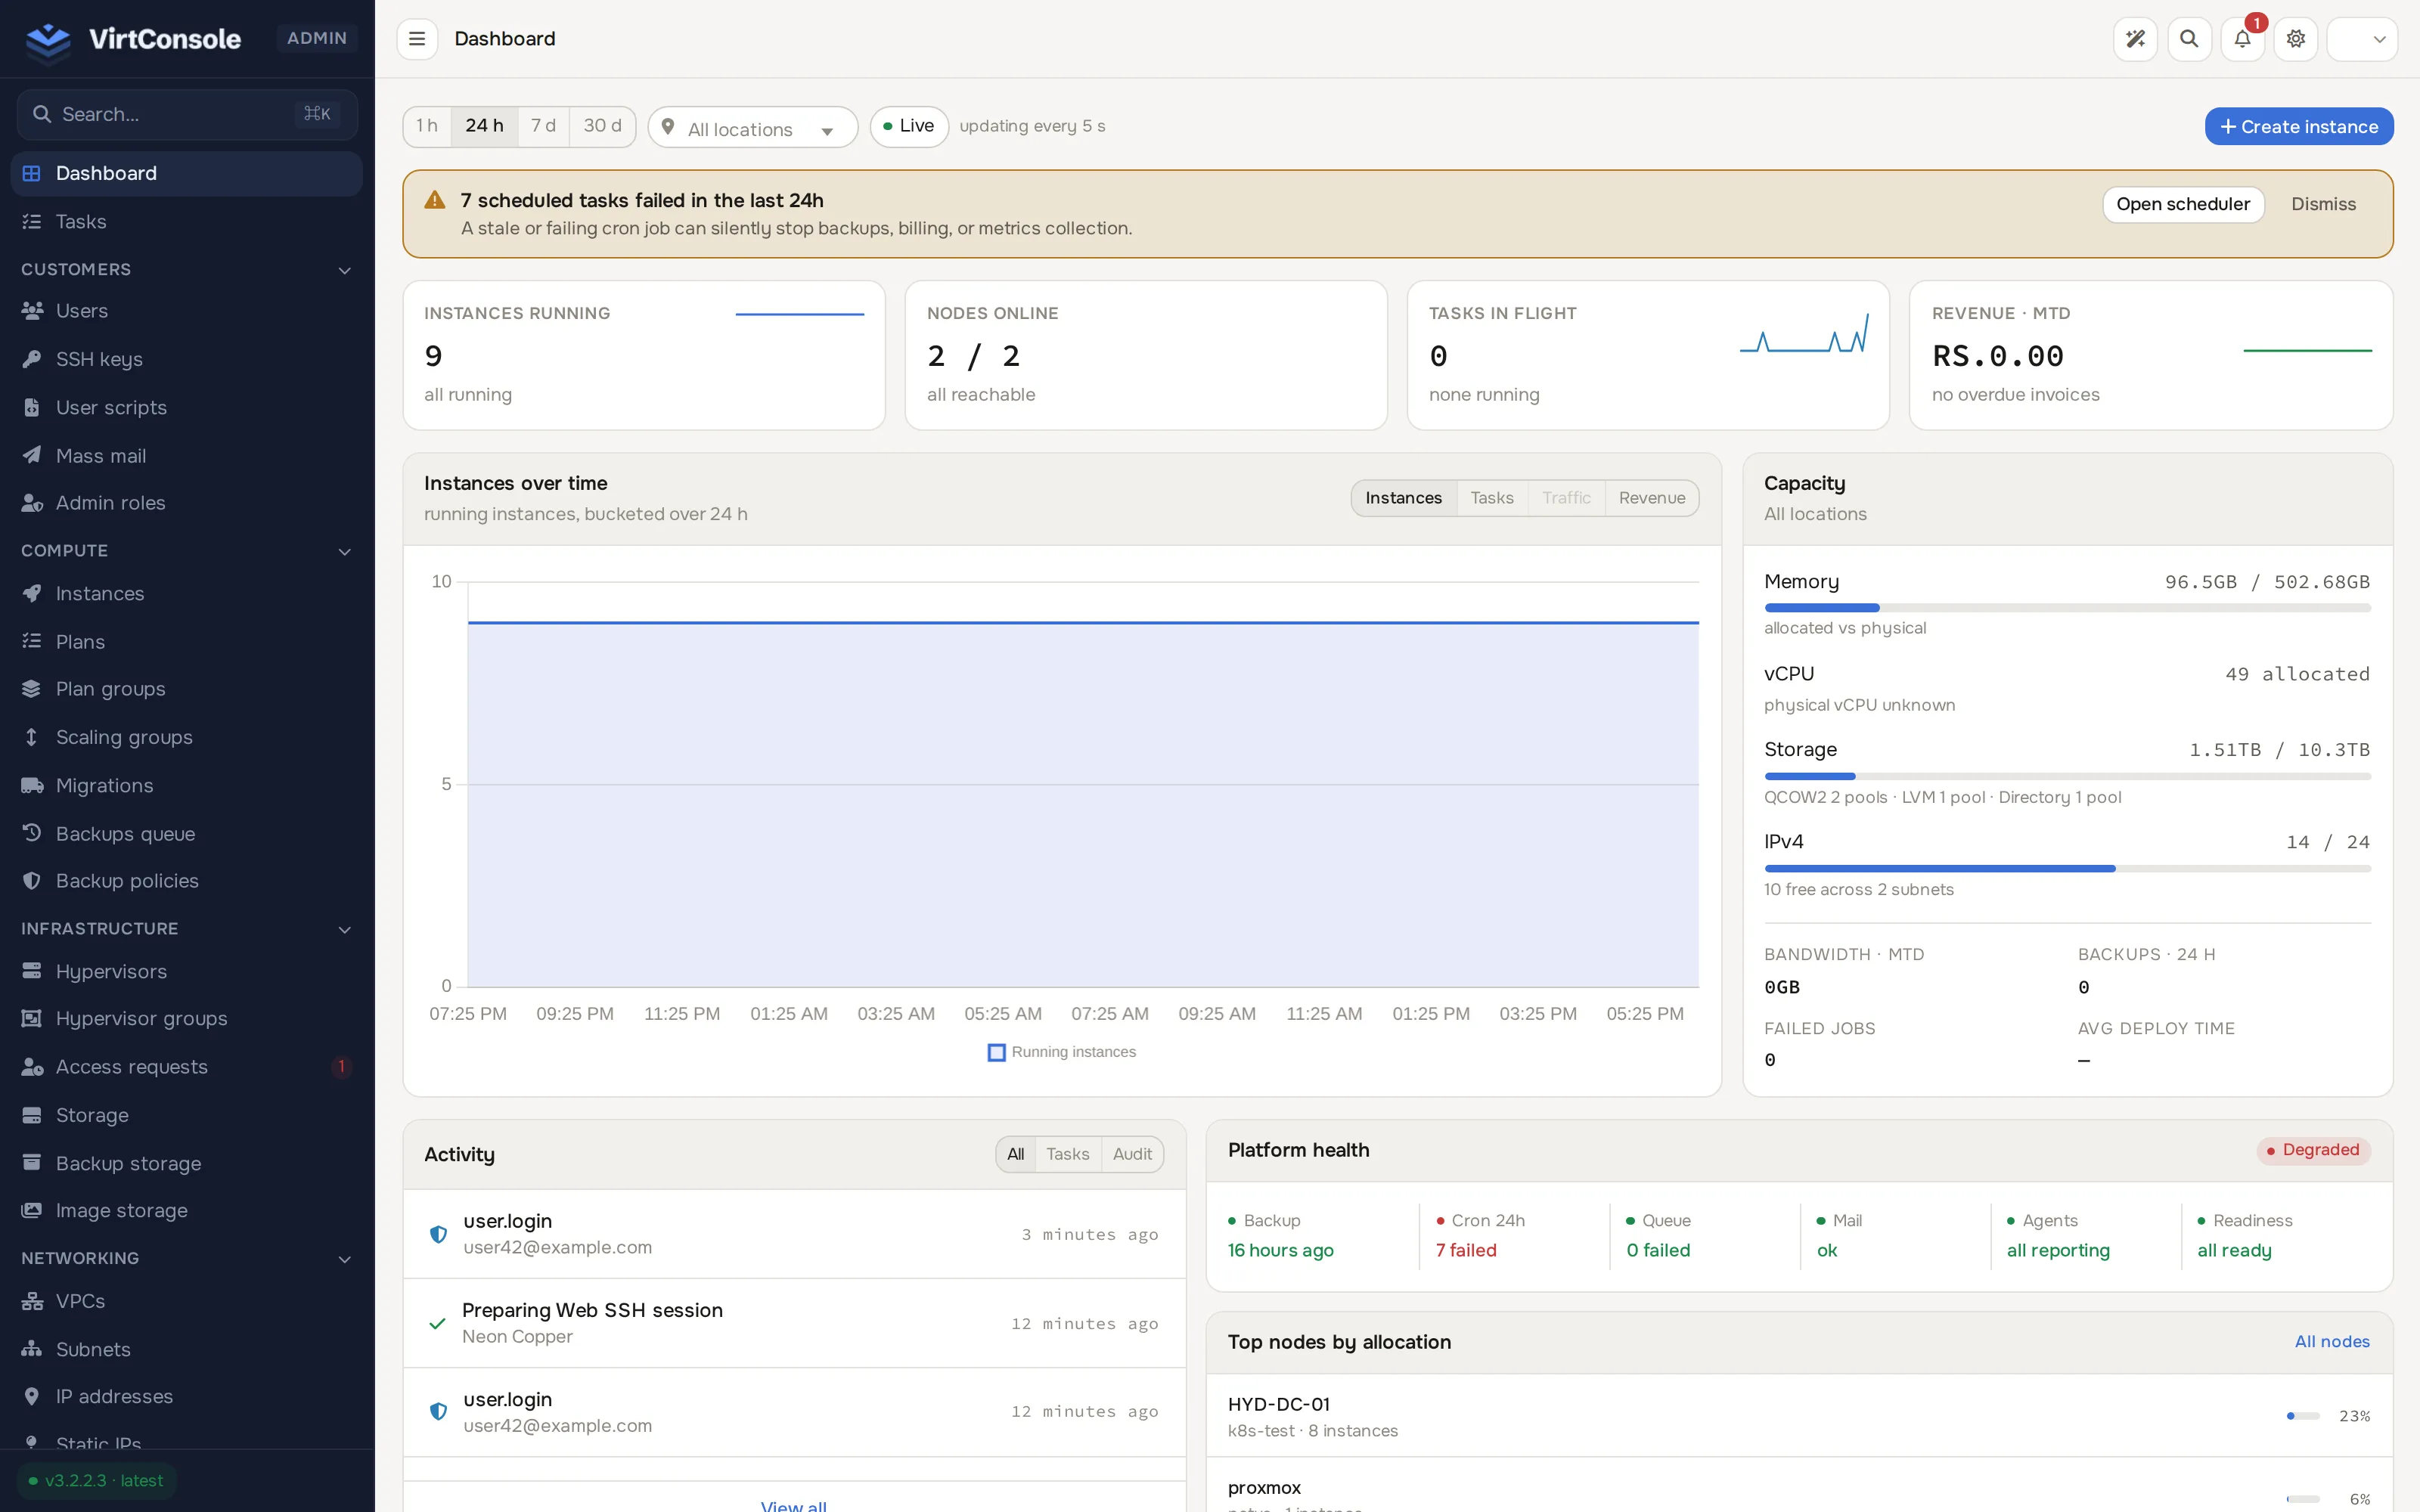
It shows how many hypervisors are online, how many instances are running, recent tasks and resource usage. After a fresh install most counters are zero. That is expected.
-
Activate your license.
The panel is licensed per management server. Without an active license you cannot connect hypervisors.
Go to System > License. Paste the license key from your service.readydedis.com client area into the License key field and click Activate license.
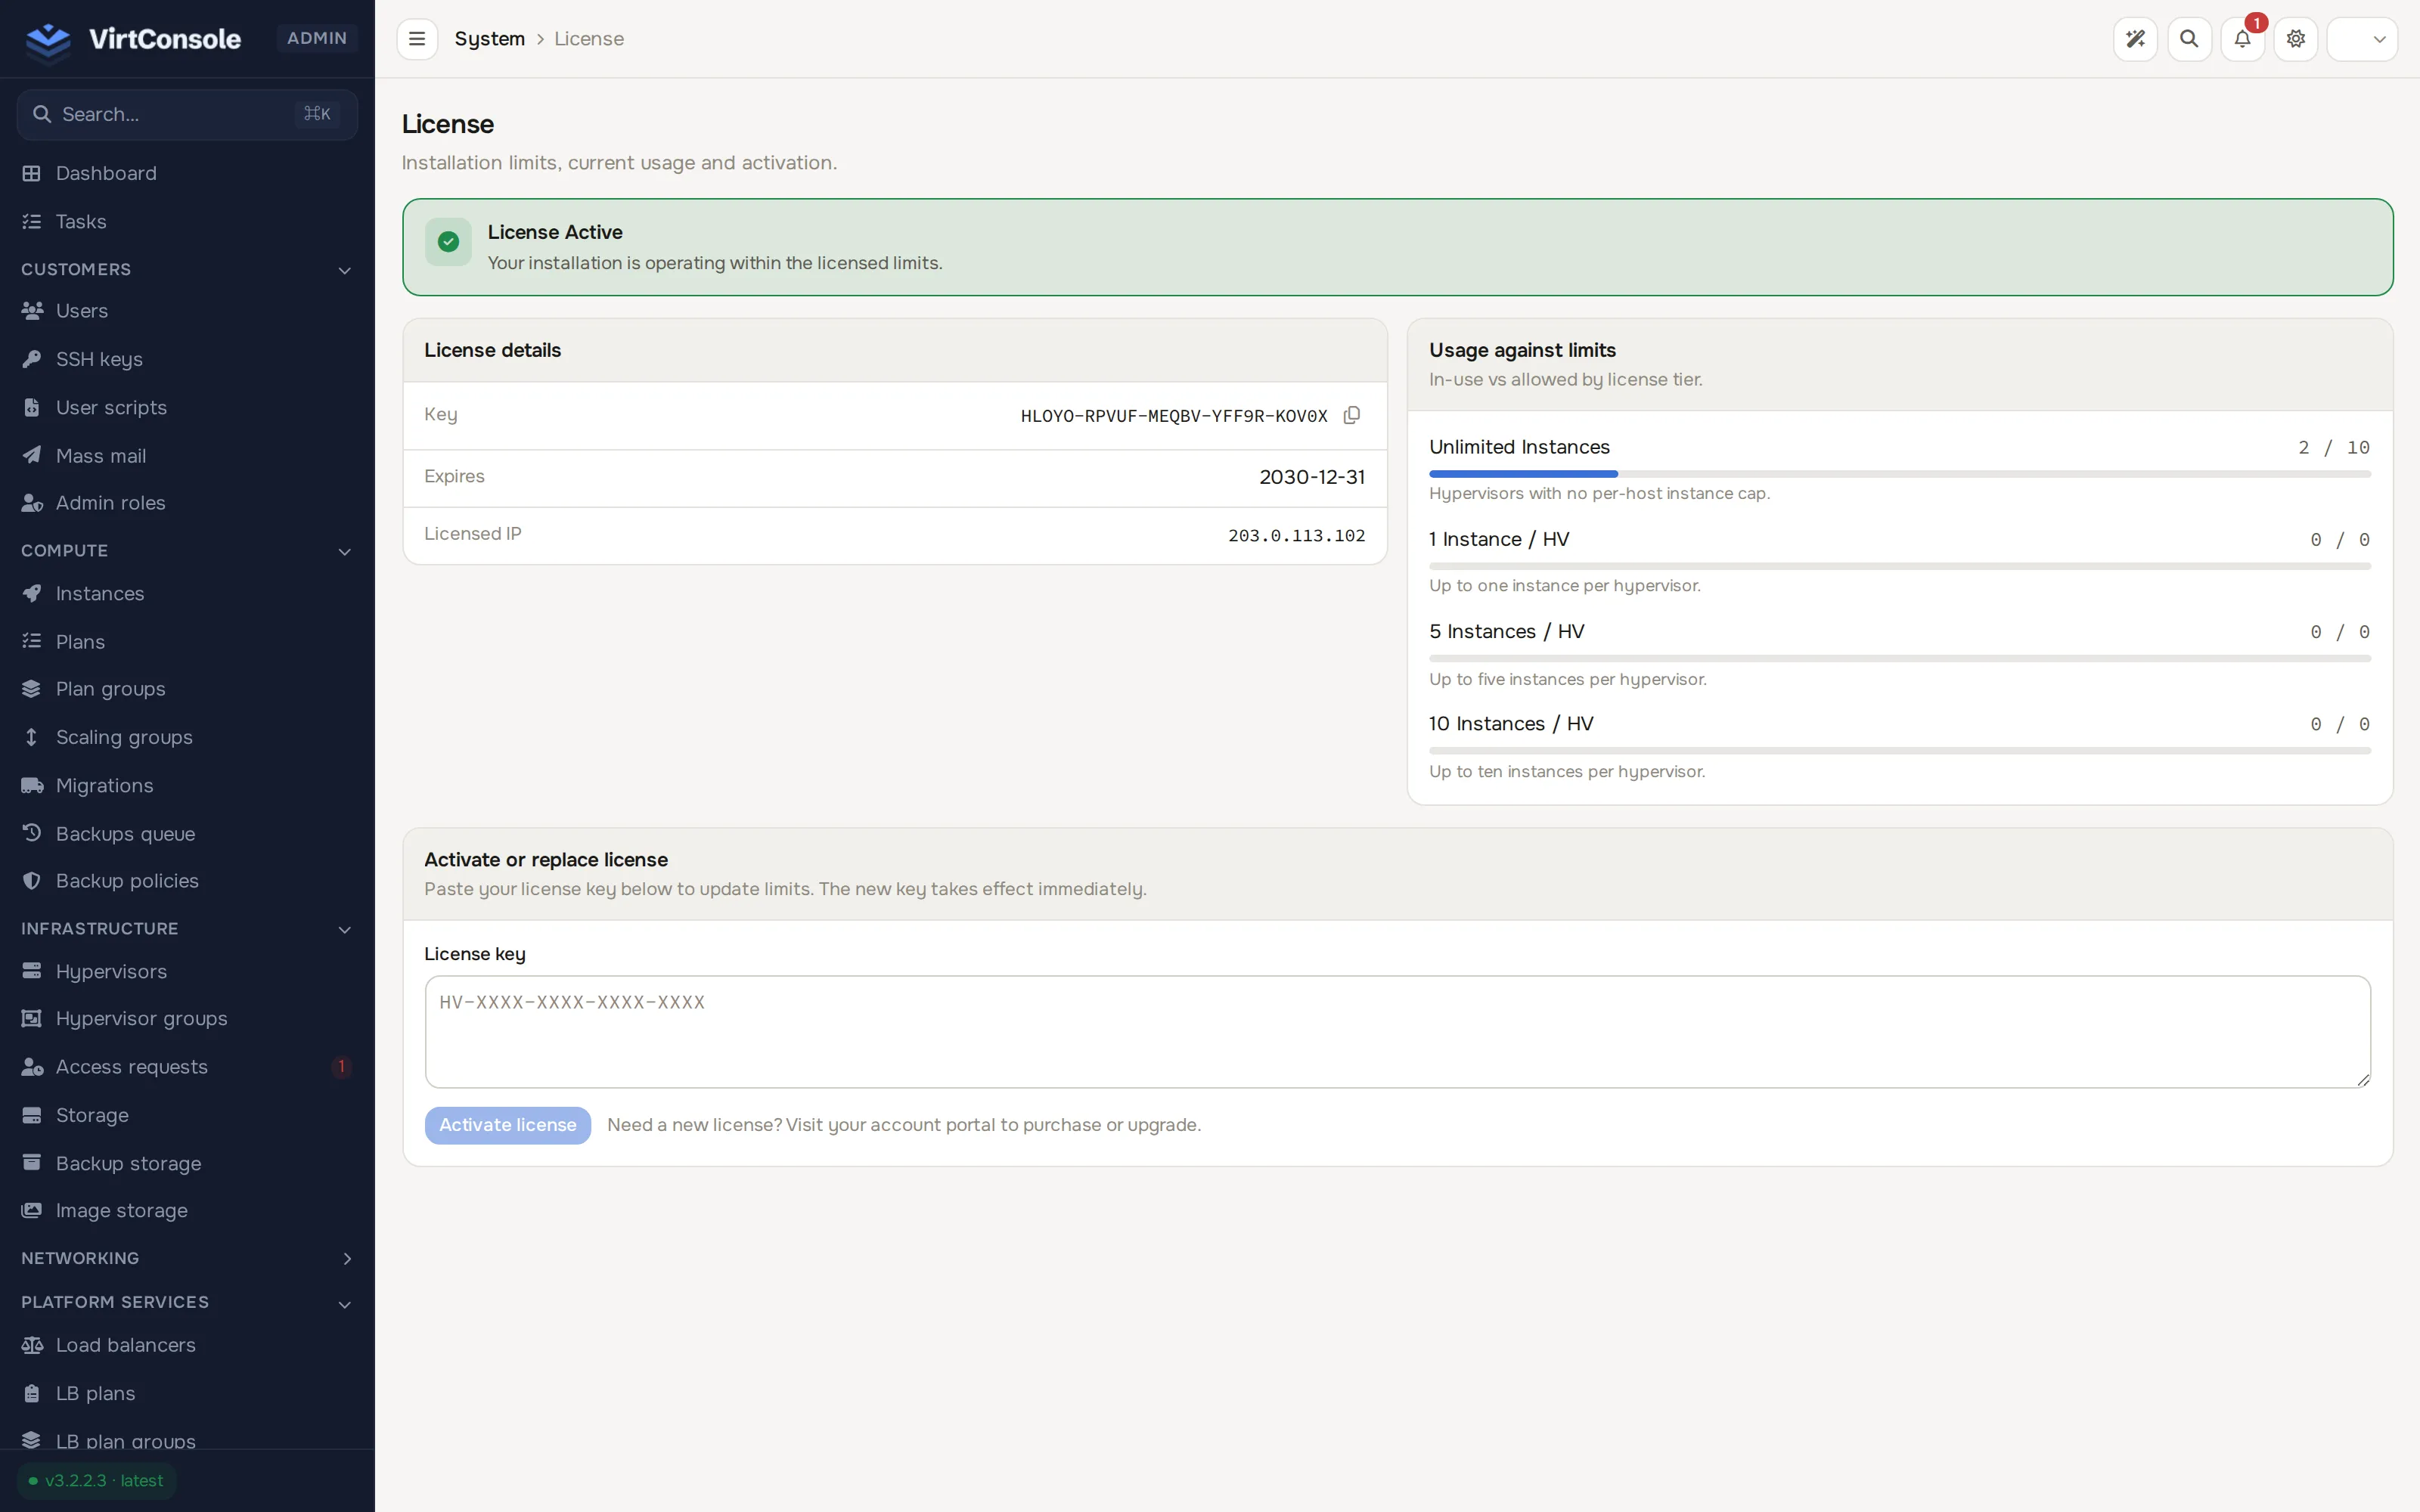
The page also shows your license tier, expiry and usage against the addon limits it grants. See Licensing for how license addons control how many instances each hypervisor can run.
-
Create a hypervisor group.
Every hypervisor belongs to a group, so create one before you add your first hypervisor. A group is a pool of hosts, for example one region or hardware tier. Plans deploy into a group and the panel picks an available hypervisor from it. Go to Infrastructure > Hypervisor Groups, click Create group, give it a Name (for example
us-east-ssd), a Display name and a Country, and save.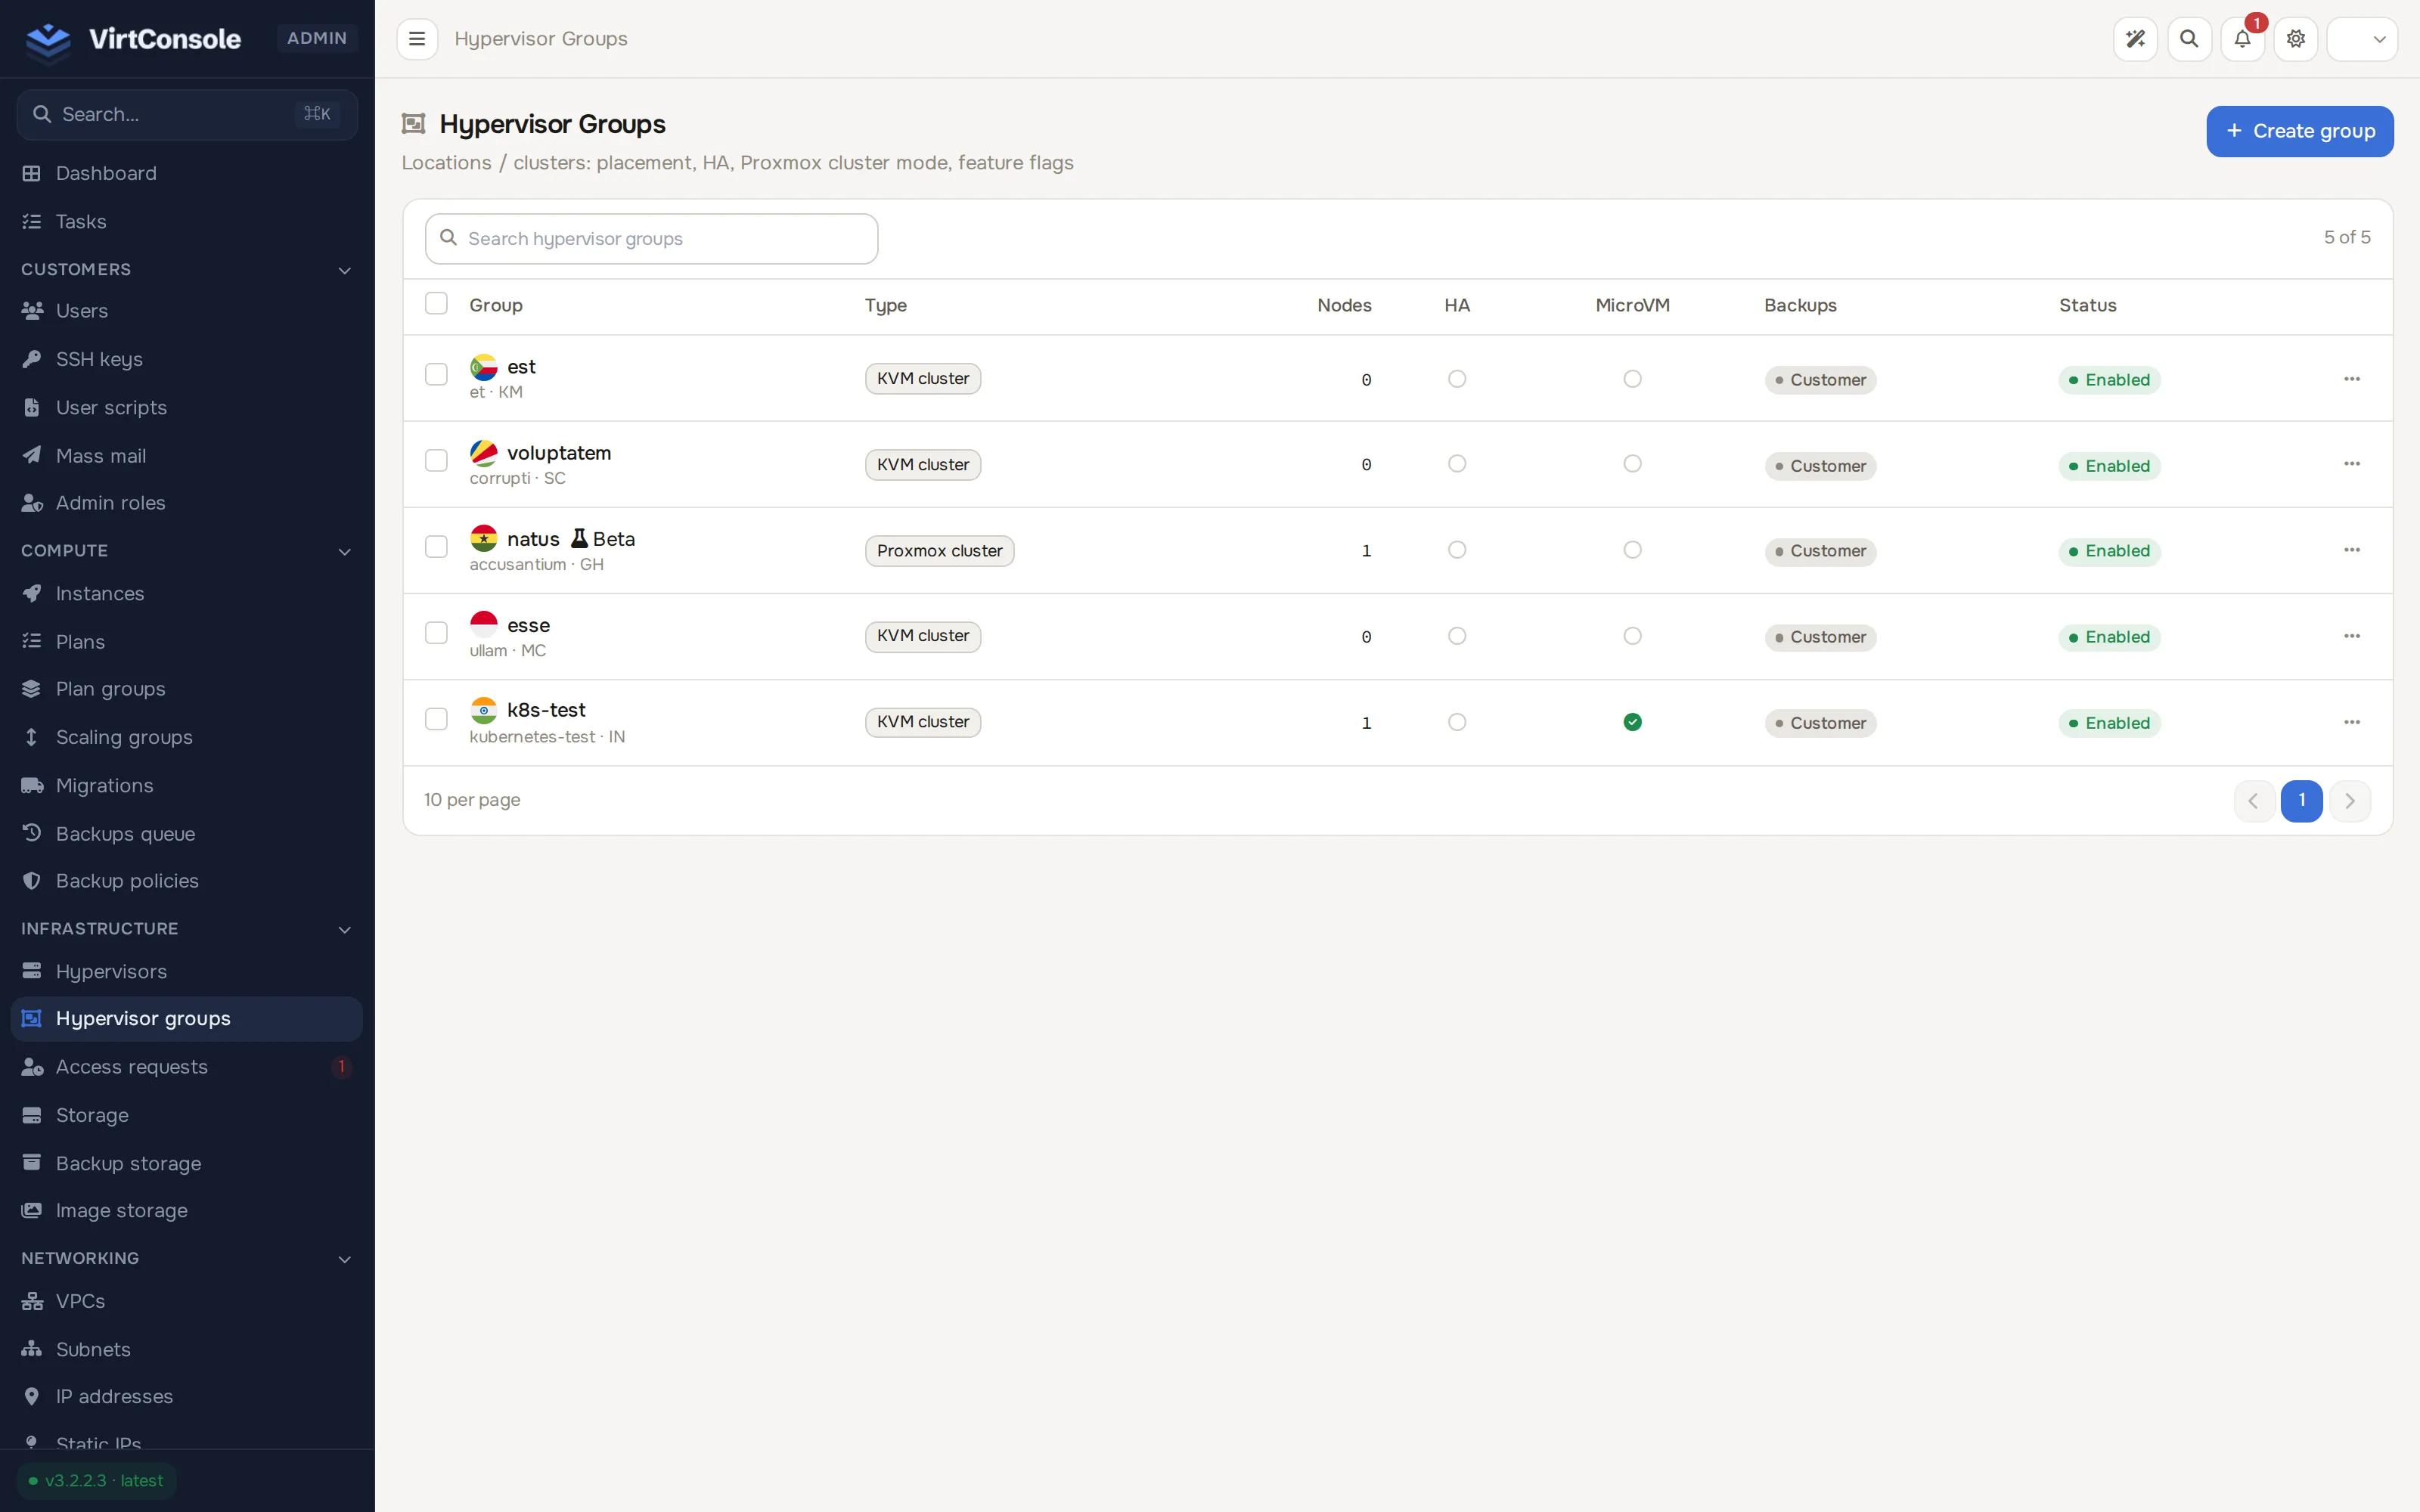
New groups start disabled, which keeps an empty group out of the customer deploy pickers. Switch Enabled on once the group has a hypervisor, storage and a plan and you are ready to deploy into it. Administrators can still create instances in a disabled group.
-
Connect your first hypervisor.
Go to Infrastructure > Hypervisors and click Add hypervisor.
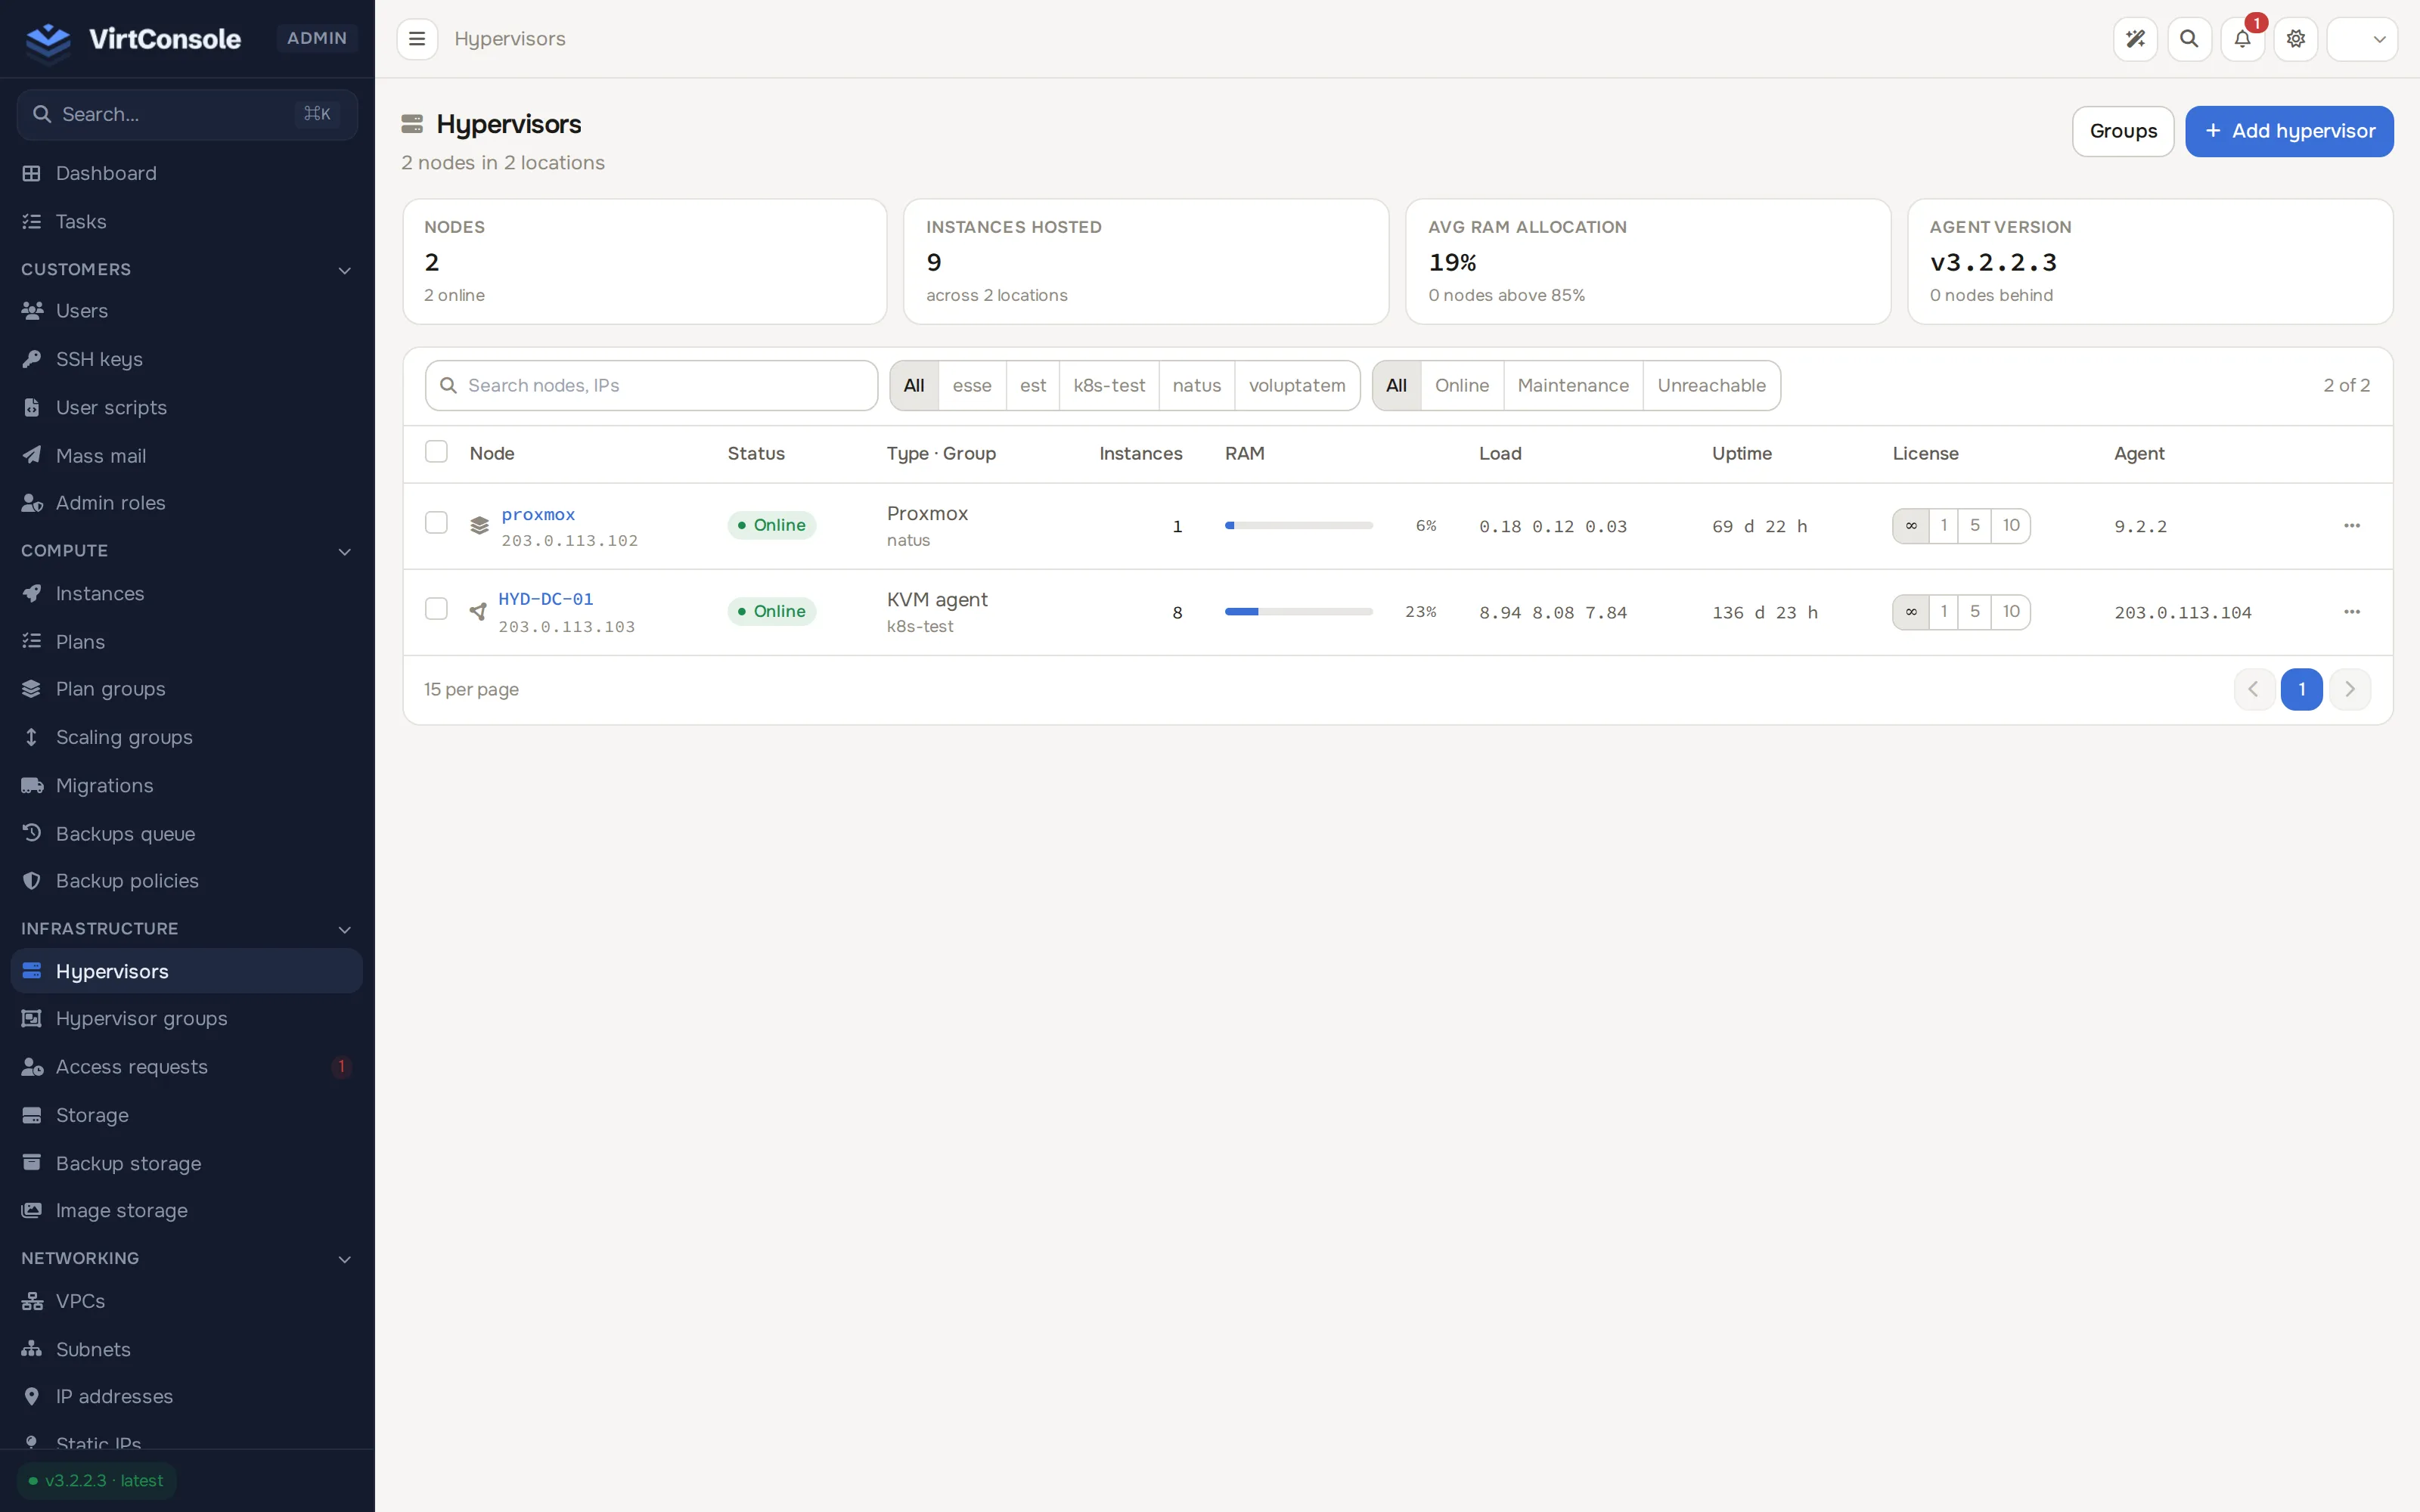
The Add hypervisor dialog opens with two connection-type cards.
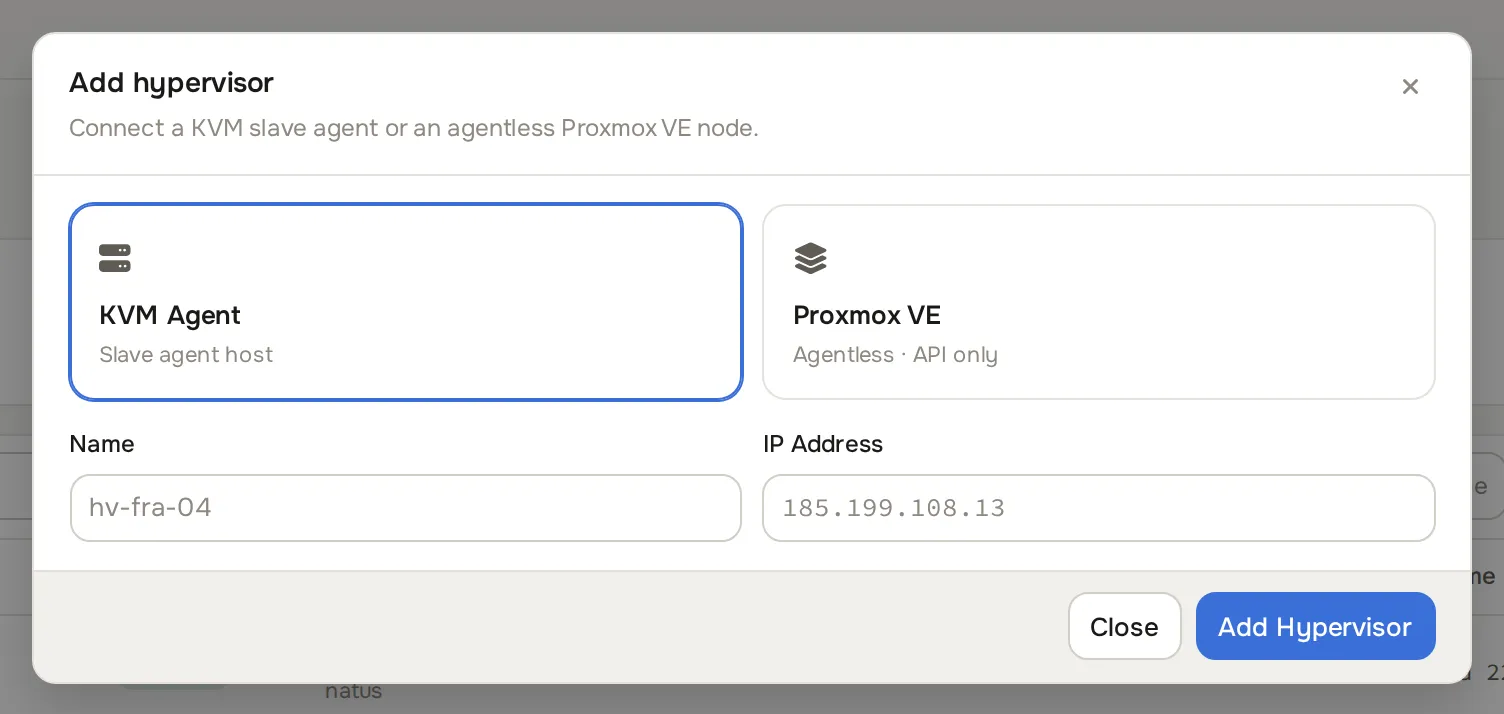
Leave the type on KVM Agent (the other card, Proxmox VE, connects an agentless node instead) and fill in:
Field What to enter Example Name A label you recognise in lists. node-us-east-1IP Address The address the panel uses to reach the agent. Must be reachable from the management server on port 2443. 203.0.113.10Group The hypervisor group from the previous step. Required. us-east-ssdClick Add Hypervisor. The panel rejects the request if no group is selected, before it contacts the agent. Otherwise it handshakes with the agent, exchanges an auth token and opens the hypervisor’s management page. Review CPU and memory overcommit, then click Update.
To add an agentless Proxmox VE node instead, pick the Proxmox VE card in the same dialog, or see Add a Proxmox VE node.
-
Add storage.
Each hypervisor needs at least one storage so instance disks have somewhere to live. Go to Infrastructure > Storage and click Add storage.
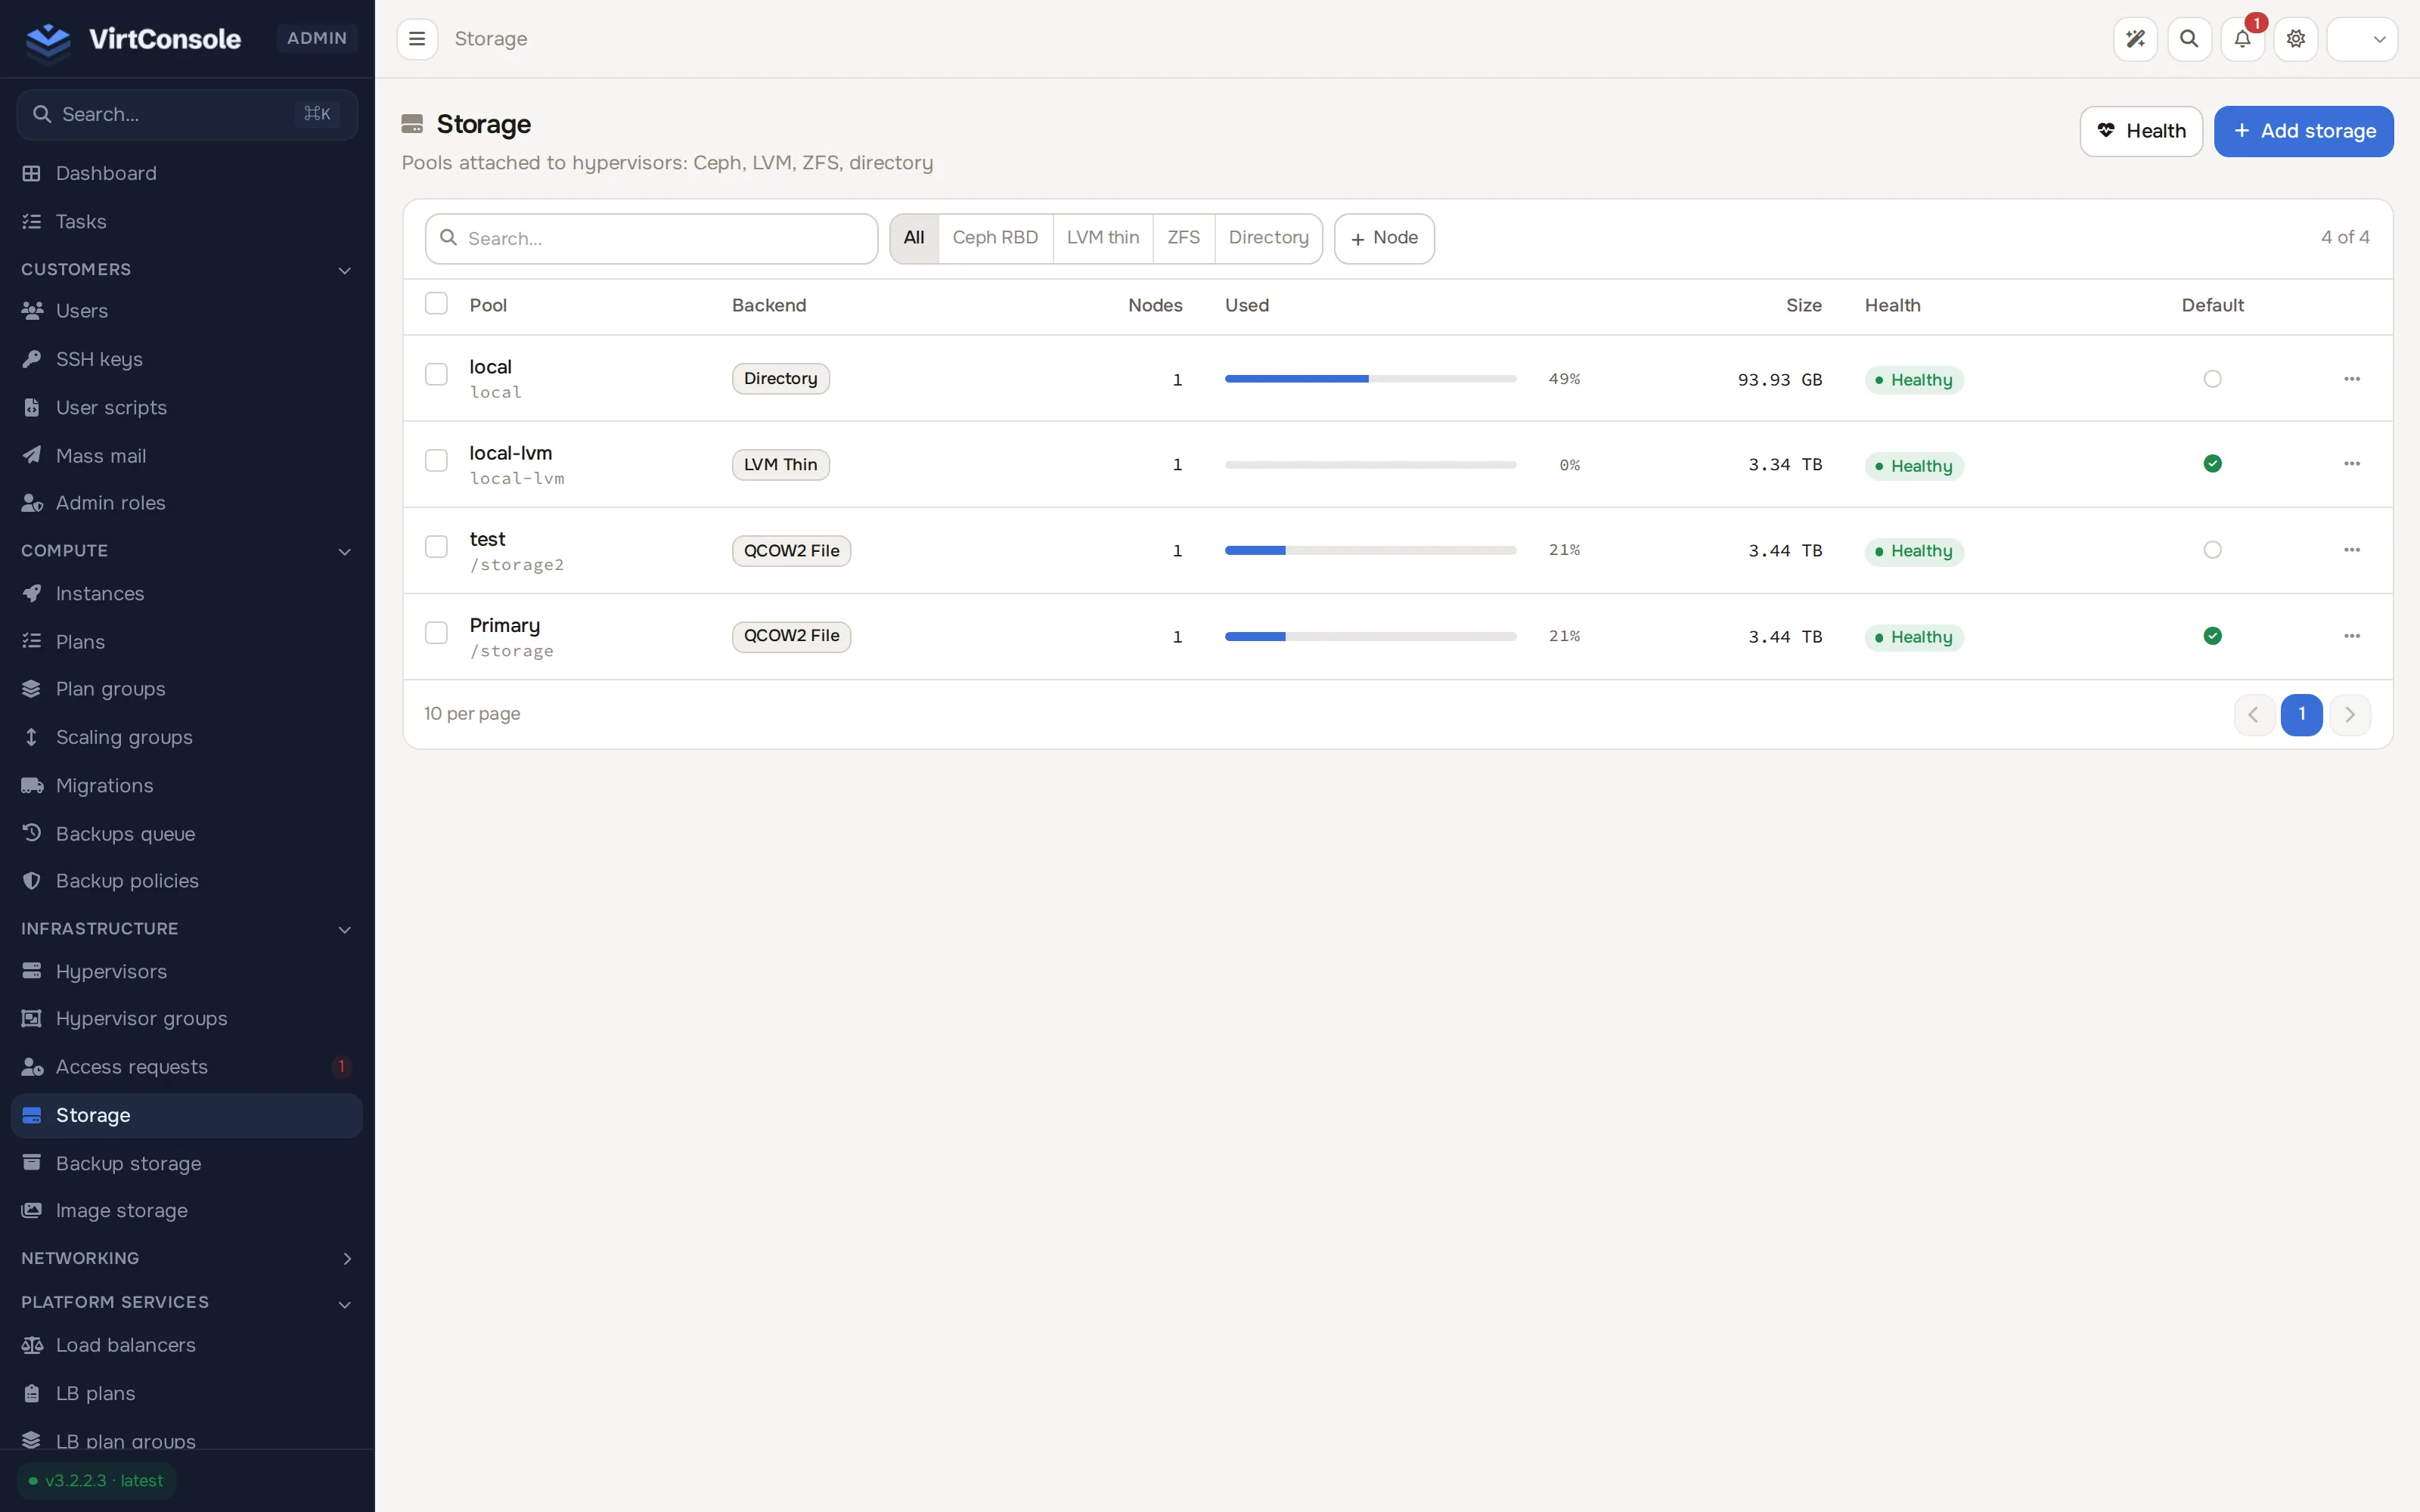
The storage wizard opens on step 1 of 5: Backend, Variant, Configure, Probe, Confirm.
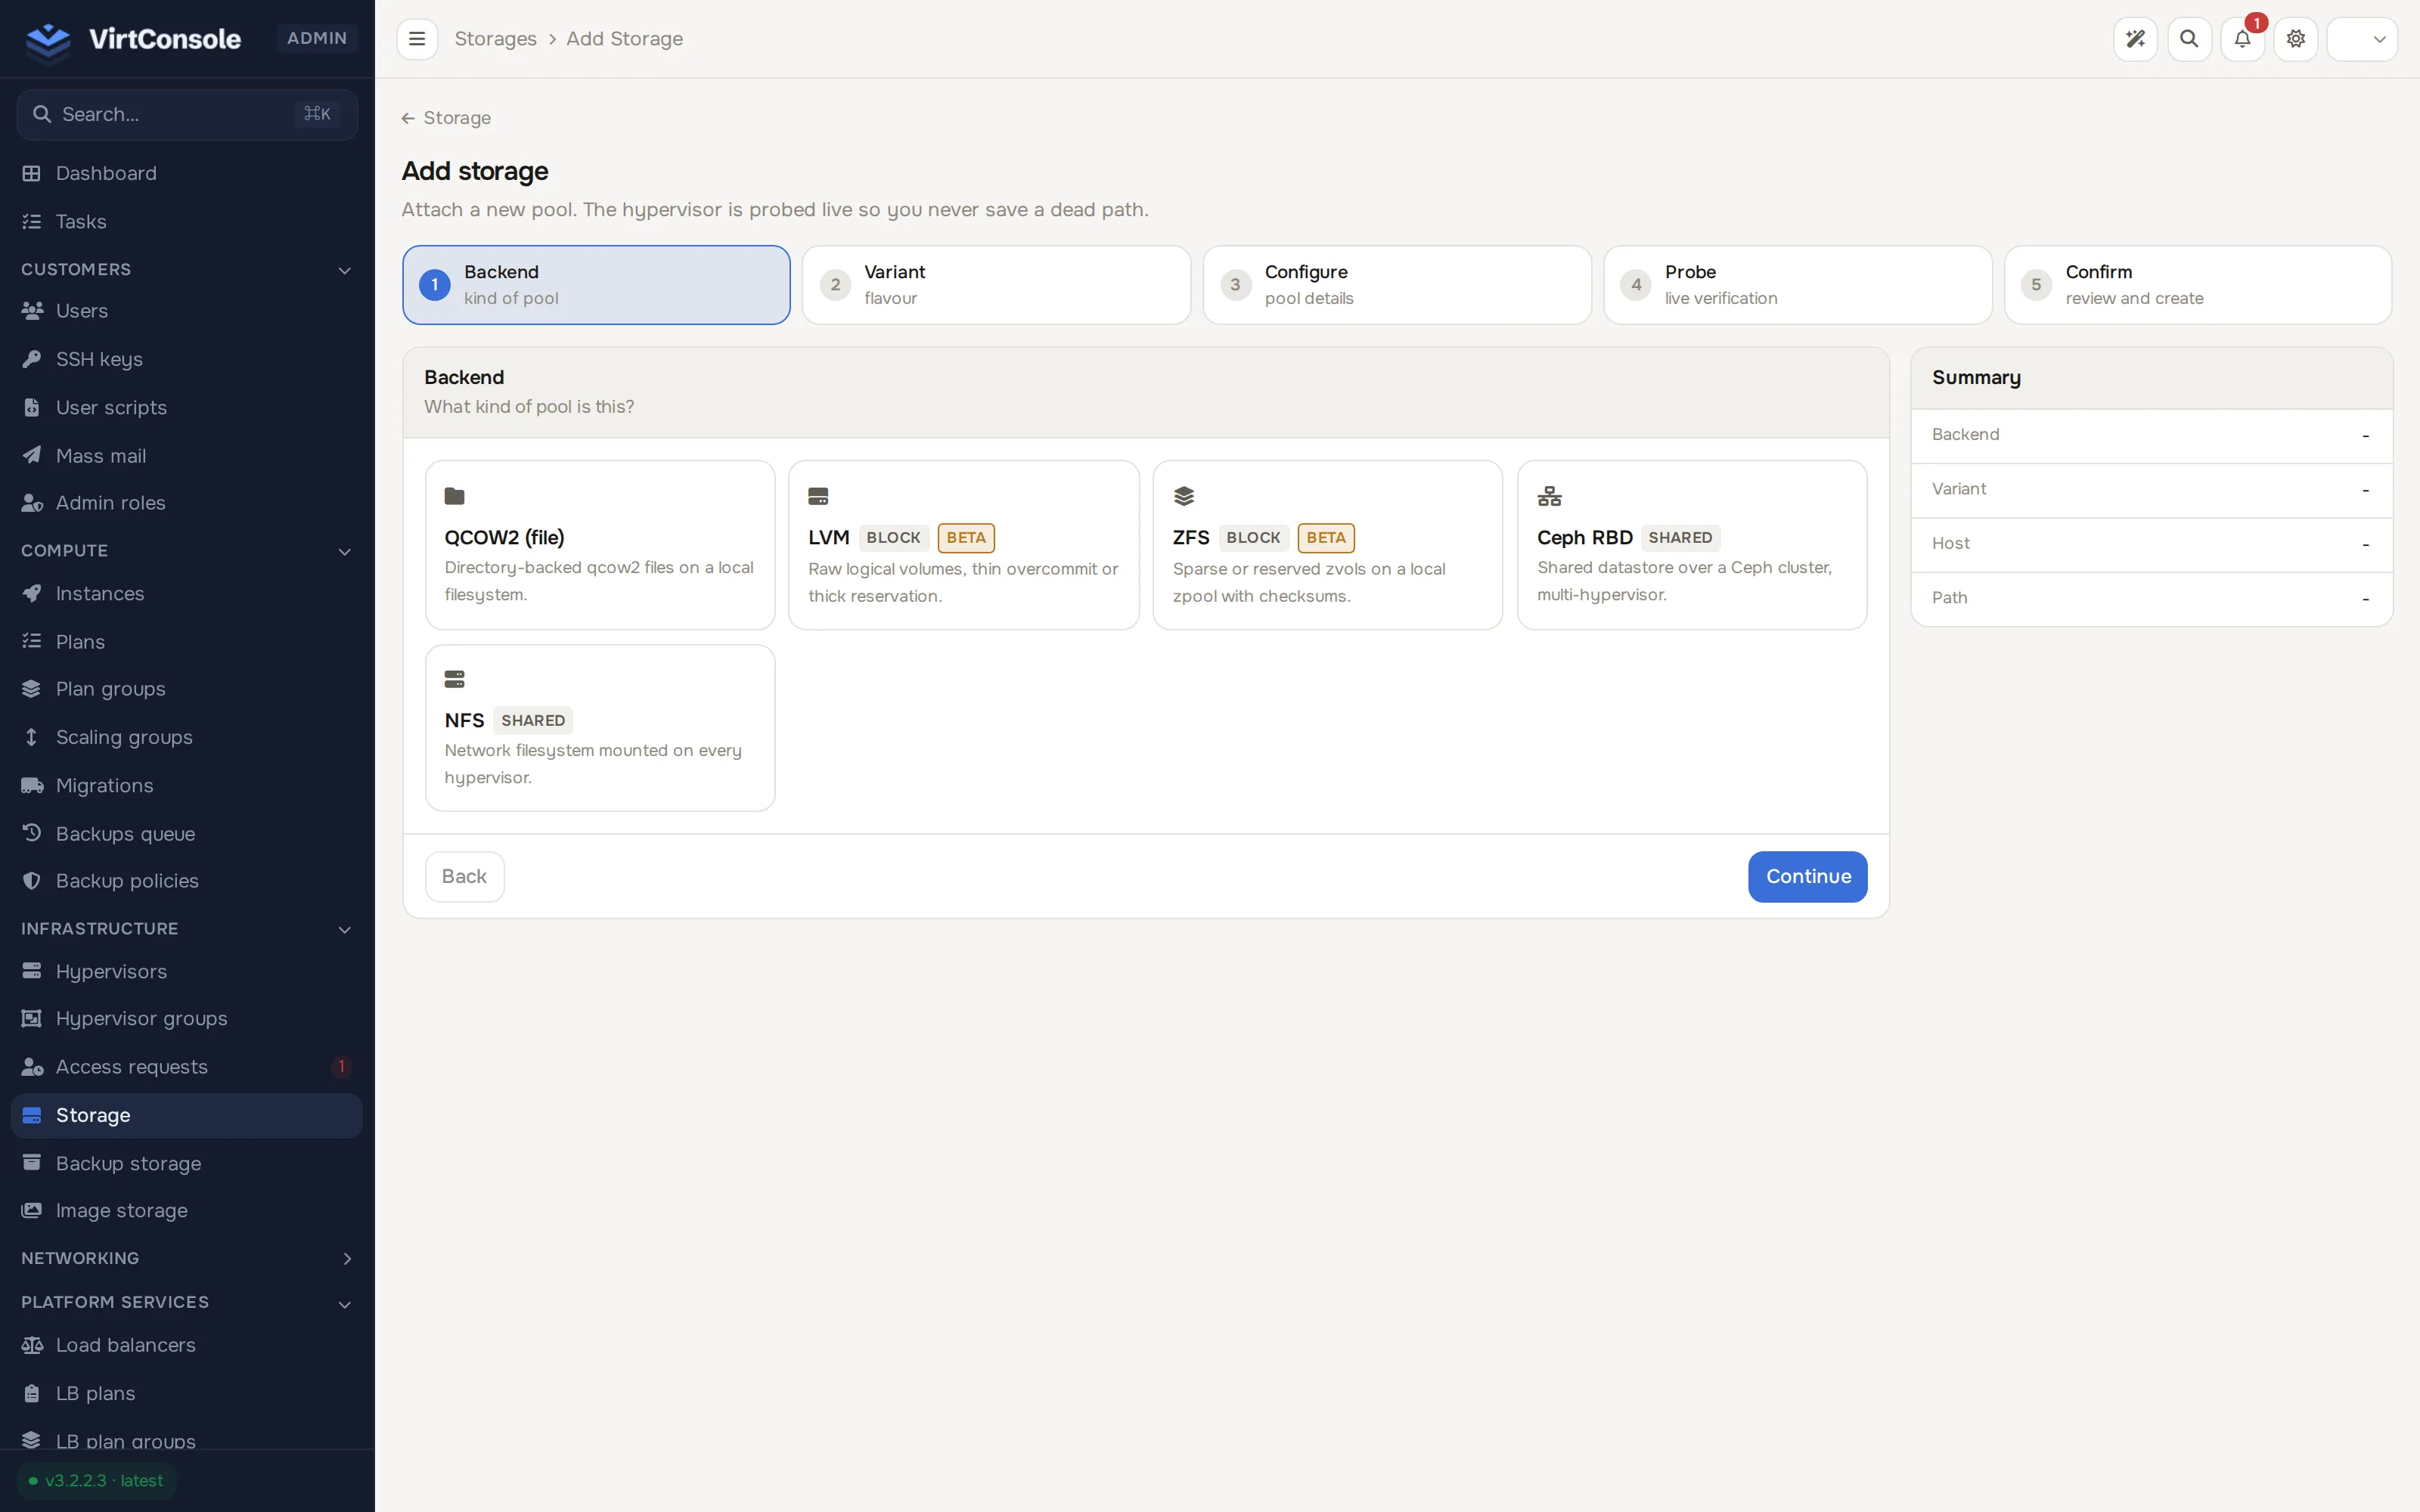
Pick a backend (QCOW2 file storage, LVM or ZFS block storage, both still beta, or the shared Ceph RBD / NFS backends) and, where offered, a variant.
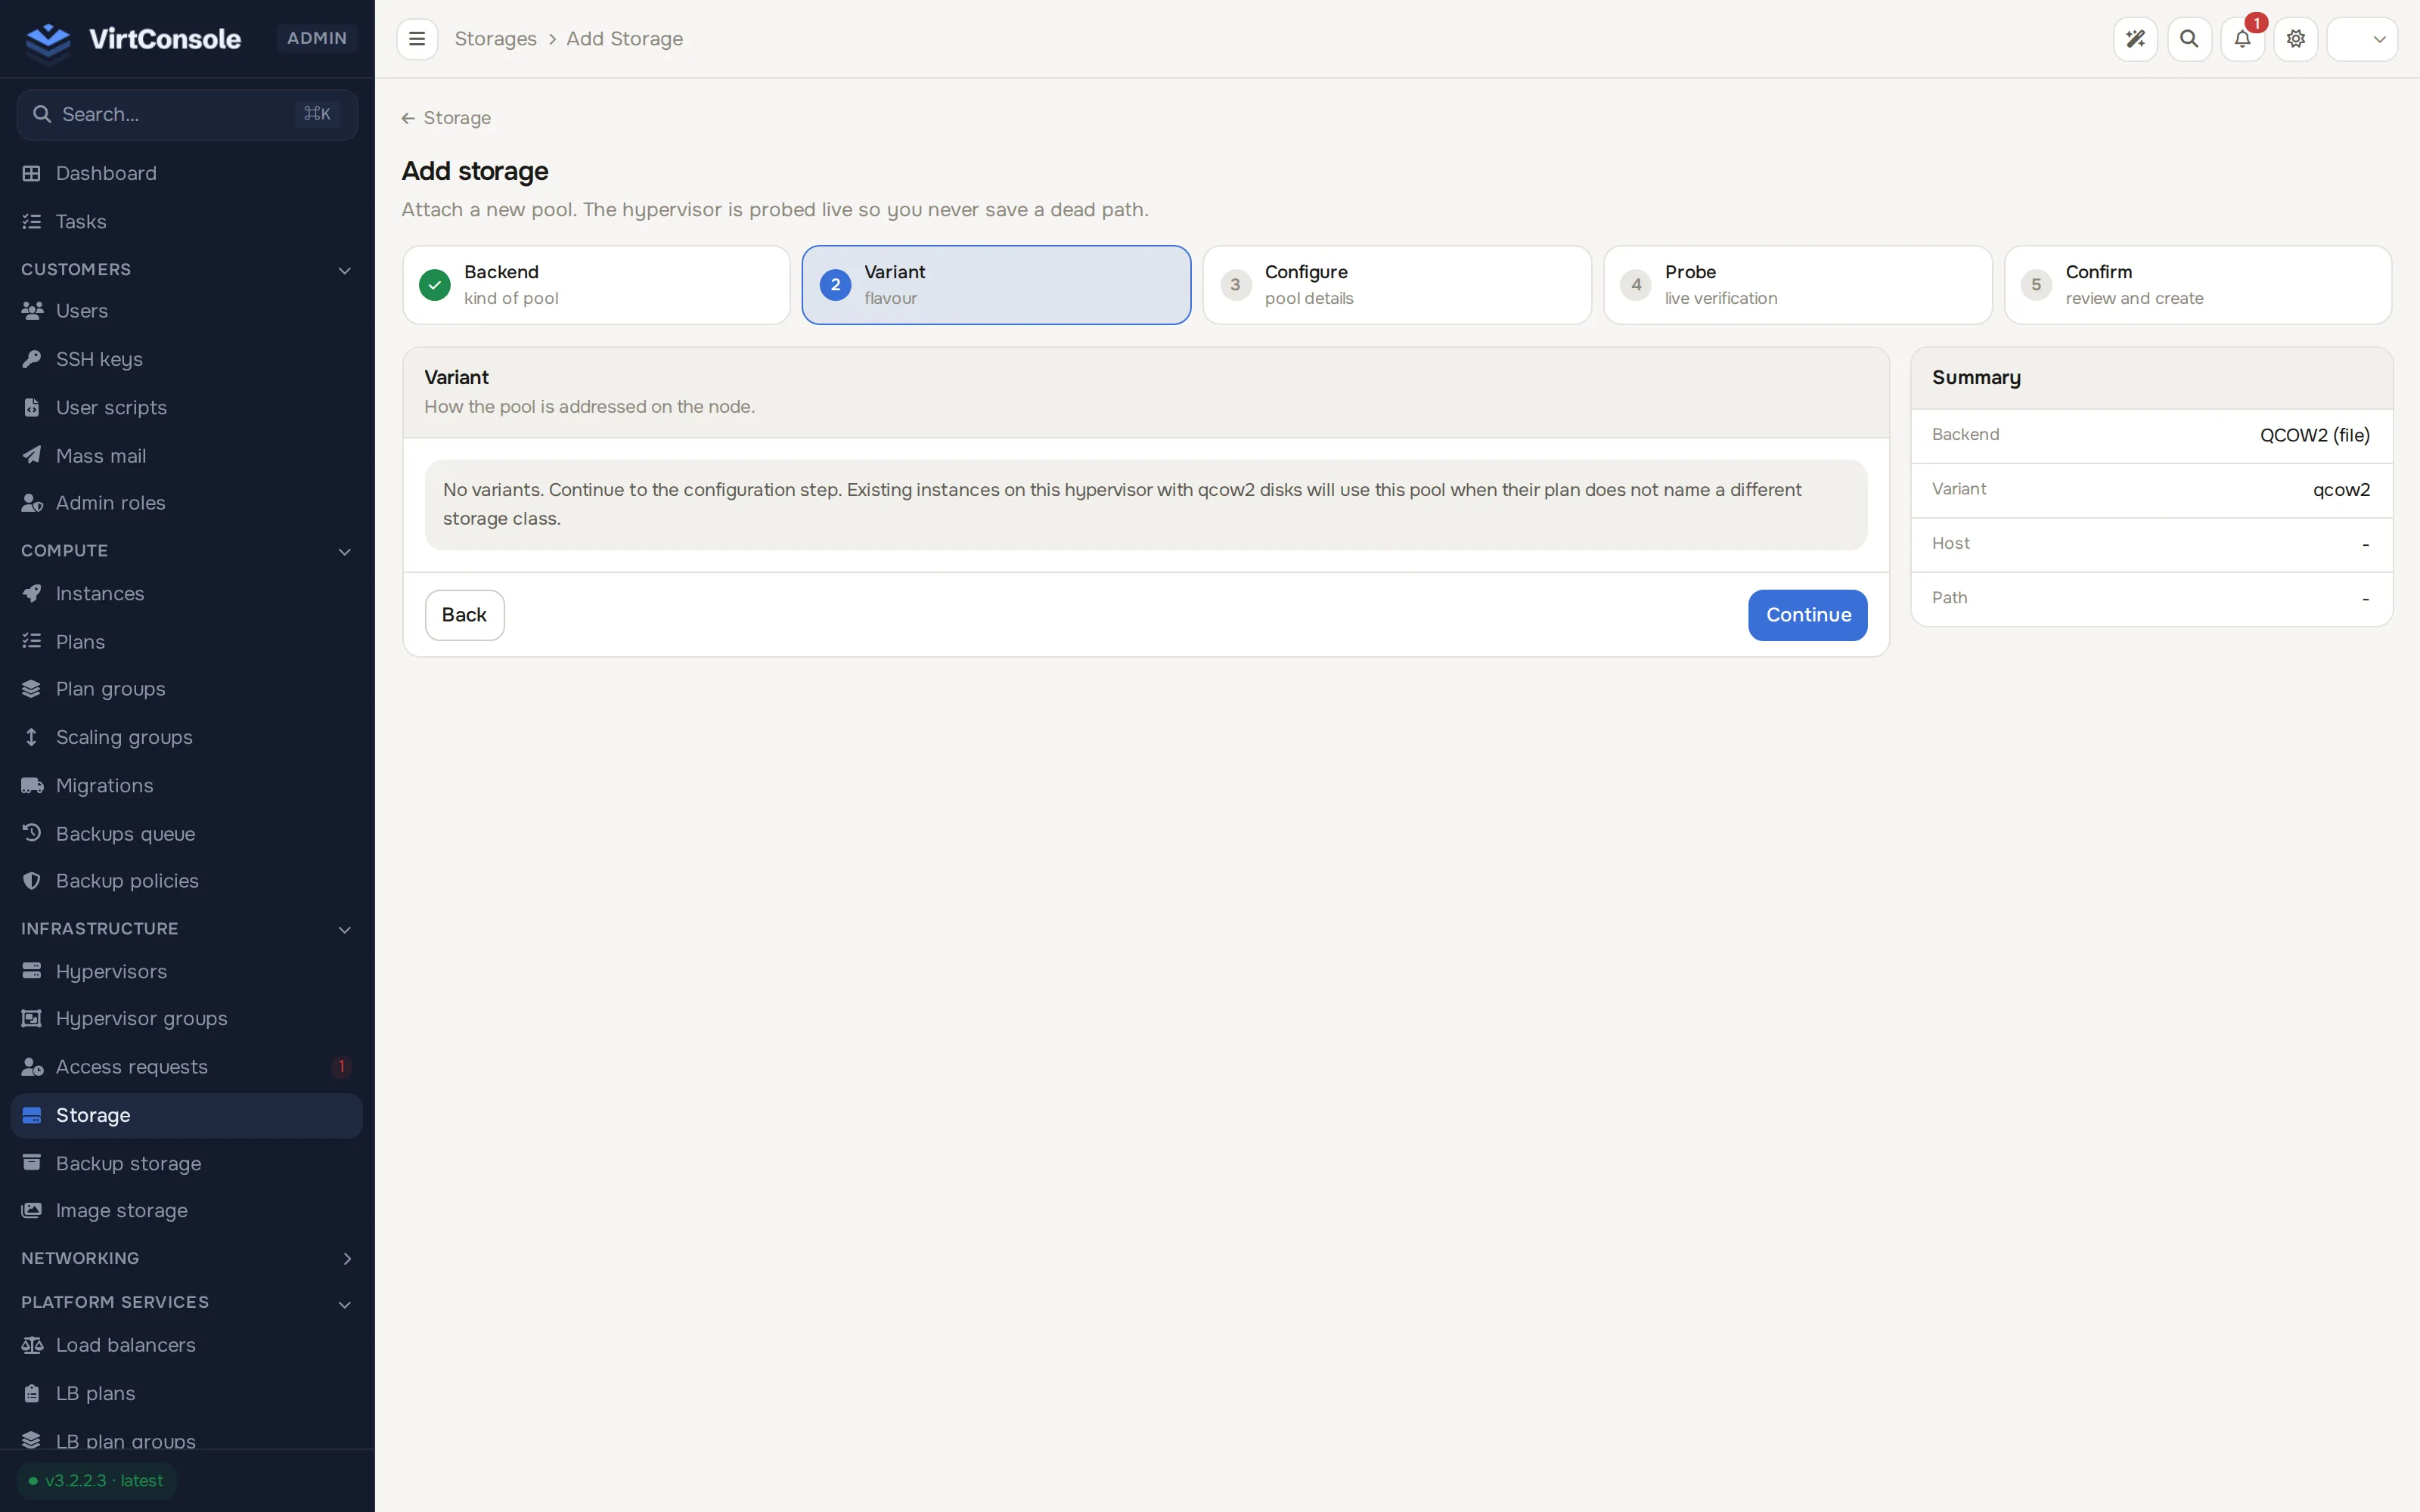
Click Continue into Configure and fill in a unique Name, the path, pool or endpoint, a Storage class (Any, NVMe, SSD or HDD) so plans can target the right tier, and the Hypervisor the storage lives on (or the Hypervisors it is shared across, for Ceph and NFS). Probe asks the hypervisor to verify the pool live, so typos fail fast; Confirm reviews the settings and click Create storage. You can add several storages per hypervisor and mix classes.
-
Add a subnet and generate IPs.
Go to Networking > Subnets and click Add subnet.
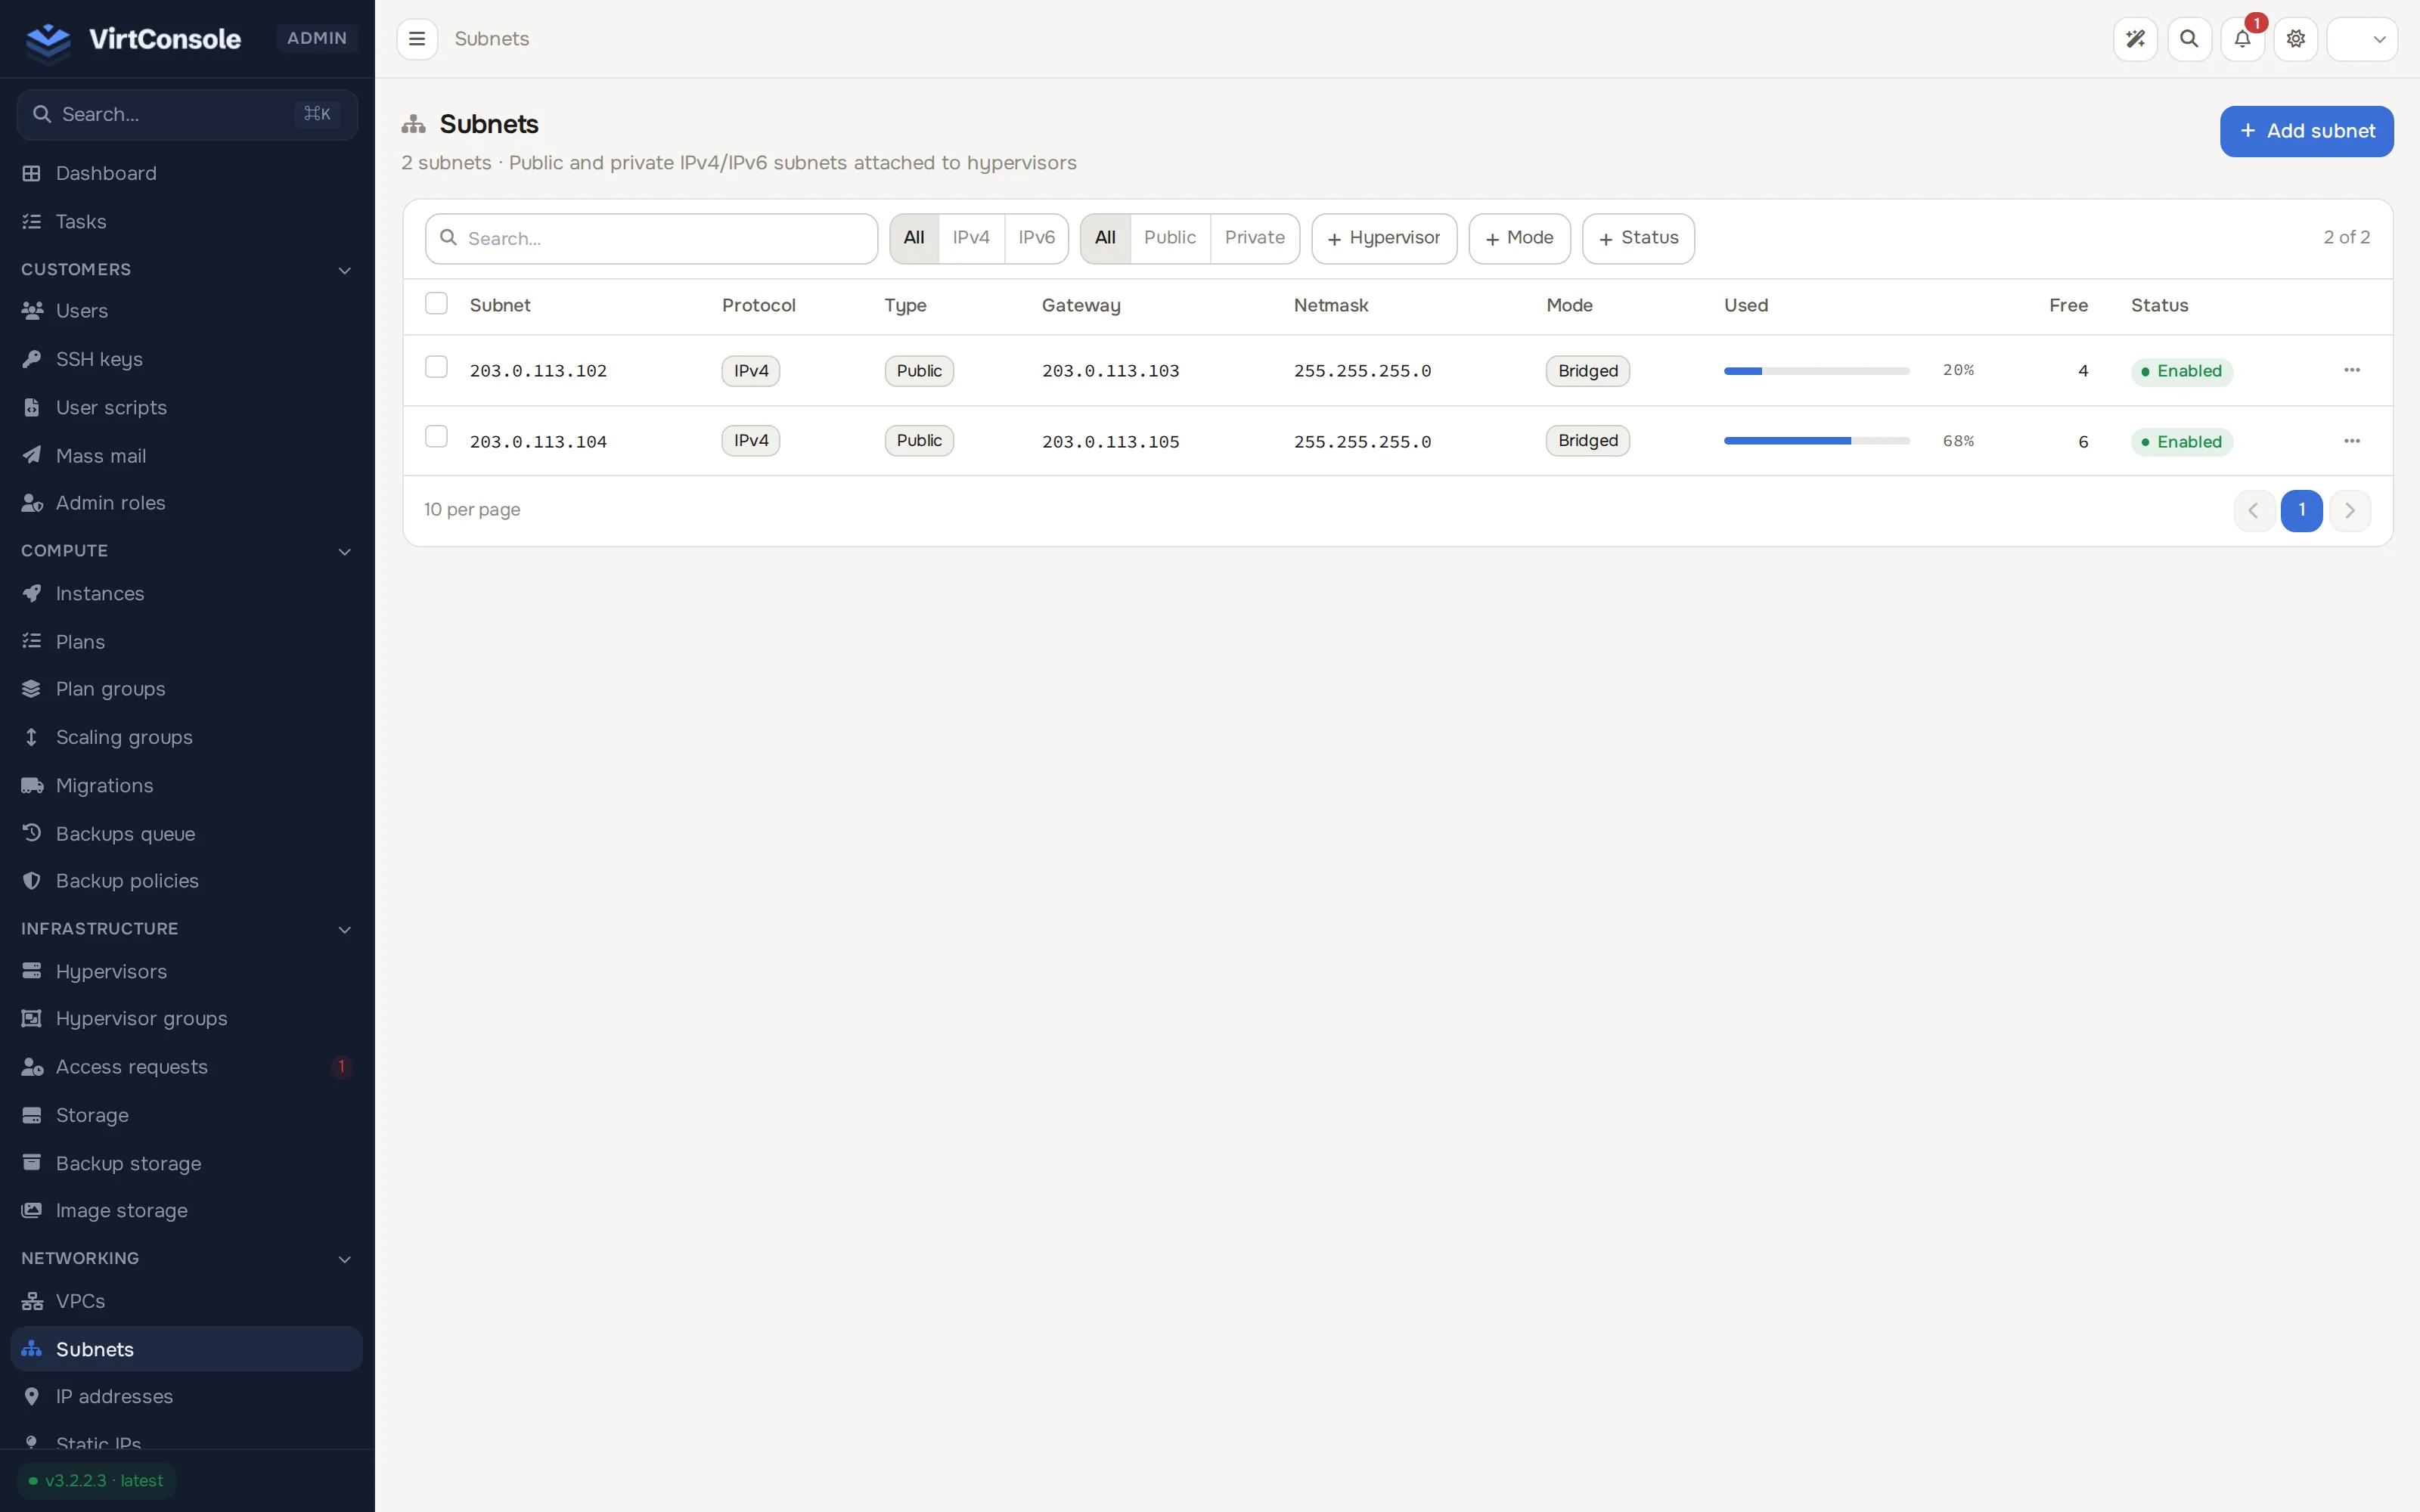
Fill in:
Field What to enter Example Name A unique label. us-east-public-v4Protocol IPv4 or IPv6. IPv4Netmask From your network provider. 255.255.255.0Gateway From your network provider. 203.0.113.1DNS Resolver 1 / 2 Your resolvers, or use the Google, OpenDNS, Cloudflare or Quad9 shortcut buttons. 1.1.1.1Networking Mode Bridged, NAT or Routed. See Networking. BridgedType Public or Private. PublicBridge The bridge interface on the host. Required when the mode is Bridged. br0Interface The host interface NAT traffic leaves through. Required when the mode is NAT. eth0Hypervisors The hypervisors that may hand out IPs from this subnet. node-us-east-1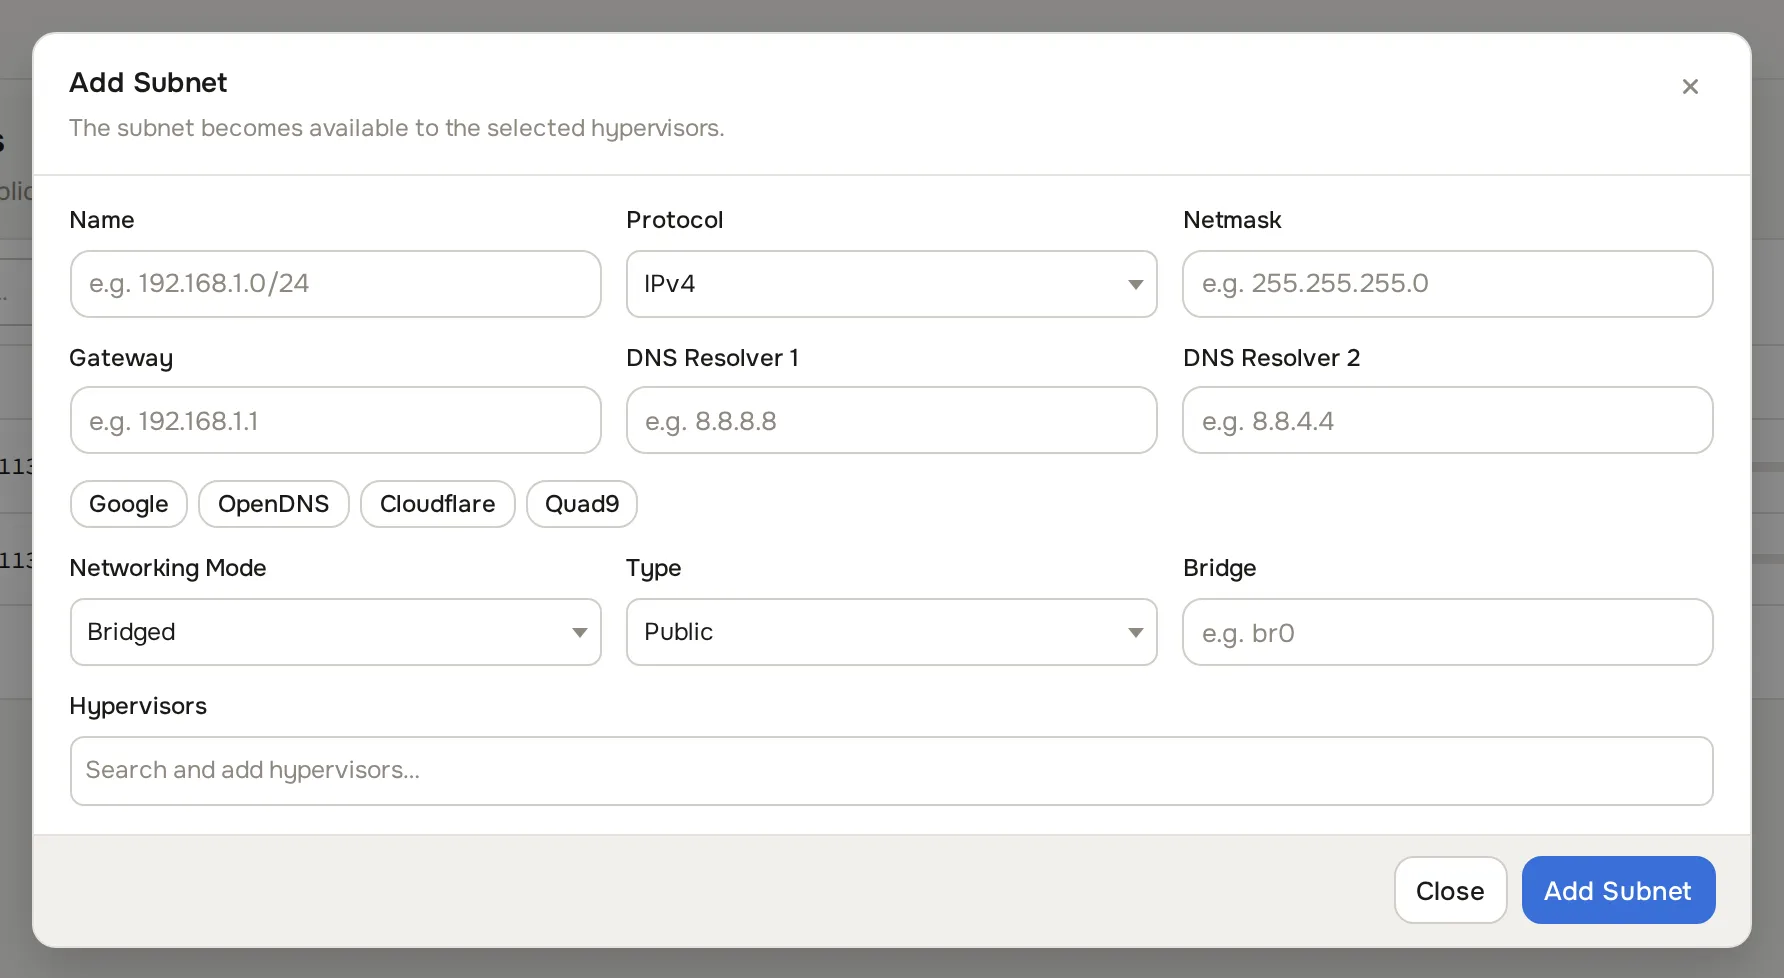
Save, then open the subnet and use the IPs tab to generate addresses: a single IPv4, an IPv4 range, single IPv6 addresses, or whole IPv6 subnets (typically /64) that can each be assigned to an instance.
-
Create an instance plan.
A plan is the template a customer (or you, on their behalf) picks when ordering an instance. Go to Compute > Plans and click Create plan.
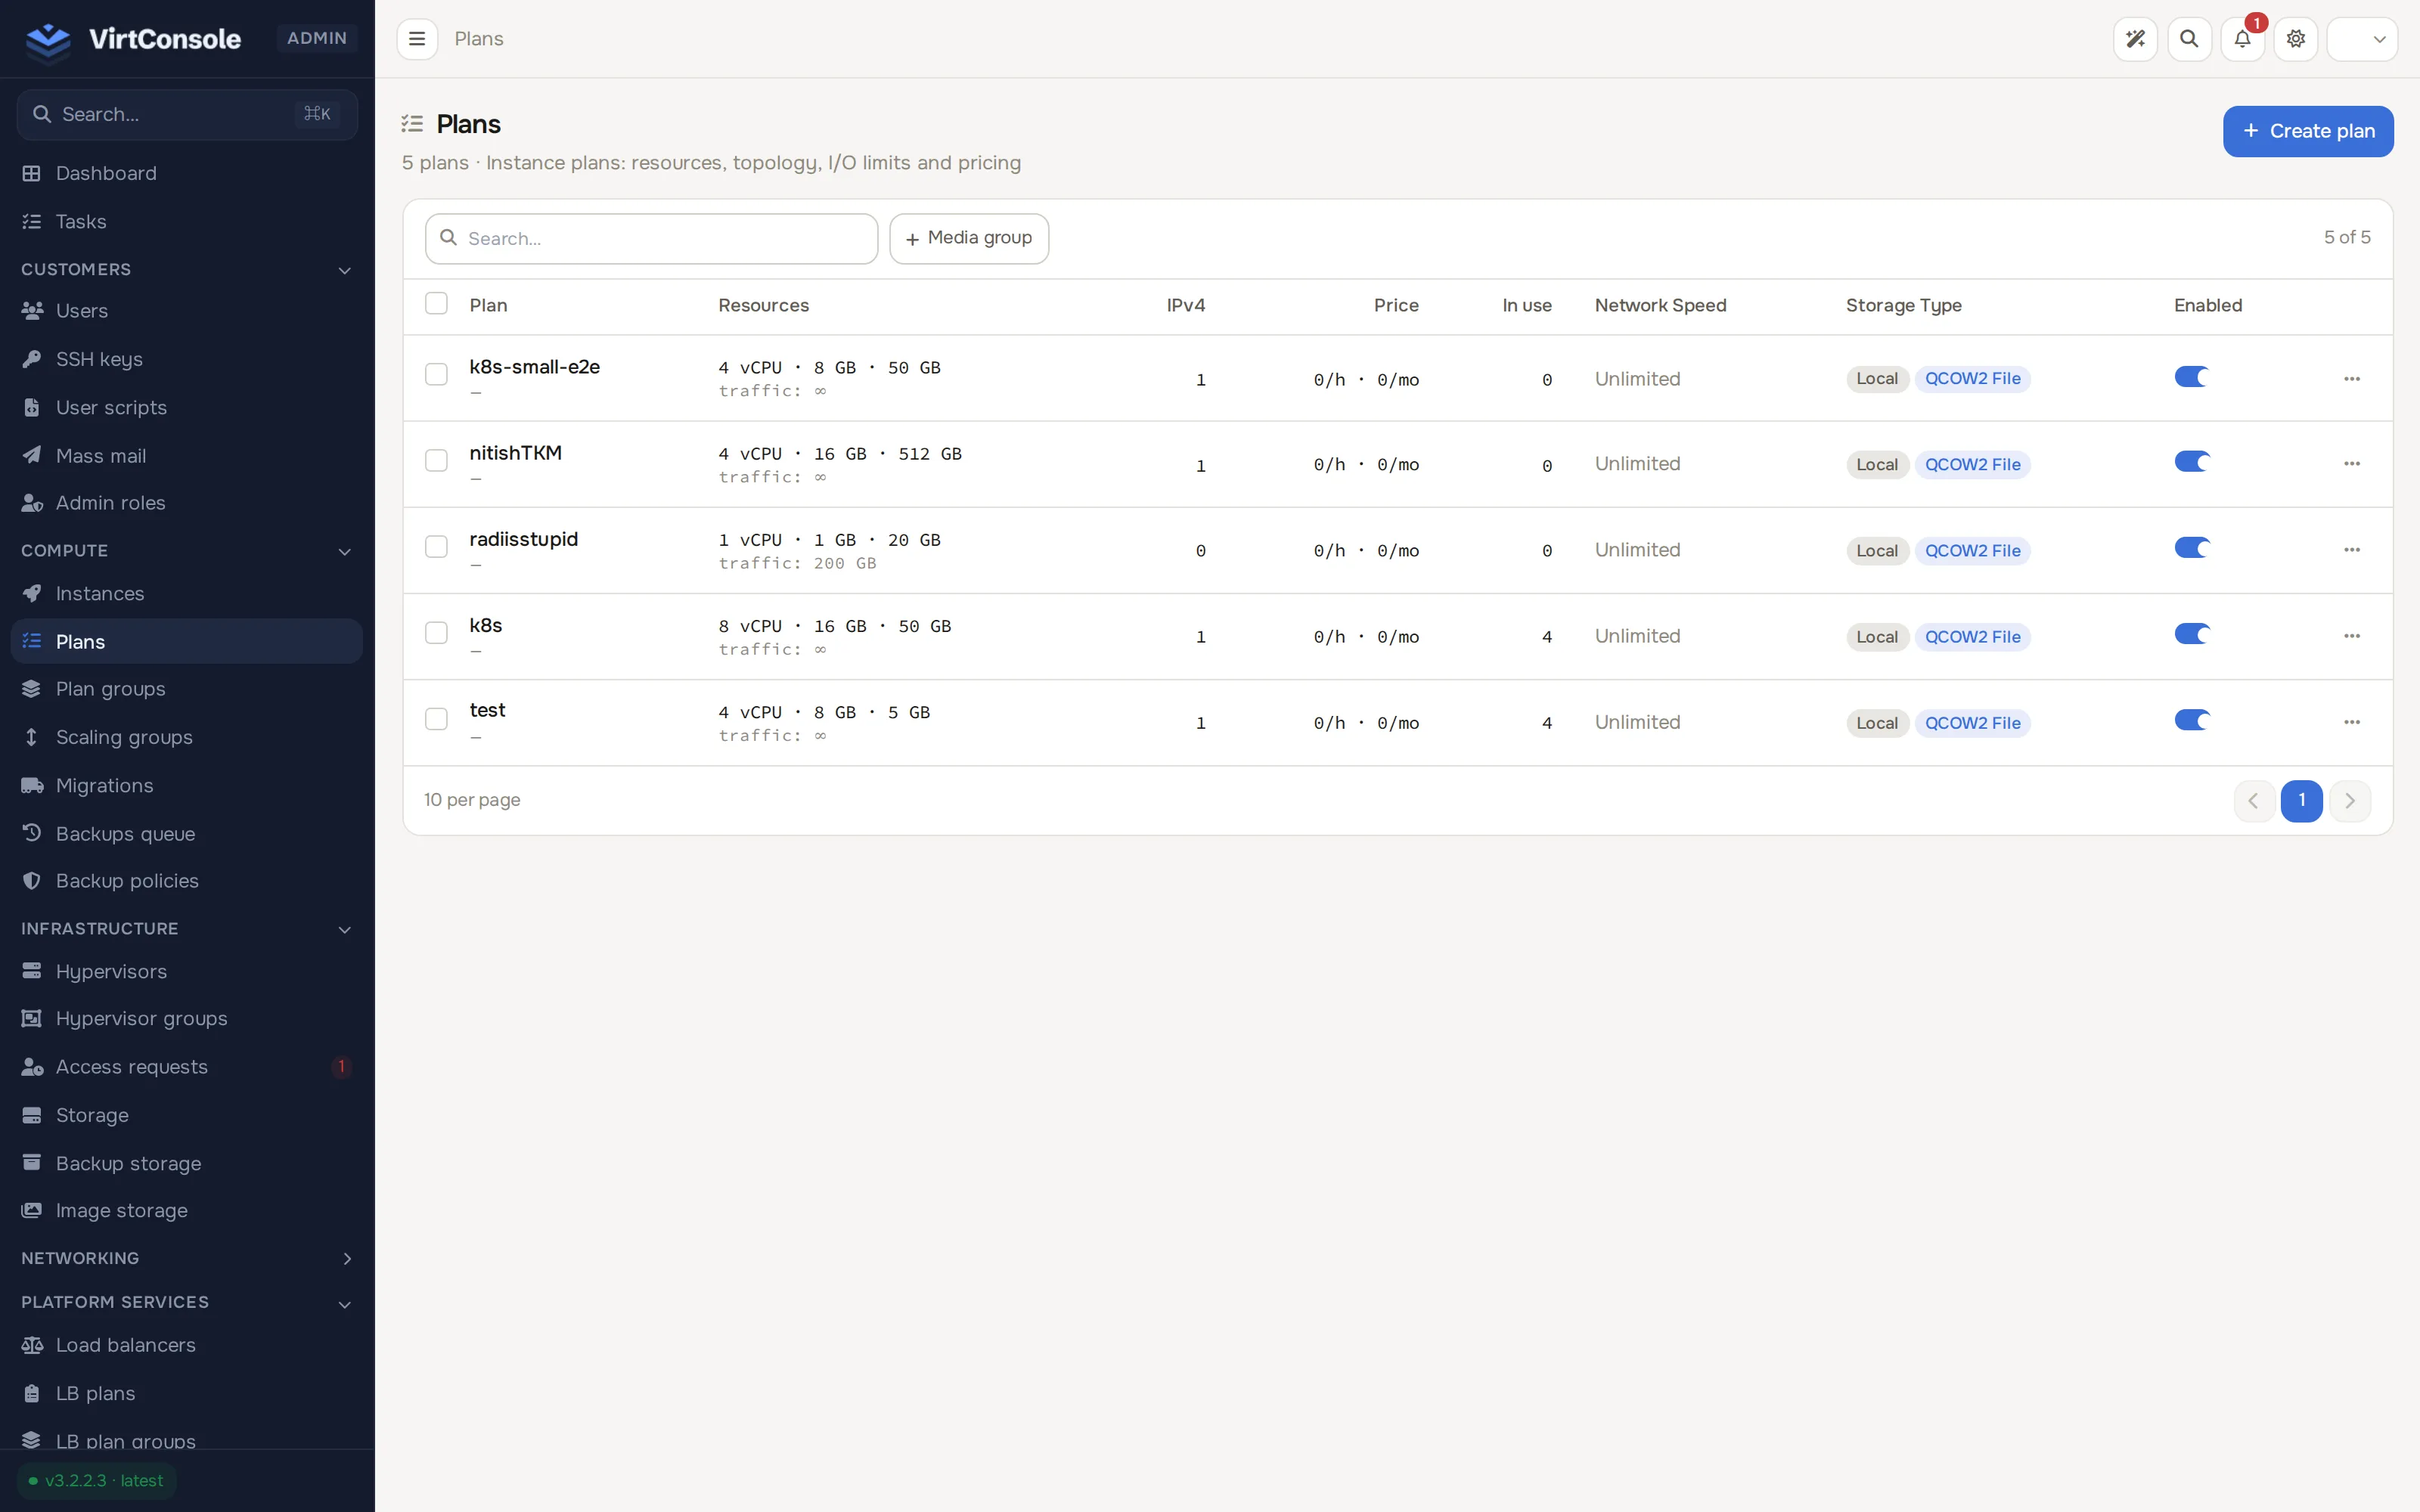
Set CPU cores, RAM, disk size and class, bandwidth, and how many IPv4 and IPv6 addresses come with the plan.
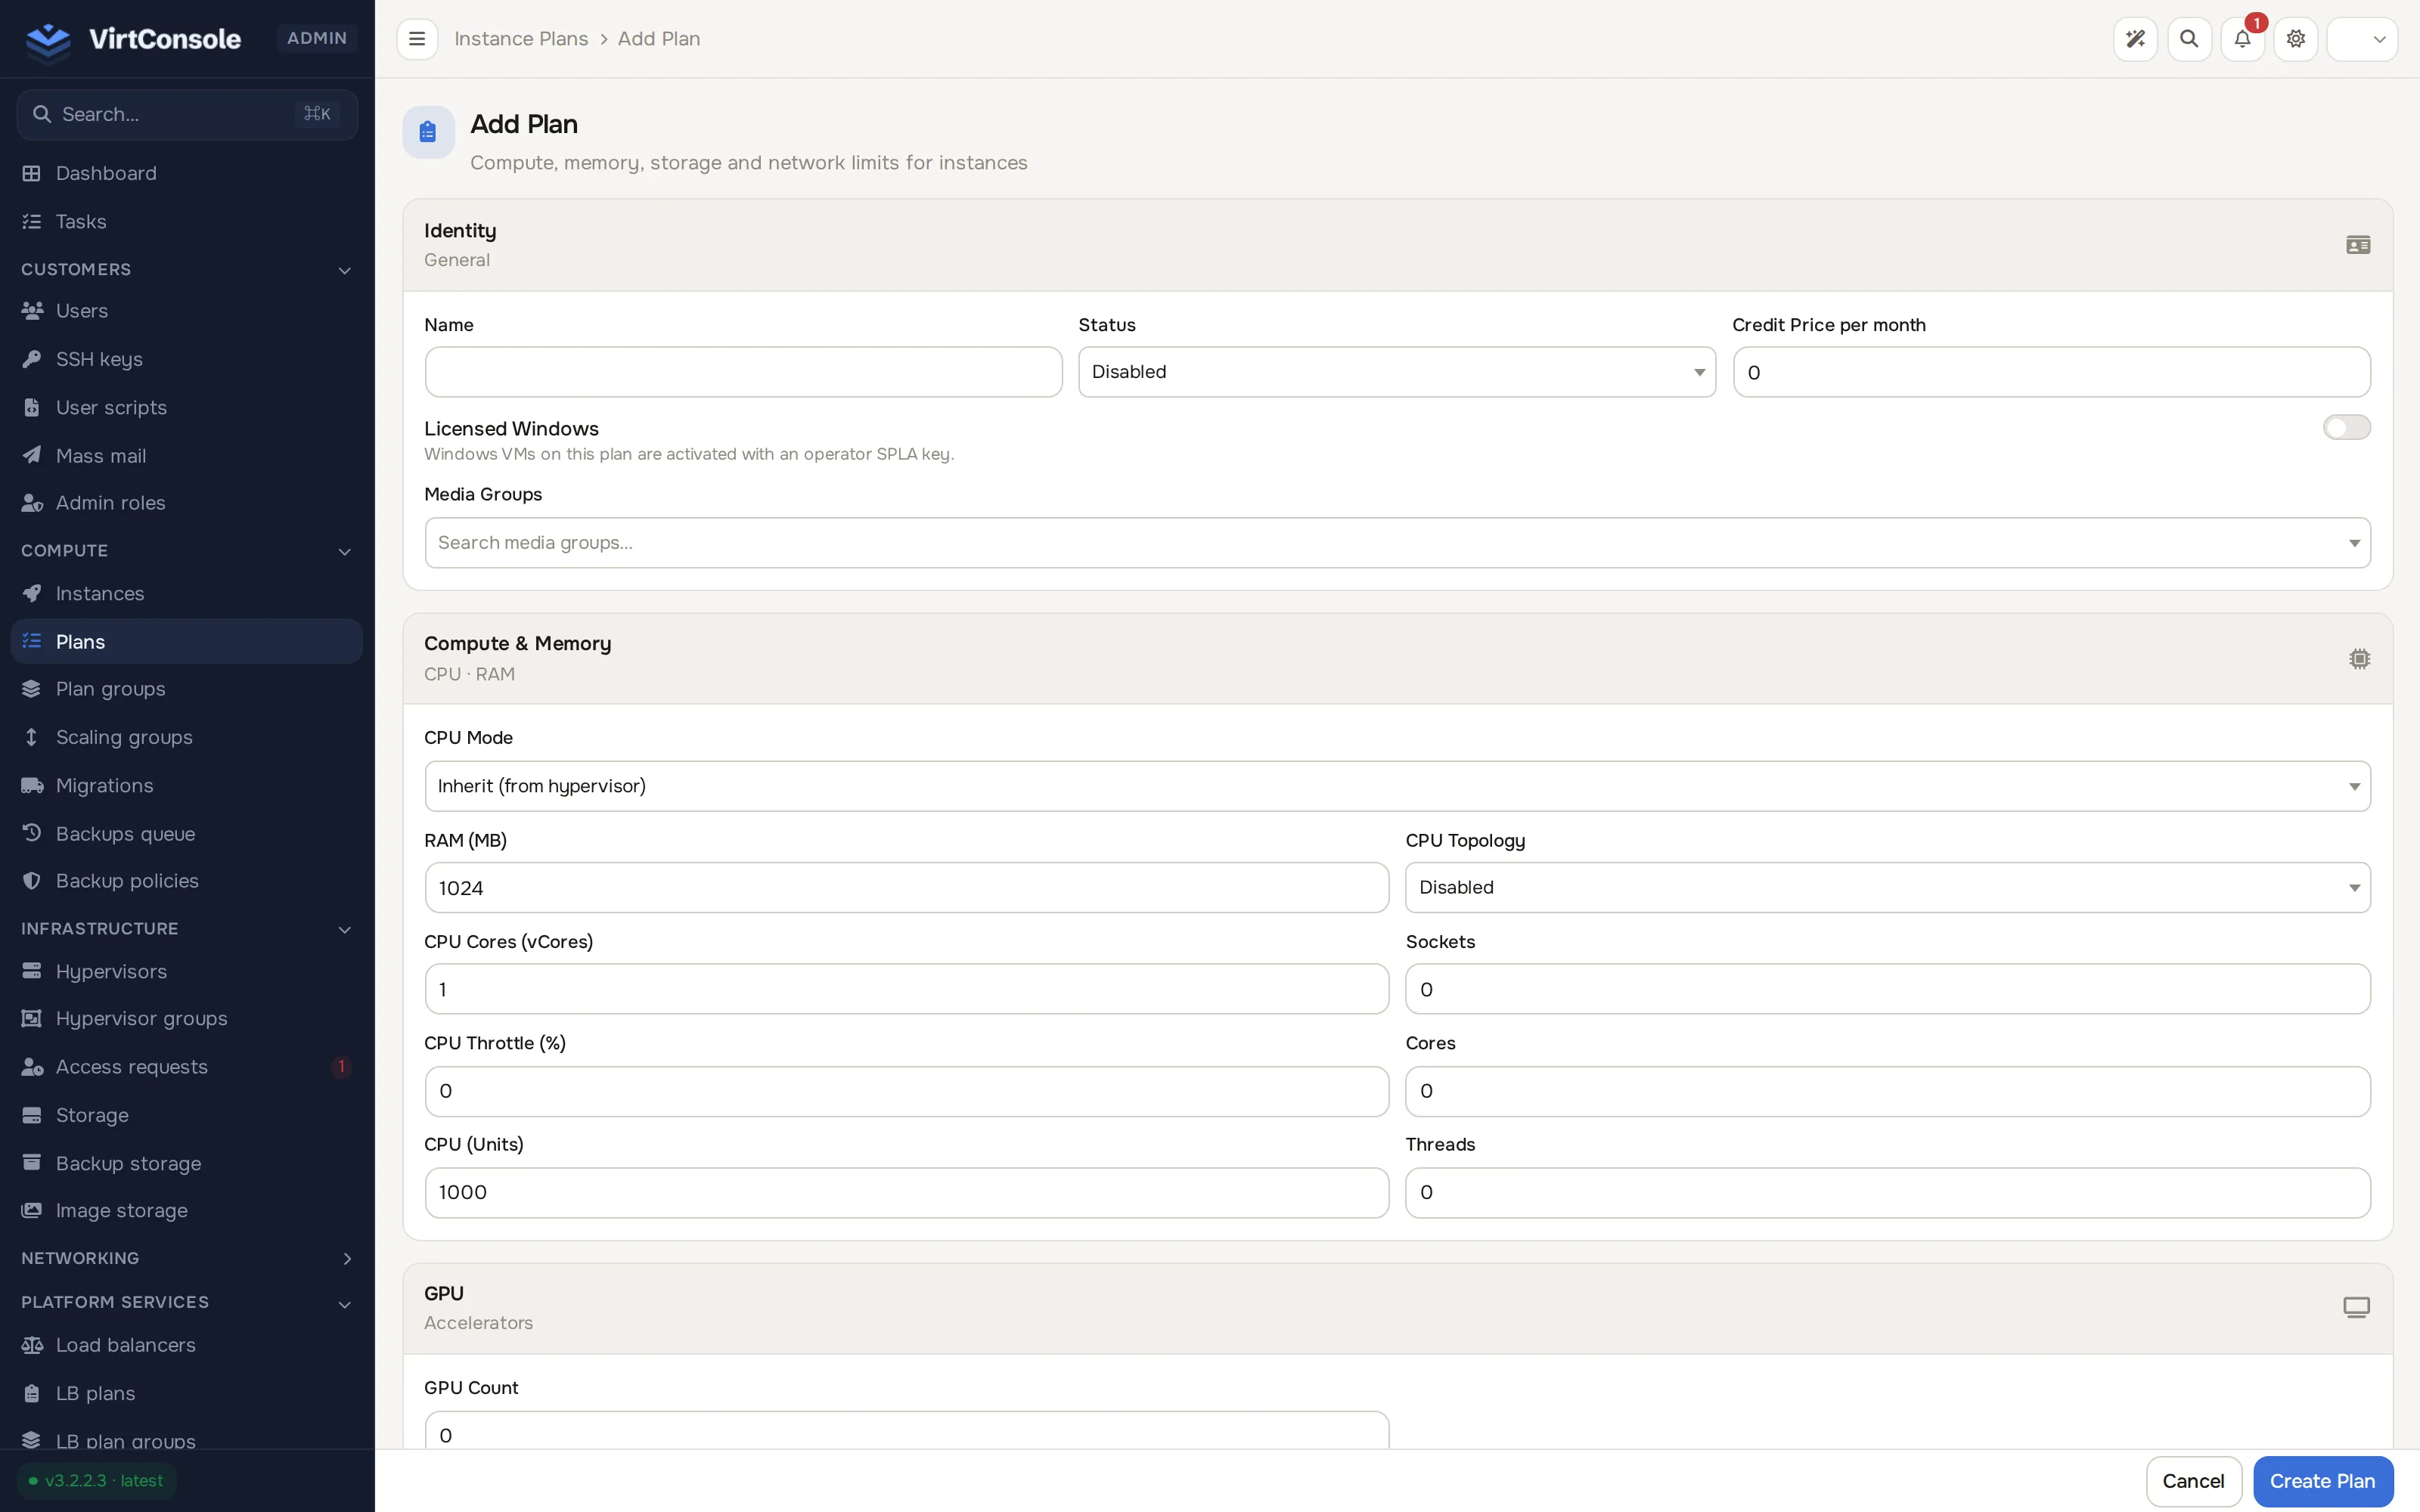
Save. The full field list is on the Instance plans page.
-
Download an image and deploy your first instance.
Go to Media & DNS > Image browser, open an image and toggle Enabled.
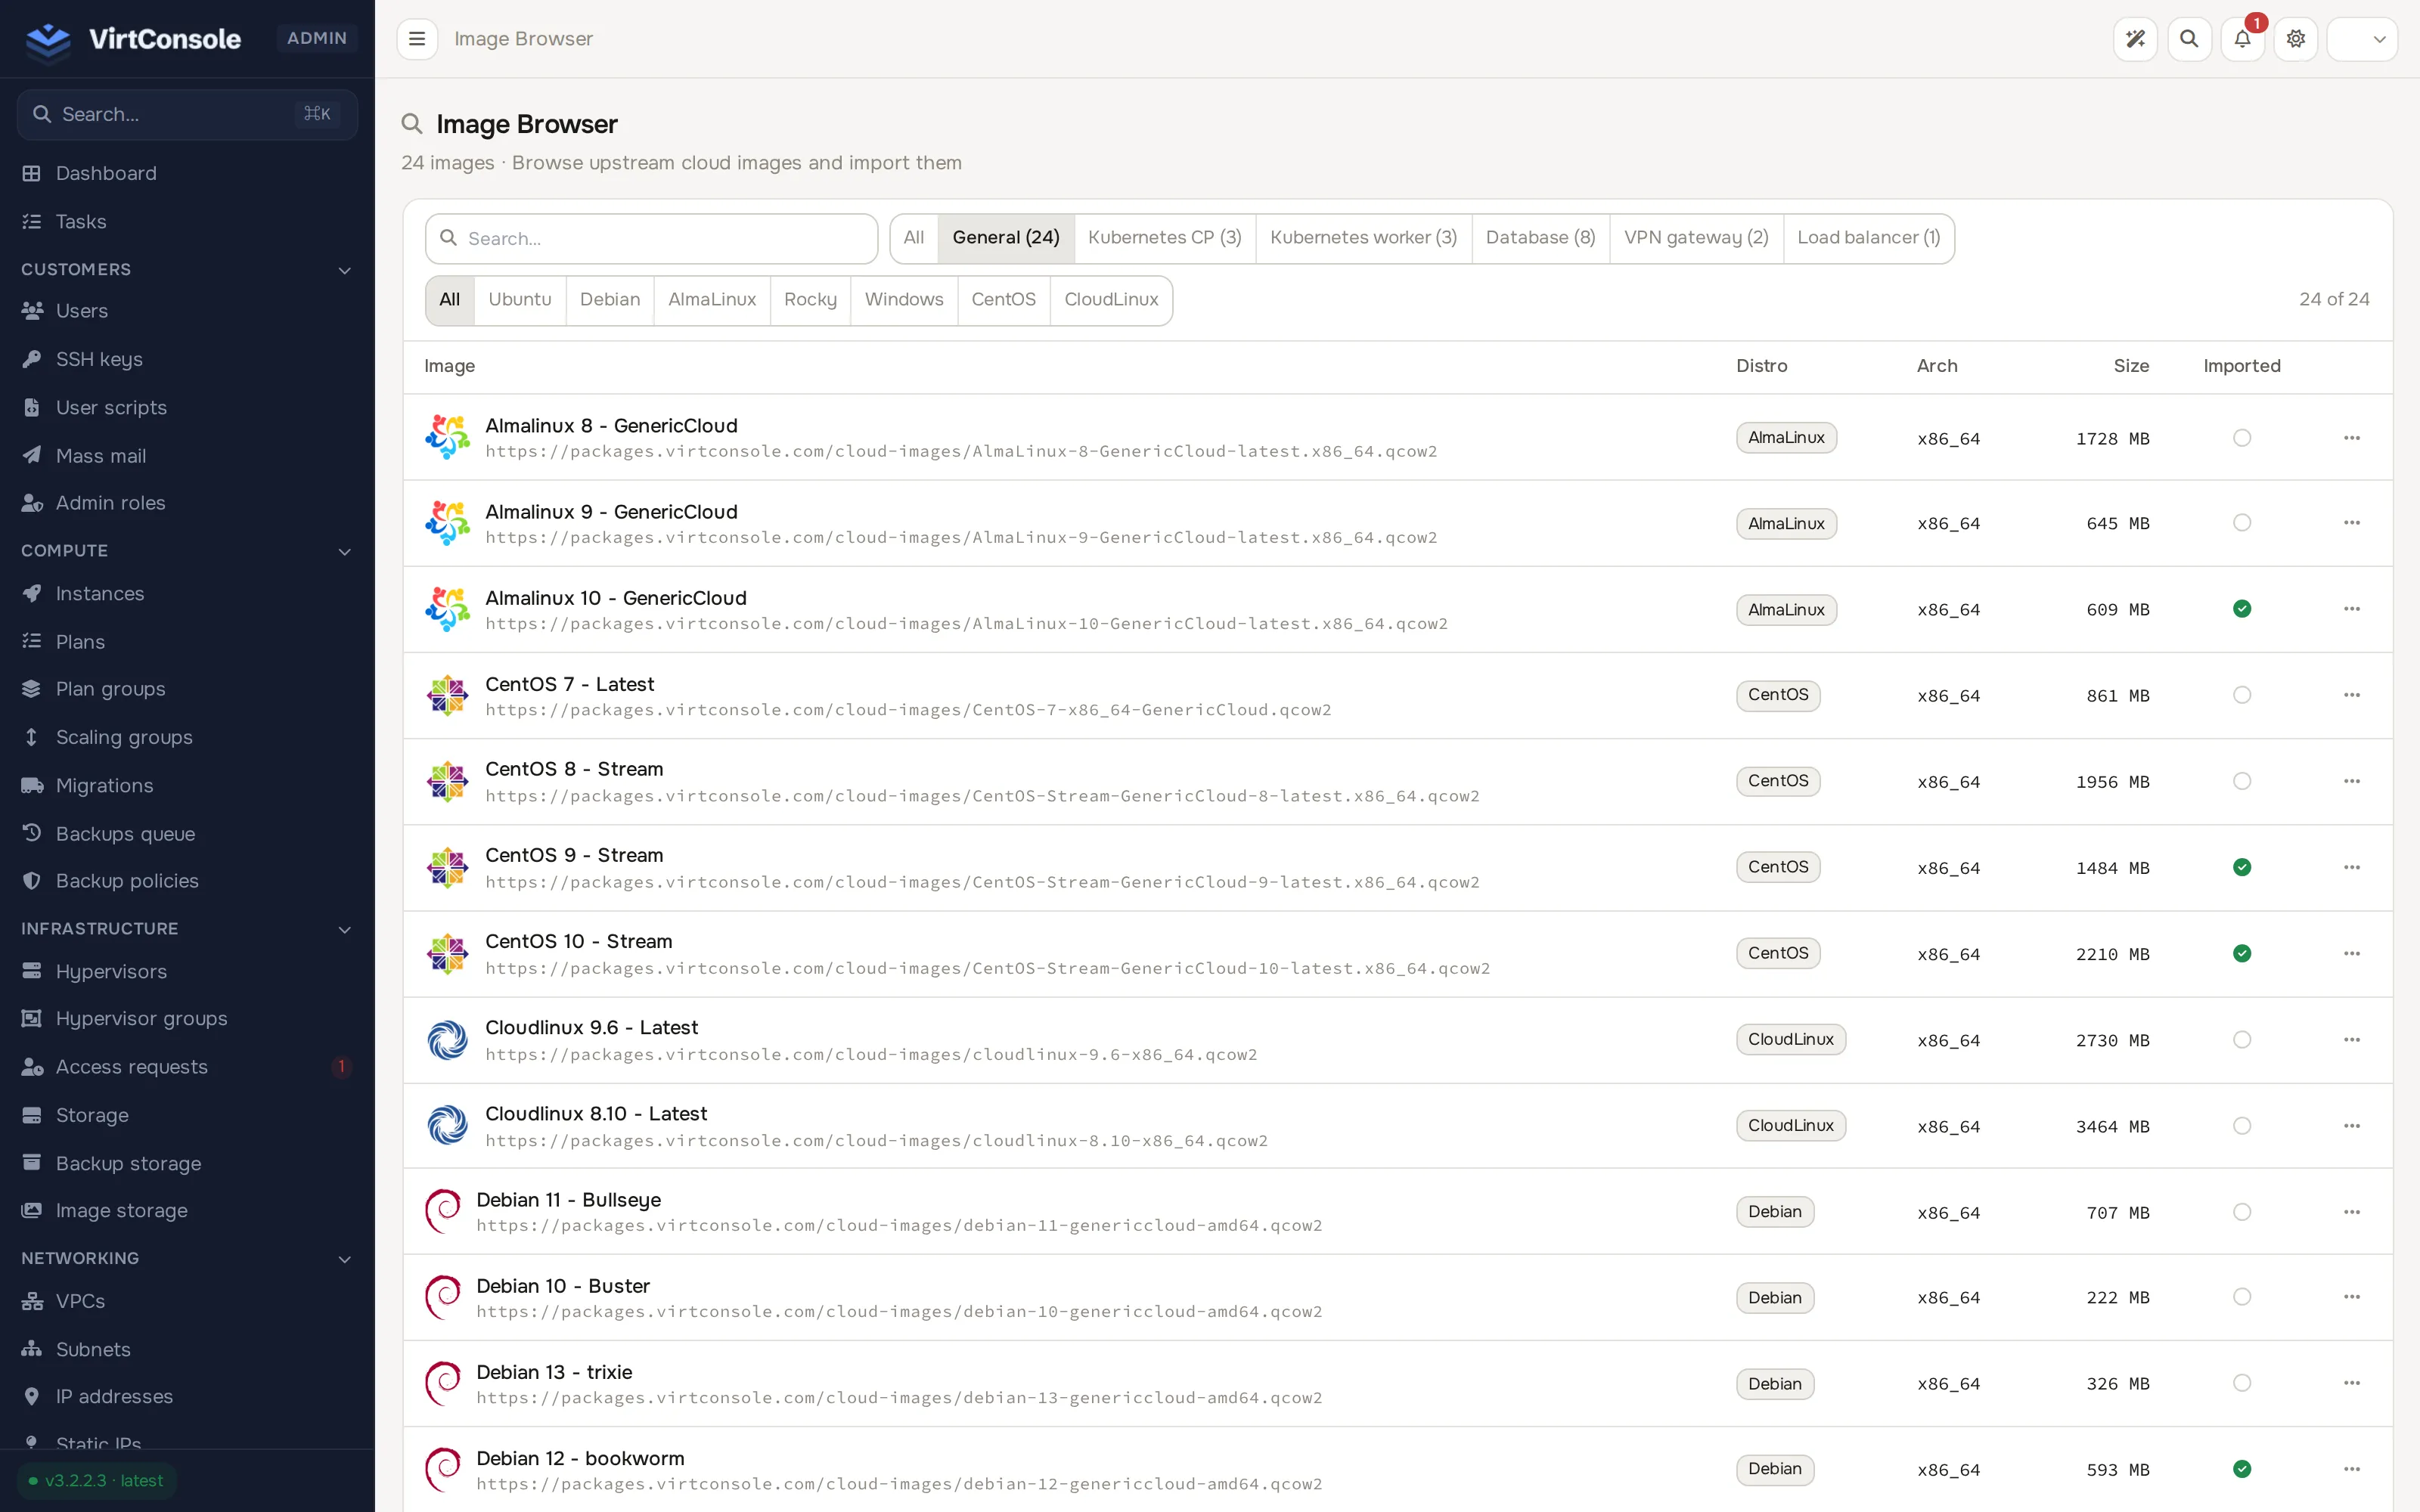
The panel queues a download on every connected hypervisor. Watch Tasks in the sidebar until the downloads finish; an instance cannot deploy on a hypervisor until the image arrives there.
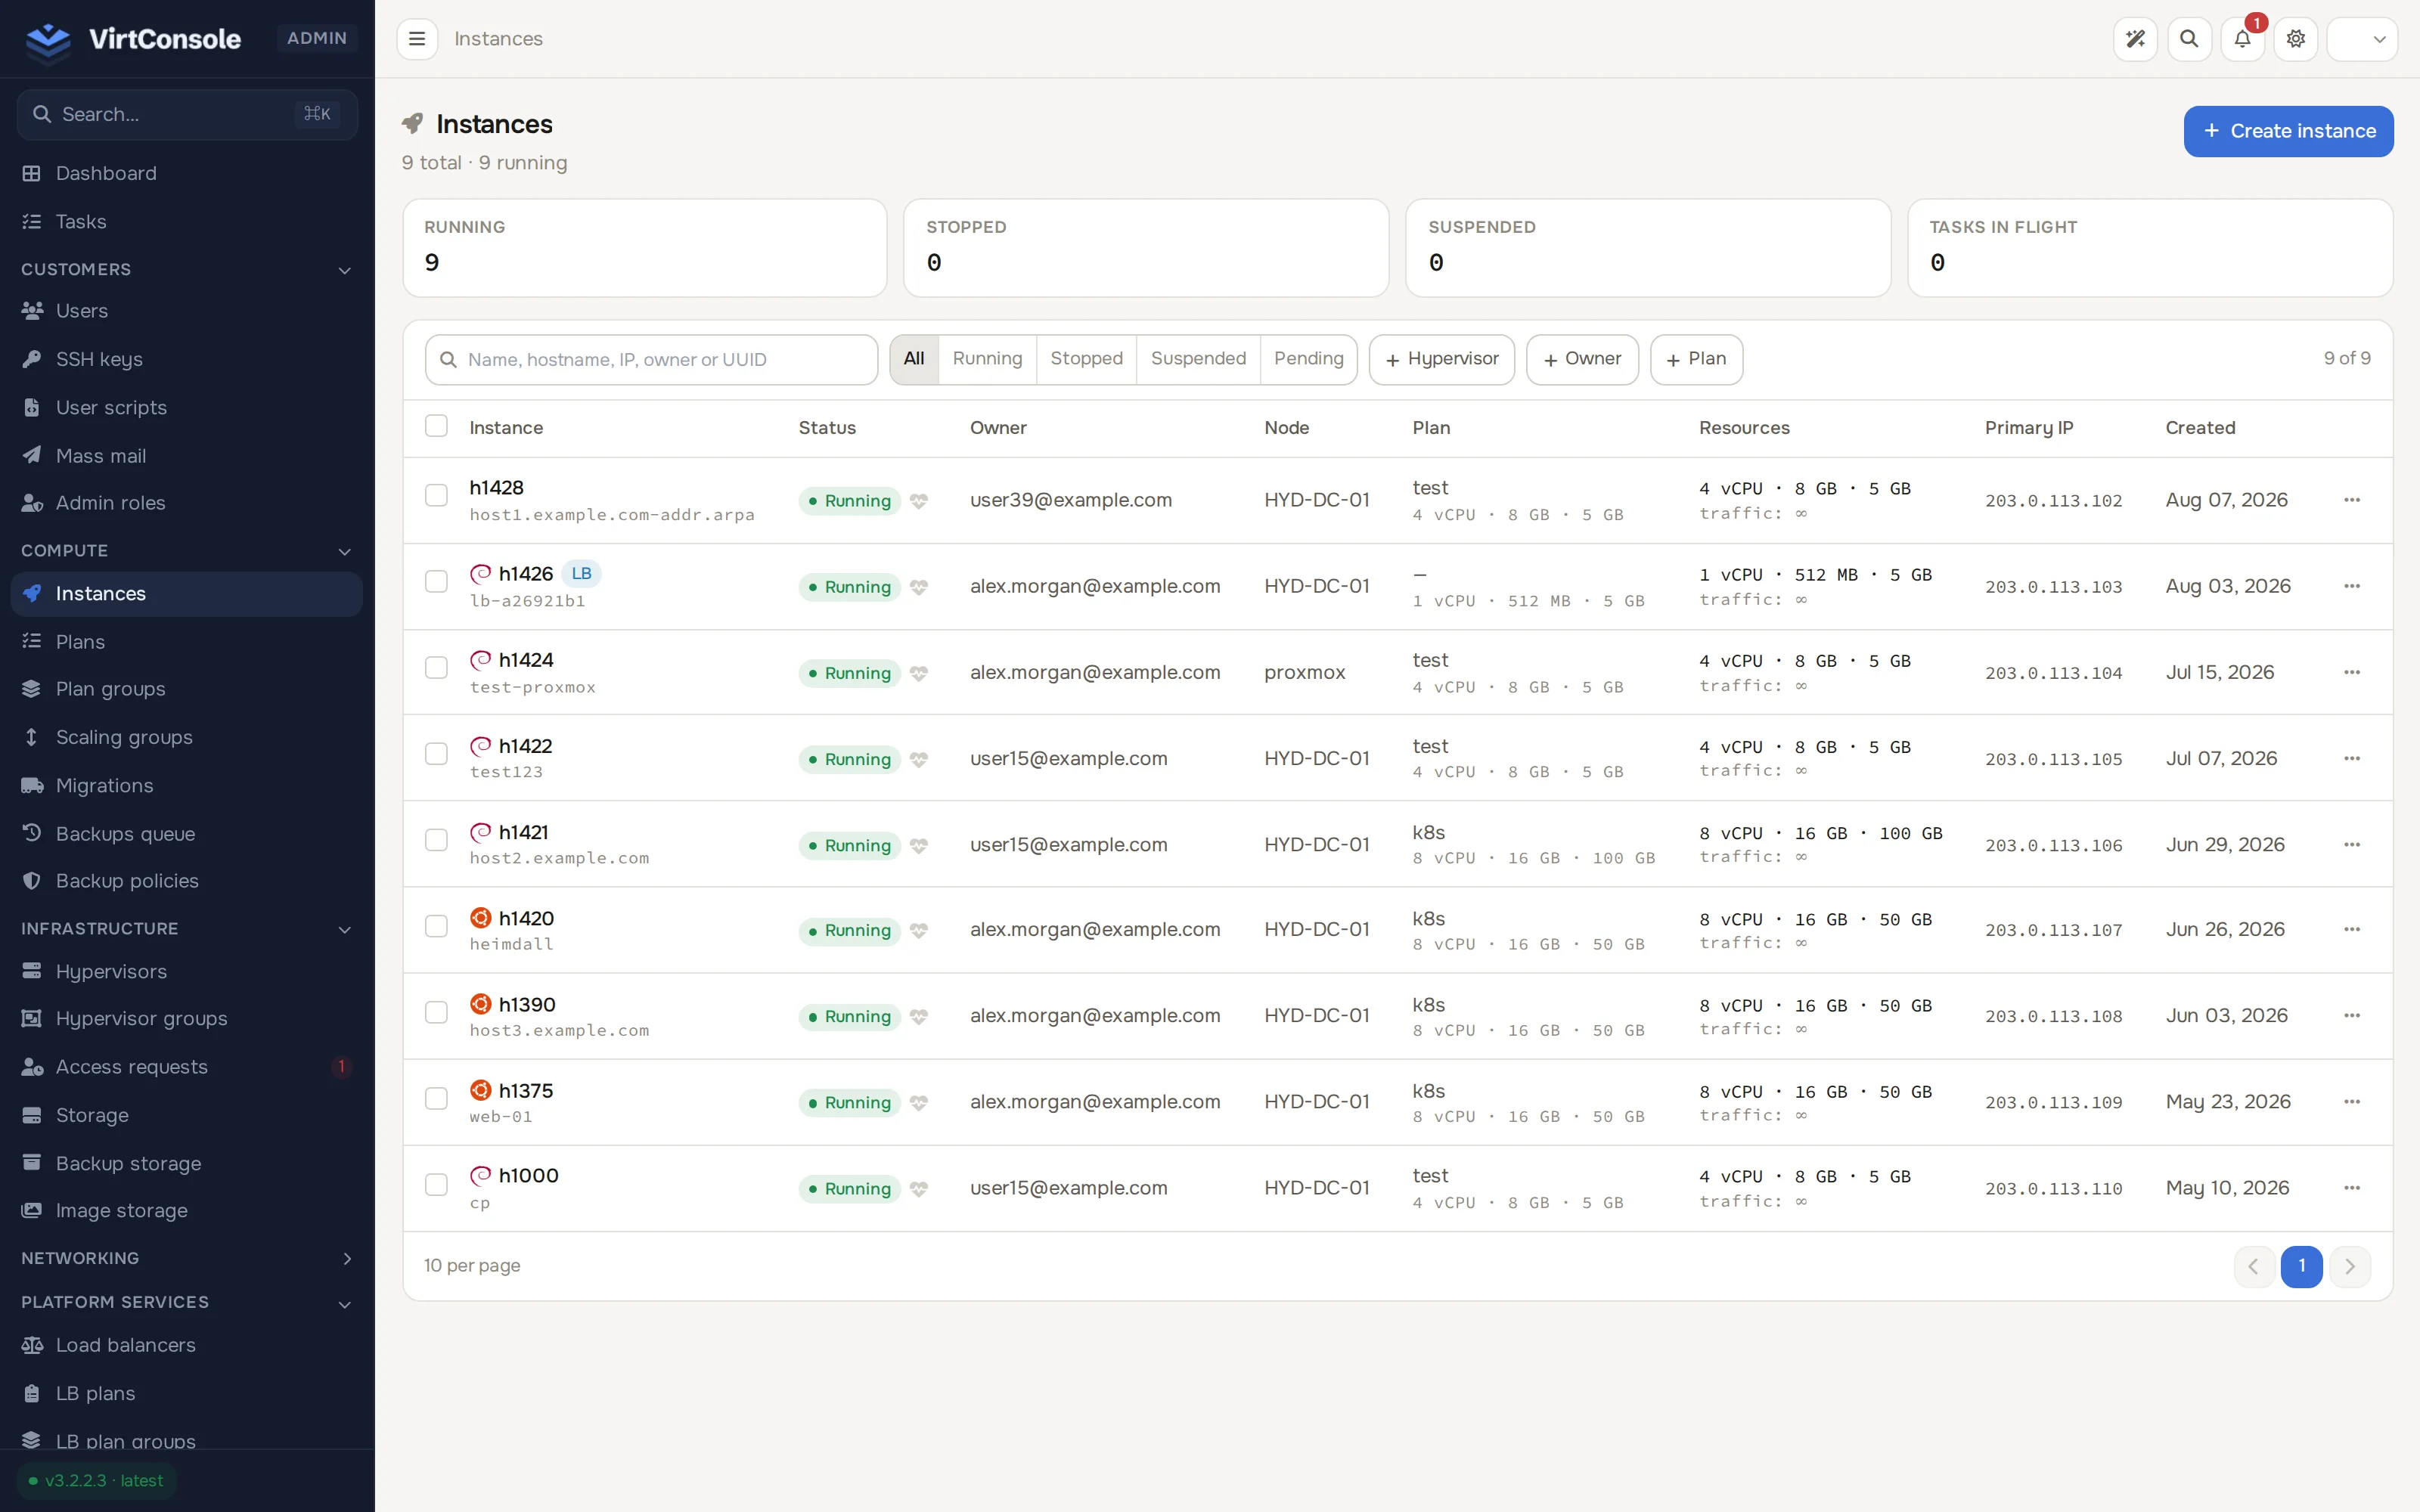
Then go to Compute > Instances and click Create instance.
The create page has sections for Owner & node (the customer and the exact hypervisor), Resources (the plan, or a custom CPU/RAM/storage override), Operating system (an image or an ISO), Public IPs, VPC networking and Access & cloud-init (SSH keys and a cloud-config document). Fill in an owner, a hypervisor, a plan and an image, then click Create instance.
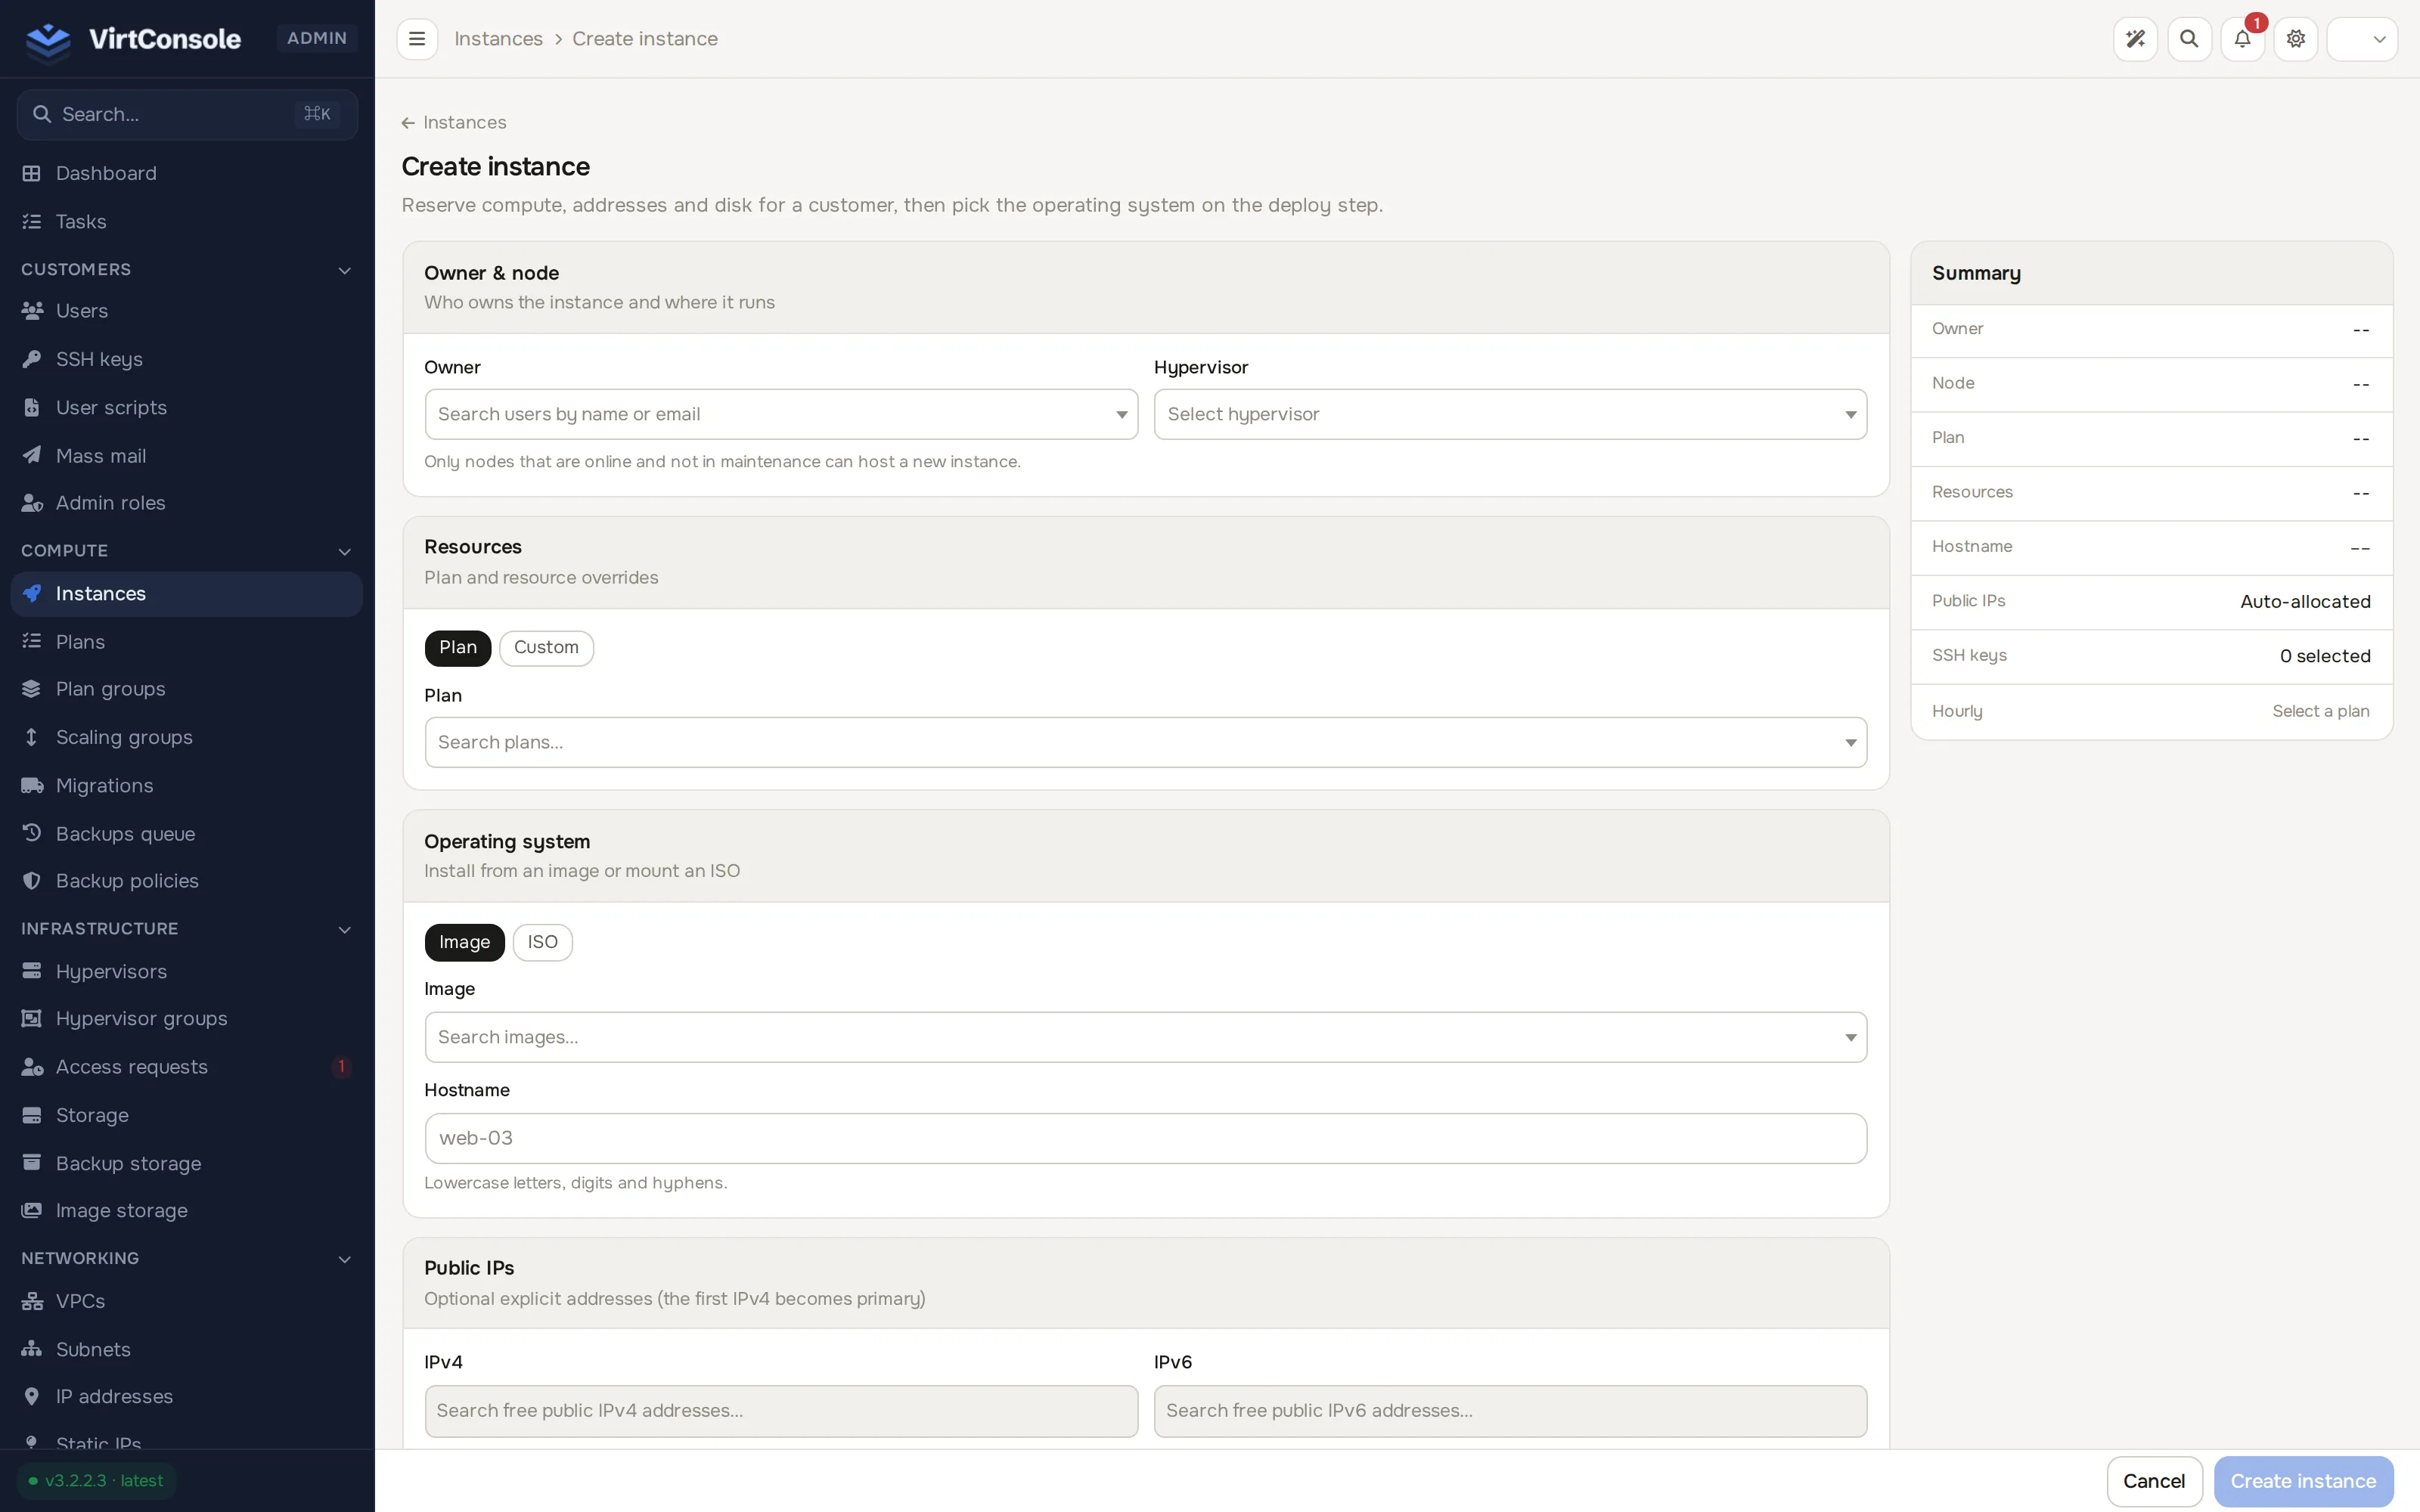
A task starts on the chosen hypervisor and you can watch its progress in real time. When the instance is ready, the panel emails the user a randomly generated root password.
What happens next
Section titled “What happens next”Your platform is sellable. The new instance appears in the customer’s user panel with its IPs, console access, power controls, backups and firewall. From here you would normally connect billing: external billing integrations, the built-in Cloud Service hourly billing, or Self-Provisioning packs.
Common problems
Section titled “Common problems”- The hypervisor stays offline after adding it. The agent is not reachable. Check port 2443 from the management server and see Hypervisor installation.
- The Create instance page has no images to pick. The image has not finished downloading on that hypervisor. Check Tasks in the sidebar.