

Load balancers
A load balancer is a dedicated VM running HAProxy that spreads traffic across backend instances. It keeps a service online when an instance fails and scales out by adding more instances. Two deploy modes exist:
- VPC. The load balancer sits inside a VPC and reaches backends over private IPs.
- Public. The load balancer gets a public IP and receives traffic from the internet.
Enable load balancing on a location
Section titled “Enable load balancing on a location”- Go to Infrastructure > Hypervisor groups, open the group, and click the Networking tab. The Load balancing section appears once VPC is enabled there.
- In the Load balancing section, turn on its Enabled toggle.
- Pick an LB Image. Only images whose purpose is
load_balancerappear; set the purpose under Media & DNS > Images. - Under Select LB Plan Groups, pick the plan groups customers can choose from.
- Click Save group.
Create plans
Section titled “Create plans”-
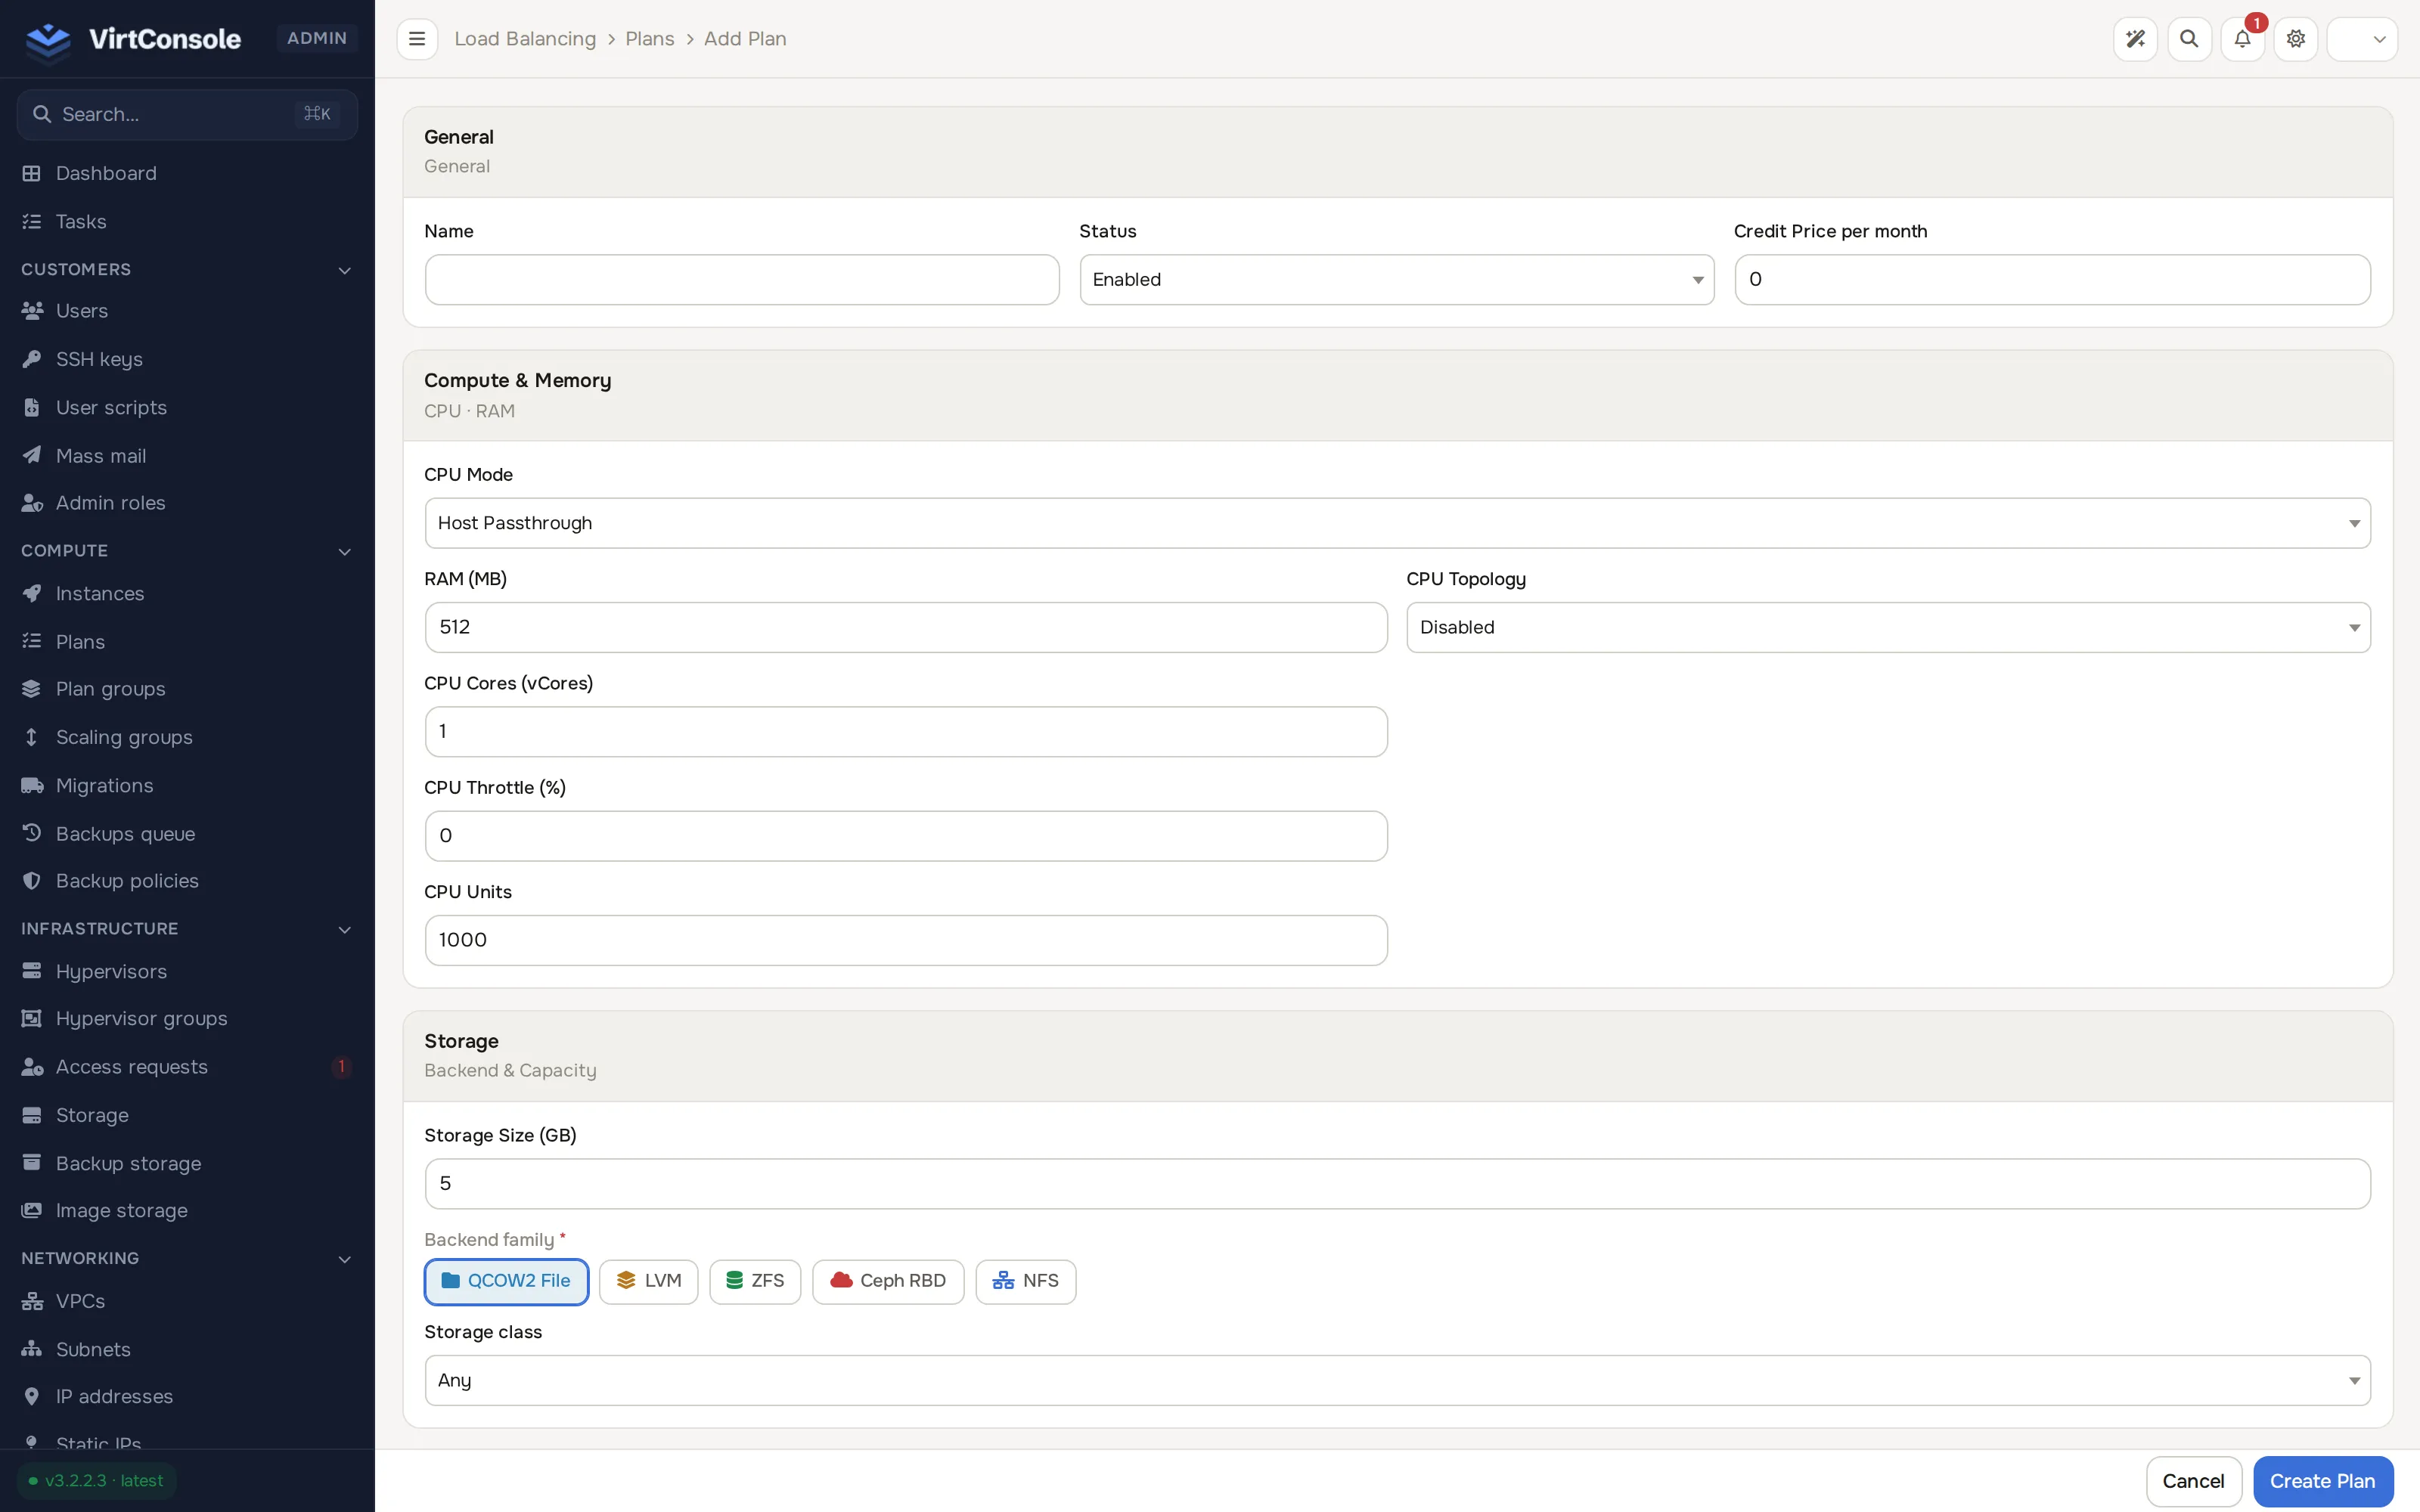
Go to Platform services > LB plans and click Create plan. This opens a create page.
-
Fill in Name, Status, and Credit Price per month, then the compute, storage, and bandwidth sections: CPU mode, RAM, cores, optional CPU topology, storage size and I/O limits, network driver, bandwidth, speed caps, and bandwidth accounting/overage. The layout matches instance plans. Bandwidth is metered from the load balancer’s own network counters every billing cycle and counted per calendar month; once usage passes the plan’s allowance, the overage policy applies (suspend the network, suspend the load balancer, or charge the per-GB rate).
-
Save the plan, then bundle plans under Platform services > LB plan groups. Click Create group (Name, Display Name, optional Description). Click the new group’s row to open its manage drawer, check the plans under Plans and the locations under Locations, then click Save changes.
Deploy a load balancer for a customer
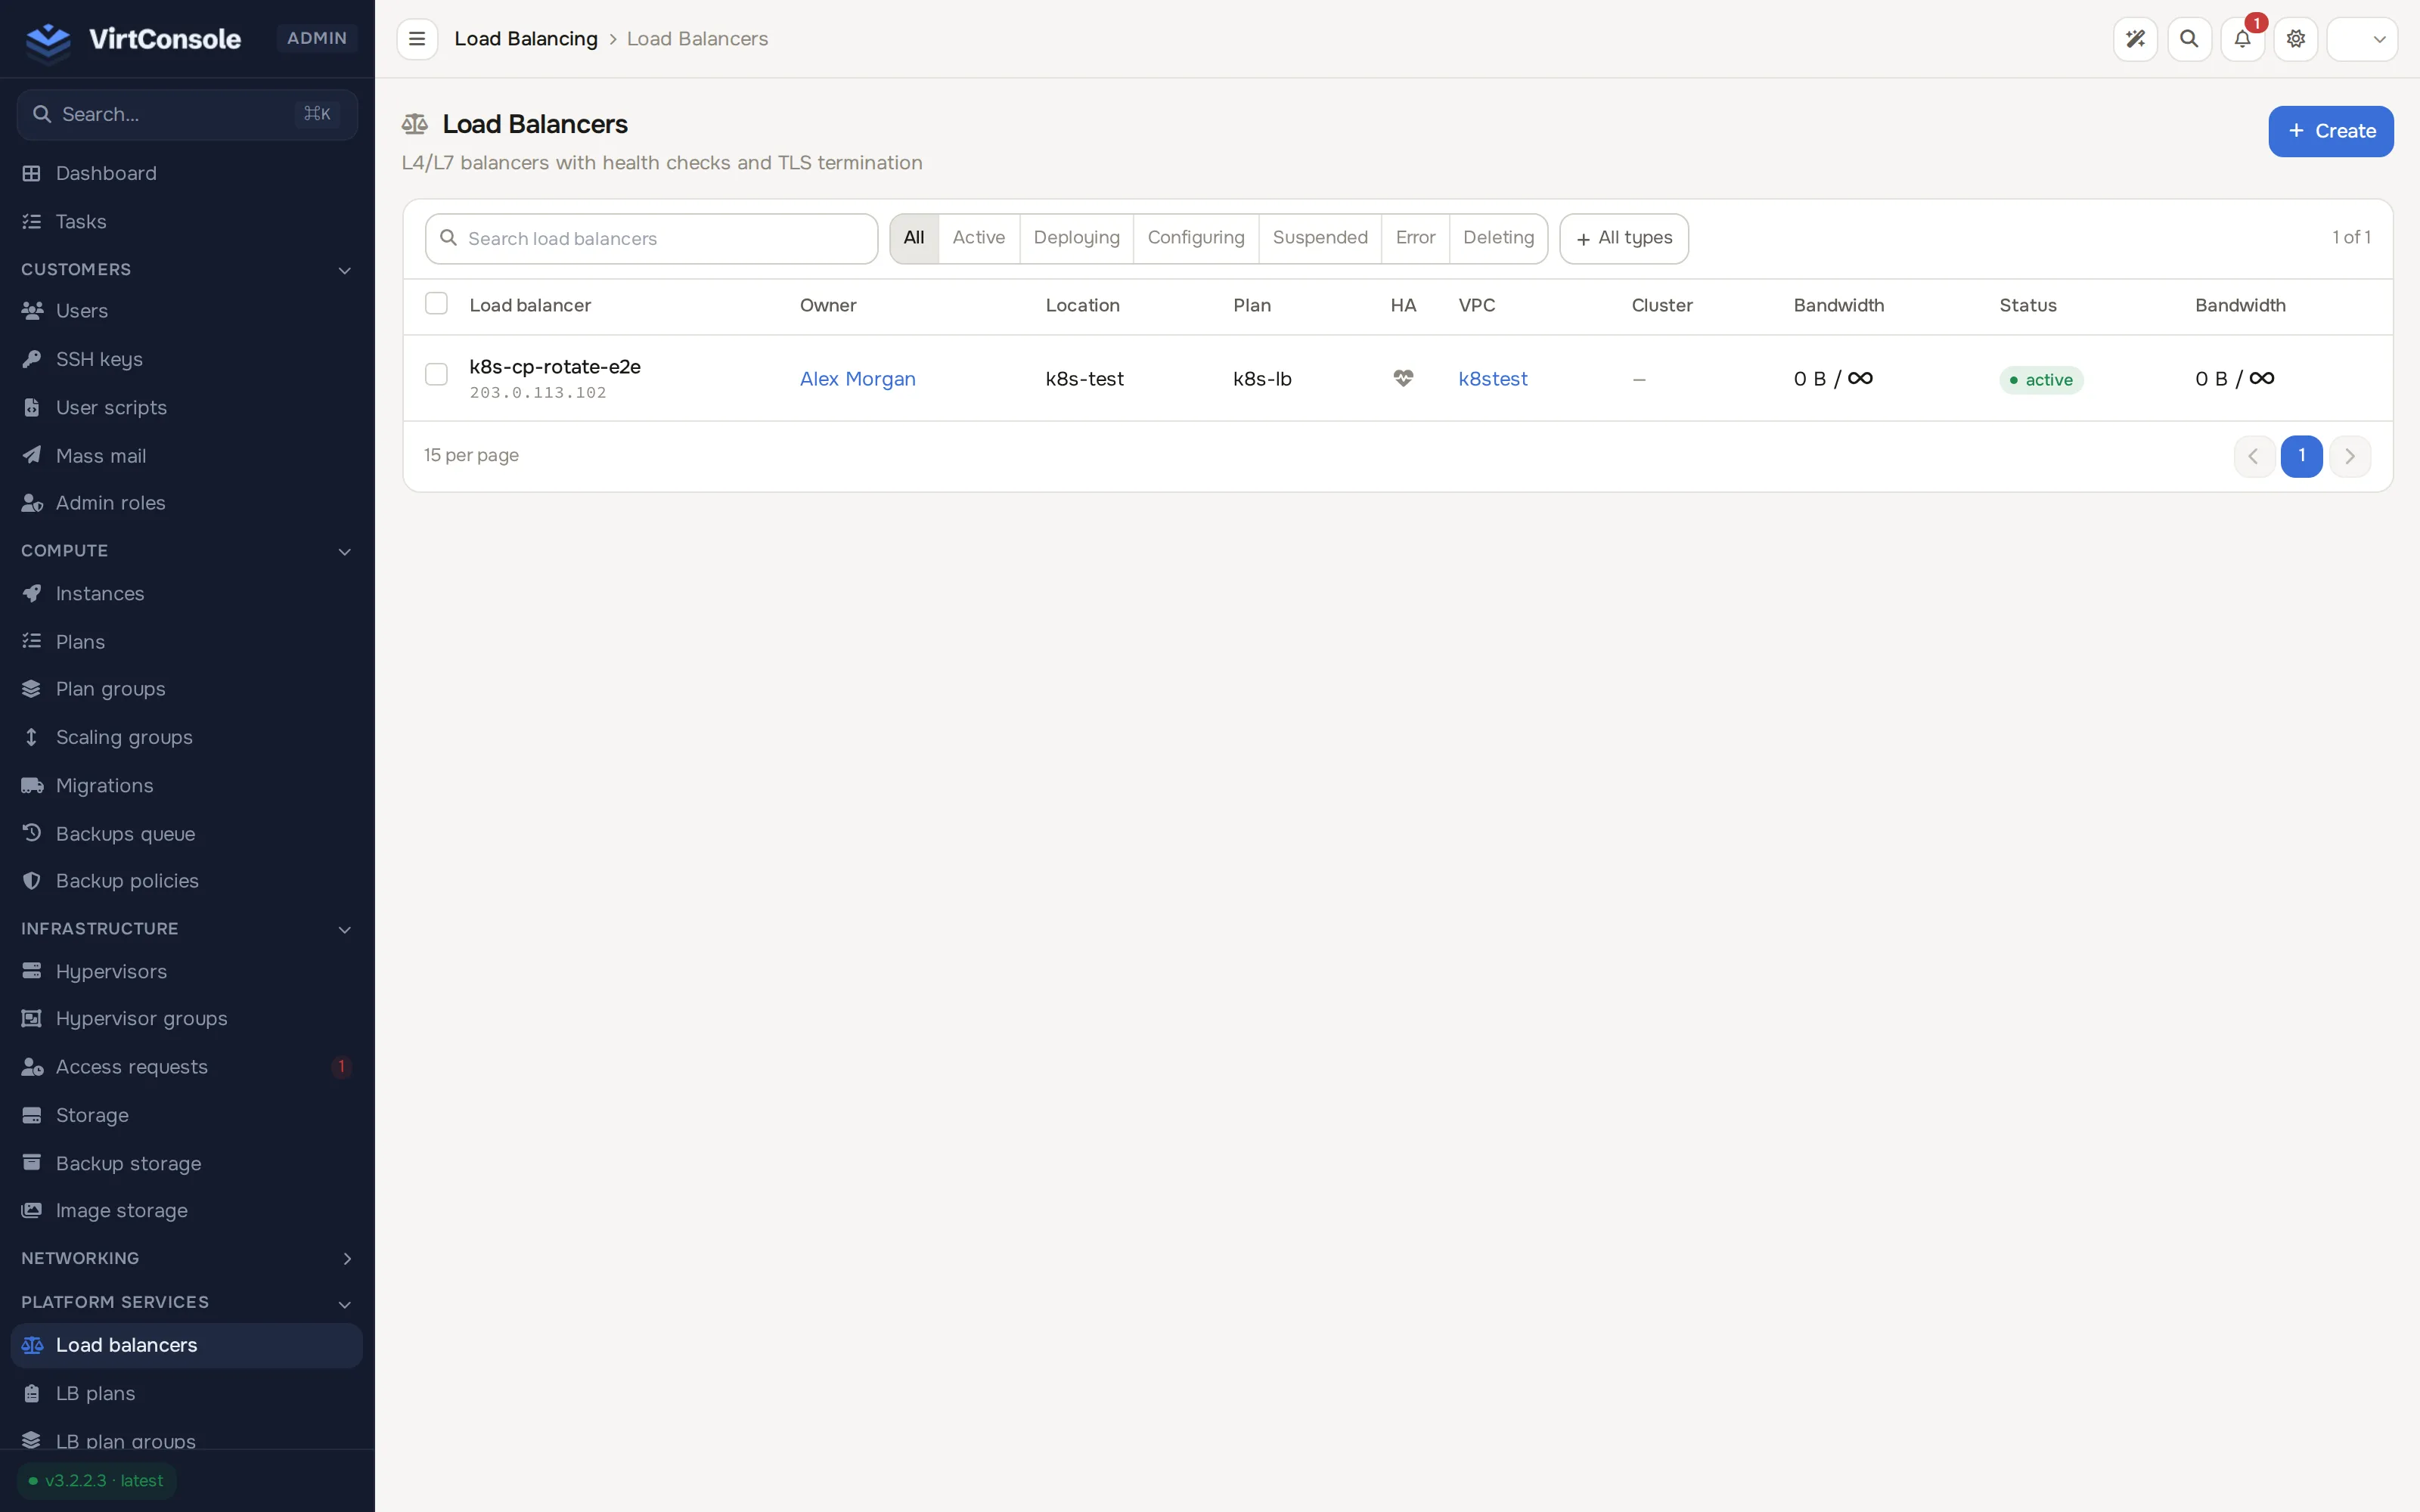
Section titled “Deploy a load balancer for a customer”Go to Platform services > Load balancers to see every load balancer on the platform.
-
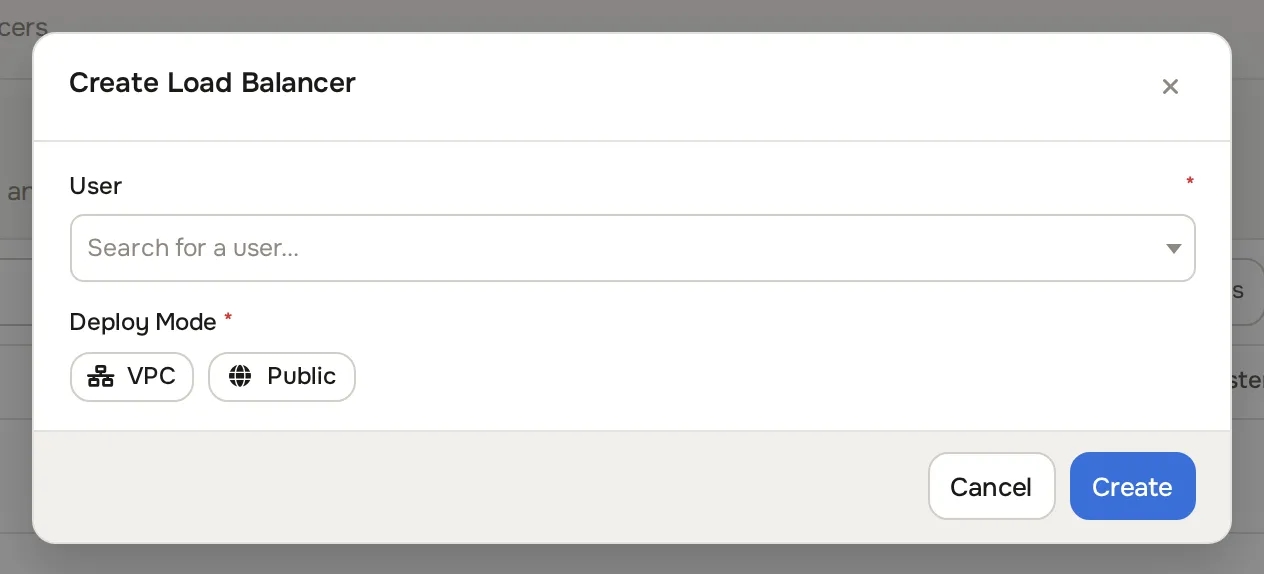
Click Create. The Create Load Balancer dialog opens.
-
Pick the User who will own it.
-
Pick a Deploy Mode:
- VPC. Pick a VPC and a Subnet. A public subnet gives the load balancer a public IP; a private subnet keeps it reachable inside the VPC only.
- Public. Pick a Location.
-
Pick a Plan and enter a Name.
-
Click Create.
Provisioning takes 1-2 minutes. The list page shows name, user, VPC, plan, location, public IP, status, and bandwidth.
Manage a load balancer
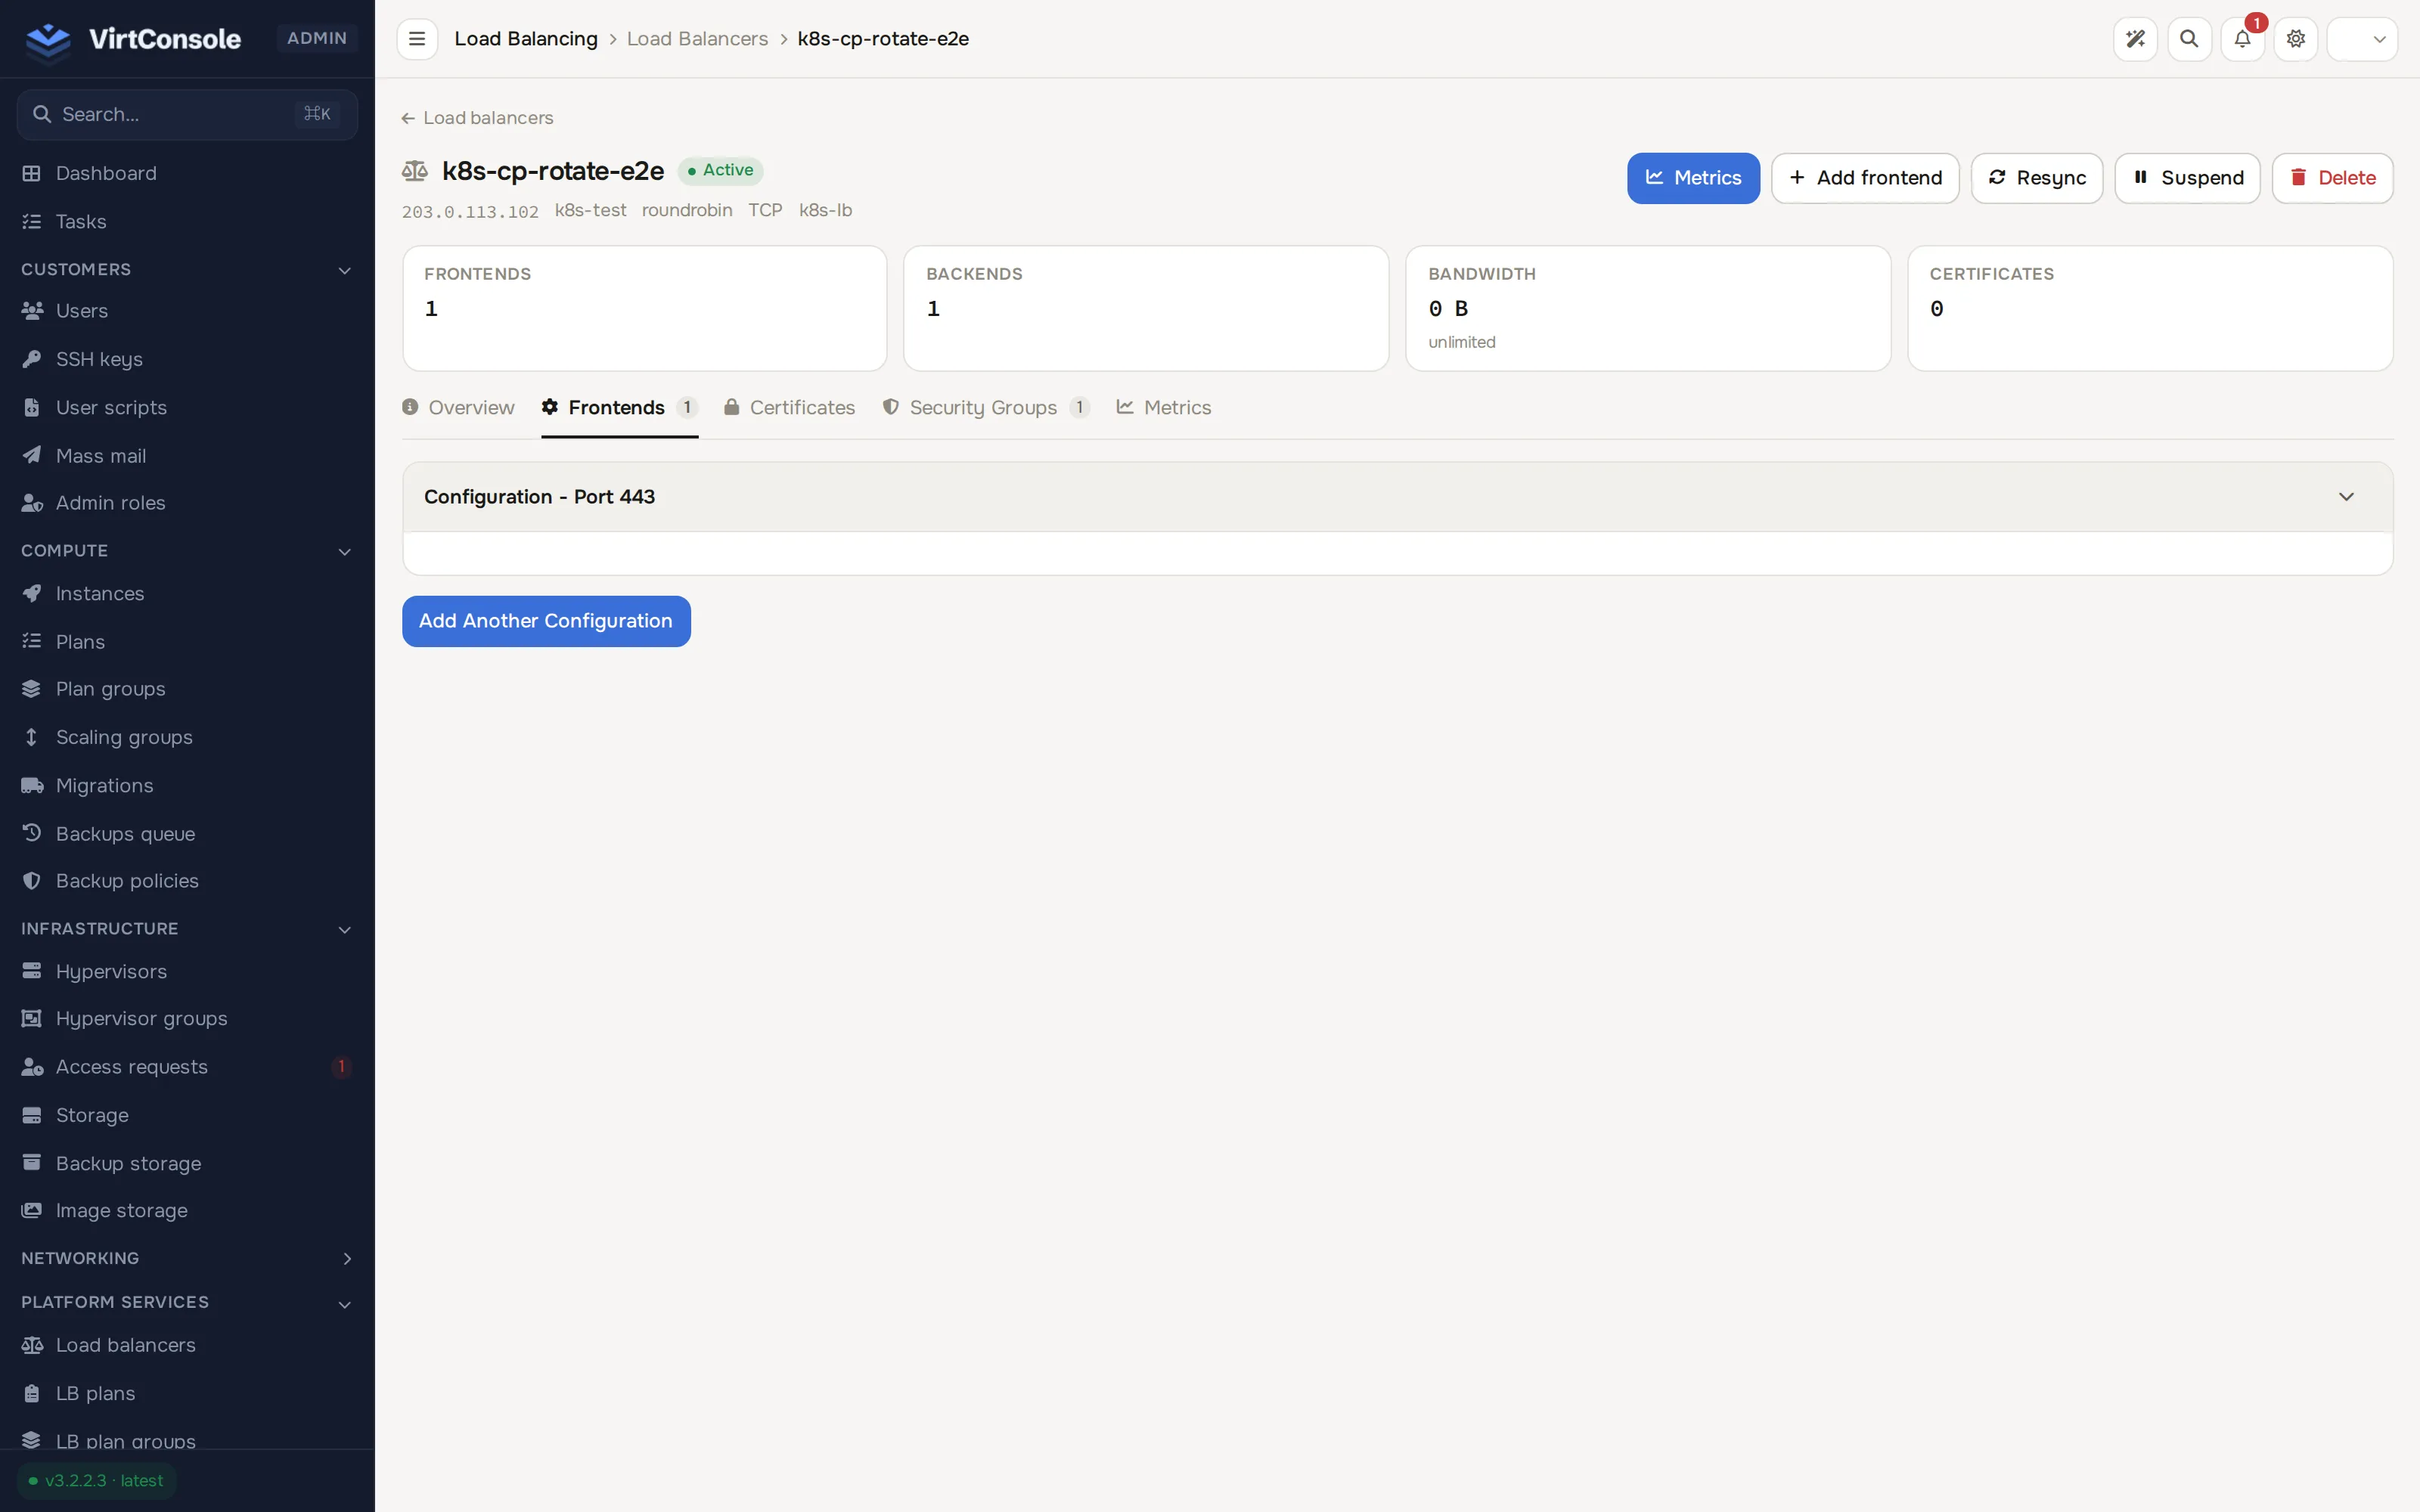
Section titled “Manage a load balancer”Open a load balancer. The header carries Metrics (when available), Add frontend, Resync, Suspend or Resume, and Delete. The page has tabs: Overview, Frontends, Certificates (public load balancers only), Security Groups, and Metrics (when available).
Frontends tab: configuration blocks
Section titled “Frontends tab: configuration blocks”Each block is one listening port with all its settings in one place. The card title reads Configuration - Port N; click its chevron to expand or collapse it.
| Setting | Options |
|---|---|
| Port | The unique inbound port. One block per port. |
| Protocol | TCP, UDP (layer 4), HTTP, HTTPS (layer 7). |
| Algorithm | Round Robin, Least Connections, Source IP. |
| Session Stickiness | None, Cookie (with cookie name and TTL), or Source IP. |
| Certificates | HTTPS only. An ordered list from the account certificate store: the first is the default served to clients without SNI, the rest are served by matching server name. See Certificates. |
| Connection Draining | Lets existing connections finish when a backend is removed. Set Drain Timeout (s). |
| Idle Timeout | Seconds an idle connection stays open before the block closes it. Empty uses the default (50s HTTP/HTTPS, 3600s TCP). Range 30-86400. |
Blocks also hold health checks and backends:
- Active health checks. Type (none, TCP connect, HTTP status), interval, timeout, unhealthy threshold, and for HTTP a check path and optional port and host header. Passive checks watch real traffic and mark failing backends down.
- Backend nodes. Click Add A Node and set Instance, IP Address, Port, Weight, and Mode (Accept, Drain, Backup, Down). Each backend pool also carries its own Connect Timeout (seconds to establish a connection to a node, range 1-75, default 5s) and Server Timeout (seconds a node has to respond once connected, range 1-86400, empty derives it from the block’s idle timeout - an explicit value always wins). Server Timeout is the combination of nginx-ingress’s
proxy-read-timeoutandproxy-send-timeout: HAProxy has no separate read and send timeout, so one setting covers both. There is no equivalent ofproxy-body-size- HAProxy applies no request-body size limit, so large uploads already work with nothing to configure. - Routing rules. HTTP and HTTPS blocks can match on host and/or path and split traffic across weighted backends for canary and blue/green releases.
After editing a block, save it. The panel validates the settings and reloads HAProxy automatically.
Security Groups tab
Section titled “Security Groups tab”Attach security groups to the load balancer instance and manage their rules inline. See Security groups.
Metrics tab
Section titled “Metrics tab”Live stats refresh every 30 seconds. When VictoriaMetrics is configured for the location (the Monitoring & metrics section on the hypervisor group’s Monitoring tab), charts cover request rate, response codes, throughput, backend response time, and resource use. For load balancers created before metrics were enabled, click Setup Metrics Agent on the tab to install the collector.
Lifecycle
Section titled “Lifecycle”- Suspend stops the load balancer and, under hourly billing, stops the meter.
- Resume restarts a suspended load balancer.
- Delete permanently removes it with all its configuration.
Common problems
Section titled “Common problems”- Deployment fails or stalls. Confirm the location has an enabled image with purpose
load_balancerand free resources on the hypervisors. - The HTTPS listener serves the wrong certificate. The first certificate in the list is the default. Reorder the list so the right one is first.
- Let’s Encrypt certificate stuck in Pending DNS. The domain must point at the load balancer’s public IP. See Certificates.
- A backend gets cut off mid-response. Check the backend’s Server Timeout; a value too low for the application (or the derived idle-timeout default) can end the connection before the response finishes.