Instance Images
Overview
Instance Images are reusable disk templates customers can deploy new virtual machines from. A customer captures a running or stopped instance's primary disk, names it, and from then on can pick that image when creating a new instance, just like a stock OS image.
Admins are responsible for the storage backend where these images live, for the stock OS images and ISOs (an ISO is a CD-image file used as bootable media), and for any per-account limits.
Concepts
- Image: a stored copy of a VM disk that can be used as the source for new VMs.
- Stock image / OS template: an image provided by the operator (Ubuntu 24.04, Debian 12, Rocky 9, etc.).
- Custom image / My Images: an image a customer created from one of their own instances.
- ISO: a CD-image file (
.iso). Used to boot a VM from installation media (for example, a Windows installer). - Image Storage: the storage backend that holds images cloned from a customer's instance. When a user (or admin) chooses "Create Image" on a running VM, the resulting qcow2 or raw file lands here so it can later be used to spin up new instances from that snapshot. This is separate from where stock OS templates and ISOs are kept. Backend types include local disk on the hypervisor, NFS, or S3-compatible object storage.
- Media Group: a labeled set of OS images shown together (for example, "Linux", "Windows").
Admin: configure image storage
Open Compute > Image Storages to add a place where customer-cloned instance images live.
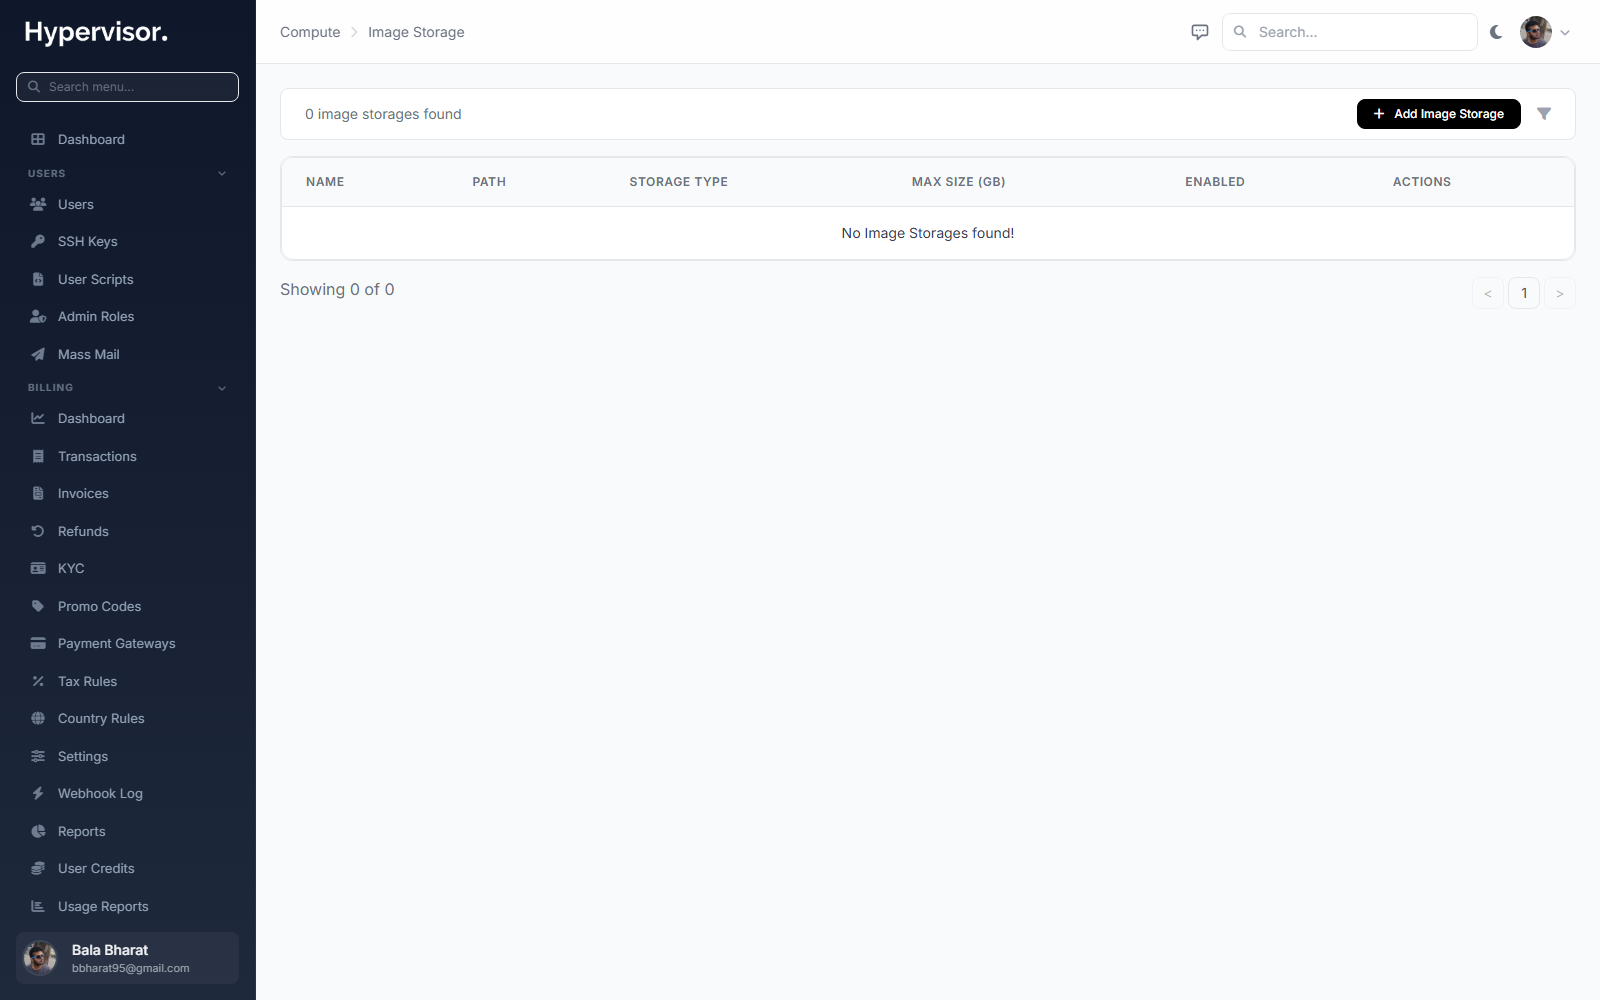
Click Add Image Storage to open the create form.
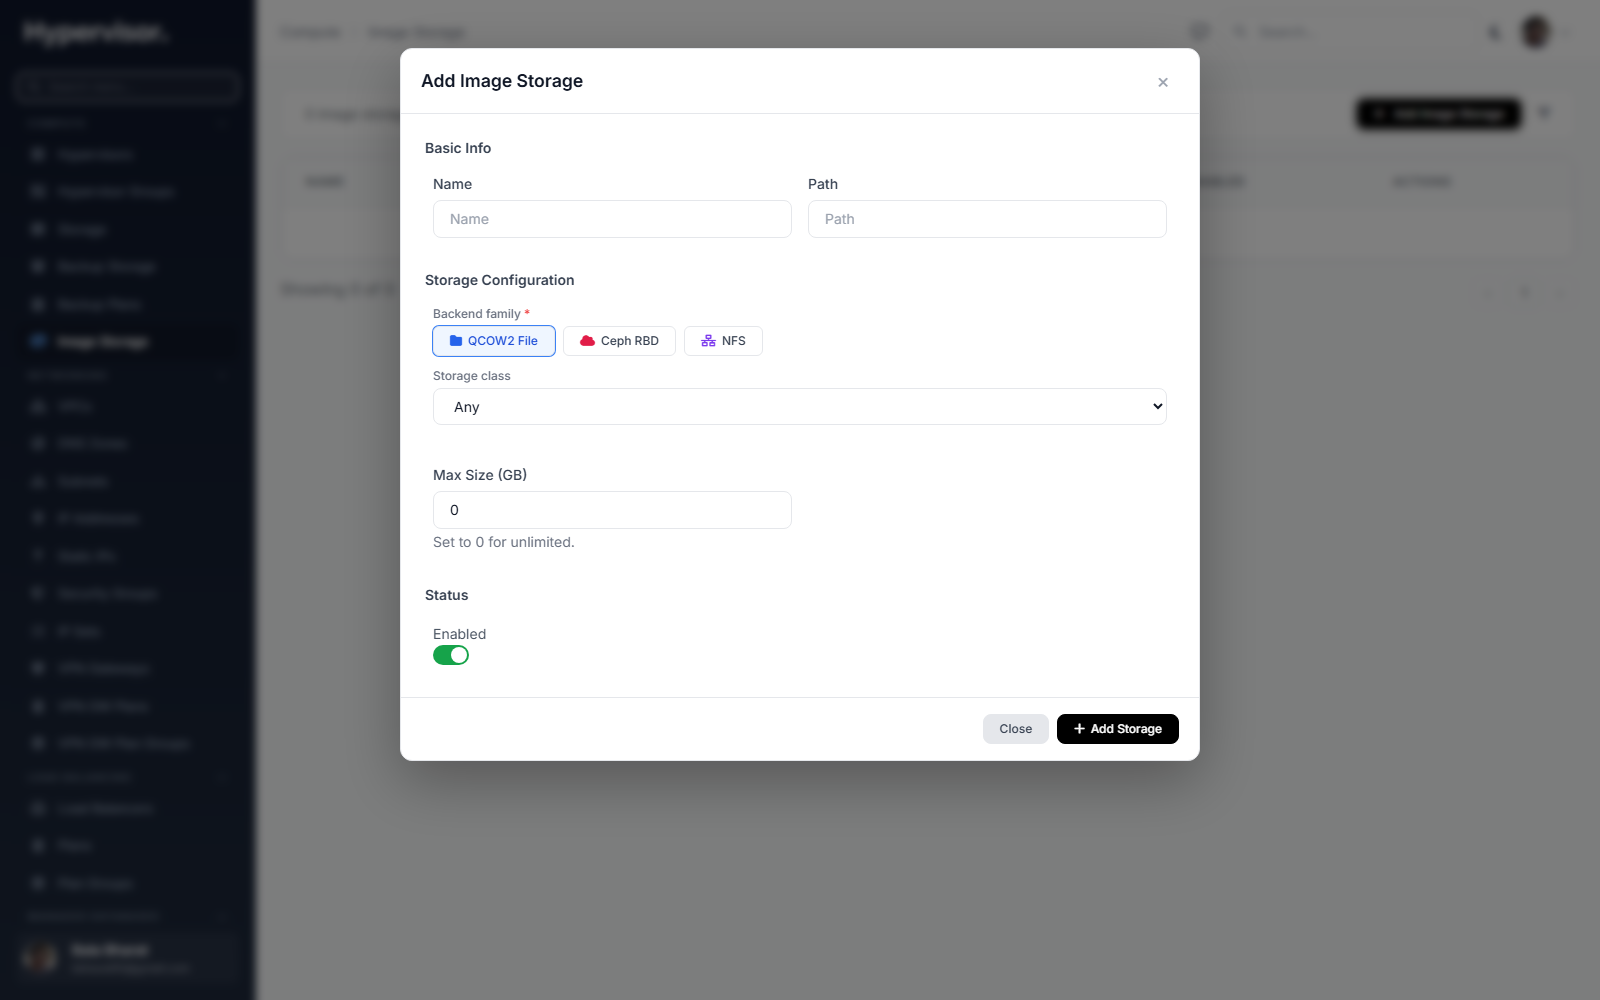
This backend is dedicated to images cloned from instances (the "Create Image" action on a running VM). It is not where stock OS templates or ISOs sit. Configure one or more backends, each with a path or endpoint, and bind them to the hypervisors that should use them. When a user clones their instance, the resulting qcow2 or raw file is written to whichever image storage is bound to that instance's hypervisor.
Admin: browse image files
Open Compute > Image Storages > Browse to inspect the files actually on disk in a storage backend.
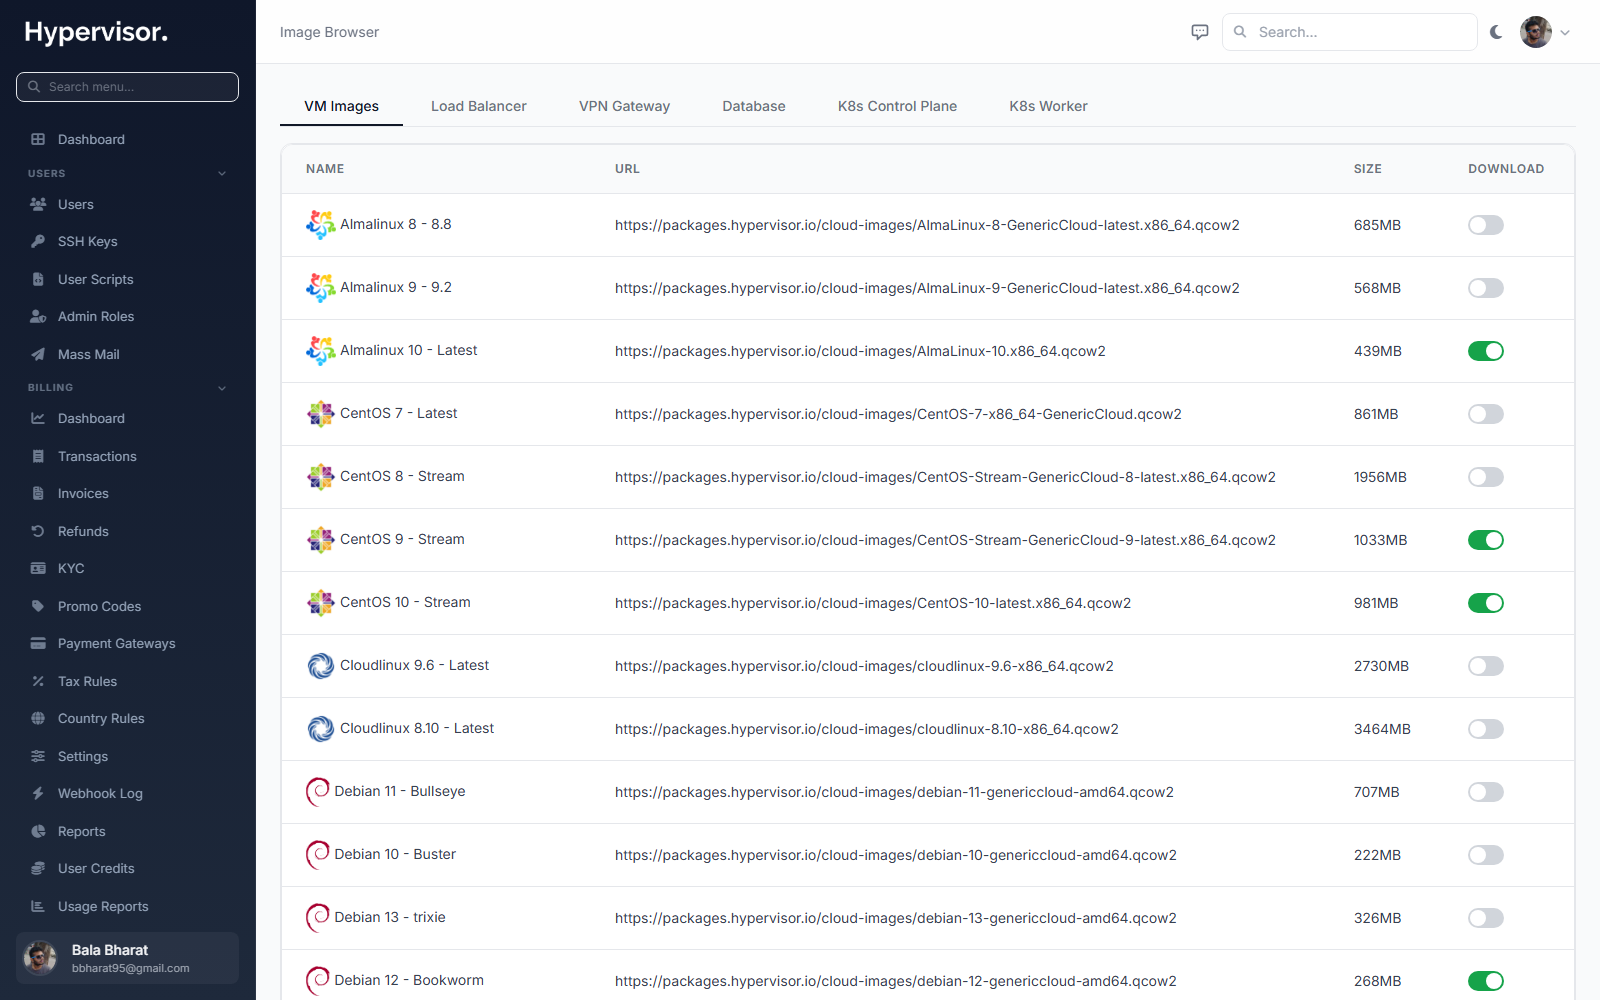
Use this view to verify cloned-image uploads, spot stale files (clones whose parent instance was deleted), and reconcile what the database thinks exists with what is really on the storage.
Admin: manage OS images
Open Compute > Images to add or edit OS images.
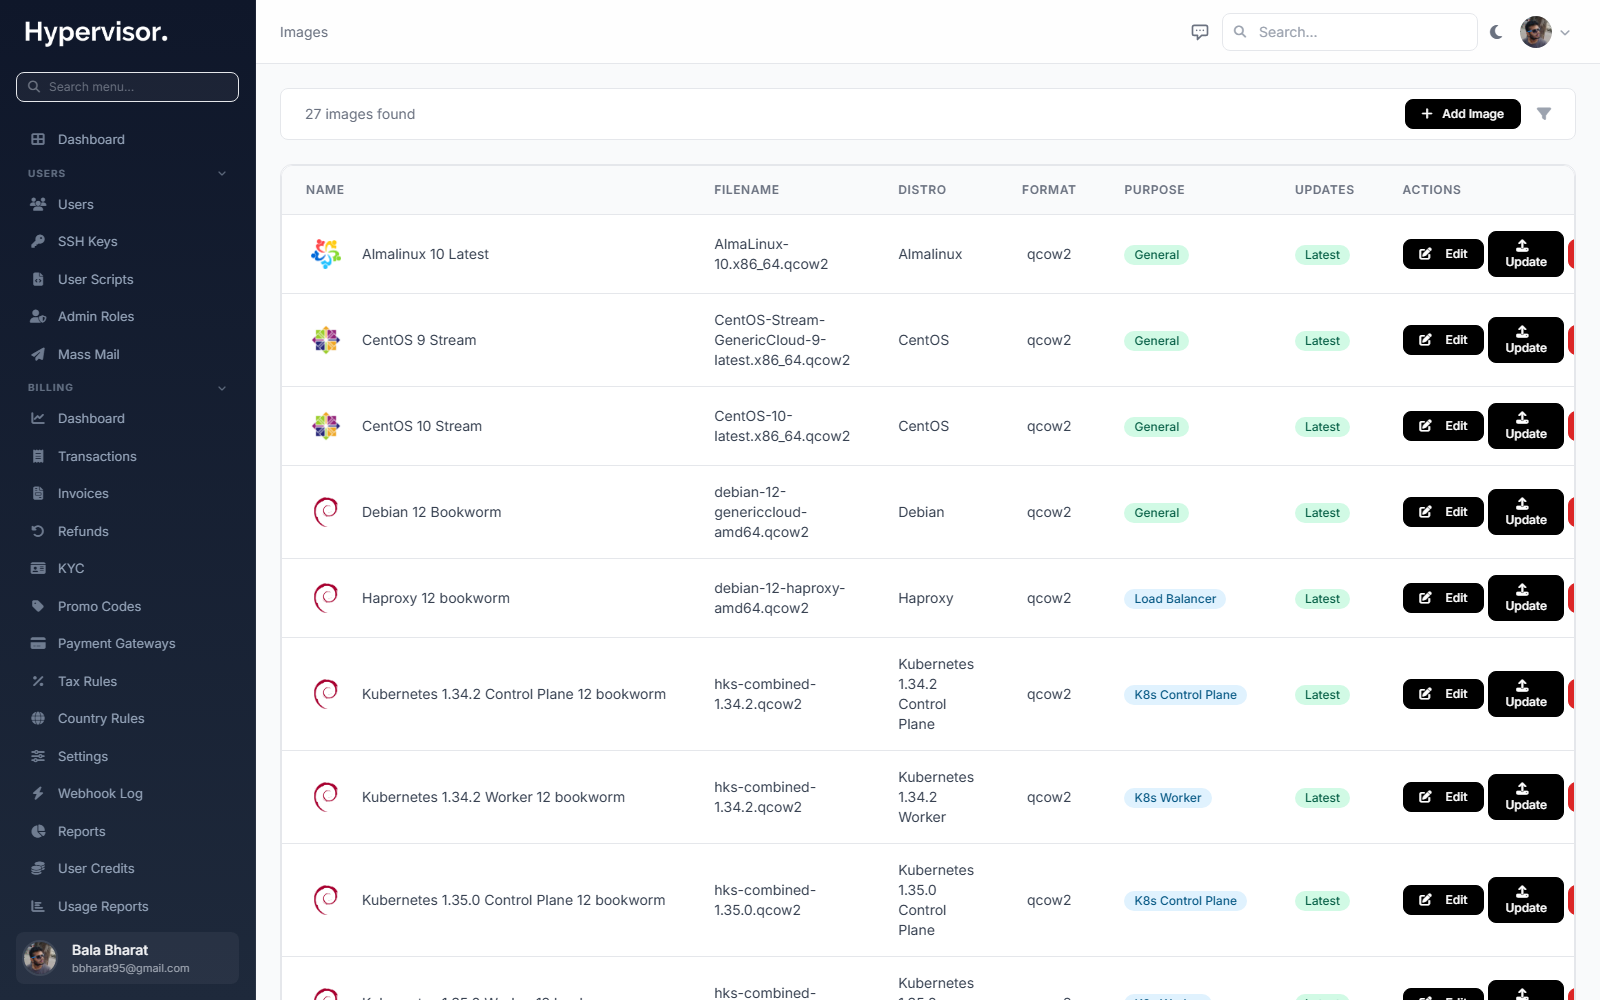
Click Add Image to open the create form.
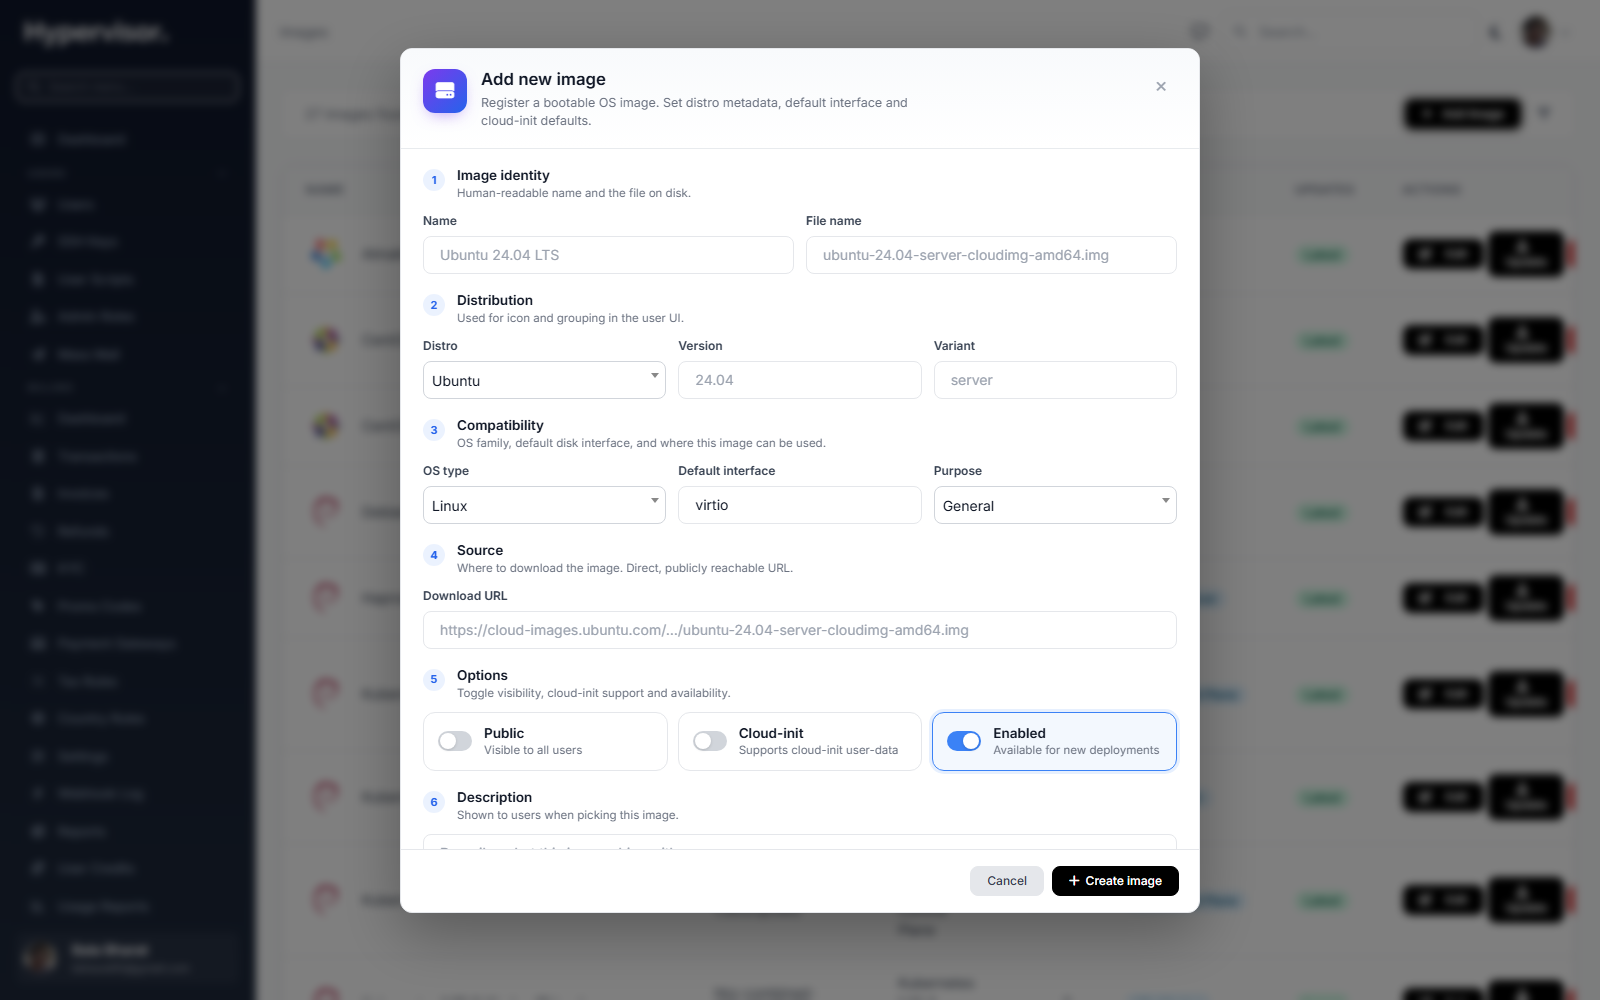
For each image, set:
- Name and description shown to users on the create-instance form.
- OS type (Linux, Windows, BSD).
- Cloud-init support: tick this if the image has cloud-init (a Linux subsystem that runs first-boot setup scripts). Cloud-init enables features like User Scripts and SSH key injection.
- Source file on the image storage backend.
- Media Group the image belongs to.
Admin: organize images with Media Groups
Open Compute > Media Groups.
Click Add Media Group to open the create form.
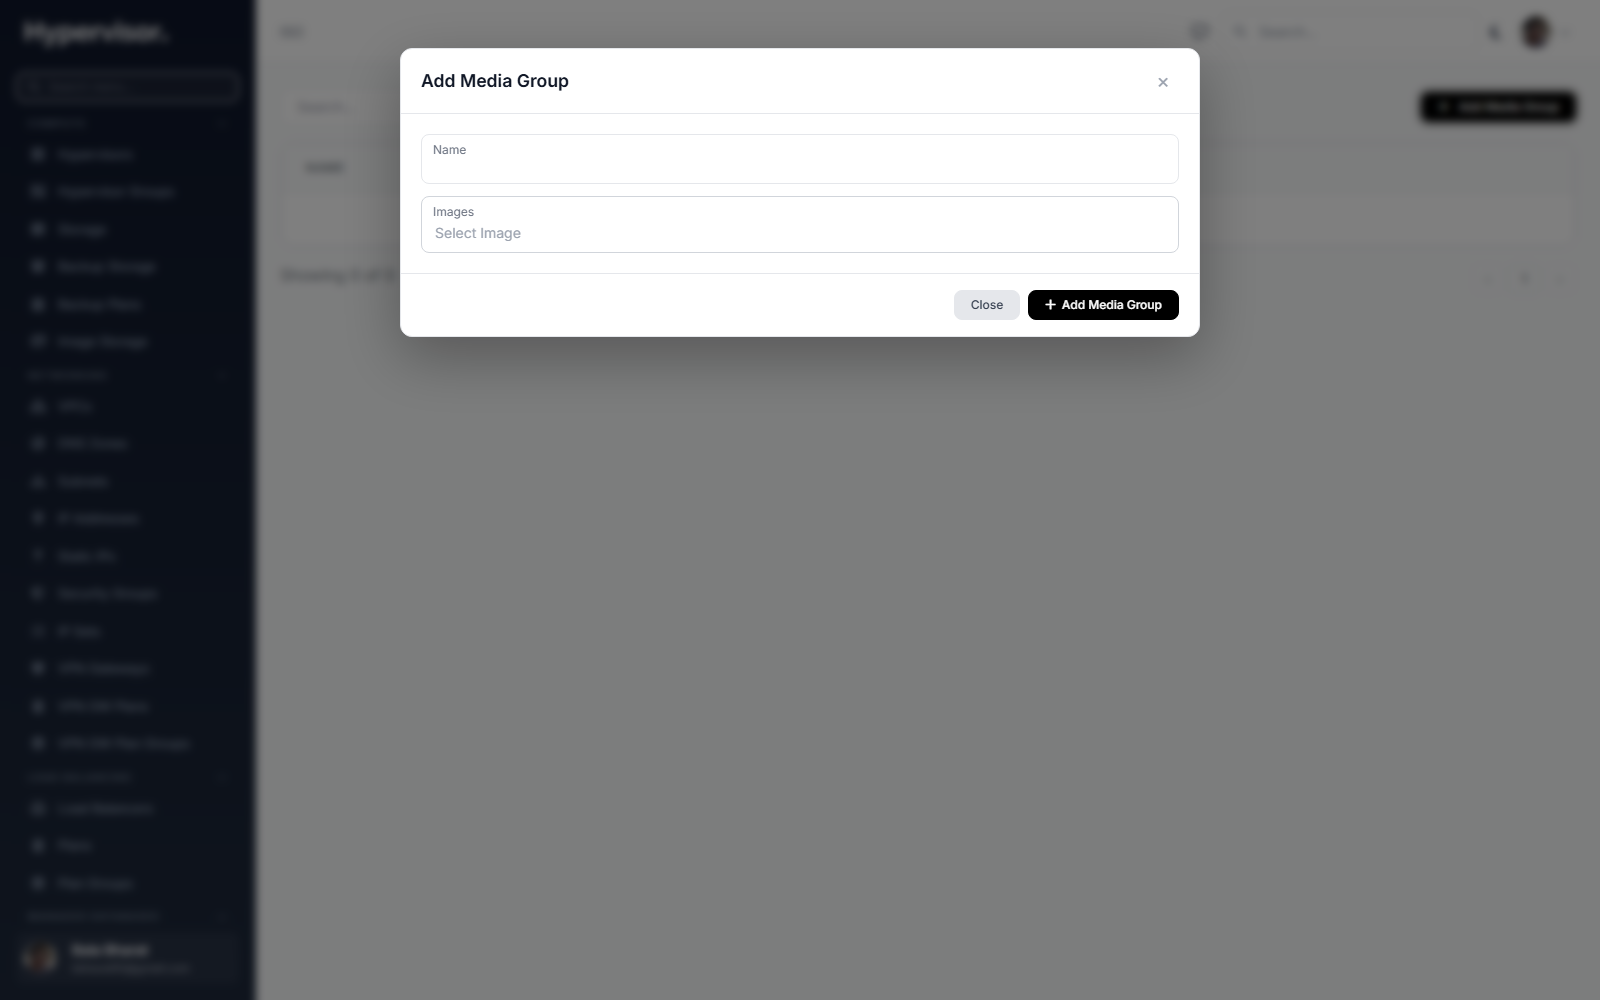
A Media Group is just a label that groups images together on the user's create-instance screen. Typical groups: "Linux", "Windows", "BSD". A media group can also be marked as customer-visible or hidden.
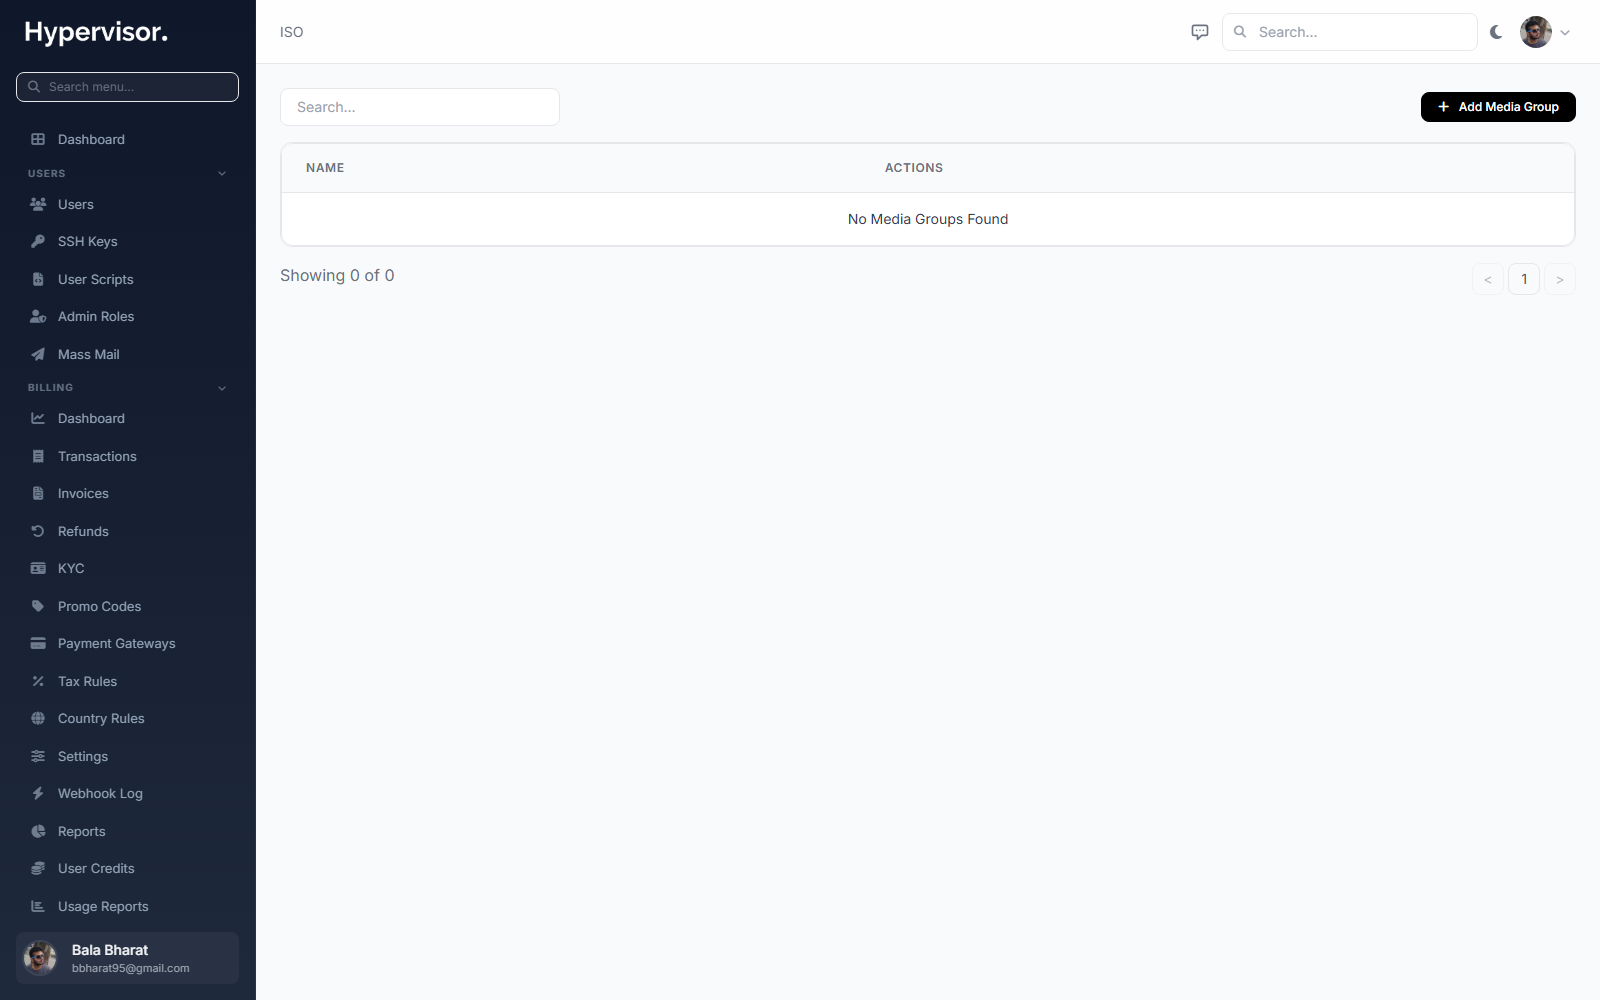
Admin: manage ISOs
Open Compute > ISOs to upload or register ISO files that users can mount to their instance.
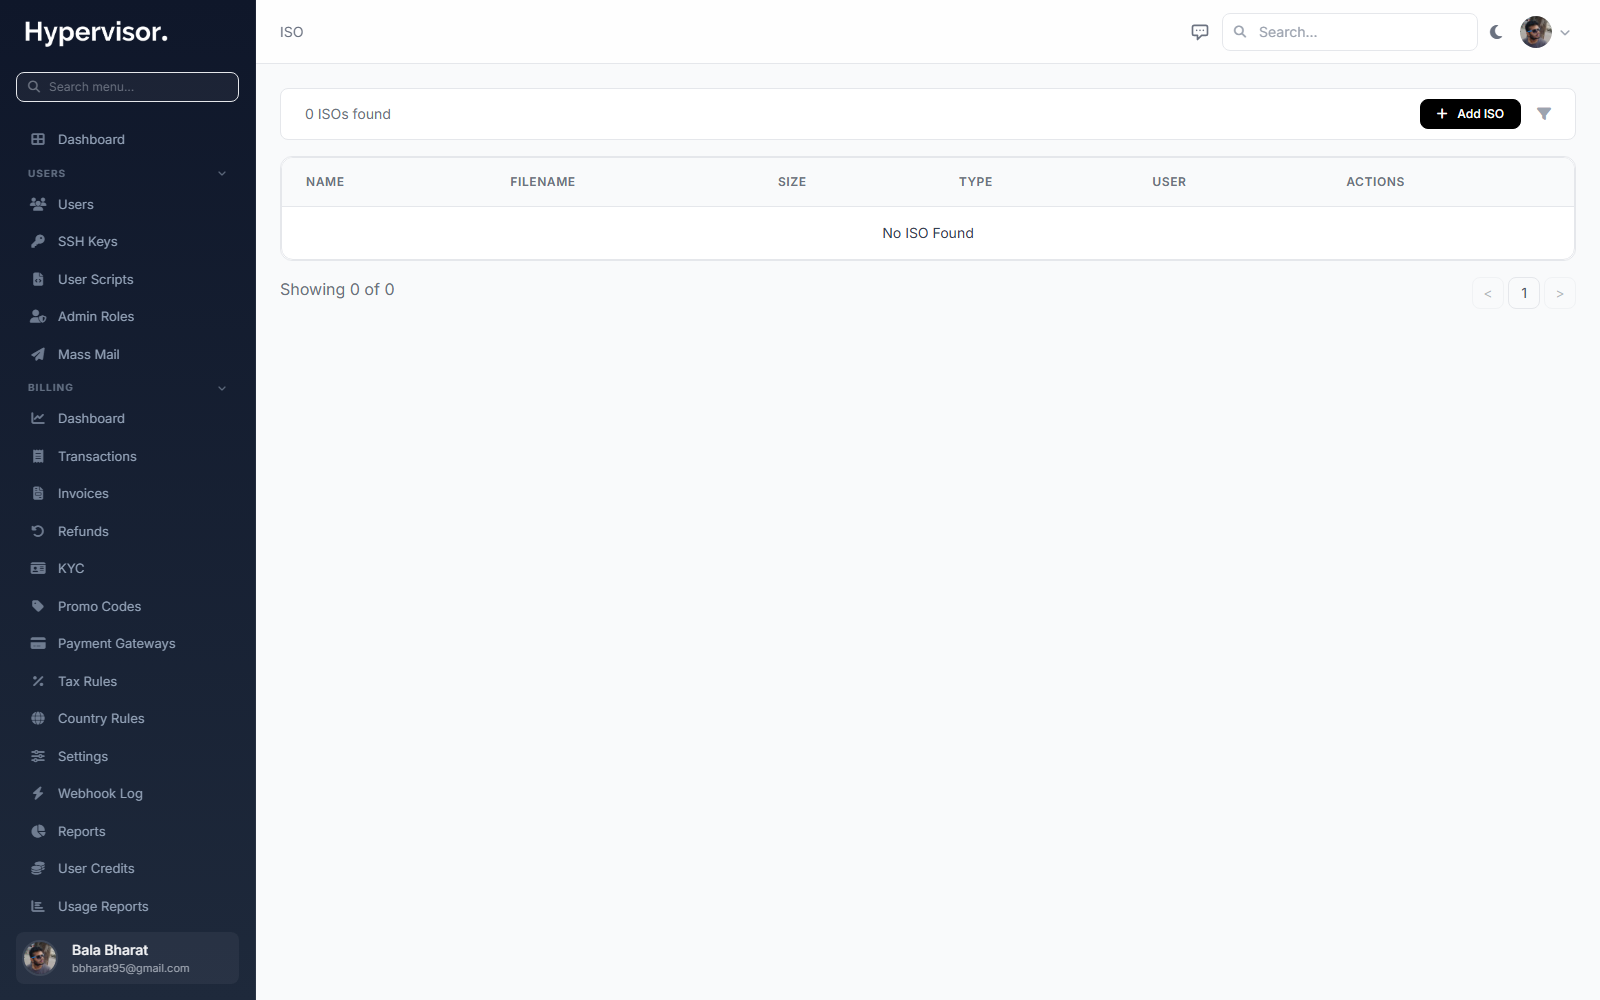
Click Add ISO to open the create form.
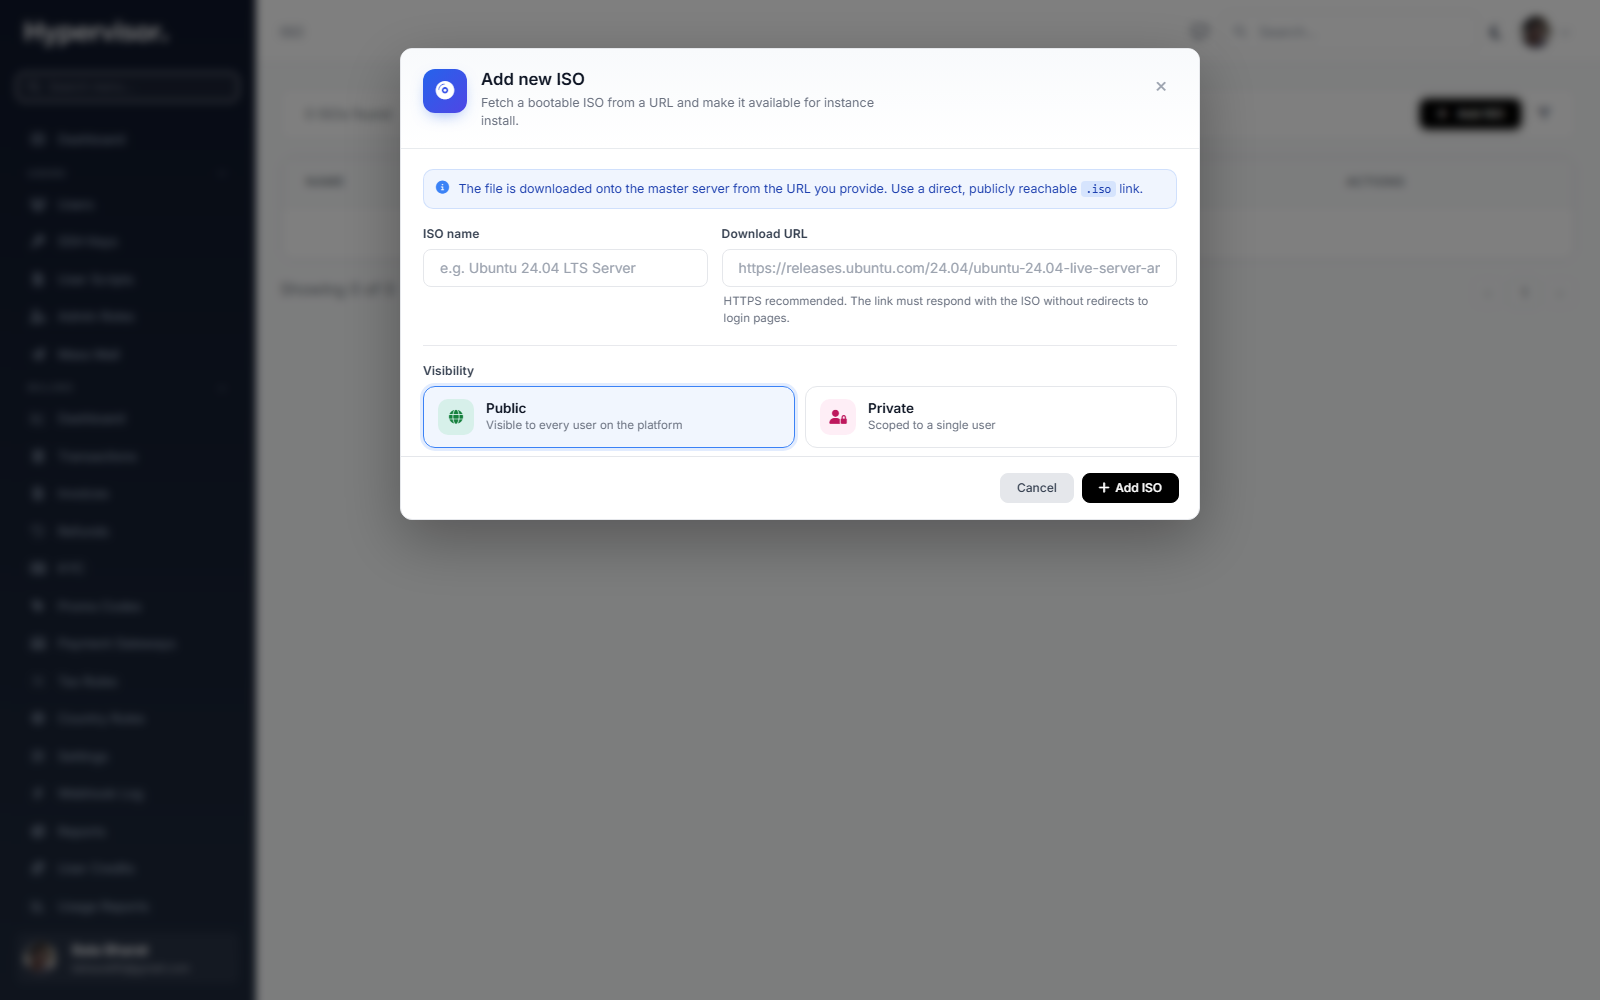
Once an ISO is registered, users can mount it to boot from it (for example, a Windows installer ISO) or to install custom software inside their VM.
What end users see
Creating a custom image
- Open the instance manage page.
- Click the Image button (camera icon) in the header.
- Enter a name (for example,
production-web-server-v2). - Click Create.
The capture runs in the background. The user can watch progress on the tasks page.
For a running instance, the system uses a live disk snapshot so the customer does not have to power it down.
Extra attached disks are not included in the image.
Image status:
| Status | Meaning |
|---|---|
| Creating | Being generated from the source disk |
| Available | Ready to use for new instances |
| Error | Capture failed; check tasks for details |
| Deleting | Being removed |
Listing and deleting images
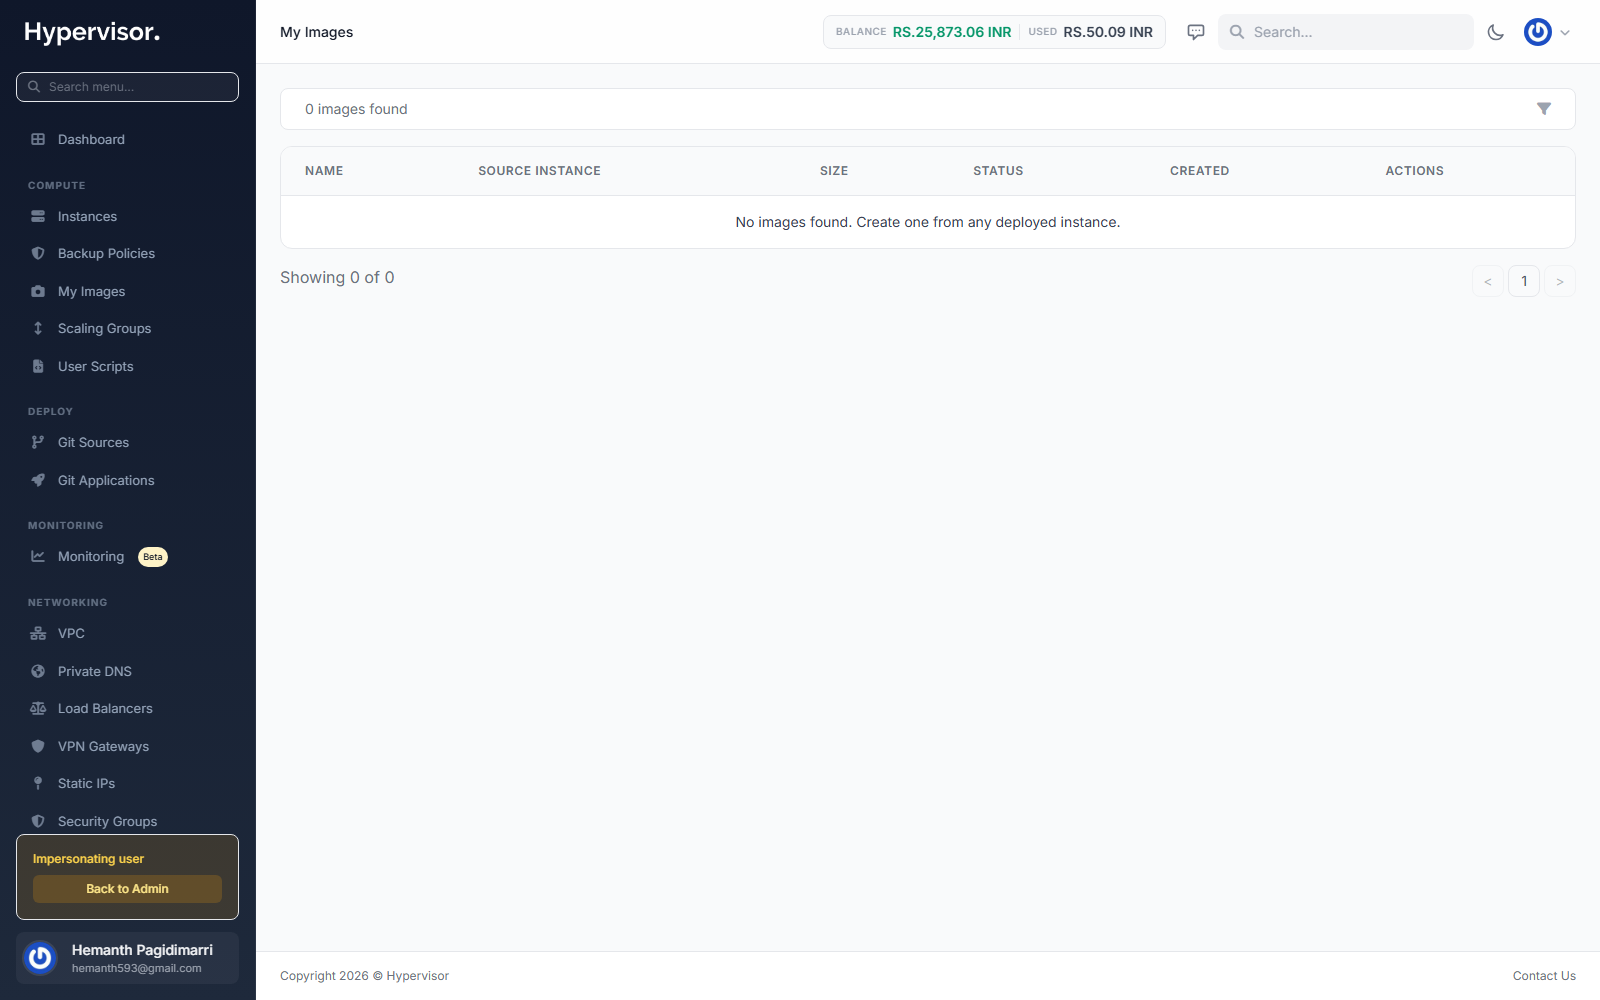
Customers find their images under My Images in the sidebar. The list shows name, source instance, disk size, status, and creation time. Deleting an image removes the file; instances already created from it keep working.
Deploying from a custom image
On the create-instance form, the customer switches to the My Images tab on the OS picker and selects their image. The rest of the flow is the same as deploying from a stock OS image. Custom images also appear under My Images when configuring a Scaling Group.
Billing for custom images
Billing for custom images is per GB per month, prorated to the hour:
Monthly cost = image size in GB x per-GB storage rate
Hourly cost  = monthly cost / hours per month
Billing starts the moment the image becomes Available and stops when the customer deletes it. The charges show up in the customer's Cloud Usage report under a dedicated Images section.
Troubleshooting
"Image feature is not enabled"
The operator has not enabled custom images for the instance's location. Enable it on the Location settings.
"Maximum image limit reached"
The customer has hit their per-account image cap. Either they delete an unused image or the operator raises the limit.
Image creation stuck in Creating
Open the tasks page and find the image creation task. The usual cause is no space on the image storage backend. If the task shows Failed, the customer retries from the instance manage page.
Image shows 0 bytes when Available
The size update from the hypervisor did not arrive. Check that the hypervisor agent is online and reporting.
What end users see
Customers manage their own snapshot images from Compute > My Images in the user panel. The page lists each saved image with its source instance, size, and status.
To create an image from a running instance, the customer opens the instance Manage page, picks the Image (camera) action from the per-instance menu, gives the new image a name, and submits. The platform snapshots the running disk and adds the resulting image to My Images so it can be reused as the source of new instances.
Related pages
- Cloud Service - hourly billing for instances deployed from these images.
- User Scripts - run setup scripts on first boot after deploying.
- Live Migration - move a running instance between hypervisors.