VPC Networking
Overview
A VPC (Virtual Private Cloud) is a private virtual network you define on the platform. It is logically isolated from every other tenant's network. VMs you place in a VPC can talk to each other over private IPs, even when they live on different physical servers (hypervisors).
If you are new to the terms:
- VM (virtual machine). A guest computer running on a hypervisor.
- Hypervisor. A physical server that runs VMs.
- Hypervisor group. A logical location made up of one or more hypervisors. Each VPC lives in one location.
- Subnet. A block of IP addresses, like
10.0.1.0/24. - CIDR. Notation for a subnet, e.g.
/24means the first 24 bits are the network and the rest are host addresses. - VXLAN. A protocol that wraps VM ethernet frames in UDP packets so the same private network can span many physical hosts. The platform uses UDP port 4789.
- NAT Gateway. A device that lets VMs in a private subnet reach the internet outbound. See NAT Gateway.
- VPN Gateway. A WireGuard endpoint that lets remote users or other sites connect into the VPC. See VPN Gateway.
What you can do with a VPC:
- Create one or more private subnets inside it.
- Place VMs in those subnets. They get private IPs and can talk to each other directly.
- Add a NAT gateway for outbound internet access.
- Add a VPN gateway for remote access and site-to-site links.
- Add private DNS zones for internal service discovery. See Private DNS.
- Peer two VPCs so VMs in either can talk to each other. See VPC Peering.
Concepts
| Term | Plain English |
|---|---|
| Overlay network | A virtual network built on top of the physical network. The platform uses VXLAN. |
| VPC CIDR | The overall address range of the VPC, e.g. 10.0.0.0/16. Subnets are carved from this. |
| Subnet CIDR | A smaller range inside the VPC CIDR, e.g. 10.0.1.0/24. |
| Tenant isolation | VPCs of different users never see each other's traffic. |
| L2 interface | The secondary physical NIC on each hypervisor that carries VXLAN traffic. |
Admin: how to configure
Prerequisites
VPC needs a dedicated secondary NIC on every hypervisor in the group:
- A second NIC on each hypervisor connected to a shared VLAN or switch.
- All hypervisors in the group must sit on the same L2 (layer 2) segment.
- This NIC carries VXLAN encapsulated traffic on UDP port 4789.
Enable VPC on a hypervisor group
- Go to Compute > Hypervisor Groups and edit the group.
- Turn on Enable VPC.
- Set the VXLAN Range (default
10000to16777214). Each VPC consumes one VXLAN ID from this range. - Set the L2 Interface name (the secondary NIC, e.g.
eth1,ens192). - Save.
After saving, the platform assigns each hypervisor a link-local IP (169.254.x.x) for VXLAN control-plane communication. These show up in the hypervisor table when VPC is on.
View VPCs
Go to Networking > VPCs in the admin panel to see every VPC across all users, their location, CIDR, subnets, NAT gateway state, and VPN gateway state.
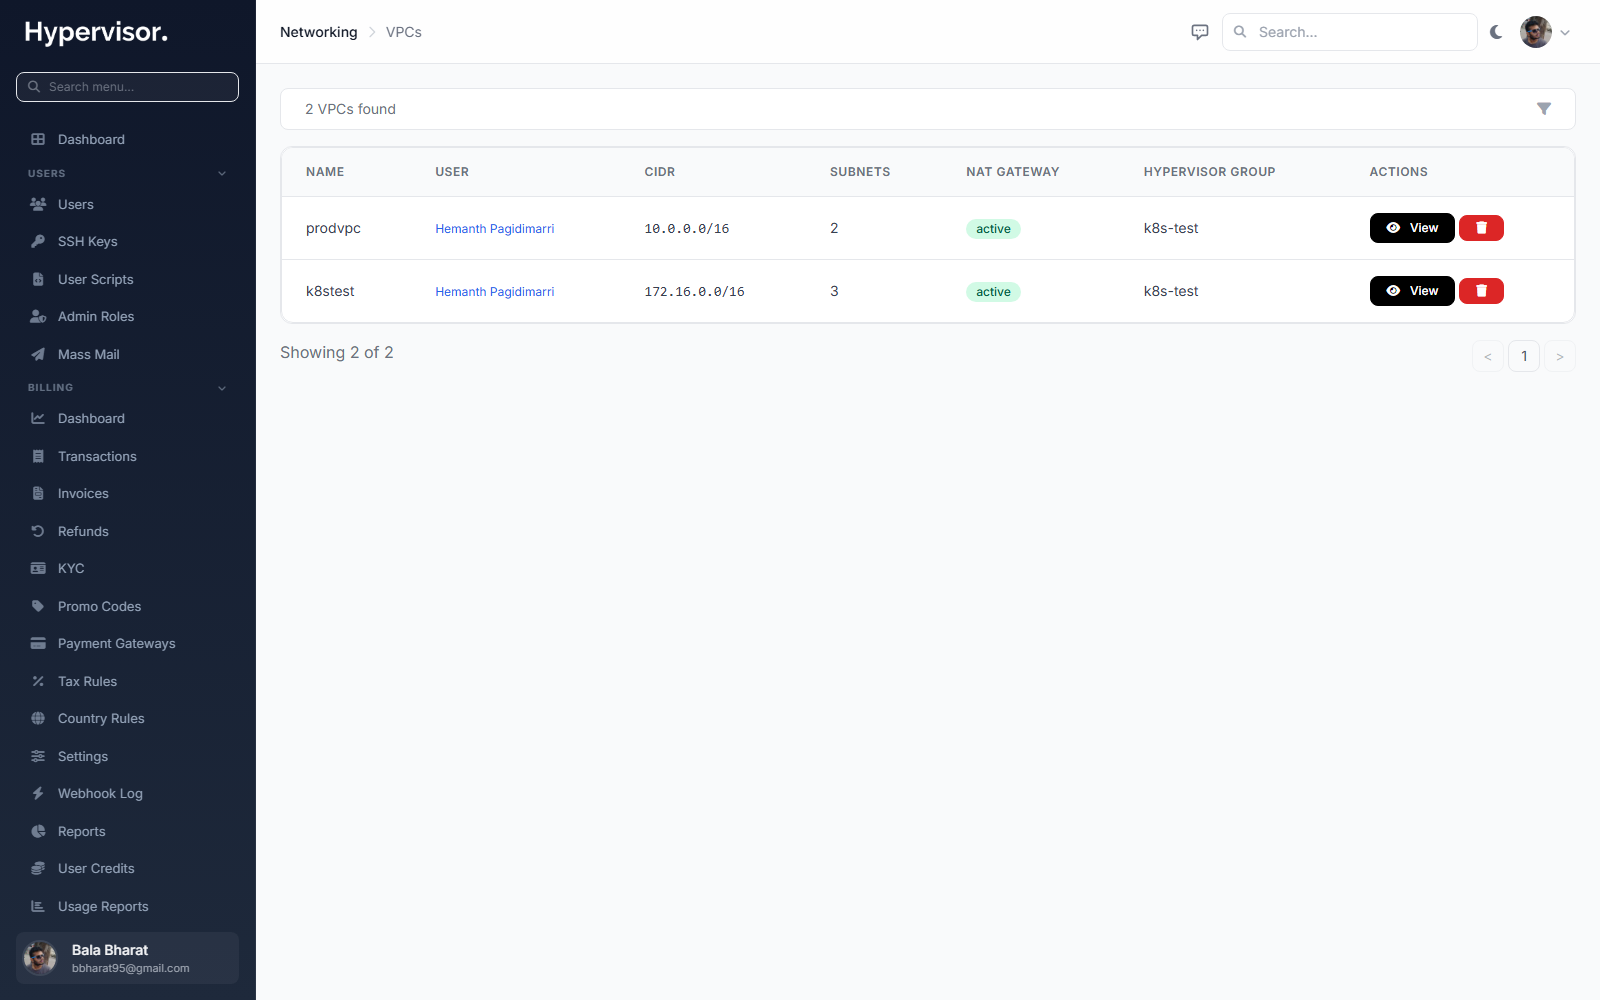
Click Add VPC to open the create form.
Configure NAT Gateway pricing (optional)
To let users create a NAT gateway in their VPC for outbound internet access:
- In the Hypervisor Group settings, turn on NAT Gateway.
- Set pricing:
- Monthly Credit Value. Base monthly cost for the NAT gateway.
- Bandwidth Rate. Per-GB cost in credits.
- IPv4 Credit Value. Monthly cost for the dedicated public IPv4 the gateway uses.
- Set Bandwidth Accounting:
uploads,downloads, orboth. - Set Bandwidth Overage:
none: no cap.charge_overage: bill per GB above the allowance.revoke_access: suspend the gateway when the cap is hit.
- Save.
See NAT Gateway for full details.
What end users see
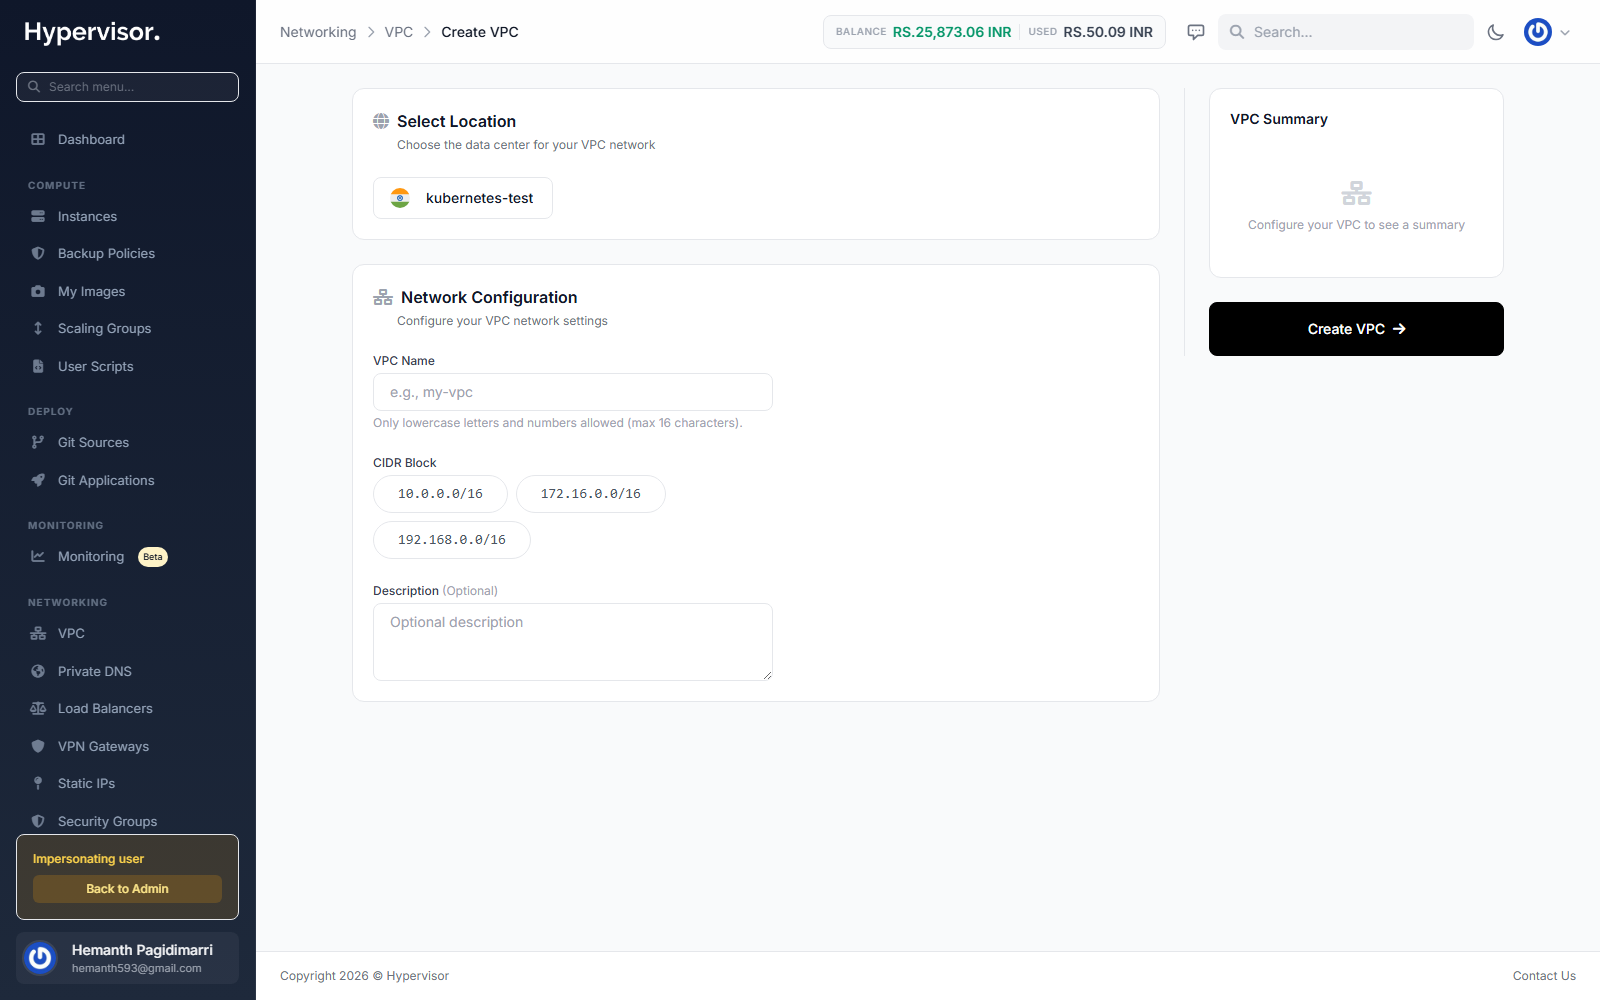
Create a VPC
- Go to Networking > VPC in the user sidebar.
- Click Create VPC.
- Enter a Name and optional Description.
- Pick a CIDR block. Common choices:
10.0.0.0/16172.16.0.0/16192.168.0.0/16
- Pick a Location (must have VPC enabled).
- Click Create.
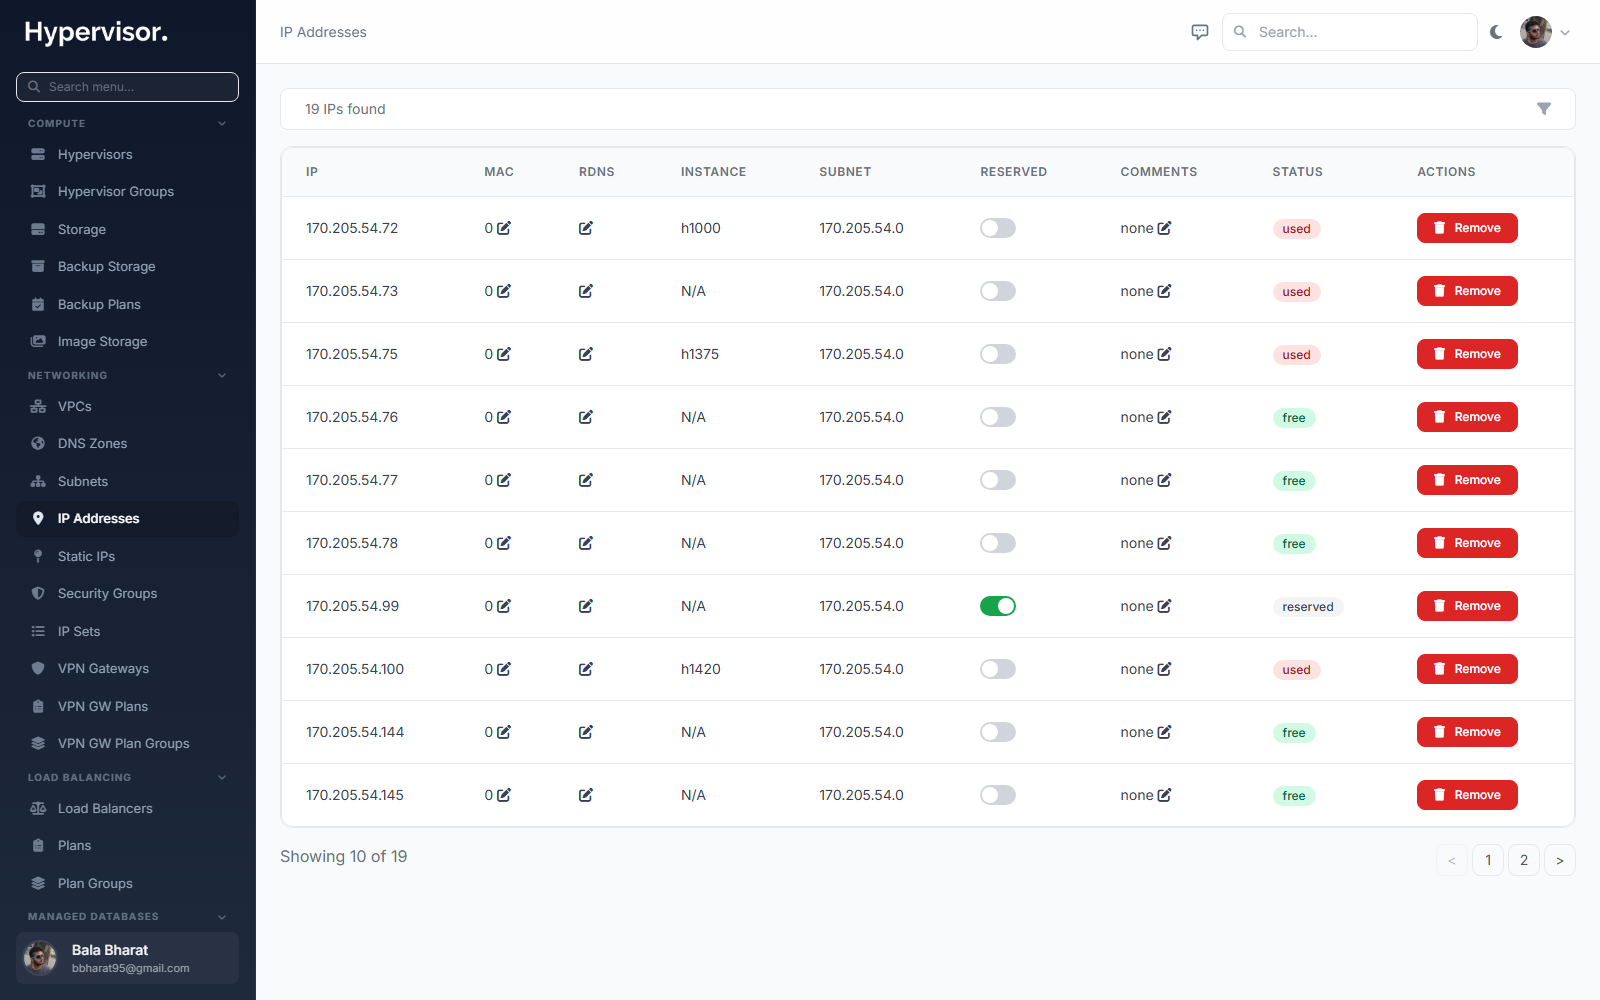
Create subnets
- Open the VPC detail page and click Create Subnet.
- Enter a CIDR inside the VPC range, e.g.
10.0.1.0/24. - The gateway IP is auto-assigned (the first usable IP in the subnet).
- IP addresses for the whole range are auto-generated.
Deploy a VM into a VPC
- When creating a VM, pick the VPC and Subnet.
- The VM gets a VPC NIC with a private IP from the chosen subnet.
- Cloud-init configures the VM's network automatically.
- VMs in the same subnet can reach each other directly.
Enable a NAT gateway
- On the VPC detail page, click Enable NAT Gateway.
- The platform allocates a dedicated public IPv4 for the gateway.
- All VMs in attached subnets get outbound internet via source NAT (SNAT) through that IP.
- Bandwidth is metered per the location's billing settings.
NAT gateways are outbound only. For inbound, give the VM its own public NIC or put a Load Balancer in front.
Troubleshooting
VMs in the same VPC cannot reach each other
- Confirm both VMs are in the same VPC and their subnets are inside the VPC CIDR.
- Confirm no Security Group is blocking traffic.
- Confirm both VMs are in a running state.
VMs in the VPC cannot reach the internet
- Confirm a NAT gateway exists on the VPC.
- Confirm its status is Active and NAT state is Enabled.
- Confirm the VM's subnet is attached to the NAT gateway.
- If security groups are attached, confirm egress rules allow outbound traffic.
VPC does not appear during VM creation
VPC must be enabled on the hypervisor group for the chosen location. Enable it in Compute > Hypervisor Groups.
What end users see
Customers manage their own VPCs from Networking > VPC in the user panel. The list page shows each VPC the customer owns, its CIDR (the IP range the VPC carries), and the resources attached to it.

Clicking Create VPC opens the create form. The customer picks a name, location, and CIDR range, then saves.
NAT gateway and VPC peering are managed from inside the VPC detail page rather than as standalone screens. Open a VPC to find both options. See NAT Gateway and VPC Peering for details.