Private DNS and Reverse DNS
Overview
This page covers two related but distinct DNS features.
- Reverse DNS (rDNS) for public IPs. Reverse DNS maps a public IP back to a hostname. For example,
1.2.3.4should answer withmail.example.com. This matters for mail servers, abuse reports, and reputation systems. The platform pushes these PTR records to an upstream DNS provider (PowerDNS or ClouDNS). - Private DNS zones inside VPCs. A VPC-scoped DNS zone lets you give VMs in a VPC short internal hostnames like
web.prodormysql.db. Records resolve only inside attached VPCs and never on the public internet.
If you are new to the terms:
- DNS. Maps a name like
example.comto an IP address. - PTR / reverse DNS. The other direction: maps an IP back to a name.
- DNS zone. A unit of DNS configuration. A "zone" usually corresponds to a domain such as
example.com. - VPC. A private virtual network you define on the platform.
- TTL (Time-To-Live). How long, in seconds, a resolver may cache a DNS answer before re-asking.
Reverse DNS
The platform supports two upstream DNS providers for rDNS:
- PowerDNS. An open-source DNS server your operator can run. Records are pushed via its HTTP API.
- ClouDNS. A commercial managed DNS service. Records are pushed via its API.
You configure one or more provider entries, then assign rDNS-eligible subnets to a provider so that PTR records for those IPs land in the right place.
Admin: configure DNS providers (rDNS)
Go to Networking > DNS Providers. Each entry stores the provider type and the API credentials needed to write PTR records.
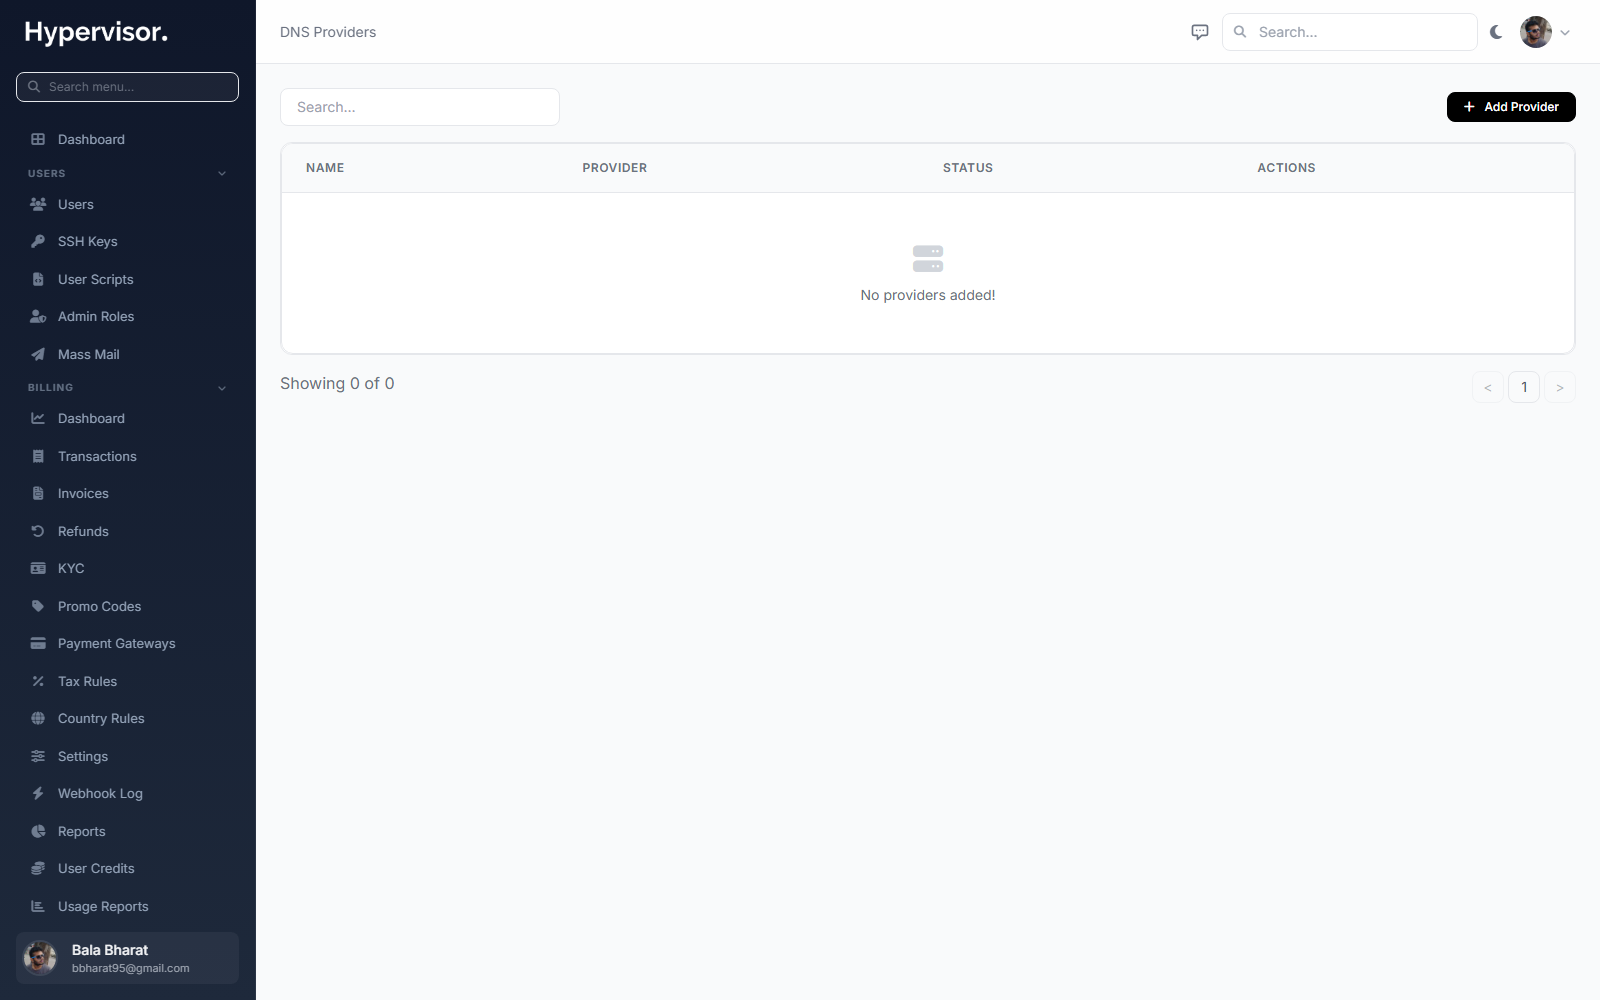
Click Add DNS Provider to open the create form.
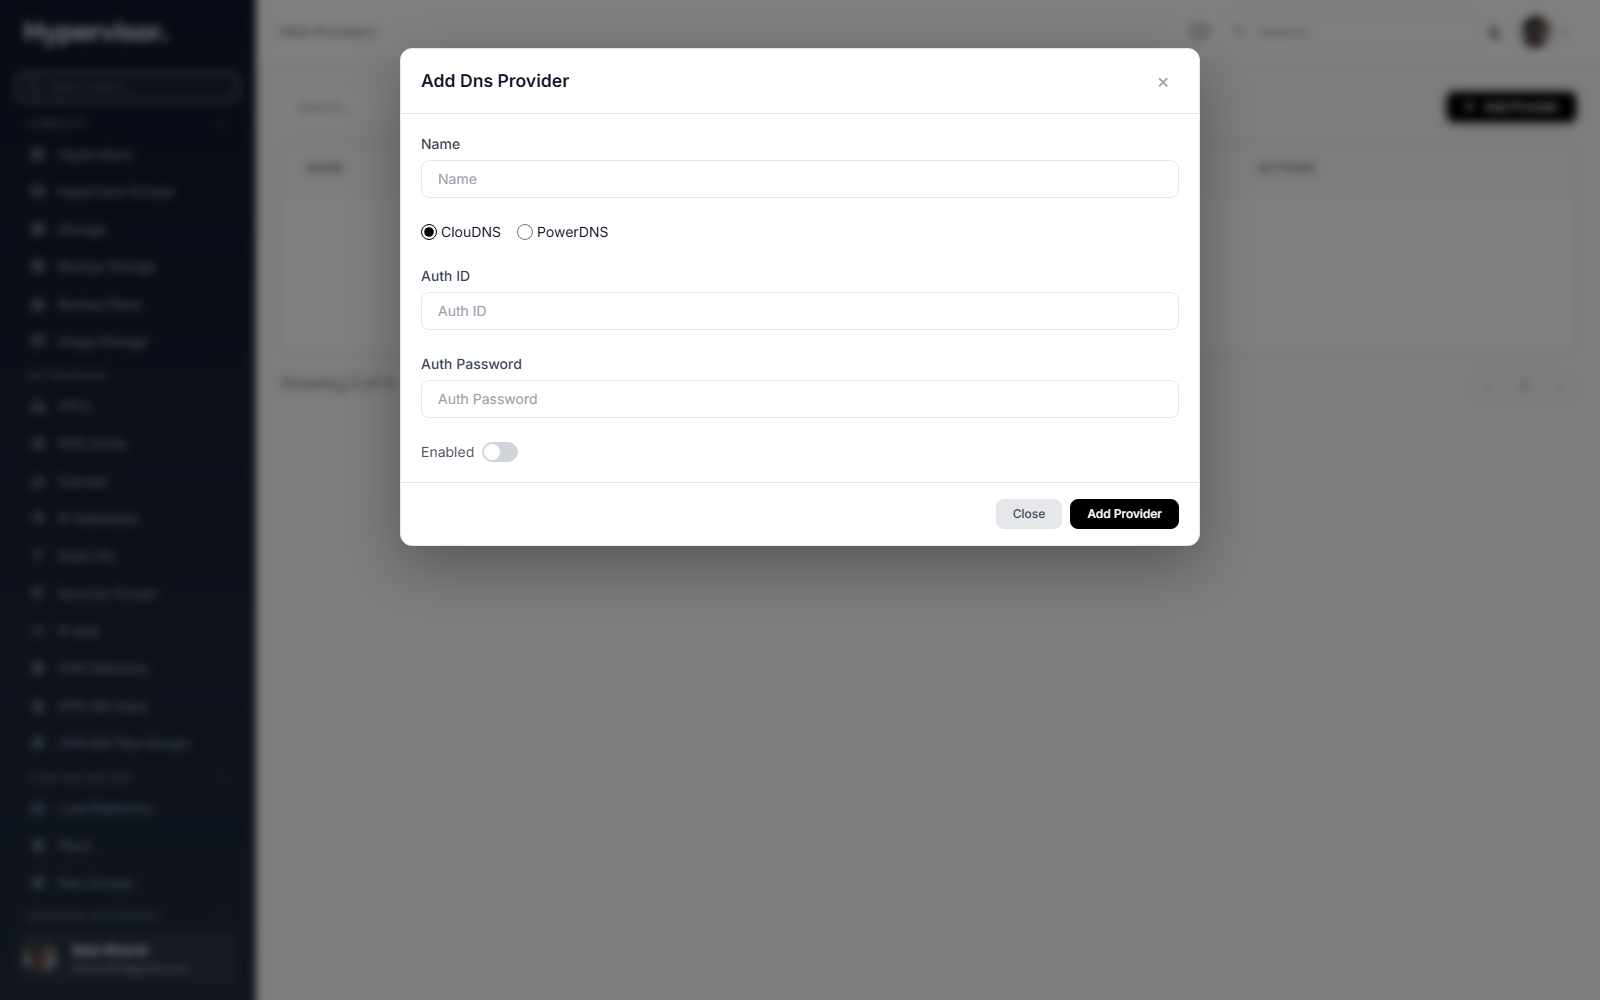
For each provider, enter the values appropriate for that provider type (API URL, API key, server ID, etc.). After you create a provider, it can be linked from rDNS zones.
Admin: rDNS zones
A reverse DNS zone represents the in-addr.arpa (IPv4) or ip6.arpa (IPv6) zone for a specific block of IPs. The platform creates a PTR record inside it for each instance IP.
Open Networking > Reverse DNS Zones.
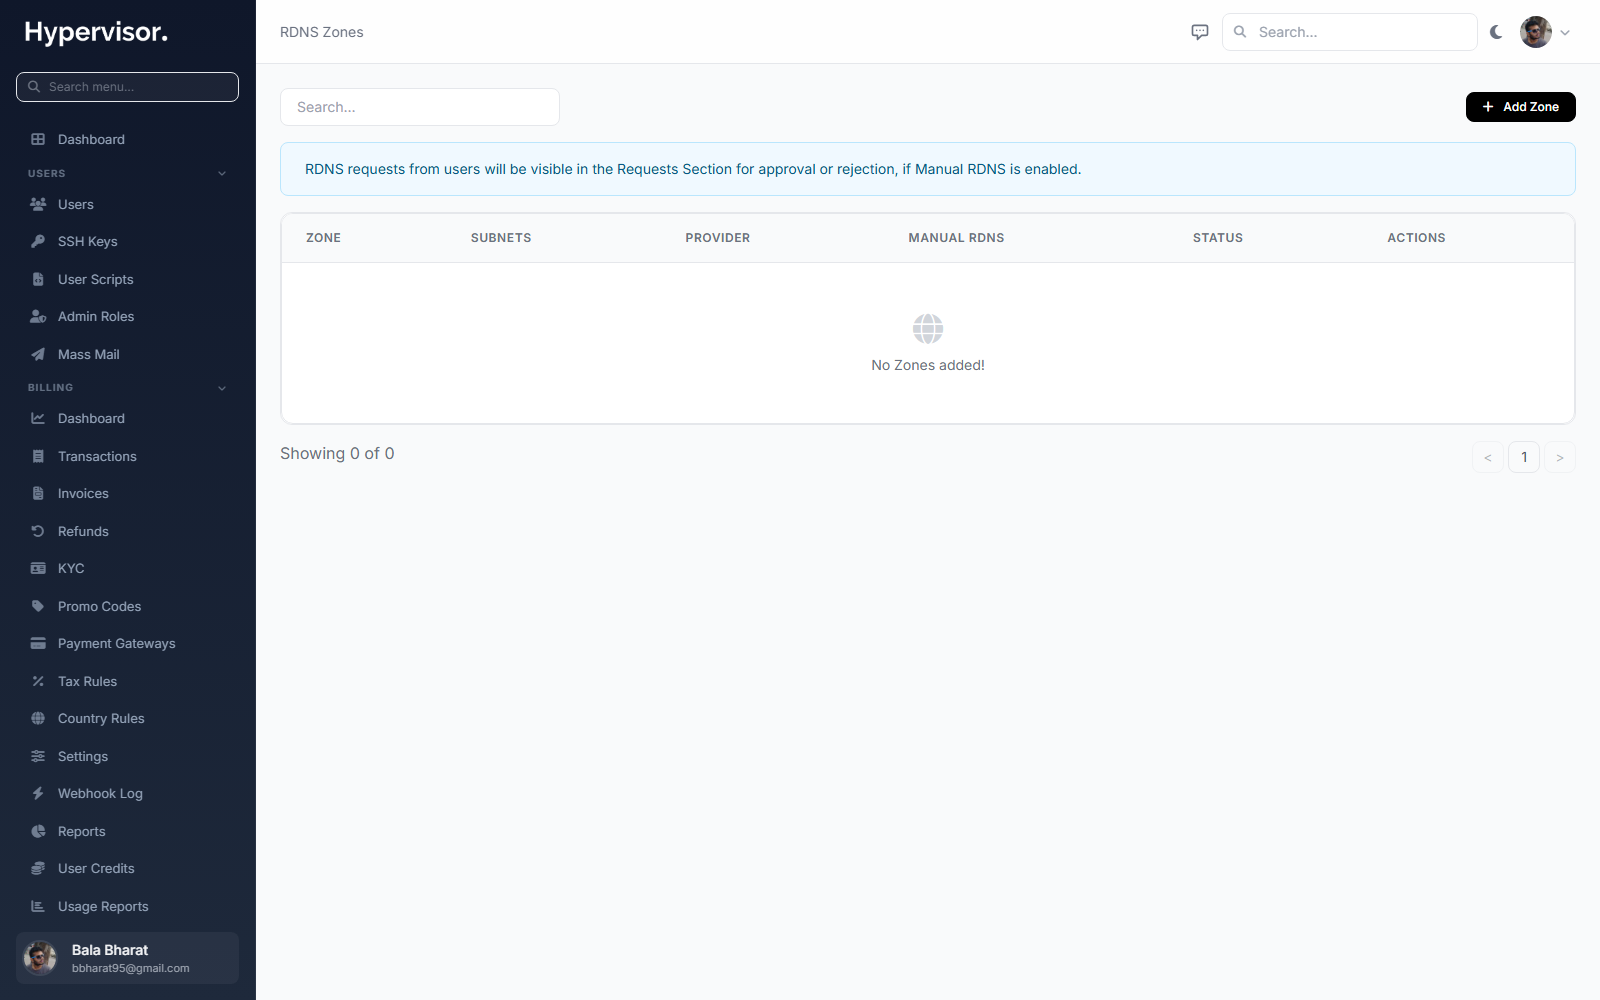
Each zone is bound to one DNS provider. When a user requests rDNS for an IP that lives in one of your subnets, the PTR record is written into the matching reverse zone on the upstream provider.
Admin: rDNS requests
Users submit rDNS requests for their IPs from the user panel. By default, admins must approve them so that customers cannot put arbitrary hostnames on IPs they do not own.
Open Networking > Reverse DNS Requests to review pending requests.
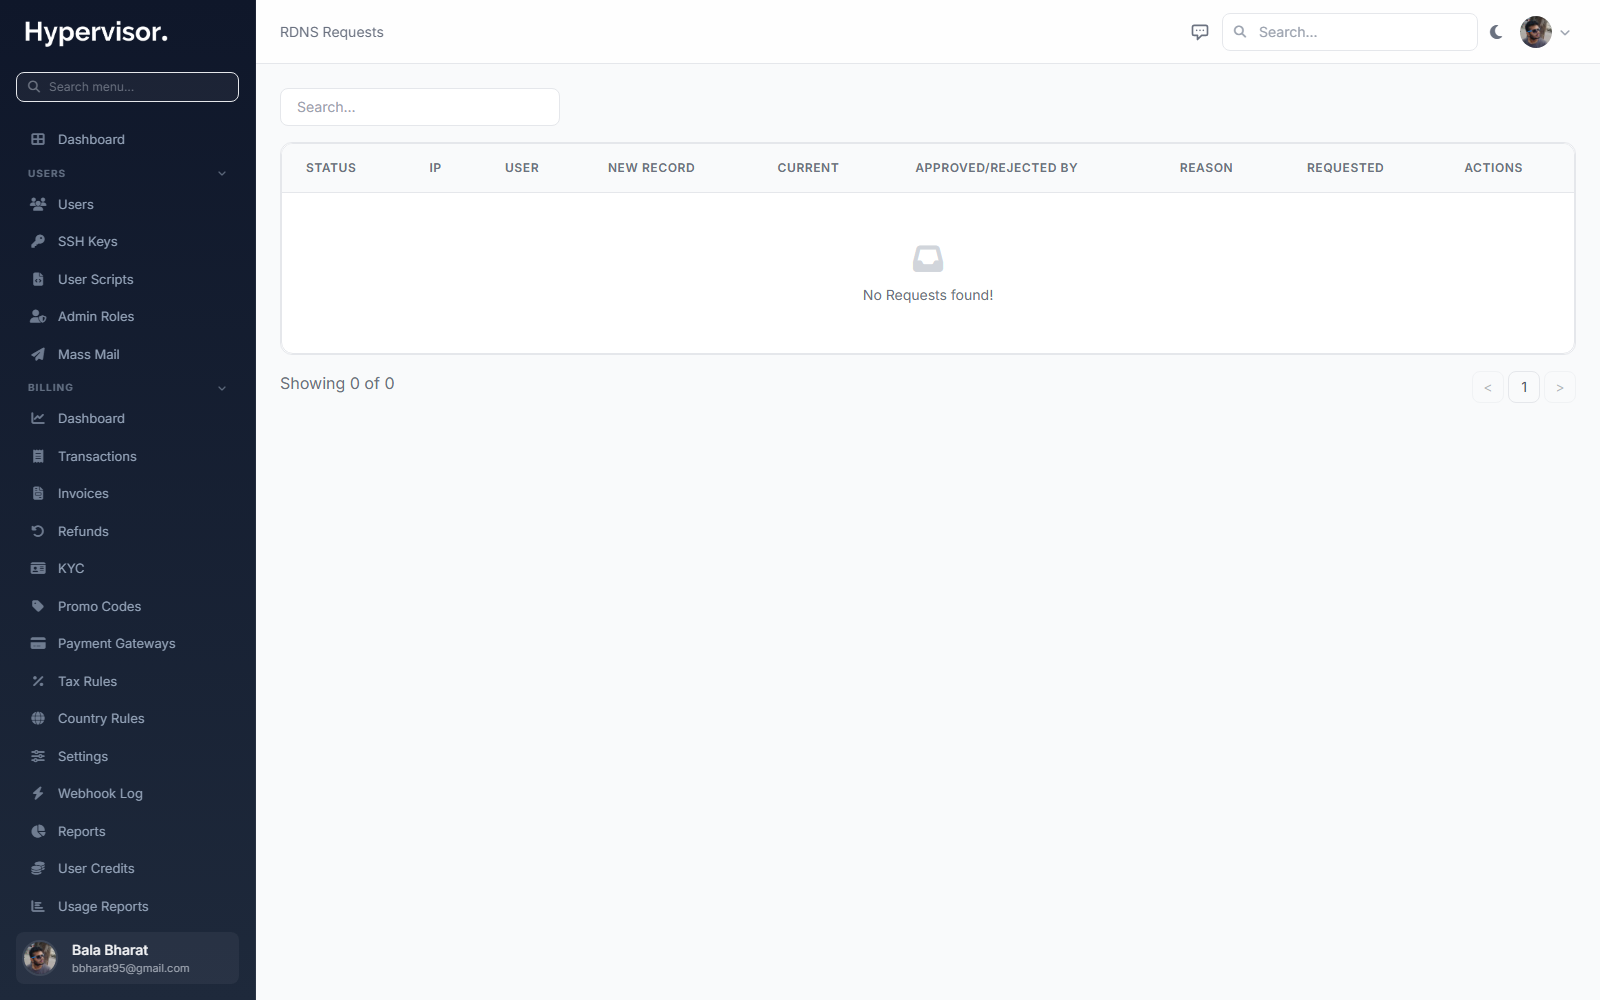
For each request you can approve (the PTR record is written upstream) or reject.
What end users see (rDNS)
Users find their public IPs under their instance and use the rDNS action to request a hostname. They see the request as pending until an admin approves it.
Private DNS zones (VPC-scoped)
A VPC-scoped DNS zone gives VMs in a VPC a custom internal domain such as .prod, .staging, or .db. These names resolve only inside attached VPCs.
Features:
- Internal only. Records are not reachable from the public internet.
- Record types supported. A, AAAA, CNAME, TXT, SRV.
- Routing policies. Simple, Weighted, Multivalue Answer, and Failover.
- Health checks. HTTP, HTTPS, TCP, and ICMP. Unhealthy records are automatically excluded from answers.
- Multi-VPC. A single zone can be attached to several VPCs at once.
- No extra cost. Included with VPC networking.
Private DNS coexists with the VPC's regular DNS. Public queries (e.g. google.com) are forwarded to public resolvers as normal.
Admin: view zones
Go to Networking > DNS Zones for a global view of all user-created VPC DNS zones.

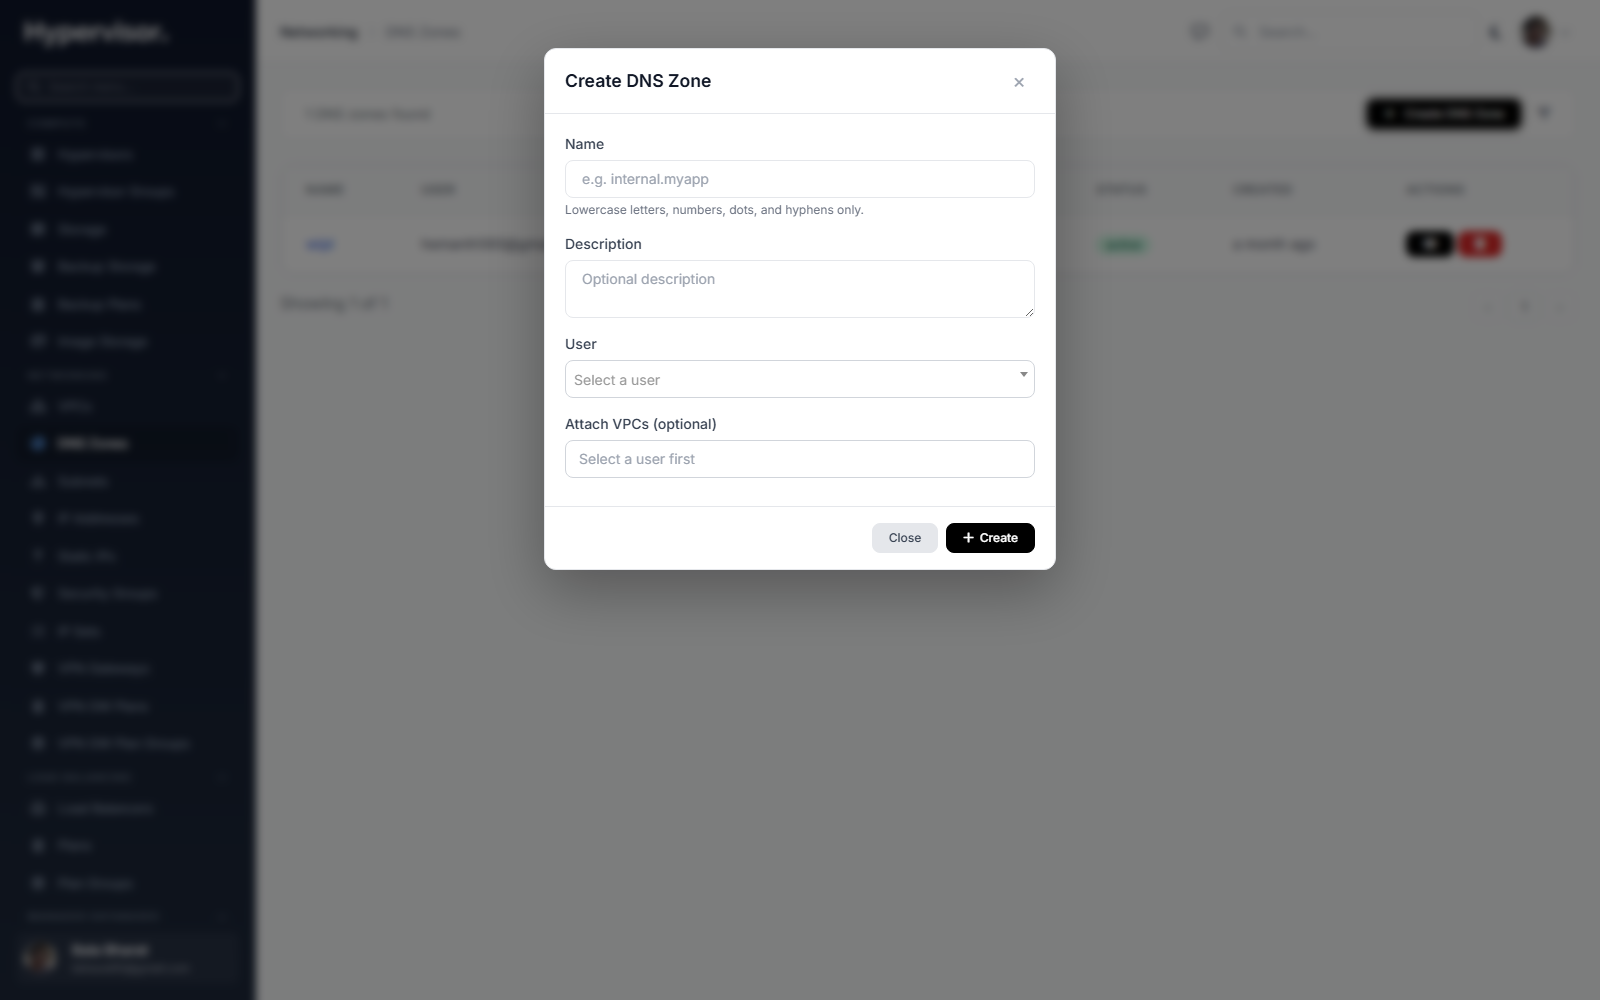
Click Add DNS Zone to open the create form.
Prerequisites (user side)
- At least one VPC must exist.
- DNS zones count against the user's zone limit (default 5; admins can change it on the user profile).
Creating a zone
- Go to Networking > Private DNS in the user sidebar.
- Click Create DNS Zone.
- Pick a Location to filter VPCs.
- Fill in:
- Zone Name. The internal domain, e.g.
prod,staging,db. Lowercase alphanumeric, dots, and hyphens. - Description. Optional.
- VPCs. One or more VPCs to attach this zone to.
- Zone Name. The internal domain, e.g.
- Click Create Private DNS Zone.
The zone is active immediately. VMs in attached VPCs can resolve records within seconds.
You cannot use a standalone public TLD (top-level domain) as a zone name, such as com, net, org, or io. That would shadow real internet DNS. Use compound names like app.internal instead.
Zone detail page
There are two tabs:
- Records (default): all record sets and the records inside them.
- Attached VPCs: where this zone is currently resolvable.
Attach a VPC by clicking Attach VPC in the VPCs tab. Detach with the button next to each attached VPC.
Detaching a VPC does not immediately drop the zone for running VMs. They keep their existing DNS configuration until reboot or network reconfiguration.
The zone name cannot be renamed after creation. Description is editable. Deleting a zone removes all record sets, records, and health checks inside it, and removes it from all VPCs. Deletion runs in the background.
Adding a record
- On the zone detail page click Add Record.
- Fill in the record set fields (if you are creating a new set):
- Hostname. Subdomain, e.g.
web,api,db-master. Combined with the zone name, this is the full name VMs query (e.g.web.prod). - Type. A, AAAA, CNAME, TXT, or SRV.
- Routing Policy. Simple, Weighted, Multivalue, or Failover.
- TTL. Seconds (default 300).
- Hostname. Subdomain, e.g.
- Fill in the value:
- A: a valid IPv4, e.g.
10.0.1.10. - AAAA: a valid IPv6, e.g.
fd00::1. - CNAME: a hostname, e.g.
web1.prod. - TXT: free text.
- SRV:
priority weight port target, e.g.10 60 8080 web1.prod.
- A: a valid IPv4, e.g.
- For Weighted: weight 1 to 255.
- For Failover: pick Primary or Secondary.
- Optionally configure a health check.
- Click Add Record.
If a record set with the same name and type exists, the record joins it. Otherwise a new set is created.
To edit a record use the pencil icon. To temporarily disable a record without deleting it, use the toggle (it stops appearing in DNS responses but its config is preserved). To add another record to an existing set, use Add to this set inside the expanded set view.
Record types
| Type | Description | Value format | Example |
|---|---|---|---|
| A | IPv4 address | Valid IPv4 | 10.0.1.10 |
| AAAA | IPv6 address | Valid IPv6 | fd00::1 |
| CNAME | Canonical name (alias) | Hostname | web1.prod |
| TXT | Text | Free text | "v=spf1 ..." |
| SRV | Service locator | priority weight port target | 10 60 8080 web.prod |
Restrictions:
- A CNAME cannot coexist with other record types for the same hostname. Remove the others first.
- CNAME records support only Simple and Failover routing.
Routing policies
Simple. Returns one record. Use when there is one resource for a name. Max 1 record.
Weighted. Splits queries by weight (1 to 255). A record with weight 70 gets roughly 70/(70+30) of queries when the other has weight 30. Use for gradual traffic shifts, blue/green, or A/B testing. Max 10 records. Types: A, AAAA only.
Multivalue Answer. Returns all healthy records. The client picks. Unhealthy ones are skipped. Max 10 records. Types: A, AAAA, TXT, SRV.
Failover. Exactly one Primary and one Secondary. Queries get the Primary while it passes health checks; otherwise the Secondary. Max 2 records.
If every record in a set is unhealthy, the system still returns all of them rather than nothing. Some answer is always given.
Health checks
When a record fails its health check, it is excluded from DNS answers.
Add or enable a health check on the record with these settings:
| Parameter | Description | Default |
|---|---|---|
| Type | HTTP, HTTPS, TCP, or ICMP | - |
| Port | Target port (HTTP/HTTPS/TCP) | 80 or 443 |
| Path | URL path (HTTP/HTTPS) | / |
| Expected Status | HTTP status considered healthy (HTTP/HTTPS) | 200 |
| Interval | Seconds between checks | 30 |
| Timeout | Seconds to wait for a response | 5 |
| Unhealthy Threshold | Consecutive failures before marking down | 3 |
| Healthy Threshold | Consecutive successes before marking back up | 2 |
Status indicators in the panel:
| Indicator | Meaning |
|---|---|
| Green | Healthy. Record is in DNS answers. |
| Red | Unhealthy. Record is excluded. |
| Yellow | Pending. Check has not run yet. |
| Grey | No health check configured. |
Limits
| Resource | Limit |
|---|---|
| DNS zones per account | 5 (default, admin can change) |
| Record sets per zone | 100 |
| Records per set (Simple) | 1 |
| Records per set (Failover) | 2 |
| Records per set (Weighted / Multivalue) | 10 |
How it resolves
When a VM in an attached VPC queries DNS:
- Names ending in the zone (e.g.
web.prod) are resolved from the zone's records, honoring routing policy and health. - Public names (e.g.
google.com) are forwarded to public resolvers automatically.
VMs in attached VPCs receive the VPC subnet gateway as their primary DNS server with no configuration needed. Public DNS (e.g. 1.1.1.1, 8.8.8.8) is set as fallback. Search domains are also set, so if your zone is prod you can query just web and the resolver completes it to web.prod.
Propagation:
- Record add/edit/delete propagates to all hypervisors within seconds.
- New zone attachments take up to about 60 seconds.
- Cached records on VMs expire according to the TTL you set.
Examples
Weighted web service
70/30 split between two web servers:
- Create zone
prodattached to your VPC. - Add record:
- Hostname
web, typeA, policyWeighted. - Value
10.0.1.10, weight70.
- Hostname
- Click Add to this set on the
webset.- Value
10.0.1.11, weight30.
- Value
- Enable HTTP health checks on both (port 80, path
/health).
VMs reach the service at web.prod. If one server fails its check, all traffic goes to the healthy one.
Database failover
- Create zone
dbattached to your VPC. - Add record:
- Hostname
mysql, typeA, policyFailover. - Value
10.0.2.10, rolePrimary. TCP health check on port 3306.
- Hostname
- Click Add to this set.
- Value
10.0.2.11, roleSecondary. TCP health check on port 3306.
- Value
Apps connect to mysql.db. If primary is unreachable on 3306, DNS returns the secondary.
Service discovery with SRV
- Create zone
svc. - Add record:
- Hostname
_http._tcp.api, typeSRV, policySimple. - Value
10 50 8080 api1.svc.
- Hostname
Apps use standard SRV lookups to discover the endpoint and port.
Troubleshooting
Records not resolving
- Confirm the zone status is Active.
- Confirm the VPC is attached.
- Confirm the record is enabled (toggle on).
- If using health checks, confirm the target is reachable.
- New VMs may need a moment after boot to pick up DNS.
Health check stays unhealthy
- Confirm the target service is up and reachable from inside the VPC.
- Check port and path.
- For HTTP/HTTPS, confirm the expected status matches what the service really returns.
- Check Security Group rules. They may be blocking the probe.
Changes not taking effect
- DNS propagates in seconds, but resolvers cache up to the TTL.
- Flush DNS on the VM (Linux):
sudo systemd-resolve --flush-caches. - Or reboot the VM.
"Private DNS" sidebar link is missing
It only appears when VPC networking is enabled on at least one hypervisor group. Ask your admin.
Validation errors creating records
- A records: must be valid IPv4.
- AAAA records: must be valid IPv6.
- CNAME records: must be a valid hostname; cannot use Weighted or Multivalue routing.
- SRV records: must be
priority weight port target. - Zone names: cannot be standalone public TLDs.