Block Storage
Overview
Block storage gives a customer a chunk of disk that lives independently of any virtual machine. The customer can attach the volume to an instance, detach it later, move it to a different instance, or resize it, all without losing the data on it.
The platform models this with three building blocks:
- Volume - The actual block of storage. Has a size, a storage class (HDD, SSD, NVMe, SAS), and a status (available, attached, and so on).
- Volume Plan - A template that defines size, storage class, I/O limits, and price. Customers pick a plan when they create a volume.
- Volume Plan Group - A bundle of plans that the admin offers in a specific location (hypervisor group). Different regions can offer different plan groups.
Concepts
- Block storage - A type of storage that the operating system sees as a raw disk (like
/dev/xvdb). It is different from a file or object share, you have to format and mount it before you can use it. - Volume - A single piece of block storage. Persists across instance reboots, stops, and even instance deletion.
- Instance - A virtual machine the volume can be attached to.
- Storage class - The kind of drive the volume lives on: HDD (slowest, cheapest), SSD (faster), NVMe (fastest flash), SAS (enterprise spinning disk).
- Datastore type - The storage backend used to actually hold the bytes. Ceph (a distributed cluster) or NFS (a network share).
- IOPS - Input/Output Operations Per Second. How many small reads or writes a disk can do per second. Higher IOPS = more responsive.
- Bandwidth (MB/s) - How many bytes a disk can read or write per second. Higher bandwidth = faster large file transfers.
- Region - Also called a "location" or hypervisor group. A volume can only attach to instances in the same region as itself.
- Credit value - The price of the plan in the platform's internal credit unit. Converted to the user's currency on the UI.
- Attached - The volume is currently visible to an instance as a block device.
- Available - The volume exists but is not connected to any instance, it is ready to attach.
Admin: Configuring Volume Plans
A volume plan defines what a customer can create. Set up plans, group them, then enable the group on a region.
Step 1: Create Volume Plans
Open the admin sidebar and go to Block Storage then Plans.
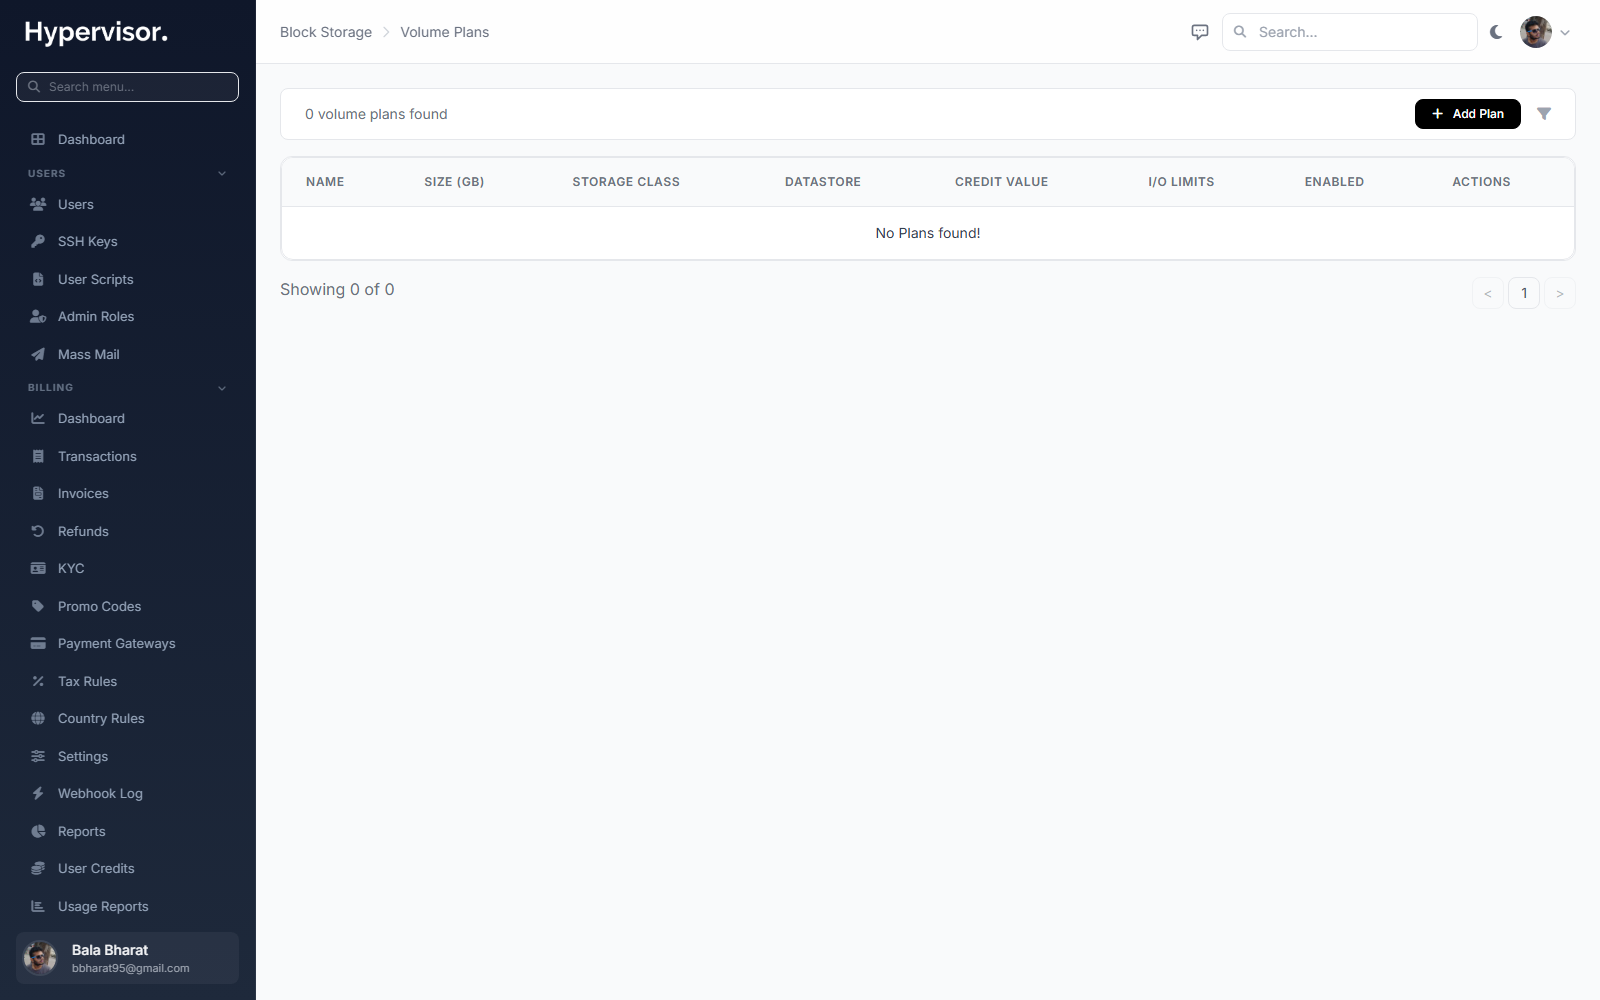
Click Add Plan. Fields:
| Field | What it means |
|---|---|
| Name | Customer-facing label, for example "SSD 100GB High Performance". |
| Size | Capacity in GB. |
| Storage Class | HDD, SSD, NVMe, or SAS. |
| Datastore Type | Ceph or NFS. |
| Credit Value | Monthly price in credits. |
| Read Bytes/sec | Cap on read bandwidth (0 means unlimited). |
| Write Bytes/sec | Cap on write bandwidth (0 means unlimited). |
| Read IOPS/sec | Cap on read operations per second (0 means unlimited). |
| Write IOPS/sec | Cap on write operations per second (0 means unlimited). |
| Enabled | If unchecked, customers cannot pick the plan. |
Use the I/O caps to build pricing tiers. A "Standard SSD" plan at moderate IOPS and a "High Performance NVMe" plan with higher caps can both be 100 GB and still feel very different to the customer.
Step 2: Create a Plan Group
Open Block Storage then Plan Groups.

Click Add Group to open the create form.
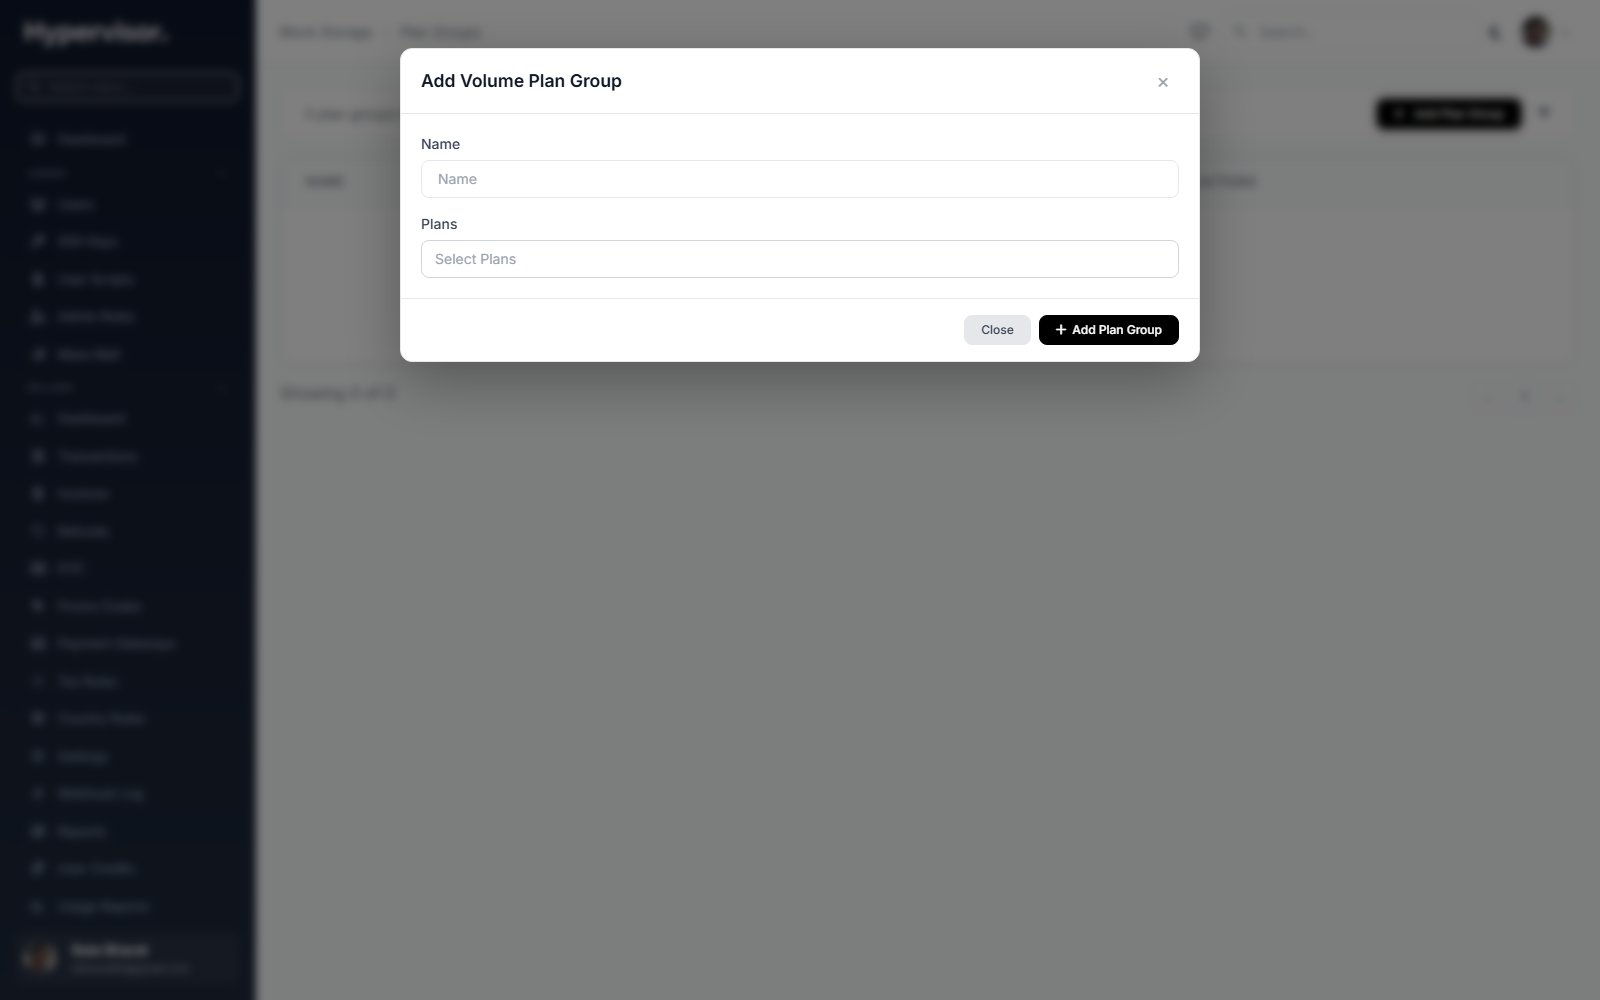
A plan group is a bundle of plans offered as a set. Different sizes and tiers can live in the same group. Click Add Group, name it, and add the plans you want to include.
Step 3: Enable on a Hypervisor Group
A hypervisor group is a region/location. Open the hypervisor group settings page, turn on Block Storage, and link a plan group. Only the plans inside that group are offered to customers in that region.
Step 4: Set the per-User Volume Cap
- Go to Users, edit the user.
- Set Max Volumes (default 5, set to 0 for unlimited).
Managing Customer Volumes
Open Block Storage then Volumes.
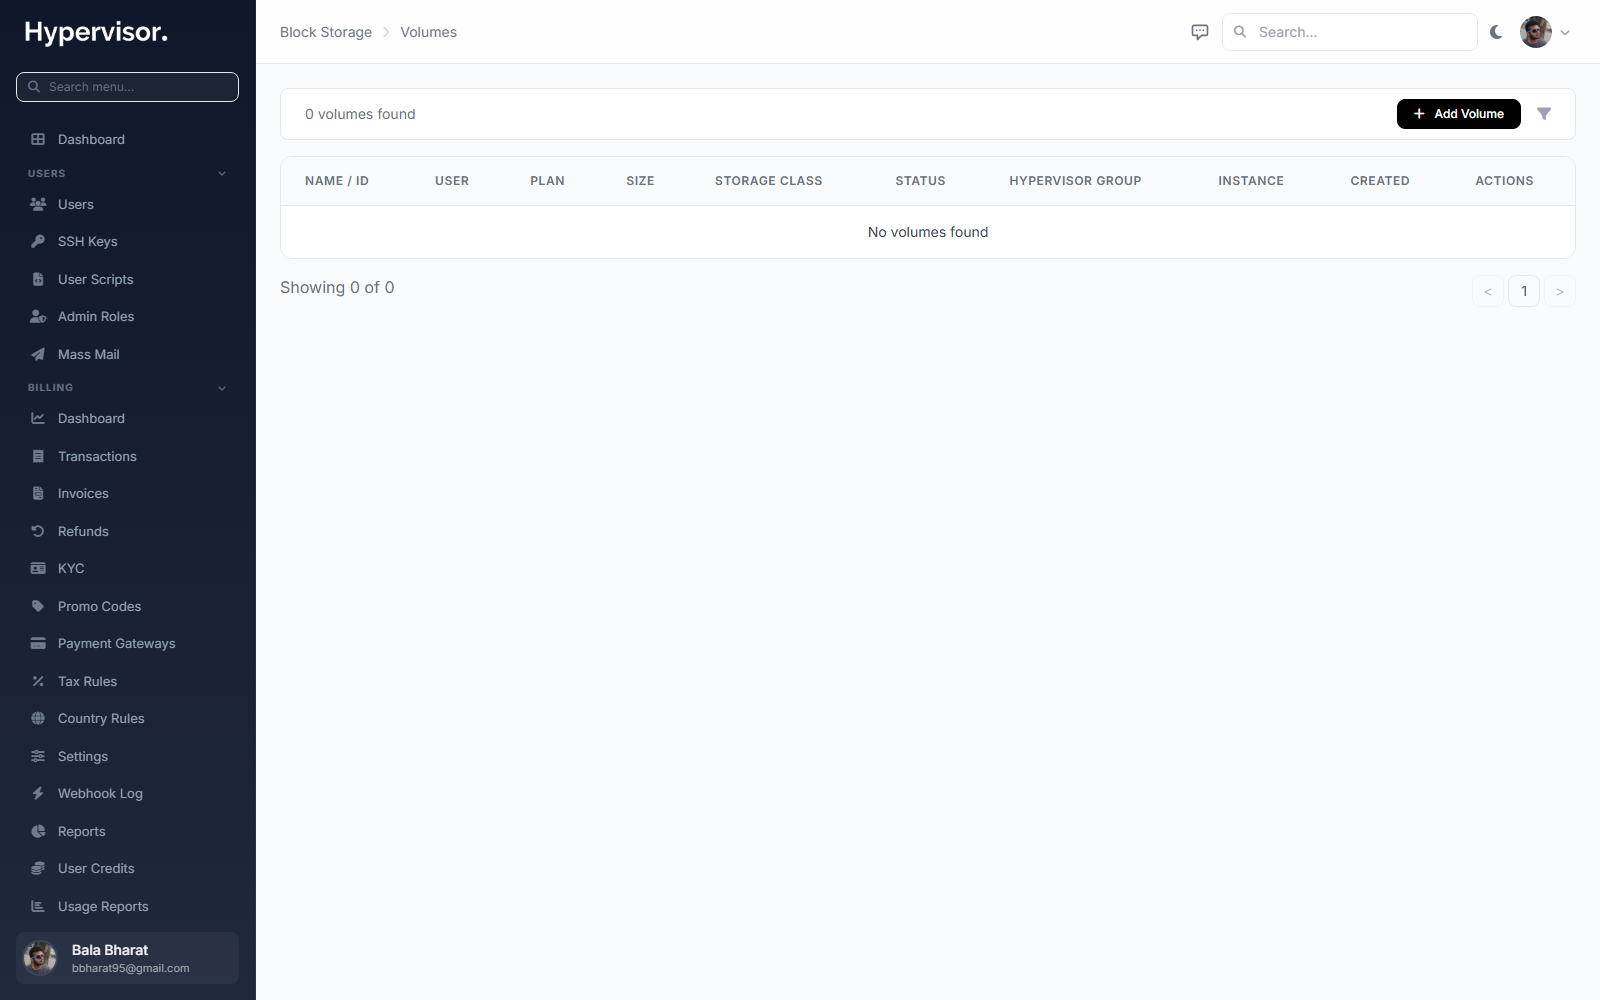
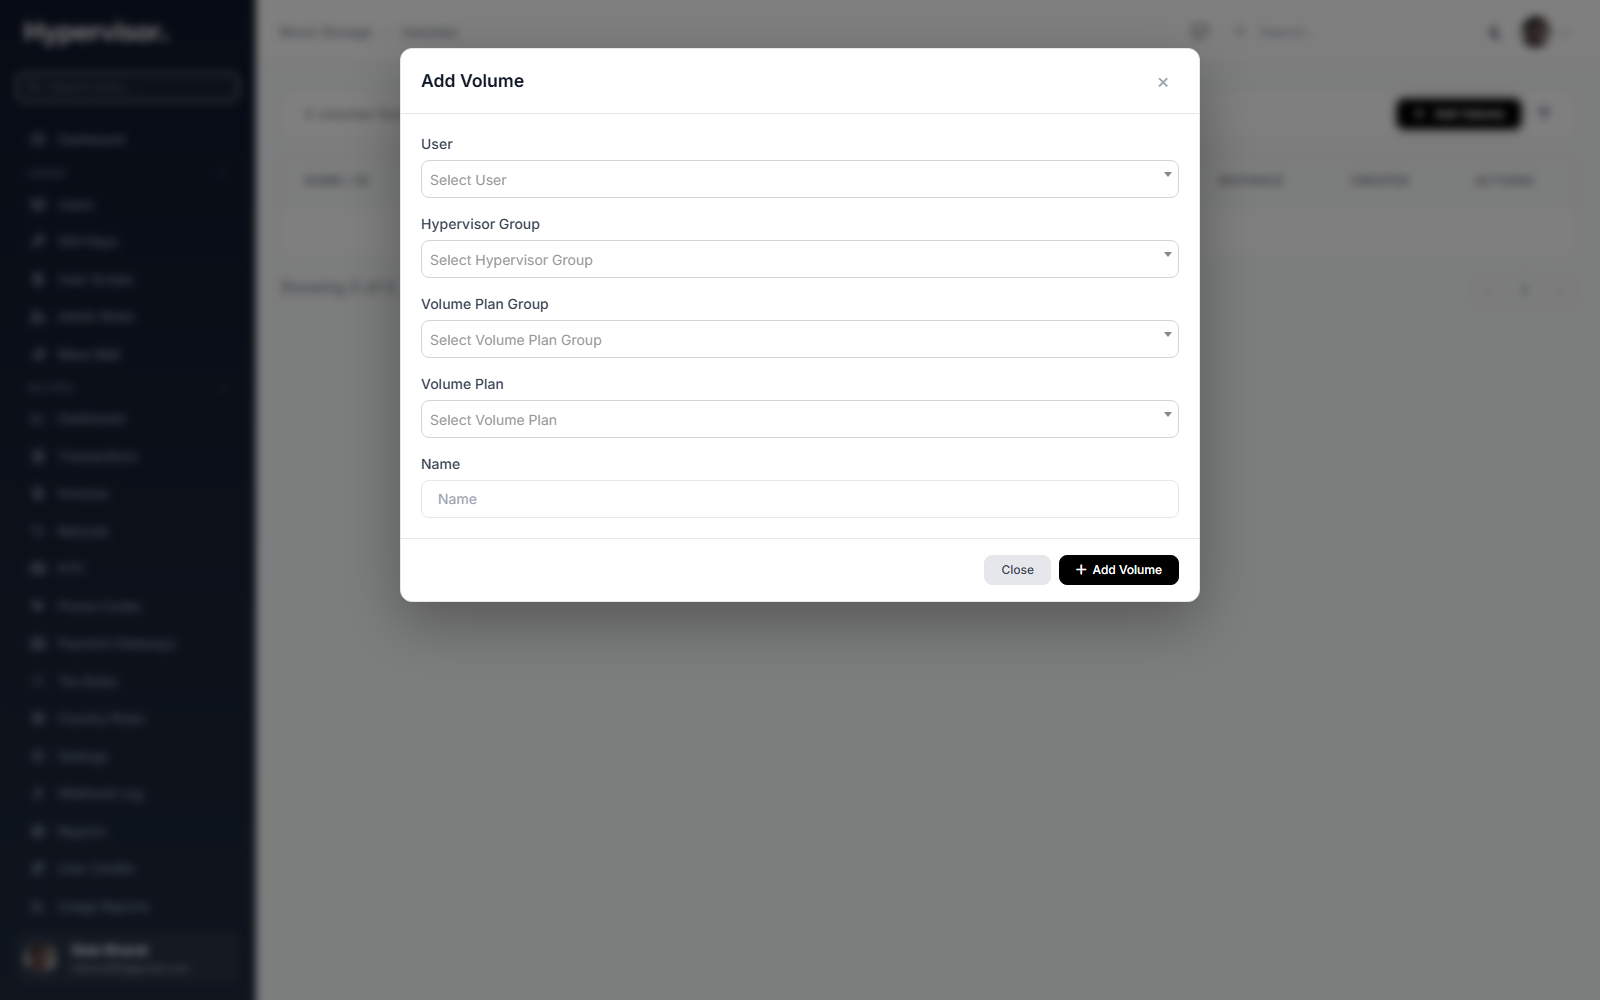
Click Add Volume to create one on behalf of a user.
The admin volume list lets you:
- Search by volume name, owner, or attached instance.
- Open a volume's detail page (full configuration, I/O limits, storage path, billing info).
- Create a volume on behalf of a user.
- Detach or delete a volume.
What End Users See
A user opens Storage then Block Storage in their sidebar and works with their own volumes only.
Creating a Volume
- Click Create Volume.
- Step 1: Select Region - Only regions with block storage enabled show up. The volume can only attach to instances in the same region.
- Step 2: Select Plan - Each card shows plan name, storage class, size, read/write speeds (if capped), read/write IOPS (if capped), and monthly + hourly cost.
- Step 3: Name - Pick a name (for example
postgres-dataormedia-storage). - Click Create Volume.
A summary sidebar shows the running selection and cost as the user picks.
Volumes usually become Available within a few seconds.
Volume Statuses
| Status | What it means |
|---|---|
| Available | Ready to attach. |
| Attached | Currently attached to an instance. |
| Creating | Being provisioned. |
| Resizing | A resize is in progress. |
| Detaching | Being detached from an instance. |
| Error | An operation failed. |
Attaching a Volume
A volume must be Available and in the same region as the target instance.
From the Volumes page:
- Click Attach on the volume.
- Pick an instance (only same-region instances appear).
- Click Attach.
From the Instance manage page:
- Open the instance, go to the Volumes tab.
- Pick an available volume from the dropdown.
- Click Attach.
Once attached, the volume appears inside the VM as a block device (for example /dev/xvdb). The device name shows in the volumes table.
A freshly attached volume is a raw block device. The customer has to format it (e.g. mkfs.ext4 /dev/xvdb) and mount it inside the VM before they can write files to it.
Detaching a Volume
Click Detach from either the volumes page or the instance's volumes tab.
Unmount the filesystem inside the VM before detaching, otherwise you risk data corruption.
Resizing a Volume
- Click Resize on the volume.
- Pick a different plan.
- Click Resize.
If the new plan is smaller than the current size, the UI warns:
"The selected plan (X GB) is smaller than the current size (Y GB). This may result in data loss."
Confirm with Resize Anyway to proceed.
Growing a volume does not grow the filesystem inside it. After resizing, run the OS tool (for example resize2fs for ext4) to extend the partition and filesystem.
Deleting a Volume
The volume must be Available (detached). Click Delete, then confirm.
Deletion is permanent. Data on a deleted volume cannot be recovered.
Instance Integration
The instance manage page has a Volumes tab listing every attached volume.
| Column | What it shows |
|---|---|
| Name | Volume name. |
| Plan | Volume plan name. |
| Size | Capacity in GB. |
| Device | Block device name inside the VM (e.g. xvdb). |
| Status | Current status. |
| Actions | Detach button. |
Each instance can have up to 23 volumes attached (devices xvdb through xvdw).
Billing
- Volumes are billed hourly through the Cloud Service billing system.
- Billing starts when the volume is created and stops when it is deleted.
- The hourly rate is the plan's credit value divided by hours per month.
- Billing runs whether the volume is attached or not.
Cost Display
The volume creation flow shows monthly and hourly cost for each plan in the user's currency.
Usage Reports
Volume charges appear in Cloud Service then Usage Report under a Block Storage section. The report shows per-volume hours and charges for the billing period.
Troubleshooting
Volume stuck in "Creating"
- Check the Tasks page for deployment errors.
- The storage backend may be temporarily unavailable. Delete and recreate to retry.
- Contact the administrator if the problem persists.
Cannot attach volume to instance
- Volume must be in Available status.
- Volume and instance must be in the same region (hypervisor group).
- The instance must have fewer than 23 volumes attached.
Volume not visible inside the VM
Run lsblk or fdisk -l inside the VM. The device name from the panel (for example xvdb) maps to /dev/xvdb inside the VM. Format it before use.
Cannot delete an attached volume
Detach first, then delete. Only Available volumes can be deleted.
Performance is lower than expected
Open the volume detail page and check the I/O caps. If they say "Unlimited" but performance is still poor, the bottleneck is likely the instance's CPU/disk subsystem or its network throughput, not the volume.
Related pages
- Volume Snapshots and Backups - Take snapshots or backups of a volume.
- Object Storage - S3-compatible storage for files (different from block storage).