Kubernetes
Overview
The panel can provision and manage Kubernetes clusters end to end. End users click through a wizard, and the panel creates the virtual machines, installs Kubernetes on them, wires up networking, and exposes the cluster's API server through a managed load balancer.
This page is the admin-side guide. It covers what an operator has to set up before users can create clusters, where to manage user clusters from the admin panel, and what users see in their panel once everything is enabled.
Concepts
A few terms used throughout:
- Kubernetes. An open source system that runs containerized applications across a fleet of servers (called nodes). The official site is kubernetes.io.
- Cluster. One Kubernetes installation. It has a control plane and one or more workers.
- Control plane (CP). The brain of the cluster. The control plane runs the API server, the scheduler, and a key-value store called etcd. End users connect their
kubectltool to the control plane. - Worker. A node that actually runs user containers.
- HA control plane (3 nodes). Three control plane nodes instead of one, so a single failure does not take the cluster down. The opposite is a "single" control plane, which is one node and cheaper but offers no redundancy.
- Node pool. A group of workers that share the same instance plan, labels, and taints. A cluster has at least one pool (the default pool). See Node Pools.
- Autoscaler. Software inside the cluster that adds workers when pods cannot fit, and removes workers when they sit idle.
- VPC. Virtual Private Cloud. A private isolated network on the platform. A Kubernetes cluster must live inside a VPC.
- NAT gateway. A managed component that lets VMs in a private VPC subnet reach the public internet outbound, without giving them public IPs. Workers need it to pull container images.
- Load balancer (LB). A managed component that distributes incoming traffic across backend VMs. Every cluster's API server sits behind one.
- Cloud Controller Manager (CCM). A controller that runs inside the cluster. When a user creates a Kubernetes Service of type
LoadBalancer, the CCM calls the platform's API and a real managed LB appears. - Kubeconfig. A YAML file that tells
kubectlwhere the API server is and how to authenticate. Users download it from the panel. - Supported Versions. The admin-curated list of Kubernetes versions users can pick when creating a cluster.
- Image baking. Building a VM image that already has the right Kubernetes binaries and container images on it, so a new node boots fast. See Kubernetes Image Baking.
What gets created when a user provisions a cluster
For each cluster the panel creates:
- One or three control plane VMs (depending on the user's choice).
- One or more worker VMs in one or more node pools.
- One managed load balancer fronting the control plane's API server.
- A per-cluster security group (network firewall) for the LB, the control plane, and the workers.
- A kubeconfig file the user downloads to use
kubectl.
Provisioning typically takes 5 to 12 minutes.
Admin steps
1. Bake the Kubernetes images
Before any of the panel UI works, you need a VM image for the control plane and a VM image for the workers, for each Kubernetes minor version you want to support. These are not the same as a normal Ubuntu image - they have kubeadm, kubelet, containerd, and the platform's custom controllers pre-installed.
Follow the Kubernetes Image Baking guide first. Come back when you have a Control Plane image and a Worker image registered under Media > Images.
2. Enable Kubernetes on the hypervisor group
A hypervisor group is the panel's term for a region. End users pick a region when creating a cluster, so the region must have Kubernetes turned on first.
- Navigate to Compute > Hypervisor Groups.
- Open the group you want to enable.
- Tick Enable Kubernetes service in this group.
- The same group also needs VPC and Load Balancer enabled - Kubernetes uses both.
- Save.
The group's slug is used as the Kubernetes region label baked into node hostnames. Once any cluster exists in the group the slug is locked.
3. Register supported Kubernetes versions
The Supported Versions catalogue is the list of Kubernetes versions users can pick from in the Create Cluster wizard.
- Navigate to Kubernetes > Supported Versions in the admin sidebar.
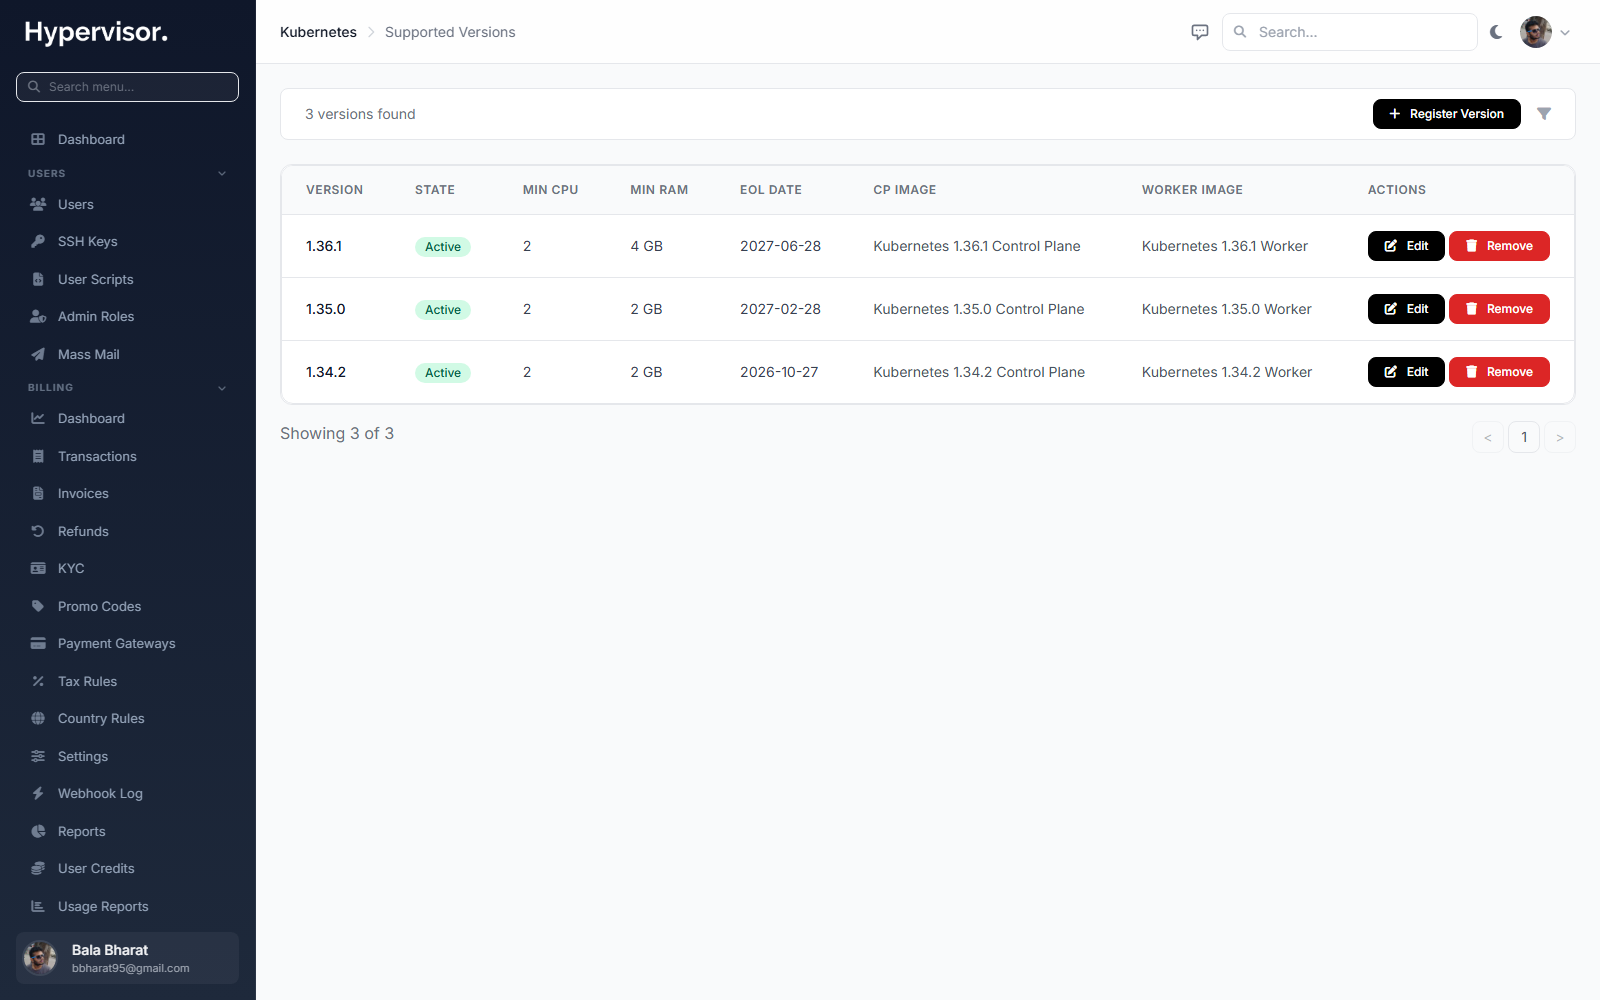
- Click Register Version.
- Fill in:
- Semantic Version - the full version, e.g.
1.31.0. - State -
Active(selectable in the user wizard),Deprecated(still selectable but flagged with a warning), orEOL(hidden from new clusters). - Control Plane Image - the baked image with
Kubernetes Control Planepurpose. - Worker Image - the baked image with
Kubernetes Workerpurpose. - Min CPU Cores and Min RAM (MB) - the floor used to filter the plan picker on the user wizard.
- EOL Date - optional, the date this version reaches end-of-life.
- Upgrade From - comma-separated list of versions that may be upgraded to this one (e.g.
1.30.0, 1.30.1). Kubernetes does not allow skipping minor versions. - Bundled Components - optional JSON describing co-packaged components such as etcd, coredns, cilium.
- Semantic Version - the full version, e.g.
- Save.
Repeat for every version you want to make available.
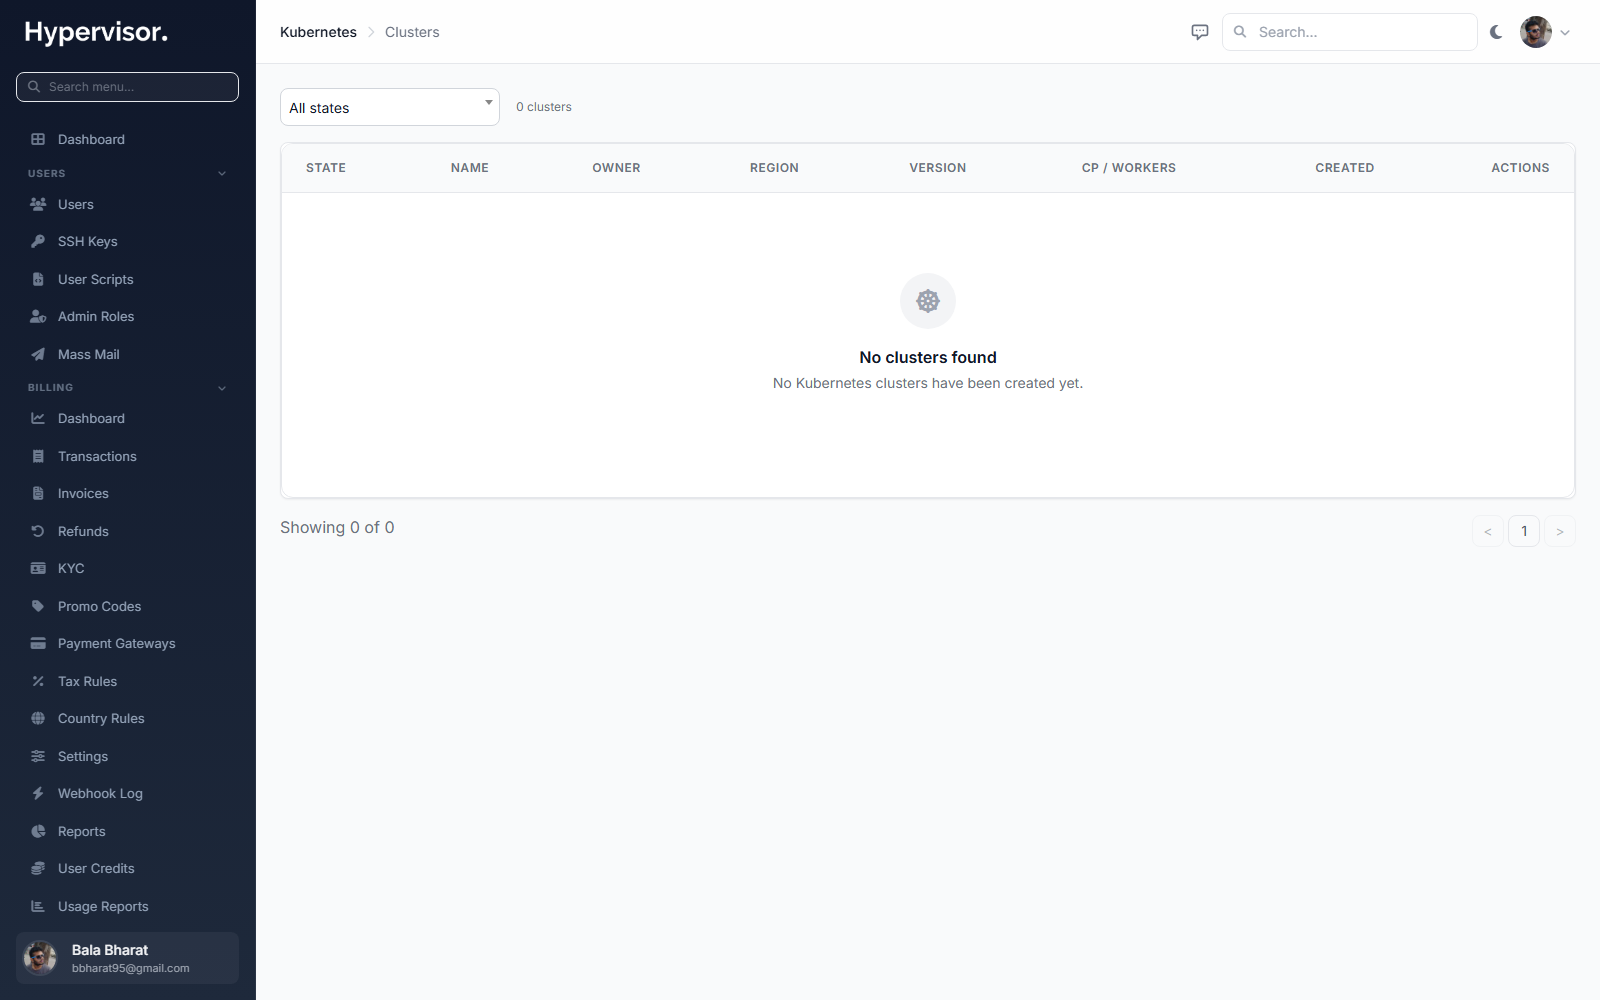
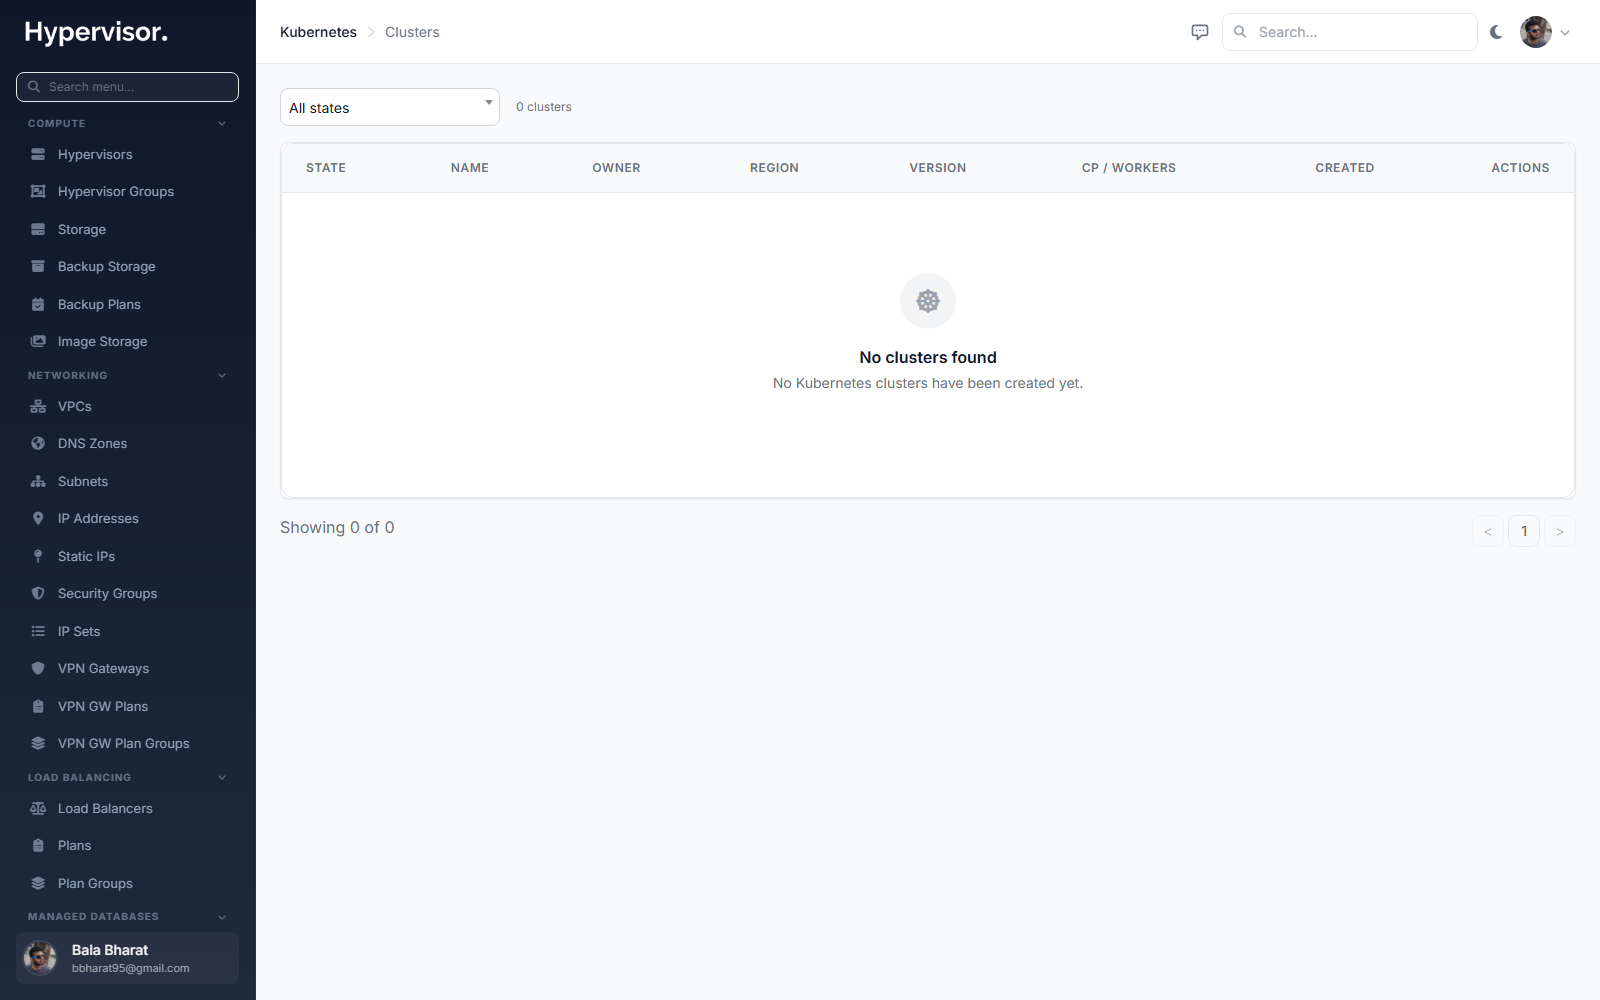
4. Operate user clusters from the admin panel
Admins can see and act on every user cluster from Kubernetes > Clusters in the admin sidebar.
First step of the Create Cluster wizard.
The admin cluster page shows the same view a user has, plus operator-only controls:
- Force destroy - terminate a cluster even when normal delete fails because some resource is stuck.
- Force evict - forcibly remove a single node that refuses to drain (drain means moving pods off the node before shutting it down).
- Suspend / Resume - suspend a cluster (stops the underlying nodes and pauses billing) without deleting it. Resume brings it back.
- Reset state - clear a stuck
ProvisioningorUpgradingstatus back toRunning. Use only after you have manually fixed whatever was wrong on the underlying VMs. - Cancel task - cancel a task that is stuck running but no longer making progress.
All of these are audit-logged.
You can also drill into a single user cluster's detail page to see the same Nodes, Tasks, Workers, Security, and SSL & Domains tabs the user sees, plus the operator buttons above.
What end users see
End users get a sidebar entry called Kubernetes with two pages: Clusters and (if they have permission) Supported Versions (read-only - the version list is admin-curated).
Prerequisites for the end user
Before a user can create a cluster, they need:
- A region with Kubernetes, VPC, and Load Balancer enabled (you did this above).
- A VPC in that region.
- A NAT gateway attached to the VPC. Without it, workers cannot pull container images.
- At least one private subnet for the control plane.
- Enough credit if you are running hourly billing.
If anything is missing, the Create page tells the user exactly what to fix.
Create wizard
The wizard has six steps. The user fills in:
- Region and VPC - only regions and VPCs that meet the prerequisites are listed.
- Subnets - the control plane subnet must be private. The worker subnet defaults to the same.
- Cluster identity - name, slug (used in node hostnames), Kubernetes version (from the admin-curated list), endpoint mode (private only, or public and private).
- Control plane - 1 node (single, cheaper, no redundancy) or 3 nodes (HA, survives single-node failure), control plane VM plan, and the plan for the load balancer that fronts the API server.
- Workers - VM plan, initial worker count, optional autoscaler bounds, Pod CIDR (in-cluster pod IP range, default
10.244.0.0/16), Service CIDR (default10.96.0.0/12), and Pod Security Admission default (privileged,baseline, orrestricted). - Review and create - summary plus estimated hourly cost (if hourly billing is enabled).
Cluster detail page
Once the cluster exists the user lands on its detail page. The header shows status, region, version, control plane count, worker count, and the public + private endpoint URLs. There are buttons to:
- Download kubeconfig - YAML file for
kubectl. - Redeploy CCM - re-applies the in-cluster cloud-controller-manager. Only needed if the platform's master domain changes (rare).
- Delete - destroys the cluster.
The detail page has tabs:
- Nodes - every VM in the cluster, with CPU and memory gauges and the pods running on each node.
- Tasks - every operation against the cluster, with logs. Useful when a deploy or upgrade fails.
- Workers - manual scale, autoscaler toggle and bounds, worker rolling upgrade, control plane rolling upgrade, and worker labels/taints editor.
- Security - per-cluster security group (firewall) with three scopes: LB (who can reach the API server), Control Plane (rules on the control plane VMs themselves), and Worker (rules on worker VMs). Each scope has inbound and outbound rules.
- SSL & Domains - bind a TLS certificate to the API LB so users can reach the API on a custom domain like
k8s.example.com. Two sources: Let's Encrypt (auto-issued and auto-renewed) or a custom PEM certificate the user pastes in.
Pools tab (advanced workers)
The default node pool is created with the cluster. Users add more pools - for example a GPU pool or a memory-heavy pool - from the Pools tab. See Node Pools for the full reference.
Rolling upgrades
Both control plane and workers are upgraded one node at a time, using a "surge" strategy: bring up a new node on the target version, drain the old one, terminate the old one, repeat.
The user picks a Target Version from the admin-curated list (only versions that are valid upgrade targets from the current version are shown). Kubernetes does not allow skipping minor versions, so to go from 1.30 to 1.32 the user has to upgrade to 1.31 first.
Automatic certificate renewal
The cluster's internal PKI (control plane certificates, etcd certificates) and the controller tokens for the autoscaler and CCM renew themselves 30 days before expiry. The user does not run any commands. They do get an email 30 days before renewal and another email right after, telling them to re-download the kubeconfig.
In-cluster workloads keep running through renewal. Only kubectl sessions using the old admin kubeconfig need a refresh.
Using kubectl
After the cluster is up, a user runs:
export KUBECONFIG=~/Downloads/cluster-mycluster.yaml
kubectl get nodes
To expose an app the user can do:
kubectl create deployment nginx --image=nginx
kubectl expose deployment nginx --port=80 --type=LoadBalancer
kubectl get svc nginx -w
The type=LoadBalancer Service triggers the CCM, which calls the platform's API to create a managed load balancer. The Service's EXTERNAL-IP becomes the LB's public IP after 30 to 90 seconds.
The full list of LoadBalancer Service annotations the CCM understands (custom LB plans, SSL termination, source-range filtering, health checks, blue/green and canary traffic splitting) is at https://hypervisor.io/features/kubernetes/load-balancer/.
Backups and snapshots
Etcd (the cluster's key-value store) is snapshotted automatically on a schedule configured at the admin level. Restoring from a snapshot is currently admin-only - the user has to contact support.
Troubleshooting
Cluster stuck in Provisioning
- Open the Tasks tab - the failing task's log shows the phase and error.
- Verify the VPC's NAT gateway is healthy. Workers will not finish bootstrap without outbound DNS and package fetch.
- Verify the chosen Kubernetes version still has its Control Plane and Worker images registered. If you removed an image from the catalogue, the version will not deploy.
kubectl gets connection refused
- Confirm the cluster is
Runningon the overview page. - For a public endpoint: confirm the LB security group allows the user's source IP on the API port (TCP 6443 by default).
- For a private-only endpoint: the user has to run
kubectlfrom a host inside the same VPC.
Pods stuck in Pending
- Check the Nodes tab. Are nodes at high CPU or memory pressure?
- If autoscaling is on: did it hit
max? - If autoscaling is off: the user has to scale workers manually from the Workers tab.
Service type=LoadBalancer stays without EXTERNAL-IP
- Run
kubectl describe svc <name>and look for aCreateLoadBalancerFailedevent. It names the specific reason (e.g.missing_annotation,unknown_lb_plan). - Verify the annotation
service.beta.kubernetes.io/managed-loadbalancer-planpoints at an LB plan enabled in the cluster's region.
Worker upgrade stalls
A single pod with a strict PodDisruptionBudget can block drain forever. Find it with:
kubectl get pods --field-selector status.phase=Running -A -o wide
filtered to the draining node. Either relax the PodDisruptionBudget, scale the workload temporarily, or raise the Drain grace (sec) value before retrying.
Related pages
- Kubernetes Node Pools - mixed-shape clusters, GPU pools, scheduling examples.
- Kubernetes Image Baking - how to build the Control Plane and Worker images.
- Managed Load Balancers - the LB stack that fronts the API server.
- VPC Networking - prerequisite networking.