Quick Configuration
Overview
This page is the first 30 minutes after you finish installing the platform. By the end you will have:
- Activated your license.
- Connected at least one hypervisor (a physical or virtual KVM host running the Slave agent).
- Created storage, a subnet and an instance plan.
- Downloaded a base OS image.
- Deployed your first virtual machine (VM).
If you have not installed the Master panel and the Slave agent yet, follow the Installation guide first, then come back here.
Concepts
A few terms used throughout the admin panel:
- Master is the Laravel web panel you are logging into. It stores users, plans, IPs and configuration.
- Slave is the agent installed on each KVM host. The Master sends commands to it over the network.
- Hypervisor is the physical or virtual KVM host that runs your customer VMs. Each one runs the Slave agent.
- Hypervisor Group is a logical grouping of hypervisors, for example by region or hardware tier. Plans deploy into a group, and the Master picks an available hypervisor from it.
- Storage is a directory or volume on a hypervisor where VM disk files live. Each hypervisor can have several storages of different classes (HDD, SAS, SSD, NVMe).
- Subnet is a block of IP addresses with its gateway, netmask and networking mode. IPs handed to VMs come from a subnet.
- Instance is a single customer VM.
- Instance Plan is the template that defines a VM's CPU, RAM, disk, bandwidth and IP allocation.
- Image is a pre-built OS template (Ubuntu, Debian, AlmaLinux, and so on) that a new VM is cloned from.
Step 1: Log in and check the dashboard
Browse to your management server URL and sign in with the admin account you created during installation. The dashboard is the first screen you land on.
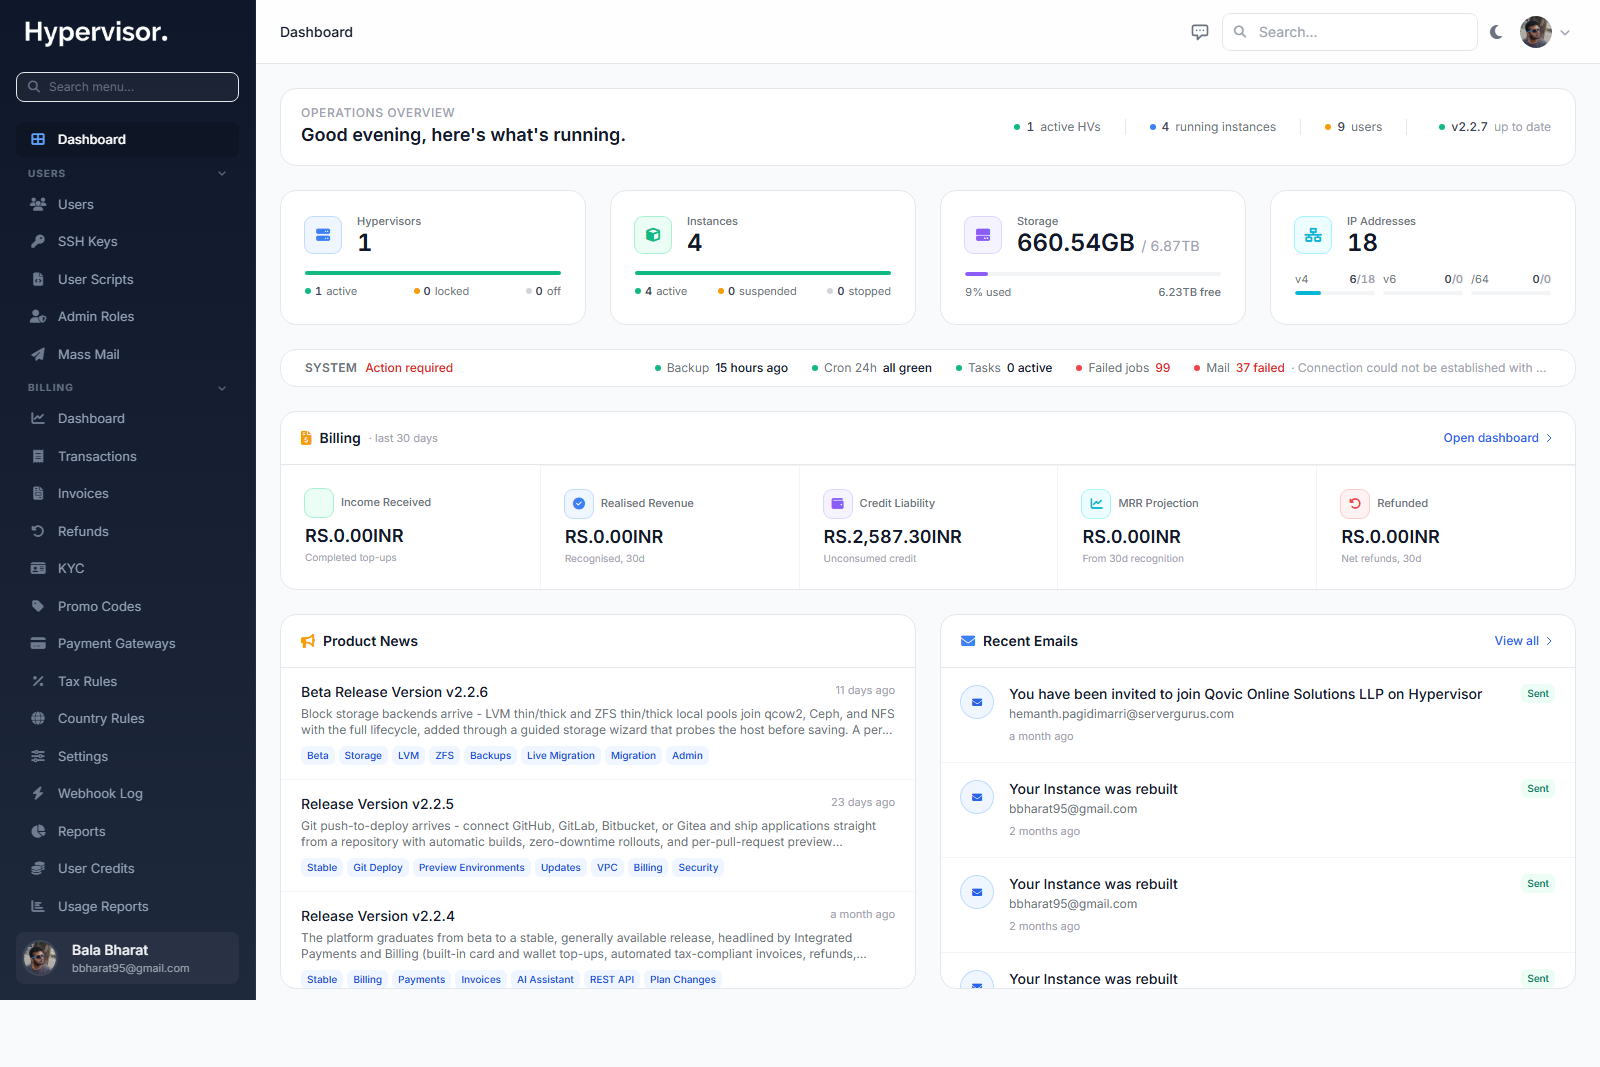
The dashboard shows the high level state of the platform: how many hypervisors are online, how many instances are running, recent tasks and resource usage. If you have just installed the panel, most counters will be zero. That is expected.
Step 2: Activate your license
The platform is licensed per management server. Without an active license you cannot connect hypervisors.
- Visit https://service.readydedis.com/ and obtain a license key for this management server.
- Open System > License in the admin panel.
- Paste the key and save.

See the Licensing Overview for how addons control how many VMs each hypervisor can run.
Step 3: Connect your first hypervisor
Before you can connect a hypervisor here, the Slave agent must already be installed on it. Follow the Slave Setup guide first, then return here.
From the admin sidebar go to Compute > Hypervisors.
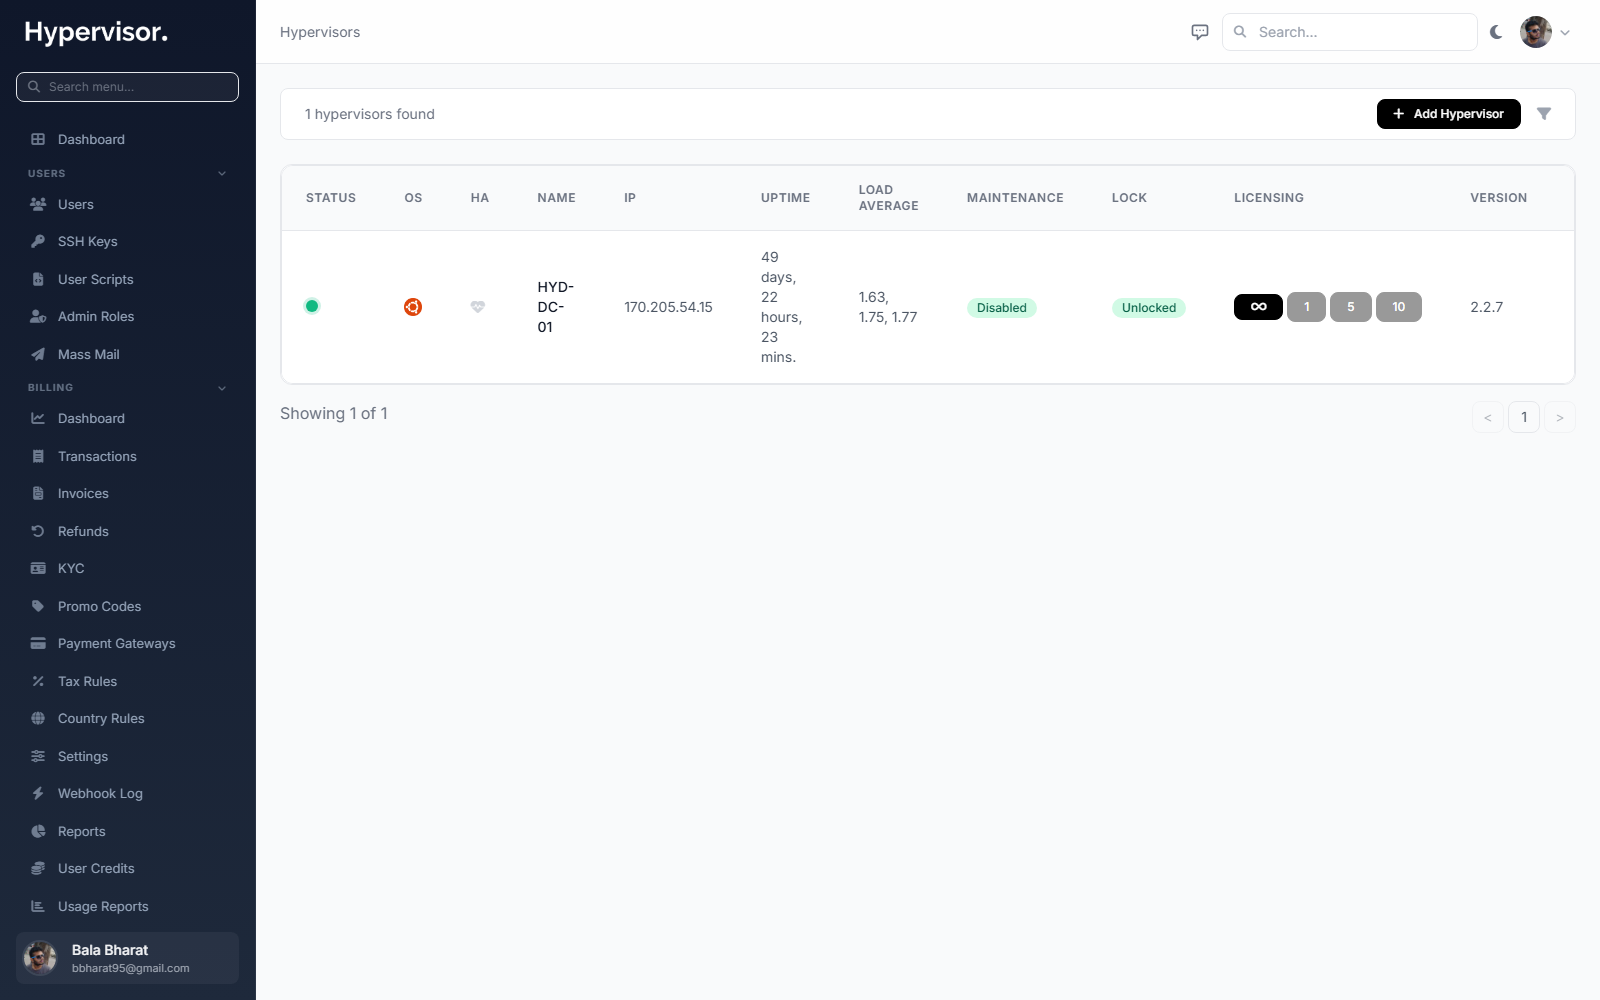
Click Add Hypervisor. The create form opens.
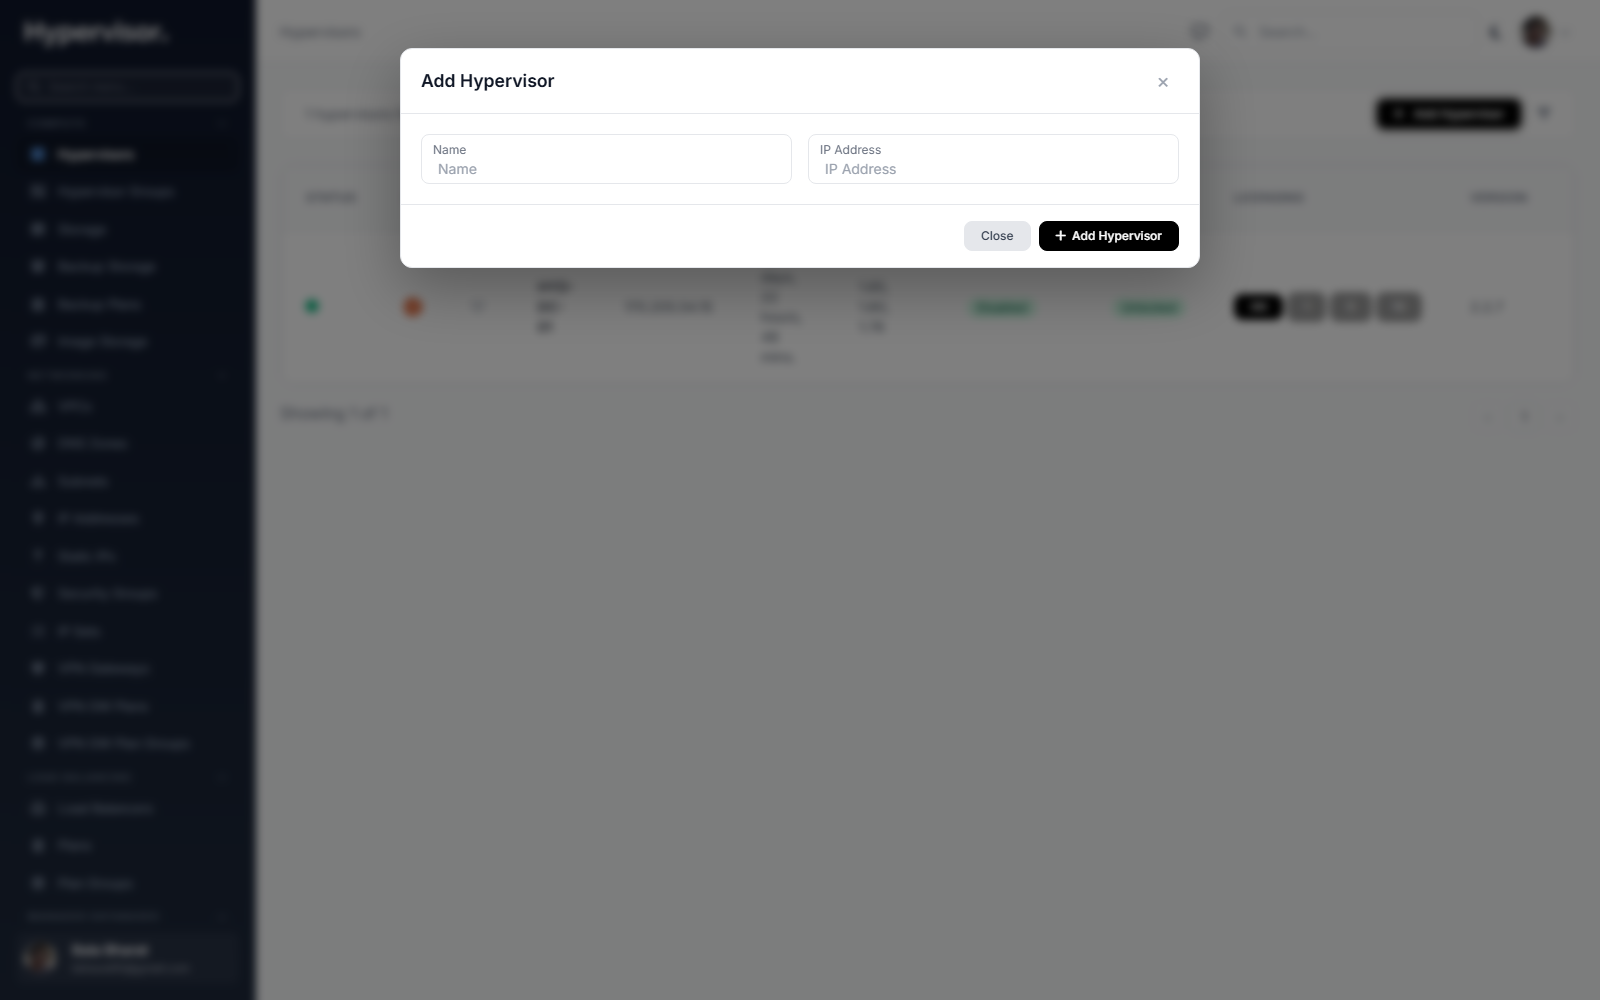
Fill in:
- The hypervisor's IP address (reachable from the Master).
- A friendly name.
Click Add Hypervisor. The Master handshakes with the Slave, exchanges an auth token, and redirects you to the hypervisor's management page. Configure CPU overcommit, memory overcommit, networking and any other fields, then click Update.
Optional: create a hypervisor group
Groups make it easy to deploy plans into a pool of hosts instead of picking a specific one each time.
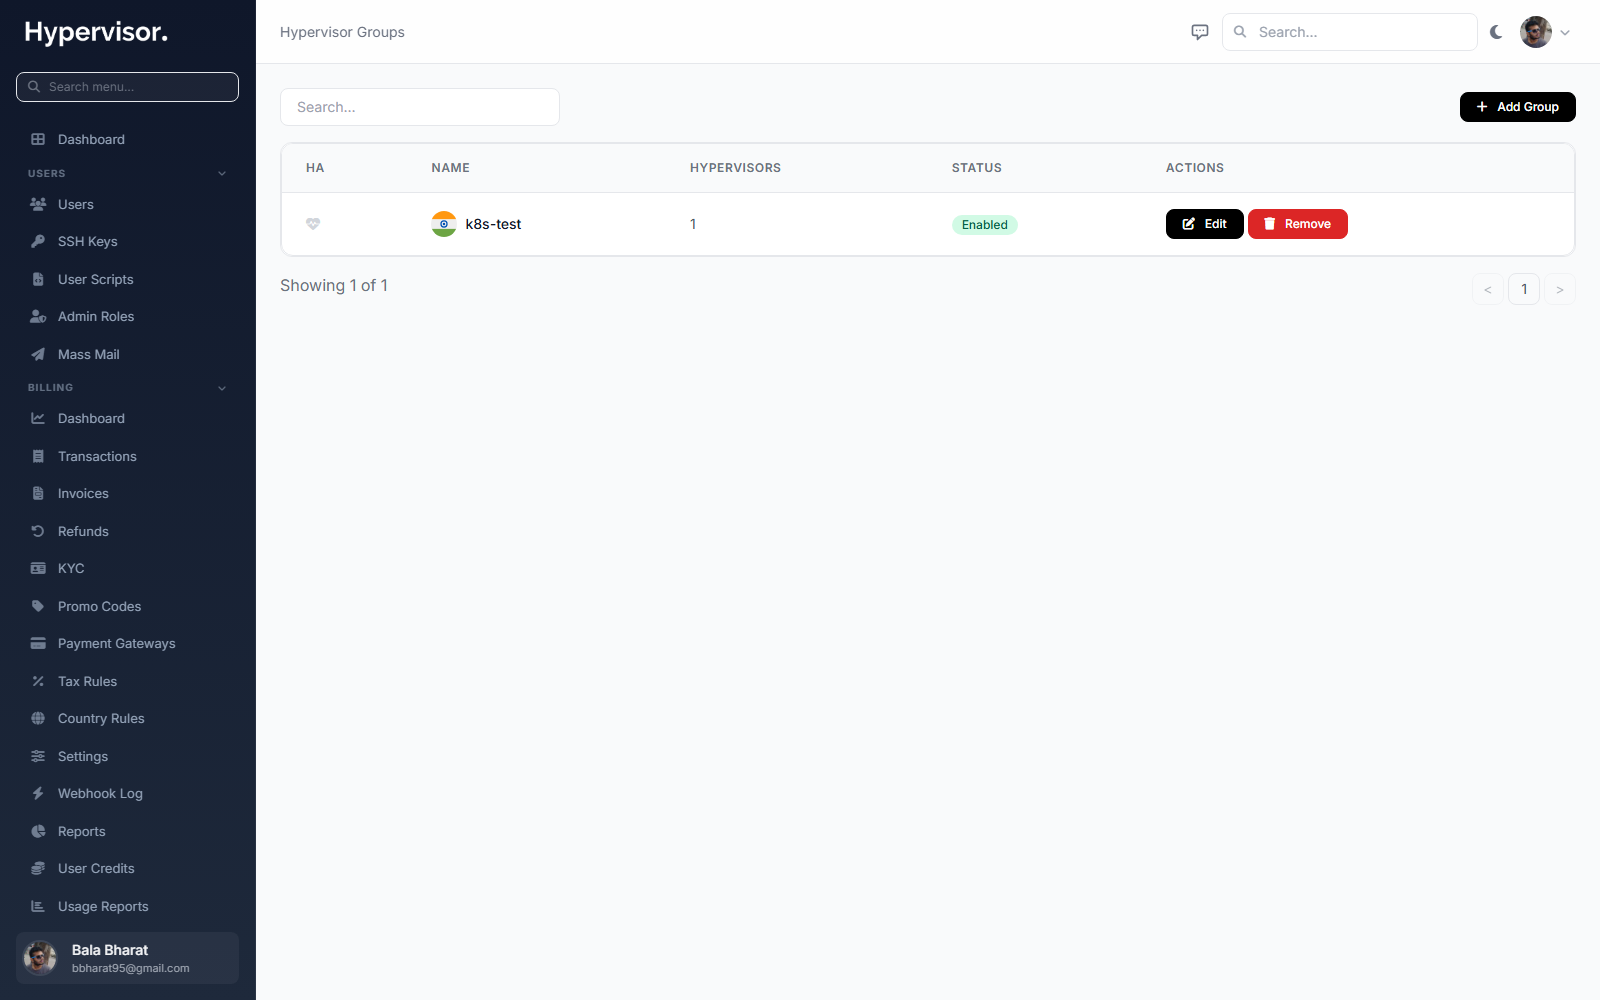
Go to Compute > Hypervisor Groups, click Add Group, give it a name (for example "US-East-SSD") and save. Return to the hypervisor page and assign your new hypervisor to the group.
Step 4: Add storage
Each hypervisor needs at least one storage so VM disks have somewhere to live.
Open Compute > Storage.
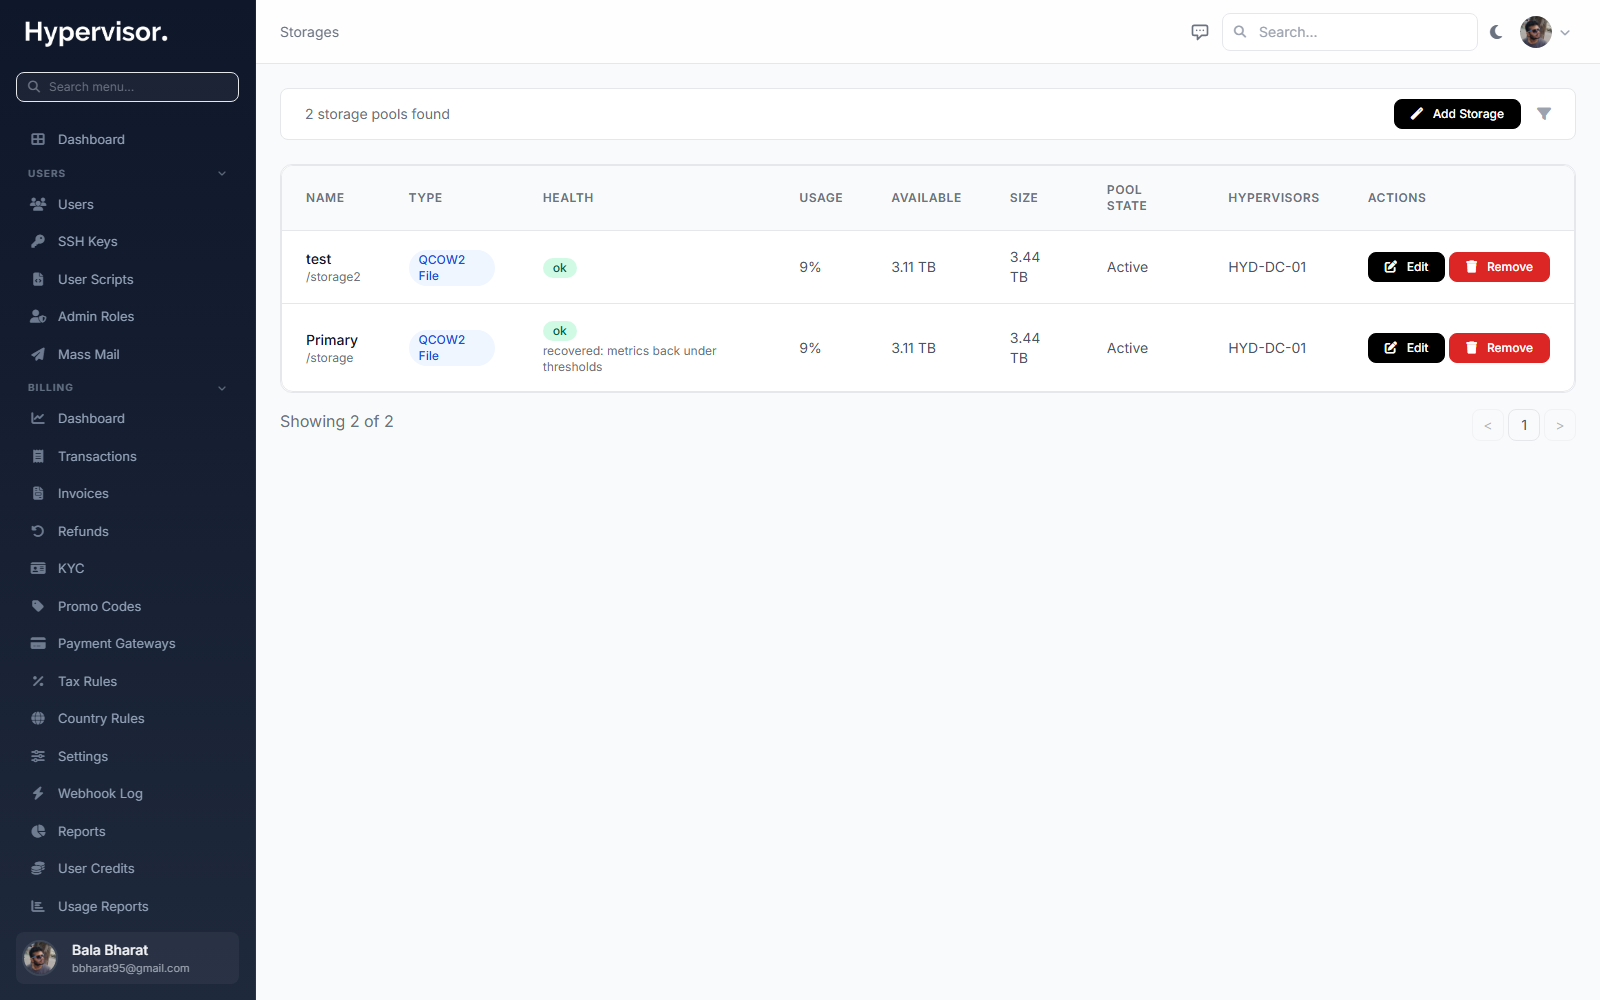
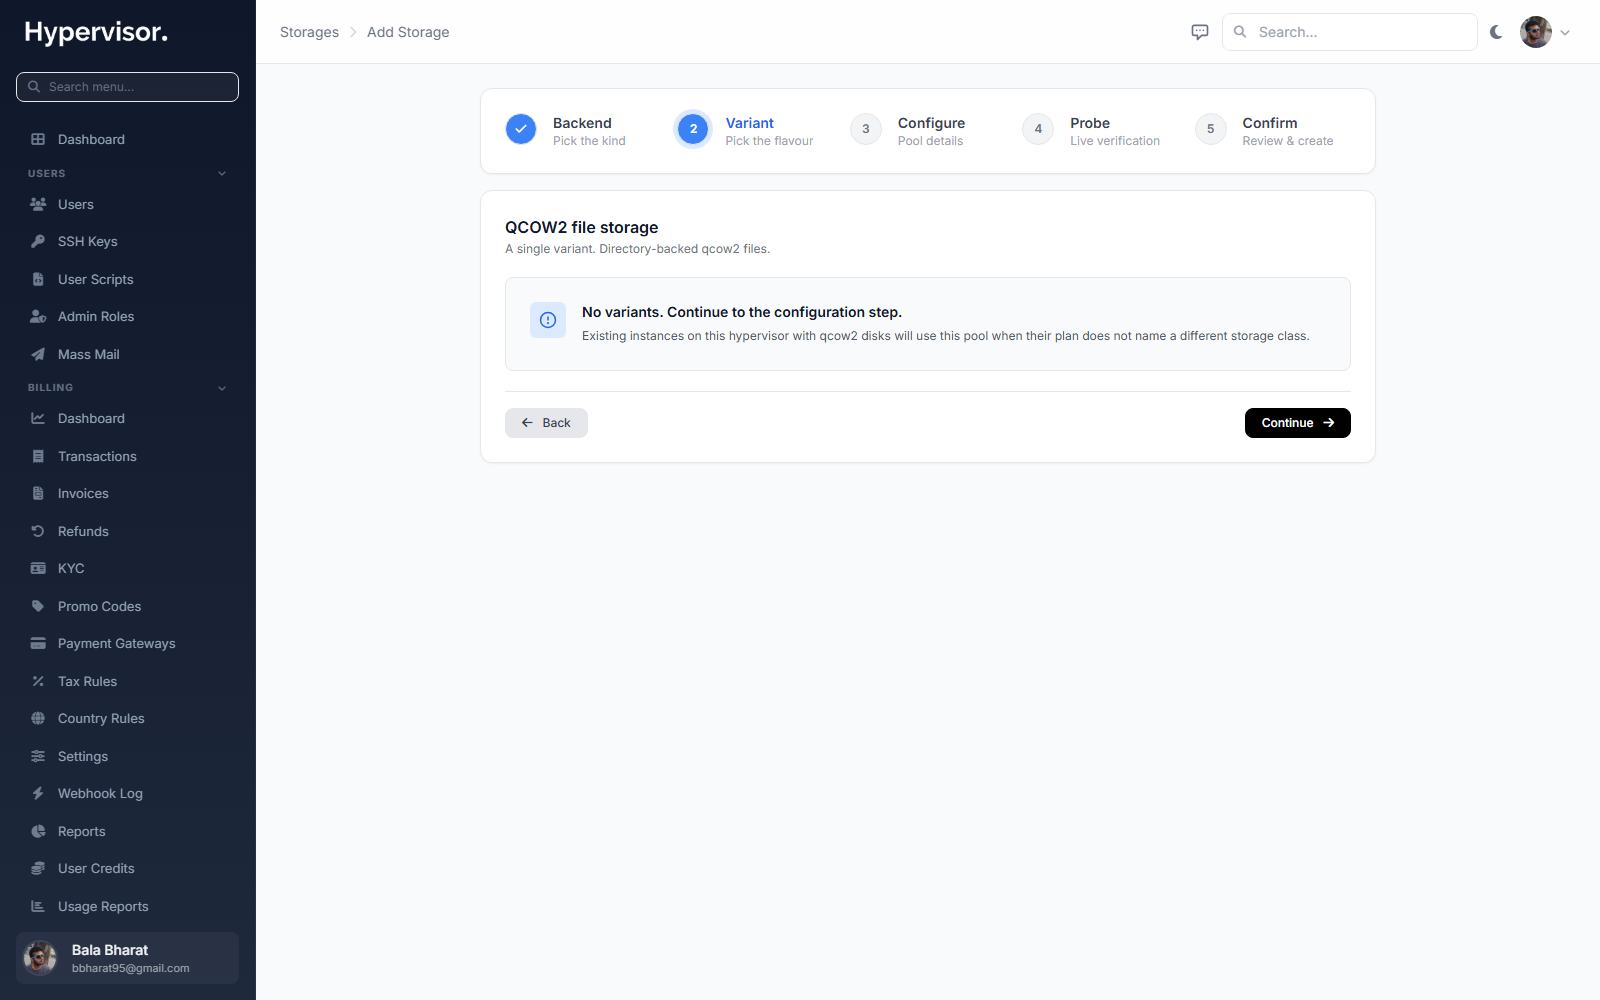
Click Add Storage to launch the storage wizard. The wizard opens on the storage-type picker:
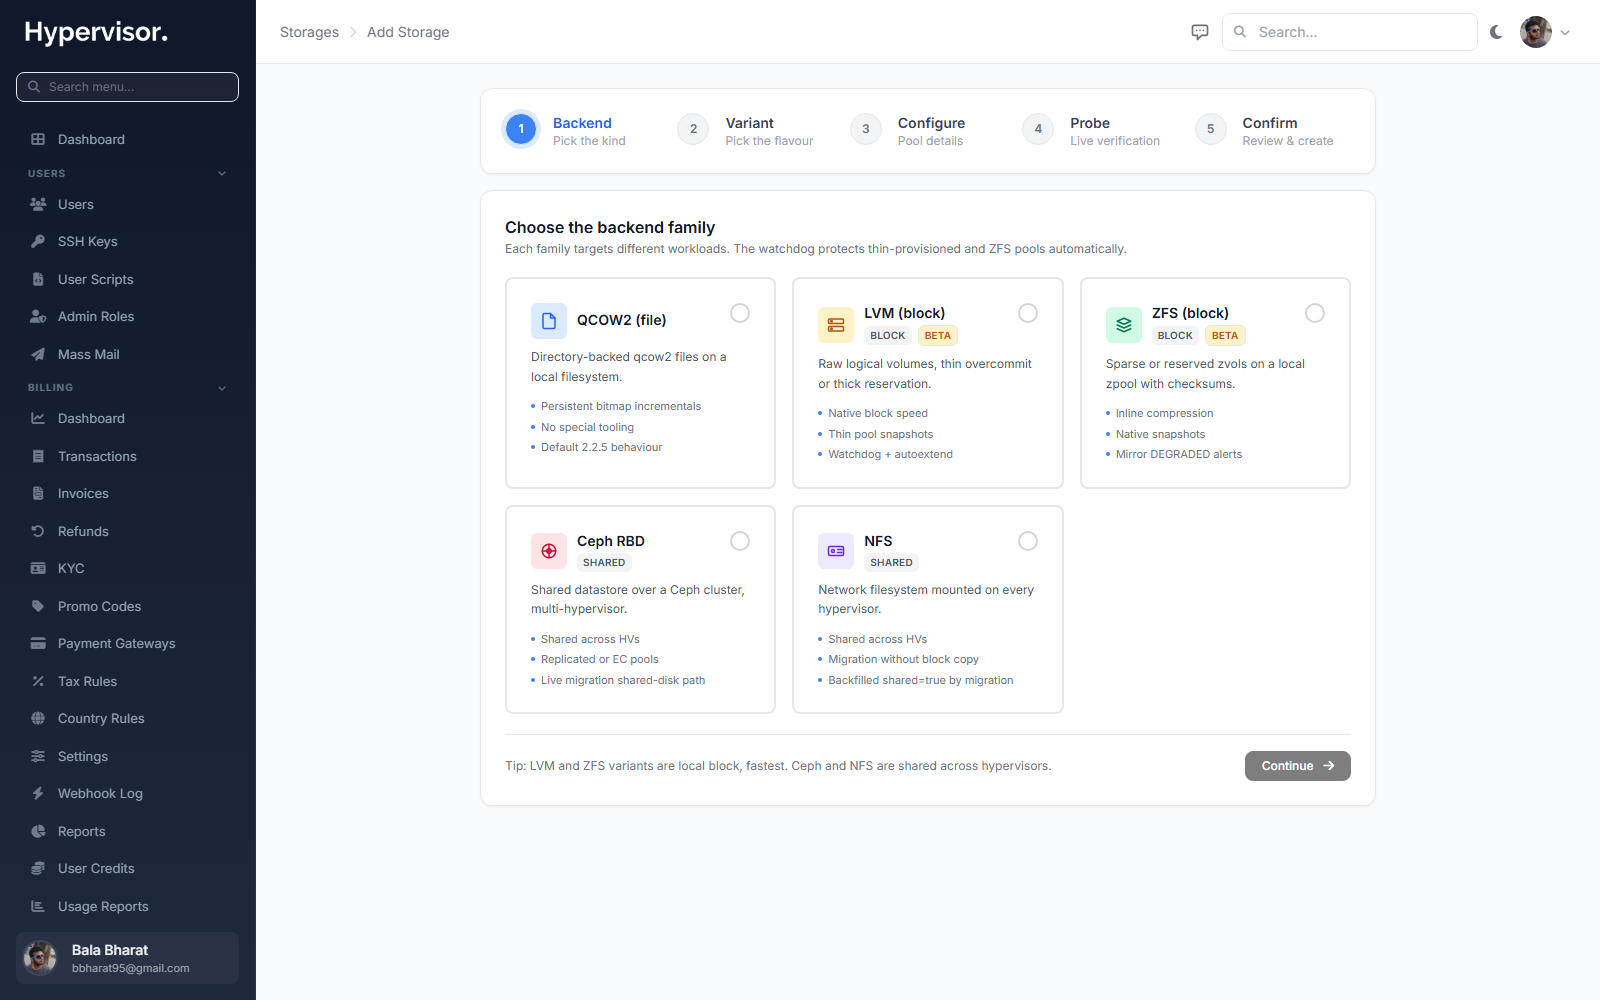
Pick a type (QCOW2 file, LVM-thin, ZFS, Ceph RBD, NFS, and so on) and click Continue. You land on the connection-details step:
Fill in:
- Name: a unique label.
- Path or endpoint: where this storage points (a directory on the Slave host for QCOW2, a pool name for LVM-thin or ZFS, an endpoint for Ceph).
- Class: pick one of HDD, SAS, SSD or NVMe so plans can target the right tier.
- Hypervisor: which Slave this storage lives on.
Save. You can add multiple storages per hypervisor, and you can mix classes.
Step 5: Add a subnet and generate IPs
Open Connectivity > Subnets. Click Add Subnet to open the create form.
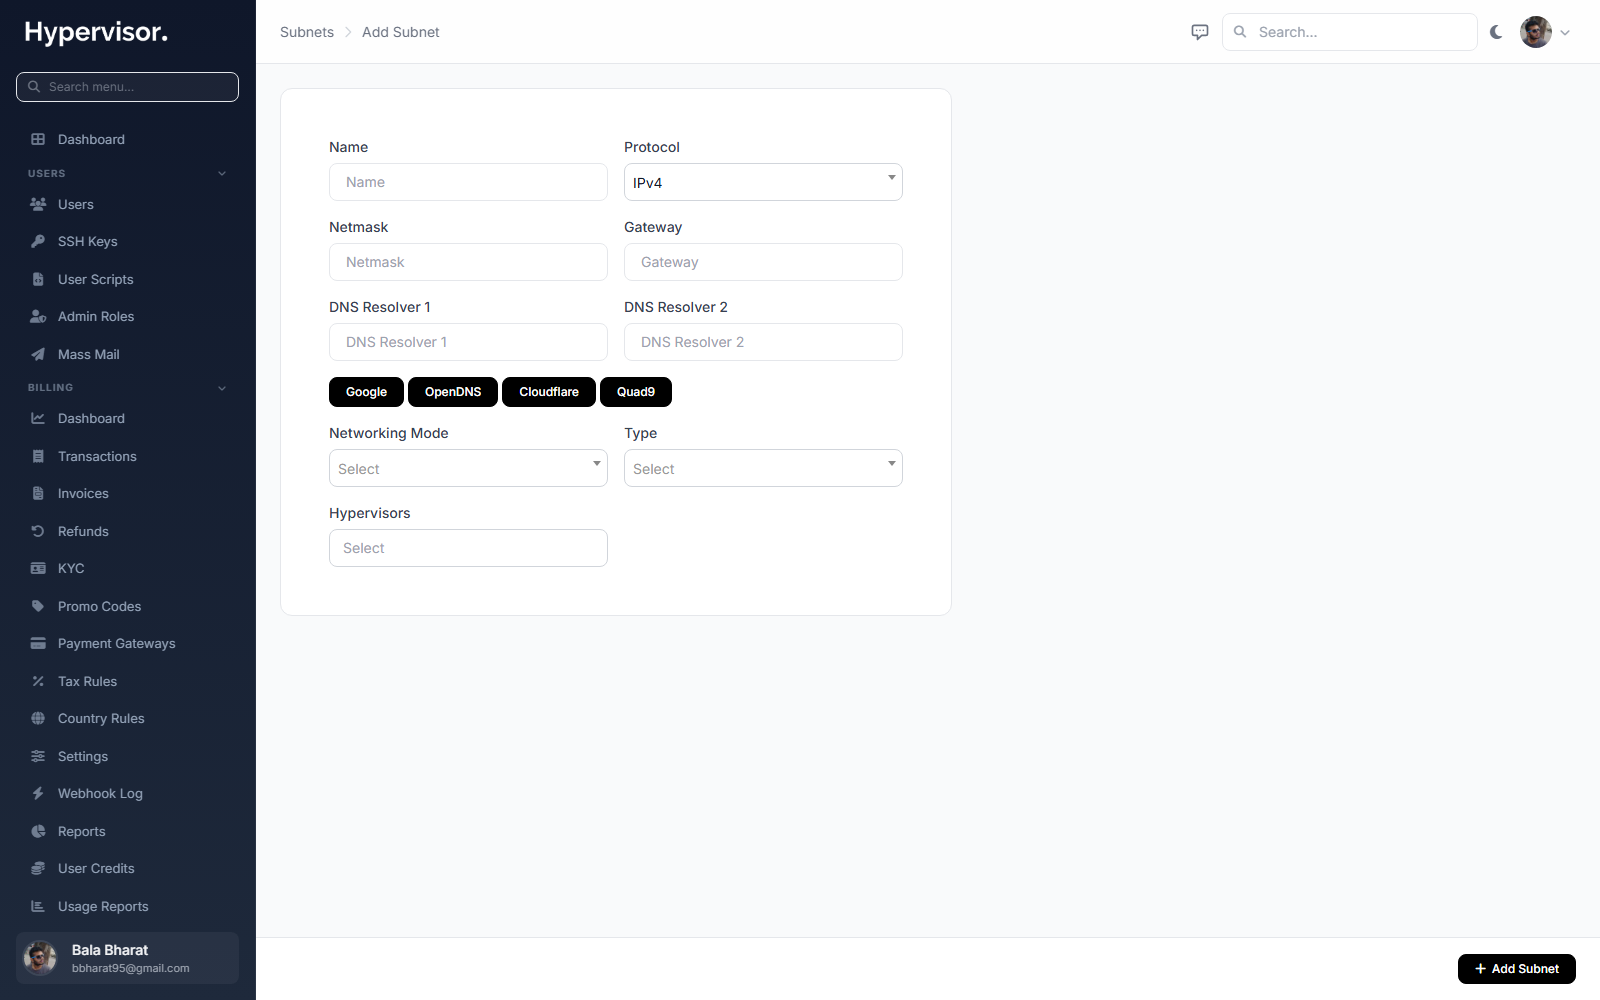
Fill in:
- Name: a unique label.
- Protocol: IPv4 or IPv6.
- Netmask and Gateway: from your network provider.
- DNS Resolvers: your own DNS servers, or pick one of the bundled options.
- Networking mode: Bridge, NAT or Routed.
- Bridge: the bridge interface name on the host (required when mode is Bridge).
- Interface: the host interface NAT traffic egresses through (required when mode is NAT).
NAT mode auto-creates a NAT device on the Slave. This is a beta feature; reach out to support if anything looks off.
Generate addresses inside the subnet
Open the subnet you just created and use the IPs tab. The same form covers both protocols.
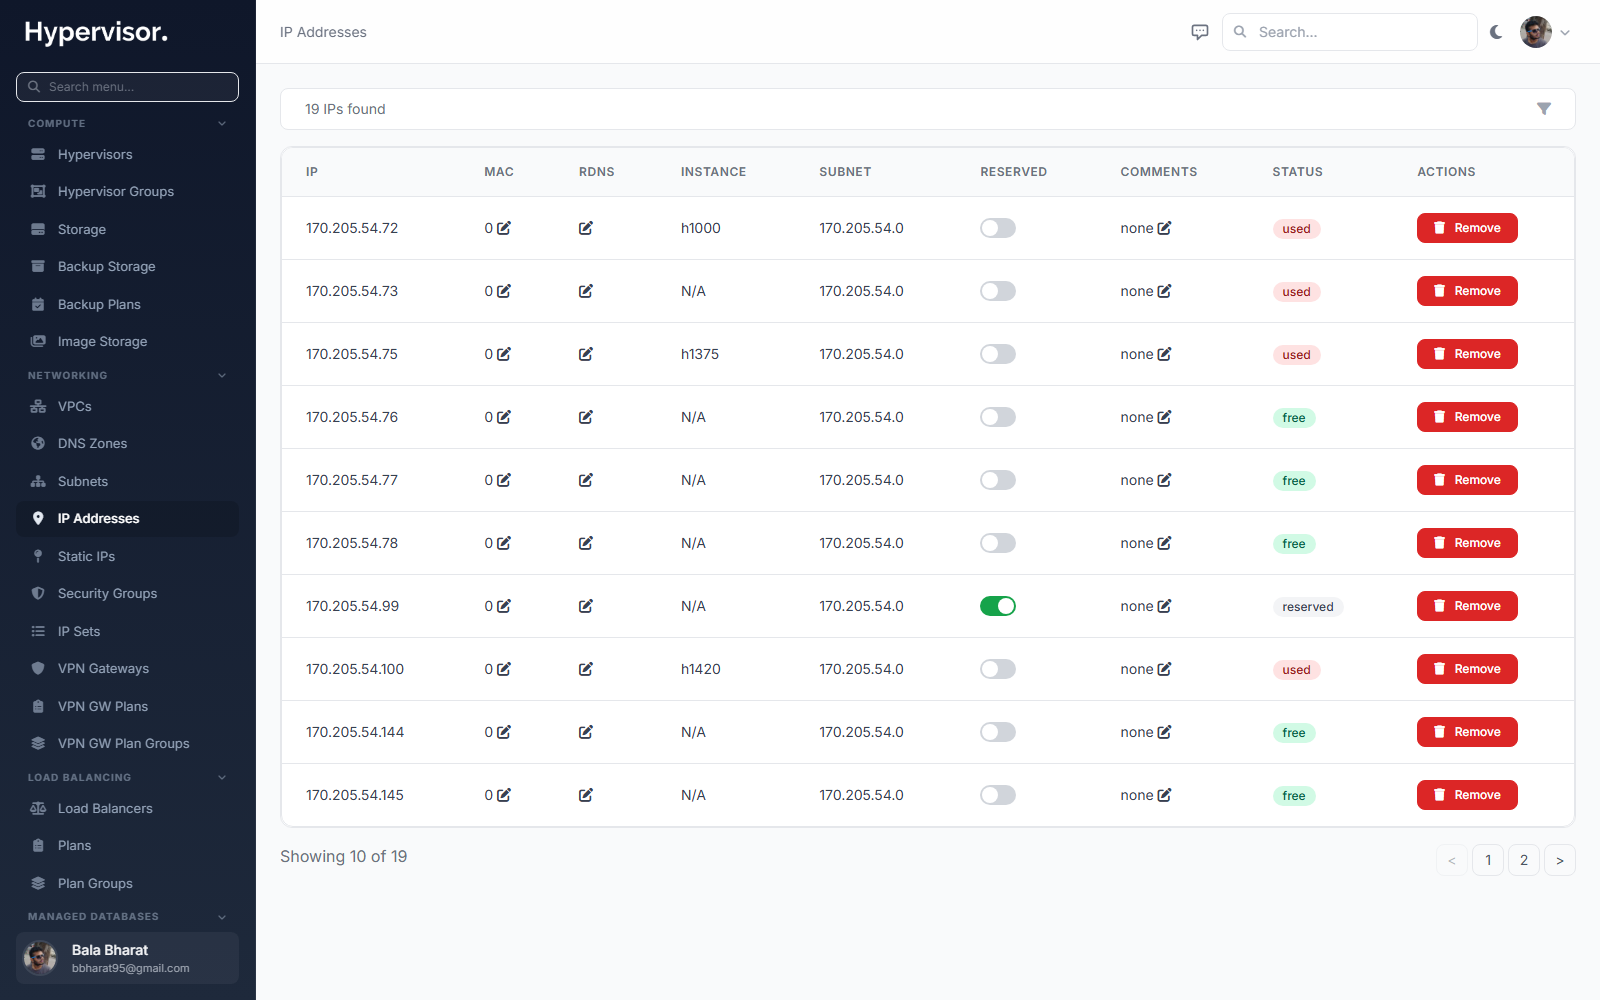
- Individual IPv4: enter a single IP and (if your upstream provider locks IPs to MAC addresses) a MAC.
- Range IPv4: enter a first IP and a last IP; the panel fills in every IP between them.
- Individual IPv6: enter how many single IPv6 addresses to mint.
- IPv6 subnets: enter a netmask (typically /64) and a count to mint multiple IPv6 subnets that can each be handed to a VM.
Step 6: Create an instance plan
A plan is the template a customer (or you, on their behalf) picks when ordering a VM.
Open Instances > Plans and click Create. The create form opens.
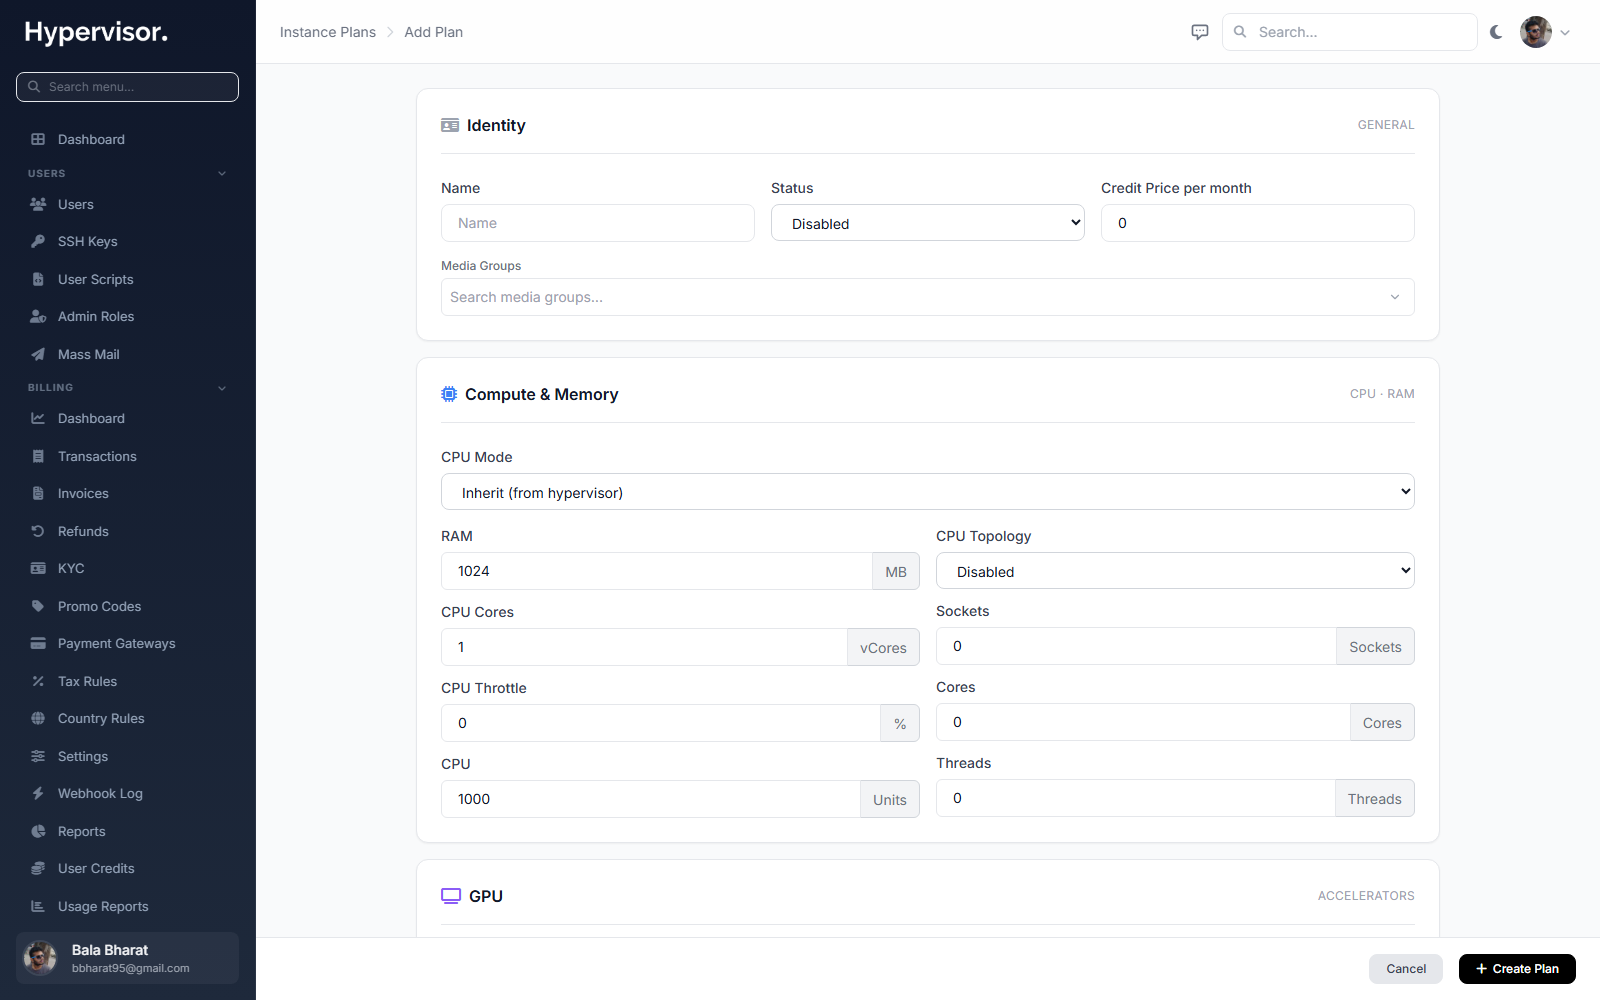
Fill in CPU cores, RAM, disk size and class, bandwidth, and how many IPv4/IPv6 addresses come with the plan. Save. You can create as many plans as you need.
Step 7: Download a base OS image
A VM has to be cloned from an OS image. Open Media > Image Browser.
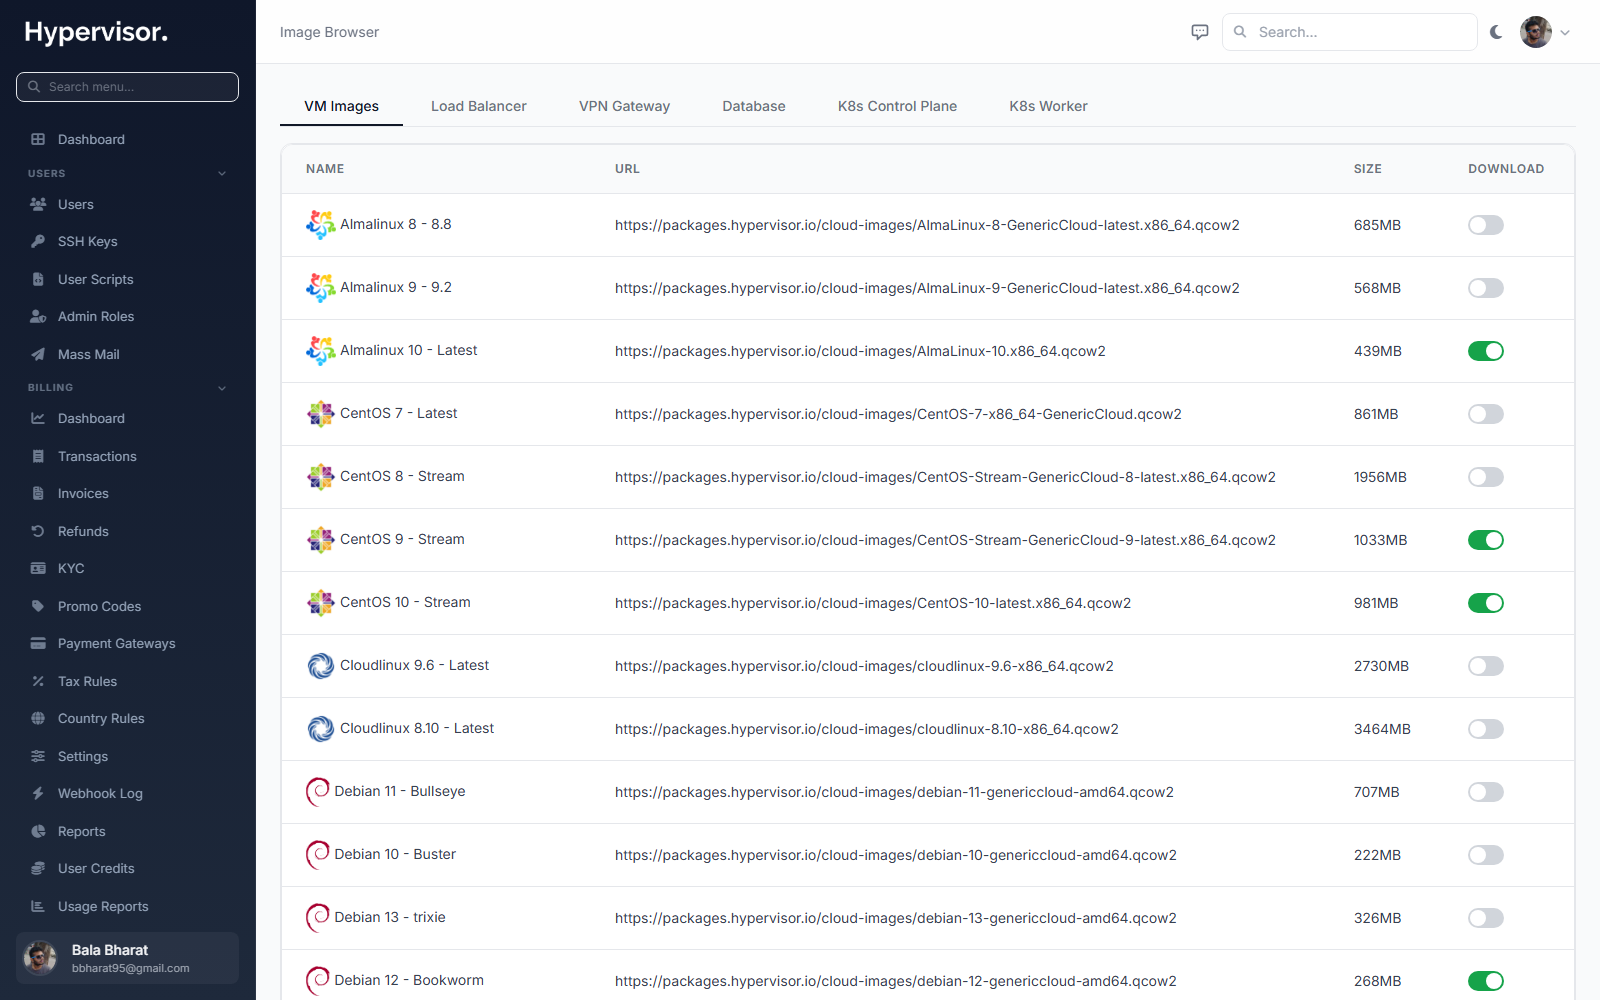
Flip the switch next to any image you want available. The Master queues a download job on every connected hypervisor.
Watch the Tasks page to see which hypervisors finished downloading. A VM cannot deploy on a hypervisor until the image arrives there.
Step 8: Deploy your first instance
Open Instances > Instances.
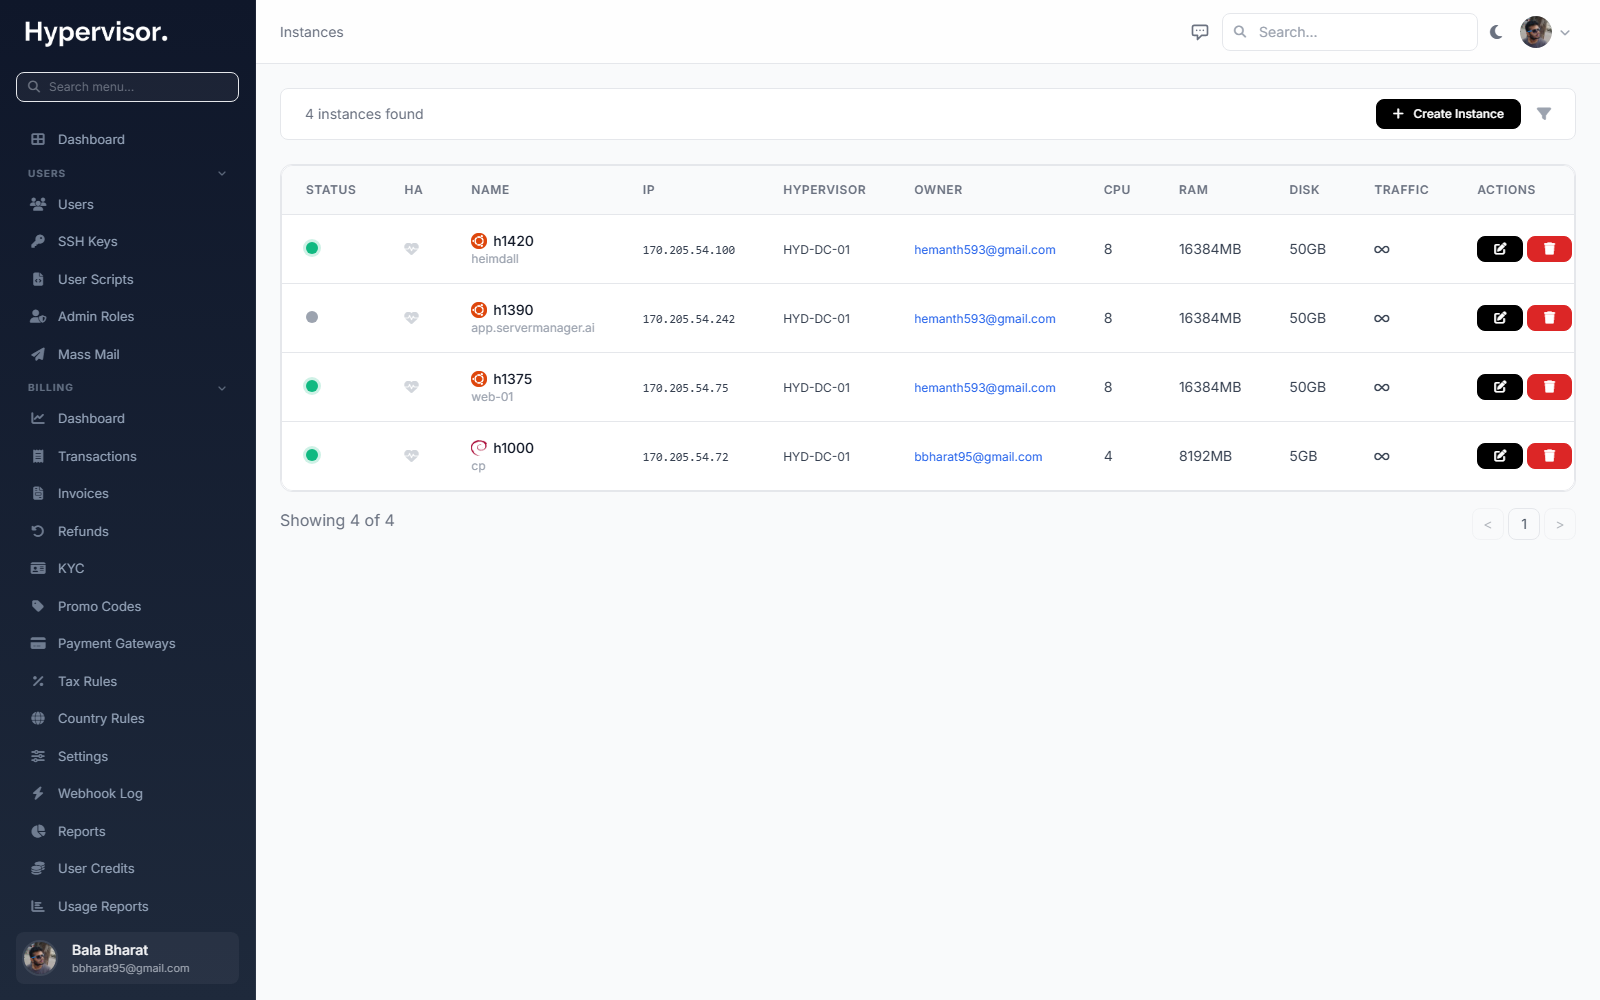
Click Create Instance to open the create form.
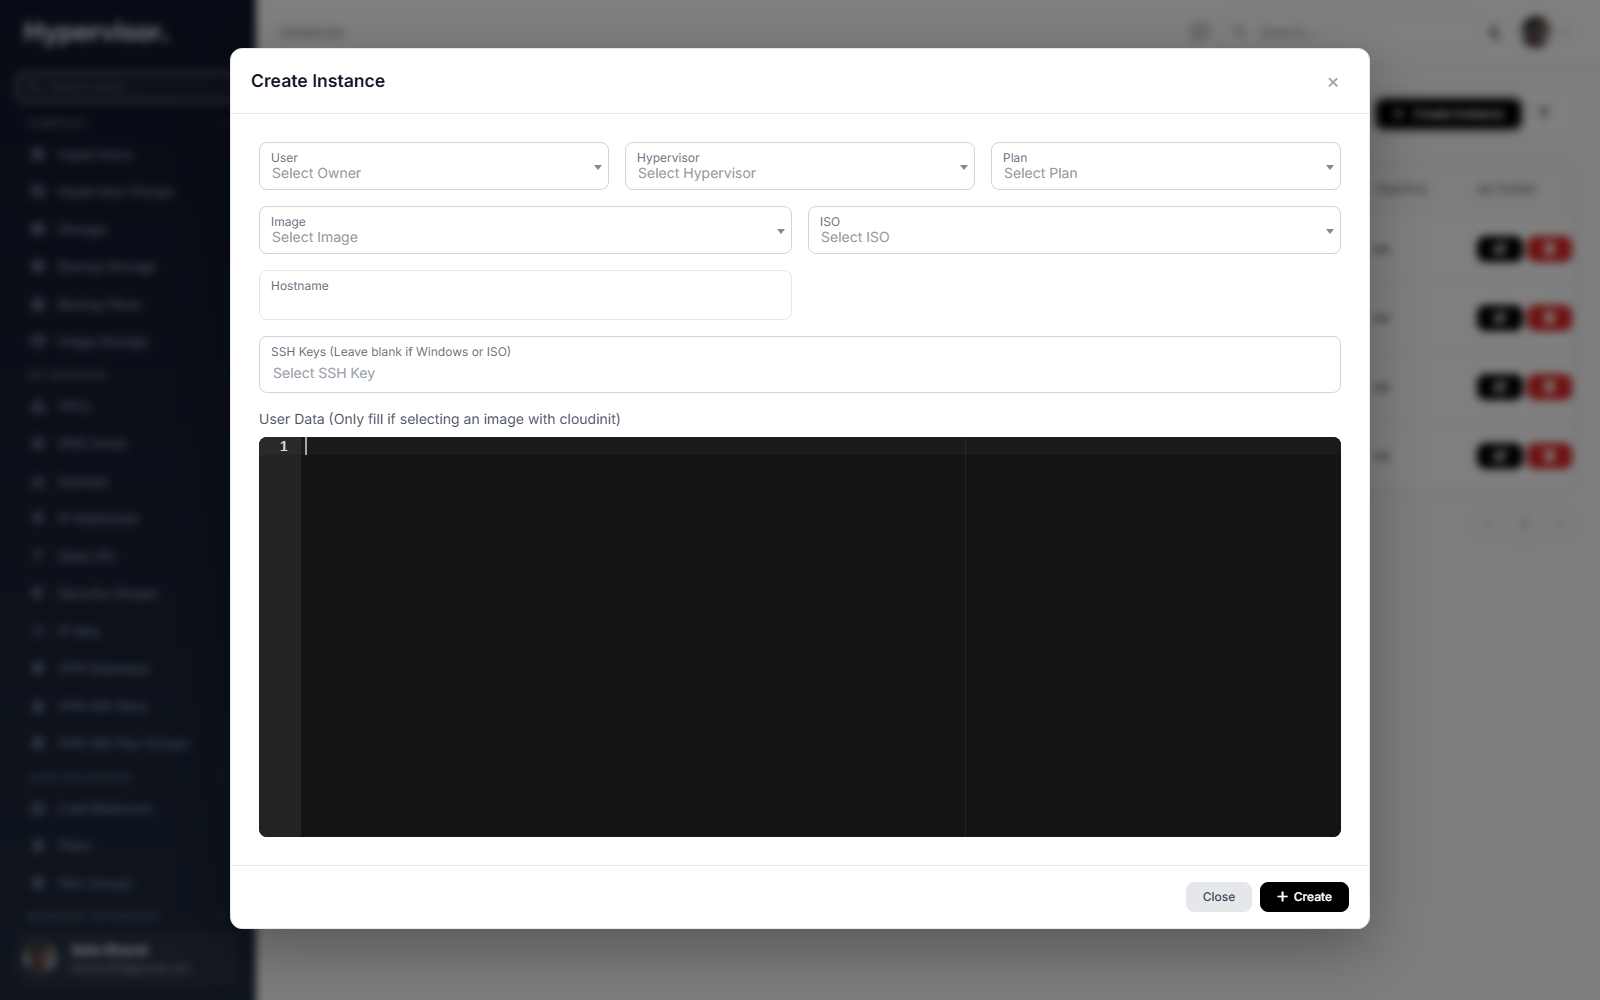
Pick a user, a plan, an image and a hypervisor (or hypervisor group), then submit. A task starts on the chosen hypervisor; you can watch its progress in real time.
A randomly generated root password is emailed to the user when the VM is ready.
What end users see
Once an instance is deployed the user can log in to the user panel and see the new VM with its IPs, console access, power controls, backups and firewall.