Hetzner Routed Network Configuration
Routed mode
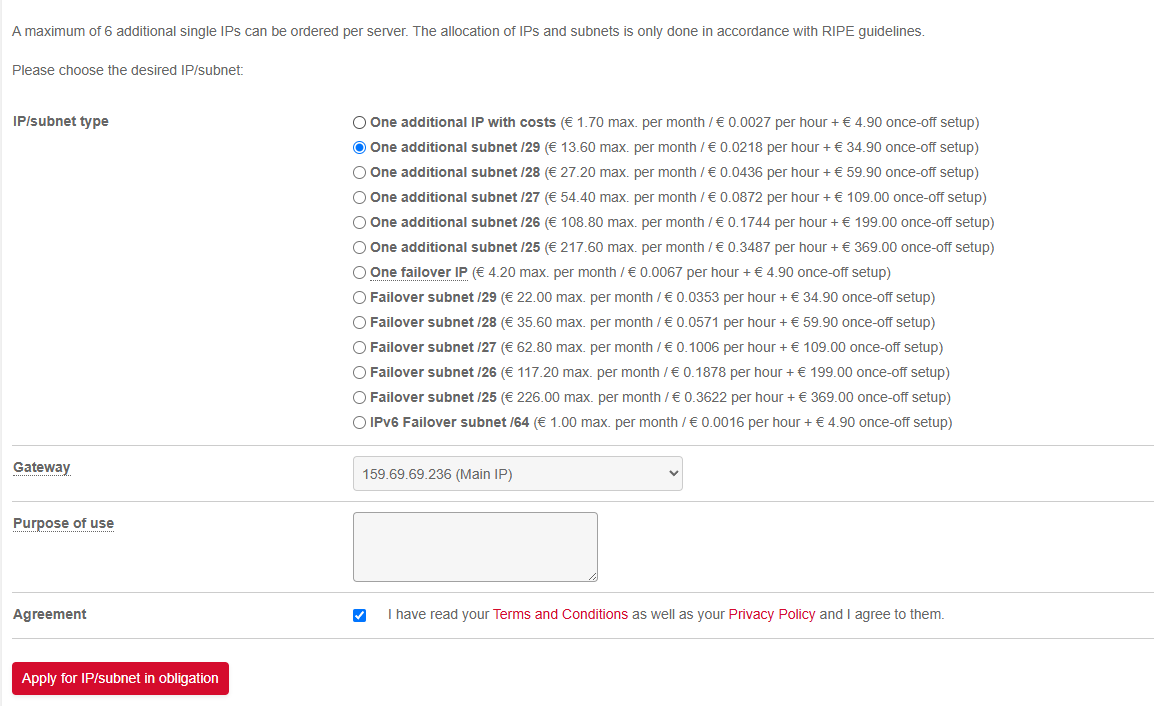
This method is useful when you are dealing with subnets, you will be asked to choose a gateway when purchasing a subnet
Choose the primary IP of your server as gateway
Follow the steps below
mkdir -p /home/hypervisor/networks/
cd /home/hypervisor/networks/
nano <BRIDGE>.xml
The configuration for the file will be as follows
<network>
  <name>BRIDGE</name>
  <forward mode='route' dev='INTERFACE'/>
  <bridge name='BRIDGE' stp='on' delay='0'/>
  <ip address='GATEWAY' netmask='NETMASK'/>
</network>
BRIDGEshould be the name of the bridge that you intend to use, eg: virbr1.INTERFACEshould be the primary interface of your serverip route | grep defaultthe name afterdevis your primary interface name.GATEWAYshould be .1 of whatever subnet you purchased irrespective of the subnet's netmaskNETMASKshould in almost all cases considered to be255.255.255.0
You can now save the file and continue to perform the following commands to make your network live
virsh net-define --file <bridge>.xml
virsh net-autostart <bridge>
virsh net-start <bridge>
Making changes to Routed Mode Bridge
If at some point changes have to be made for this network configuration, you can edit the file and save it, but for the changes to work a full restart of the network bridge is necessary.
danger
Doing this will disconnect all your instance's virtual nics from the bridge.
cd /home/hypervisor/networks
virsh net-destroy <bridge>
virsh net-define --file <bridge>.xml
virsh net-start <bridge>
Relink instance virtual interfaces
virsh list --name | xargs -i virsh domniflist {} | grep -w BRIDGE | awk '{print $1}' | xargs -i ip link set {} master BRIDGE
BRIDGEshould be the name of the bridge you just edited.